
Leaderboard


Popular Content
Showing content with the highest reputation on 04/25/2022 in Posts
-
How to get the belt to better match is the next question…. Looked up Rit dye Sweet Corn Silk looks like a great option, but finding it for sale someplace is a completely different issue…. Definitely not e6000! first cover came off with some effort using a flat end xacto chisel blade. Used a ball end burr to grind away much of the pink glue. Kind of smells a bit like epoxy or fiberglass resin…. then I used wire cutter to pop the rivet out and cleaned up the rest of the pink glue with the burr and sand paper to make room for a new rivet. The middle cover proved to be extra tough to remove! ended up with a big hole… so I patched it with a few small scraps and repaired the hole. once I sort out how to get the cream color on the belt, I can put it all back together! only with 2 holster screws not 4!3 points
-
Same goes for a lot of words that make more sense to underline constantly, such as EIB Not that it doesn't make sense with this one, but it just always cracks me up when spotting it in a random text, underlined, without actually meaning the staff2 points
-
Nice fix, I find snaps just hold a lot better in places that need to be a little more secure and especially those you can't see. Although it is screen accurate, (well at least in Solo) to have your back plate hanging down
 2 points
 -
Yup, that’s exactly the list I shared with Luca! I love FISD history. Sent from my iPhone using Tapatalk2 points
-
I don't think there is. I will pull them both out and examine. I think this is all the work of the rear joint strips/bottom edge of the calves. I was thinking maybe some sticky foam (single sided) but I could not locate any here at Hobby Lobby or Joanne Fabrics. I was going to try sticking the loop side of velcro on back of each r/l portion of the calves. One troop did all this! Granted it was a 5 hour troop. I'm kinda reconsidering doing the 3mile walk now with the Cystic Fibrosis Foundation troop Sunday. That'd really tear these up if I can't remedy it with something.1 point
-
I will never buy any armor again pre built, that does not come with a lot of scrap material of the same color!1 point
-
WOW that was definitely glued in there, some work to get it out. If you ever need to make some new button covers here's a great How To I've had success using a tea dye when re-coloring white, use this a lot with Tusken's, but you do need to test a few pieces to make sure you get the correct color.1 point
-
Just make sure you have no return edge on the inside base of your shins, I also sand the inside if there is any lip, using several different grades of sandpaper until you get to a fine grade say 600 so you try to get that area really smooth. Even with that you can still get some rubbing, I'd say most see this over time.1 point
-
I will try to snap some photos. Yea I showed my CO where the bite was occurring and it's riding directly on my left back. I've tried trimming. I may attempt it again. May not be enough time before this Sunday/next troop. I've another issue brewing.1 point
-
DO Do do dO DO EIB ATA AP WTF AM RS FISD Curious to see what is picked up. Obviously a lot that are included in Joseph's acronym list.1 point
-
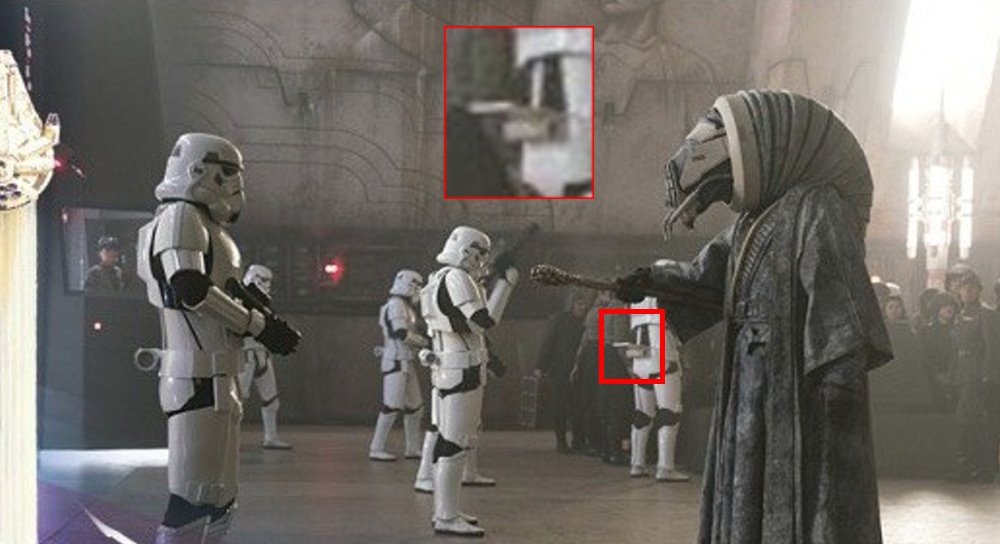
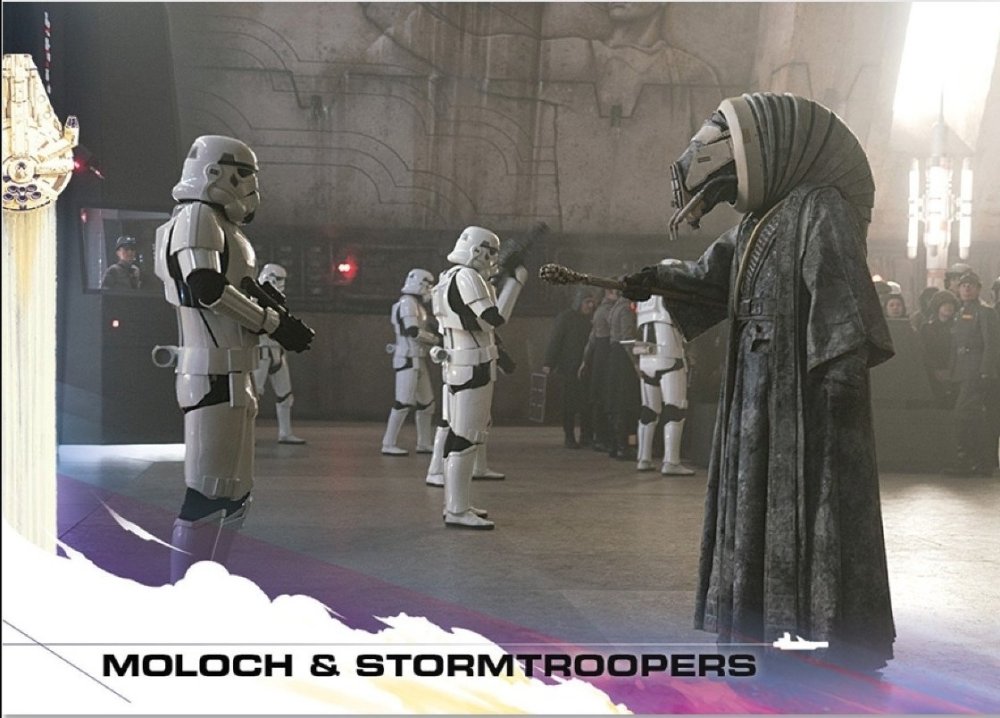
What was even funnier was that picture was also used for a topps card and it wasn't noticed
 1 point
 -
That’s funny!!!!!1 point
-
Thanks Glen! M1 point
-
So after my T Det and the rear part of the belt fell off on my first troop I had to remount it! I had industrial velcro holding it but not strong enough. I put four snaps on it and its much more solid now!!!!1 point
-
Coming along nicely1 point
-
I compiled a list in my 15th anniversary newsletter 2006-2007 - Paul Hoeffer “Daetrin” TK8020 2007-2008 - Ed DaSilva "Exodus" TK4878 2008-2009 - Terrell Reber "SuperTrooper" TK1787 2009-2010 - Paul Hoeffer “Daetrin” TK8020 2010-2011 - Paul Hoeffer “Daetrin” TK8020 2011-2012 - Paul Hoeffer “Daetrin” TK8020 2012-2013 - Tom Gardner "RogueTrooper" TK5940 2013-2014 - Eric Brager "Darth Aloha" TK9674 2014-2015 - Mathias Rodstedt "Locitus" TK2959 2015-2016 - Eric Brager "Darth Aloha" TK9674 2016-2017 - Time Waychoff "Dark CMF" TK51878 2017-2018 - Paul Hoeffer “Daetrin” TK8020 2018-2019 - Paul Hoeffer “Daetrin” TK8020 2019-2020 - Sarah Bailey "Alay" TK20466 2020-2021 - Andrew Franke "Sly11" TK11469 2021-2022 - Andrew Franke "Sly11" TK11469 2022-2023 - Andrew Franke "Sly11" TK11469 Also a typo with @Daetrin1 point
-
Comments posted in your build thread1 point
-
You may need to remove some of the return end on the butt plate as you can see when you bend it the return edge pushes outwards. Again be careful with a heat gun, practice with scraps, you can go from just moving to molten mess in the blink of and eye, it's also a good idea to have small blocks of wood handy which you can place either side if you get any unevenness in the plastic once heated. I removed all my return edge from the bottom of the butt plate as I had seen the original armor had cracking there, this would happen when it was bent and cause strain on those areas. Once again if you don't have any return edge it shouldn't be an issue for higher approval.1 point
-
You don't need to have a return edge there but can add them if you want too, they just help to fill up the area when you have thin legs. They are screen accurate to have but the DO's shouldn't require them for higher level approval If needed here's an older thread with how to add a return edge with heat iron1 point
-
I took a 3 month hiatus from this project for a variety of reasons, but am finally revisiting. I trimmed 1 square off the forearms (from the wrist end) as well as some of the width, which made the overall shape a bit more difficult for attaching the outer cover strips, but with some muscling into place, I think I finally got it. The torso has been the biggest hang up, but I was recently able to get an in-person second opinion from a fellow garrison member. As other short troopers on here have done, we determined I needed to take some of the height out in the cod piece area (that will be hidden by the belt), and removed an inch from each side of the back kidney plate. I've done some hot water bath shaping and it's still quite boxy and loose in the waist. I'd love it to be more fitted, but I realized today I don't think I can lose any more of the circumference due to female hips! Will post photos in a bit.1 point
-
Once again posting this here in addition to the pre approval to keep it all in my build thread. I trimmed the tops of my thighs and there is now no overlap! There is also far less noise when I walk haha. I have also found cinching my belt tighter helps to keep things where they should be. I still need to deal with the butt plate snap area. I am thinking of heat gunning it so it sits more "flat" if that makes sense? That is the only area where there is still some rub, but when I hold it where it should be (pointing more towards the cod then towards the ground) there is no rub. When I bend it there is a point that shows in the side. I will circle it in the pic below, but can I just heat that flat again or will that pose a problem and potentially crack? See pics below (excuse the back pick. I am holding the phone over my head to get the shot in a mirror) Butt plate as currently is Where I think it needs to be Thanks, M1 point
-
Ah geez...I knew taking care of baby while the wife attends to her Masters studies was gonna be a bear but I still feel sooo lazy lol. It's been 7 months since my last post but I've tried my best to address those callouts from waaaaay back in September. Alright let's get to it! My main concern were those nasty gaps between the ears and cheeks. I like to think I took care of those from both the front and back sides but I'll let y'all be the judges on those. I made sure to carve out some pits for the ear screws so's the screws sit in flush. I also cleaned up the vertical lines in the back (gray areas) and made sure the blue stripes decals are situated correctly. Lastly, I made sure that the harness was oriented correctly within the interior of the helmet. I tried following a very thorough tutorial on this forum concerning cutting/shaping the ear attachments but it completely went over my head. Being a trained artist with both traditional and CG media I'd always considered myself pretty adept at anything visual/spatial but this helmet project proved to be a true challenge. If I ever finish this part of the costume at a reasonable standard of acceptance I cannot tell you how proud (and relieved haha) I will be. As always, I sincerely and truly appreciate your guidance and time!1 point
-
Firstly, please let me know if I've forgotten someone, I've only ever known Andrew as the DL and couldn't manage to find a comprehensive list whilst researching this meme. If there's anyone I should add, I will do so as soon as possible EDIT: thank you, Caleb, for providing me a complete list! Secondly, thank you all for all of your work, time and effort keeping this Detachment going. I can't tell you how much I appreciate it1 point
-
Today I started glueing the backpack together;1 point
-
I have not encountered this, how much return edge do you have on your kidney? Could be a case of your belt or ab and kidney are pulled too tightly, could try letting out the belt a little or loosen the ab/kidney gap. Photos could help1 point
-
Lots of love for everyone mentioned here, you help keep the FISD alive and going! Also, shout out to MaskedVengeance for inspiring some of these - I appreciate the inspiration, Caleb All assignments to a character were completely random. Complaints can be lodged in the comments or my DM's. Please do not notify my Captain, he's sponsoring my concert tickets.1 point
-
Not with the kidney. It's normal though that it can take a few troops to dial in your armor. No amount of standing in front of a mirror can prepare you for it. You may end up needing some foam padding too. Have people take a bunch of pix and then adjust, troop for an hour & take pix, adjust, etc.1 point
-
Yes, you can sand it a little more. keep up the great work1 point
-
Last post for now. Just an overview of the pieces I’m still cleaning up. Planning to make my snaps this weekend so I’m trying to get these pieces ready for fitting/glueing/snapping!1 point
-
This photo shows the bells at a higher angle. I have a feeling I can shave off a little more of that “lip “ at the top of the bell… trying to get everything “flush “ without getting too close to the nice parts of the plastic.1 point
-
Here are the shoulder bells trimmed and sanded. These seem pretty straight forward on the cut. They fit my shoulders pretty snug, which I imagine is better than a lose fit.1 point
-
One set of one forearm pieces. Trimmed and sanded. I Matched them up for a sizing idea, without my under armor for now. Looks and feels like this will fit ok with very little spacing between my forearm and the plastic.1 point
-
Back at it again! Haven’t been able to post recently but here is an update from yesterdays work. Planning to work on it some more today and tomorrow. These are the pieces I posted last time but with more trimming and sanding done to them. Basically cleaned them up more.1 point
-
I put the second coat of blue on this morning and just pulled off the stencils. It looked almost perfect! There were a few spots where some of the blue came up with the stencil, but after minor touch ups I think it looks awesome! This means my bucket is now complete, which means my suit is now complete! I will let the touch ups dry a bit then do a full suit up for my 501st submission pics. Very exciting! This has been quite a journey. I know it is not done yet as I have some tweaks to make here and there and will tackle those, but it feels good to have a presentable suit in time for Celebration! (and hopefully by then those tweaks will have been made as well). Thank you to everyone who has helped along the way, especially @gmrhodes13 @TKSpartan and @justjoseph63 . I will post up pics once I do my suit up, but for the tweaks and fixes should I post those here or make a new thread? Thanks, M1 point


