Leaderboard


Popular Content
Showing content with the highest reputation on 09/28/2021 in Posts
-
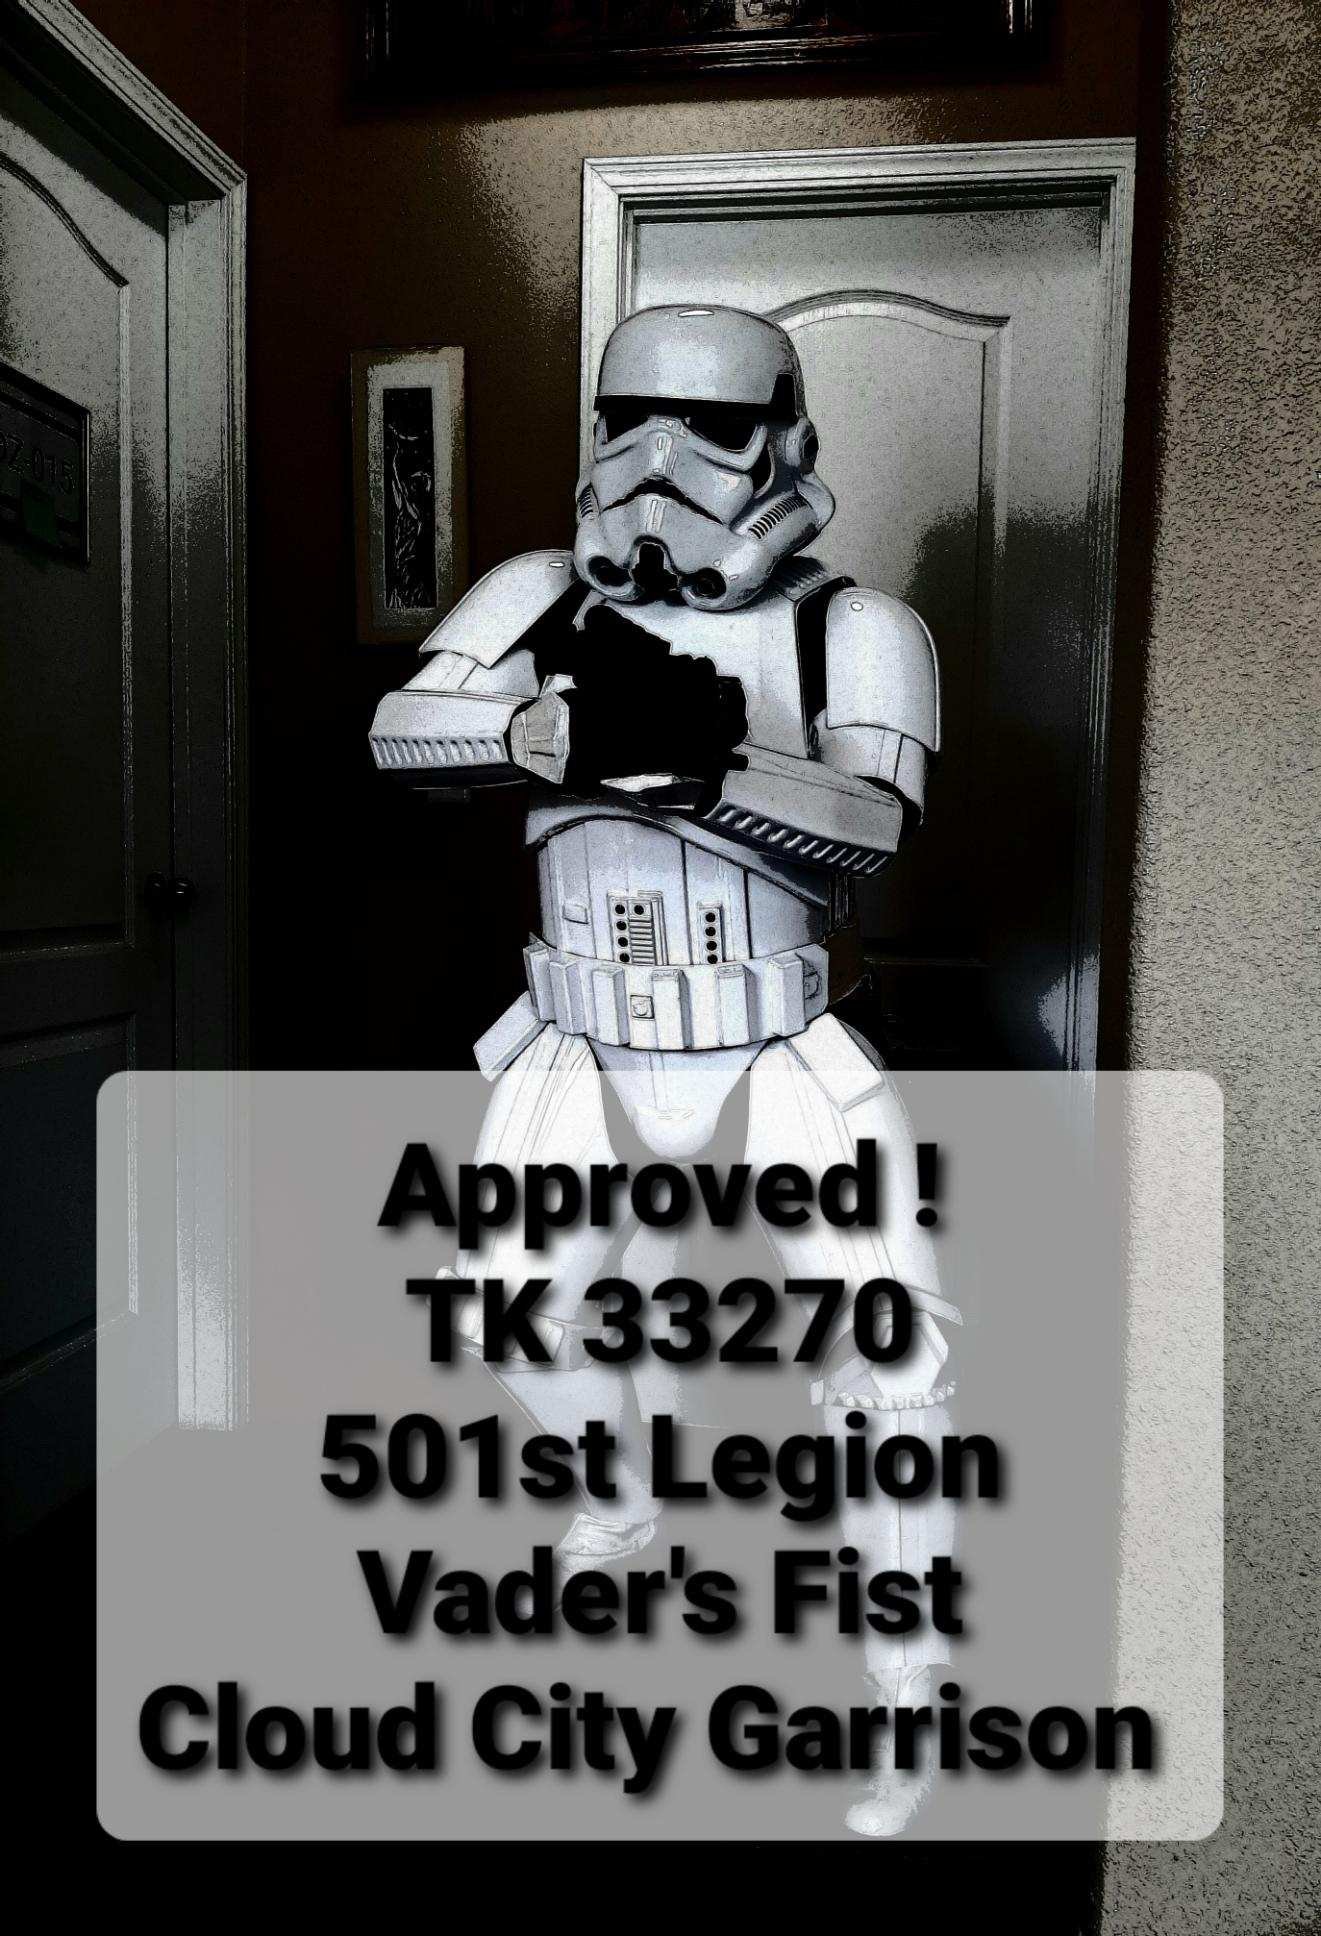
Newly minted and approved ! I'm TK 33270 just approved this month. I'll be serving with the Cloud City Garrison (OR/WA) and looking forward to my first troops! Long Live the Empire!
 3 points
 -
Many thanks Mario and the whole DO team. If anyone tells you it gets easier with each application it doesn't, the nervous wait and constant refresh of the forums hoping for an update only to have to wait another day, thank you once again gents3 points
-
Found a new and useful technique by accident last night. Likely guys that have been costuming a while already know this, but figured it could be useful for newer troopers. I always check my kit after a troop to see if any repairs are needed. Discovered last night that shining a torch from behind your armour is great for highlighting cracks that you could otherwise not notice or are 'only just' starting to form. Here's my shoulder bridge with no back-light. You can just about see a crack forming. But with a torch behind its impossible to miss. Catching cracks early while they're still small could save a real headache during a troop.2 points
-
Many thanks once again Mario and DO team, you've certainly earned your pay with me2 points
-
Hi Glen, and thank you for your Centurion application! CRL and Centurion Application Requirements: All required photos have been submitted, and on behalf of the entire D.O. staff we are pleased to welcome you to the rank of CENTURION . Congratulations! Other-Armor Fit/Assembly; In this area we review observations made by your fellow troopers and the DO team. Some observations may lead to suggestions to improve the overall look of your armour. Note that we consider both text (CRL) and pictures (screen caps/reference images) when reviewing submissions. Well Sir, another laurus nobilis added to your Centurion Badge. Well deserved!!2 points
-
Thanks @Chemi and DO team for all of your work and great recommendations! Very excited to join the ranks2 points
-
Of course. Once purchased, you will have access to the archive and the updates will be applied when they are done. You can download them any time.2 points
-
Thank you Sir Cheers Justin, was always on the to do list, one day I'll finally finish that list1 point
-
Very cool, Glen. I saw the 85421 ID (instead of your avatar) on Tapatalk and had to do a double take since I figured you had already maxed out all your kits at L3. Lookin good as always! Sent from my iPhone using Tapatalk1 point
-
Thank you Glen! I think I will leave off the screws for now and just do those that you mentioned need to be on there. M1 point
-
Nice, Q! Best of luck - I'd been wondering when we'd see that HWT go up to L3. You're a legend!1 point
-
Hi Glen. Thank you for your super fast Centurion submission !! I'll be with you so soon!!1 point
-
I appreciate the feedback. Wasn't sure if I was ready to move to preapproval yet. So I guess here we go.1 point
-
Hi Glen, and thank you for your EIB application! CRL and EIB Application Requirements: All required photos have been submitted, and on behalf of the entire D.O. staff we are pleased to welcome you to the rank of Expert Infantry. Congratulations! Other-Armor Fit/Assembly; In this area we review observations made by your fellow troopers and the DO team. Some observations may lead to suggestions to improve the overall look of your armour. Note that we consider both text (CRL) and pictures (screen caps/reference images) when reviewing submissions. Centurion Requirements; In this section we prepare you for Centurion. Because Centurion photos show more detail than EIB, items pertaining to Centurion might be seen there and not here and additional photos may be required. We try to point out all that we can from what we see, but the final accuracy is the responsibility of the trooper. As usually sir, you did a fantastic job on that HWT . Once again , Welcome to EIB ranks Trooper, Well done!!1 point
-
Other than the excessive wrinkling on the back drop , incredible job as usual, brother!1 point
-
Elastic straps should really meet the ends of the shoulder bell, your velcro may not be strong enough to hold them in that position when moving arms, just something to check1 point
-
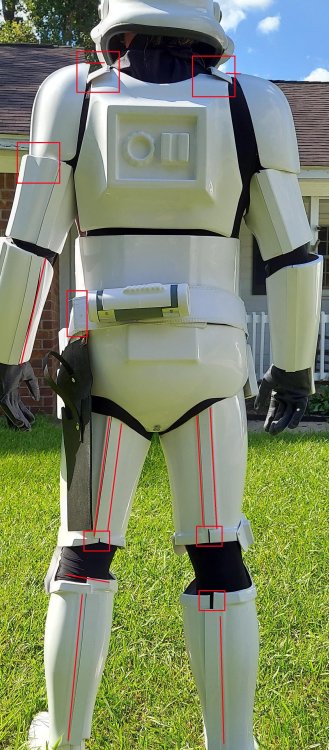
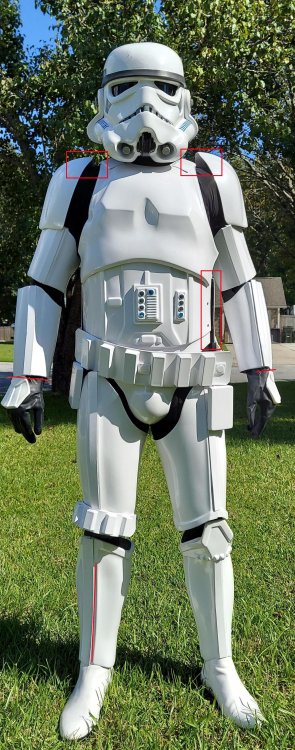
Nice work trooper, we do have a pre approval area for more feed back https://www.whitearmor.net/forum/forum/193-request-tk-pre-approval/ 1-My chest plate keeps wanting to slide behind my ab plate. Any suggestions to fix this? Tighter strapping / double elastic, or even extra straps. 2-Knee plate keeps wanting to go up and under my thigh plate. I get the sense I need to raise both my calves about an inch and that should be solved. Any suggestions on how to implement that? Add foam behind the sniper plate, generally helps, you can also add some foam on the inside rear of the thigh to help bring the thigh backwards at the front 3-I need to attach my belt to the front of the armor a bit more securely, but I have a plan in mind for that. Make sure you have curved your belt, helps to take some stress off, 3 snaps are normally tight enough 4-Popped the seam on my left forearm getting my hand through while wearing my glove with the flexible hand cover. Would it be possible/easier to put the glove on after the forearm? Or do I just need to work the angle a bit better Normally I put the gloves on after the forearms are on, hopefully you roughed both the forearm and coverstrip with some coarse sandpaper before applying glue, helps give something to grip too Watch the closure of your shins, there shouldn't be gaps at the top ridges and alignment. You can also use some ABS paste to fill the lower thigh ridge gaps Position of detonator, not centered. Shoulder straps not sitting center to each side of the backplate. Left bicep not under shoulder Shin coverstrips do not cover all the area before ridges Ideally should be not gap between the backplate and kidney Bit hard to tell if your rivets in the thigh ammo strip have been painted? Same with side rivets, no paint. Alignment of ab to kidney at the top You may also want to trim the length of the belt, it's almost touching your holster straps Should only be 2 connectors for STUNT belt not 4 (HERO), also gap to belt Shoulder bells are sitting high over your shoulders? Bell is pushing up your left, not sure what is going on with the right, does look high do you have straps attached to shoulder straps? Forearms touching handplates, move your biceps and forearms upwards to give some gap Vocoder black paint not very defined No paint on gums Frown is painted gray and does not leave the teeth area. You may also want to check the position of your shoulder straps, appear at different positions but may be the photo/lean You could also add some ABS stips behind your ab/kidney to stop the sides pushing outwards. Glue them to the kidney and they will be forced to stay behind the ab plate.

 1 point
 -
Congratulations trooper and welcome to the EI ranks1 point
-
Hi folks, I’ve reworked the weathering a little and added the white lettering to the M38 scope. With that in mind, I just HAD to take some new, swanky photos and share them with you all. For anyone that wants to learn a little more about the processes involved, and to see more photos of the finished blaster, here’s a new video: Thanks for stopping by. Any questions, don’t hesitate to ask. :-) Dan1 point
-
There have been some that even using the double snaps and elastic have added all the screws and brackets so it appears screen original from the outside, I don't I prefer not to add screws as you do run a risk of cracking across the screw holes, if you are going to add screws in these lips of the armor it is good to use a strip of ABS behind for extra strength. You can use any method of strapping on the inside, just remember from the outside you want to have the 6 rivets ab/kidney, the "Han" snap upper right corner of the Ab, the two butt plate snaps and the single rivet bottom of the cod1 point