Leaderboard


Popular Content
Showing content with the highest reputation on 07/31/2018 in Posts
-
Weathering of everything but the helmet and soft parts is done. I also removed the paint run line from the helmet and redid it with a better colour. I also added the cheek crack and some random spots of HDPE green to simulate paint chips. Of course I won’t have as many chips as the non-screen capture reference pics since they are way after the fact, but they do give ideas as to where the paint may have chipped off. Overall the weathering is stronger than I planned, much stronger, but I’m generally happy with it. Sent from my iPhone using Tapatalk4 points
-
Cover strips with E6000 Made snaps for the posterior, used plastic and spaced it so that the metal does not touch the outside plastic Doubled up the connections3 points
-
Behold! The Witch-King of Angmar!2 points
-
Finished building my Belts of the First Order belt today. Just needed some more CA glue to help. I forgot to take better documentation pictures as I was so excited to get another thing done, but what I did was I used some strips of industrial strength velcro, punched a 5mm hole in the center of them. I then pushed the female end of the Chicago screws through these holes. I had removed the plastic adhesive cover and then put some CA glue on the adhesive as well. After that I attached those to the two front boxes and let sit to cure. For the side boxes though I did take some pictures. So I punched two 5mm holes in the nylon strips provided and pulled the elastic string through. (As indicated in the instructions) I then used CA glue to attach these to the the back of the boxes as well. As you can see in the first picture I attached the side boxes lower than the front boxes (the picture doesn't show it as nicely, but they are supposed to be a little lower on the belt) And I tested the fit and look with the cod and butt plate alone: Above: you can see the side ammo packs sit lower.2 points
-
Yea I wasn’t sure if the lines are raised or flat. I don’t have any 3d print experience so I’m pretty much clueless to it all. Sent from my iPhone using Tapatalk2 points
-
http://501st.com/members/displaymemberdetails.php?userID=28607 I started my Jimmiroquai Rogue One TK on April 2nd and was approved on July 22nd. I got this kit to celebrate my 50th birthday. This kit is very different from OT TKs in many ways but perhaps the single largest difference (from a construction perspective) is that it is made of flexible fiberglass rather than HIPS. It must be painted and most of the problems I have run into have been centered on paint more than any other aspect. I have been told that my build thread here in FISD is pretty extensive and comprehensive so I will not rehash all the good and bad things that came from the build. I will simply provide a link to the thread and anyone wanting to read through it can do so. https://www.whitearmor.net/forum/topic/44463-11b30b4’s-rotk-build/ I chose the Rogue One TK because of the detail and I loved Rogue One. This is not my first costume. I have been an active member of the Mandalorian Mercs since January 2018 and have been told that my Mando build was equally extensive. So now I will be seeking EIB and Centurion for my ROTK. I am very excited to be an official member of the 501st and I have been blown away with the support of all the members who helped me along the way. I would like to thank the following members for all their help and assistance: 6306 Thumpy~ Support and recommendations on FISD 42114 Bulldog44 Support and recommendations on FISD and making an awesome scope. 3276 zv288bot Support and recommendations on FISD and in GA Garrison ????? LTM Support and recommendations on FISD and in GA Garrison ????? sskunky Support and recommendations on FISD ????? Zeddy Support and recommendations on FISD ????? GilFran007 Support and recommendations on FISD 10911 themaninthesuitcase Support and recommendations on FISD 72822 Dragon_a Support and recommendations on FISD ????? cbrant Support and recommendations on FISD ????? THMAustin Support and recommendations on FISD 8867 sandtrooper Support and recommendations on FISD 76253 TKSnake Support and recommendations on FISD 55550 Ripper_L Support and recommendations on FISD ????? mikebrierly Support and recommendations on FISD ????? Zsherman Support and recommendations on FISD And a very special thanks to the following members for their selfless contributions and most constructive assistance, without your input, I would not have been able to complete this kit. 8198 Ramblin Trooper For all his assistance and hosting Armor Parties 1183 Lonewolf For all his assistance and hosting Armor Parties ????? Big Deal Support and recommendations on FISD 82214 DEVOLVER Support and recommendations on FISD 10116 ukswrath Support and recommendations on FISD 35679 darthcue Support and recommendations on FISD 18545 Azrok (GA Garrison GML) Thanks for approving my kit and your humbling complements.1 point
-
Just got some armor from him about seven weeks ago(18 month wait)results may vary.communication is tricky with him.Sometimes a day,sometimes a month for a response.My advice is to send him Your detailed armor request along with "Deposit ready" and go from there.1 point
-
HAHAHA!!! you have never heard of the TK waddle?!?!? yeah that's gonna happen. you just have to walk with your legs out a bit. Or take the return edge off and make them tighter1 point
-
Looking good Kyle. Though not a deal breaker by any means the center front belt boxes should be closer together. Here's a reference photo1 point
-
Man you’ve got all the answers! Lol Sent from my iPhone using Tapatalk1 point
-
Good Point! I am not sure myself. If they are raised, nothing a little sandpaper can't fix.1 point
-
Yowza...looks ACE!!! :-)1 point
-
Doesn't really matter. The thighs are easy to trim after the fact - especially if you remove the upper return edge (which I recommend). It seems it all fits a little different once you get the strapping in - so some adjustments are going to happen regardless.1 point
-
Oh boy! Oh boy! Oh boy! That’s B E A utiful!!1 point
-
Thanks it’s fun to work on it and it takes longer to make a post about it than the work itself so you’ll be alright1 point
-
Your badge has been added. Congrats!1 point
-
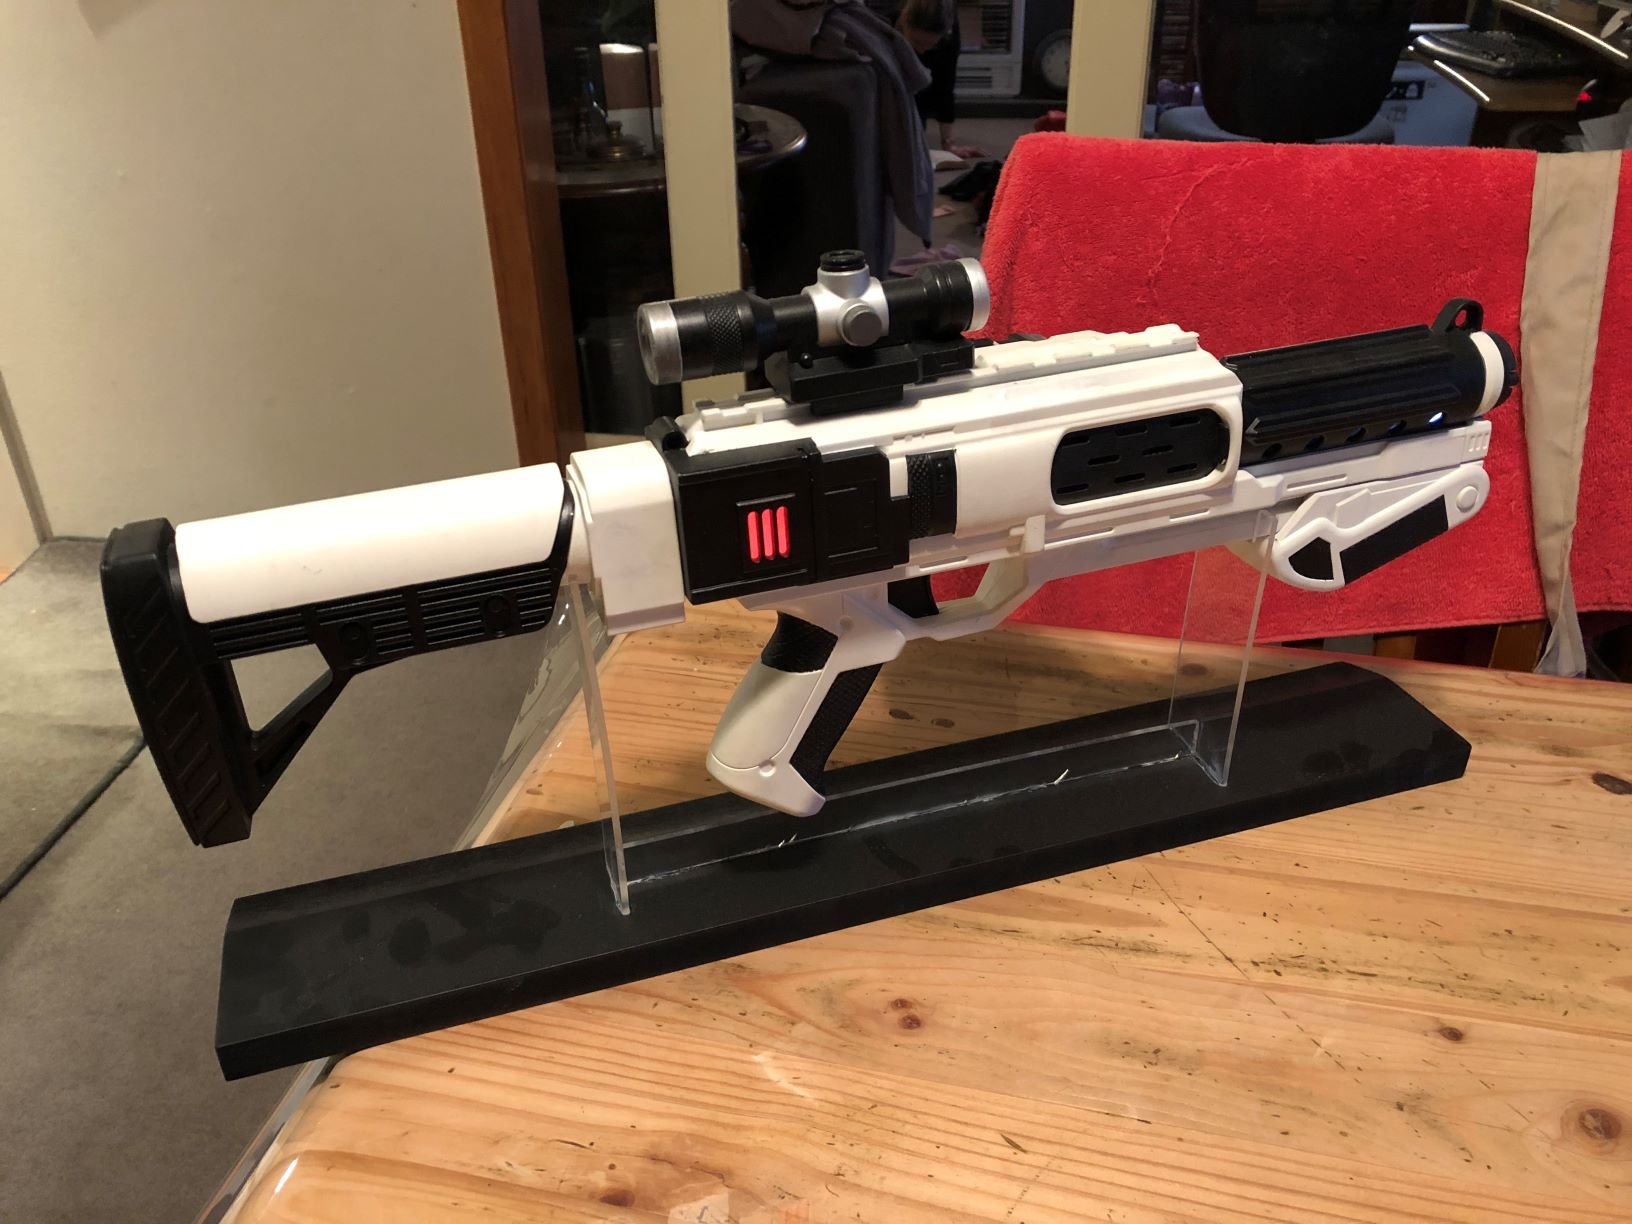
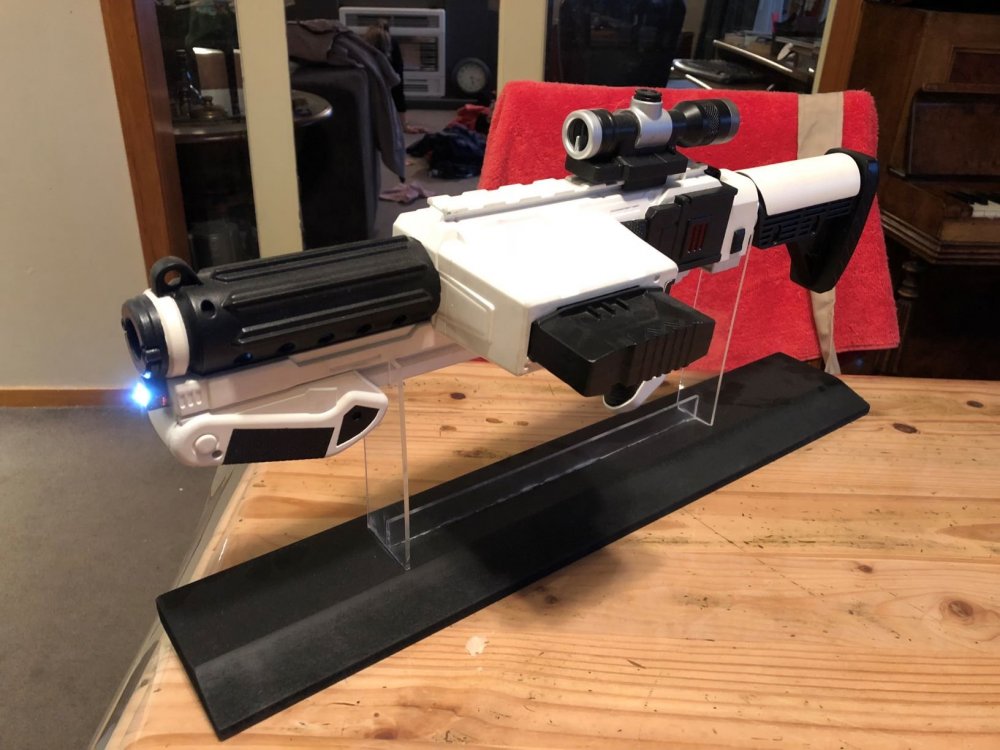
Hi Kenton. I can relate to being unable to resist the toy version. Before I started working on my 3D print version I got the original nerf gun and modded it with the guts of a toy blaster for sounds and barrrel flash, and added a white LED for the front torch and EL panels for the red lights on the sides. They can come up pretty reasonable with a bit of effort...


 1 point
 -
Wow! The armor weathering looks awesome!1 point
-
Tonight I got ambitious and glued both sides of the bicep together at the same time, fortunately it worked out well. I was about to move on to gluing the forearm closed and realized I'm out of taped up magnets, but I can't find my second roll of magnets anywhere to make more. I've been keeping all my supplies together, boxed, and pretty well organized, but those have mysteriously disappeared (and they're not randomly stuck to anything, lol). So I'll be ordering more, then the others will probably show up somewhere... So I moved on to taping & priming the Thermal Detonator: I still had some time left to work tonight, so I did some fine trimming on the torso armor pieces. I left excess where needed for sizing, like on the sides of the kidney and ab, but they're all basically ready to go now. So next I'll work on assembling the left arm pieces and then move on to the legs. Or I may start strapping the torso together before the legs and then do the legs after that to ensure a good fit/trim at the top of the thighs. Haven't decided which way to go yet, input is obviously welcome.1 point
-
darthcue, I was not aware that he made more than one version. If you wanted to do the work, I would think you could mill out the front hole with a dremel and then back it with a thin piece of polystyrene. Another option would be to see if who ever makes the rubber hand armor for OTTKs if they do or could make a set of rogue one hand plates for you.1 point
-
ROTJ is completely different helmet, its basically a reworked ANH so yes it has one side collapsed per original ANH. My AP helmet is basically a sanitized ANH stunt version which many prefer including me, has all the same asymetries minus all the bumps and surface imperfections to better represent the high tech Star Wars universe when seen in person. Mark (AP)1 point
-
Gentleman, it has come to my attention that there are a few issues the level 2 and 3 CRLs. As I am a newly approved ROTK and new to the 501st. I am unclear where to go expect here to have these issues address and evaluated. I am interested in seeking EIB and Centurion however all of my armor has been assembled using the overlap method rather than the butt-joint and cover strip method. This is the only way to construct this armor since the cover strips are molded into the armor. Currently only Jimmiroquai is producing the ROTK kit and the overlap method used in the construction of his armor. It is designed to give the appearance of the butt-joint and cover strip but it is clearly the overlap method. I do not know about his other kits such as the death and shore troopers but the TK kit is designed this way. The two areas of concern are: Biceps: -Biceps must be constructed using the butt joint and cover strip method. Overlap construction is not allowed. Forearms: -Forearms must be constructed using the butt joint and cover strip method. Overlap construction is not allowed. Please advise me on how to have these issues address or removed from the CRLs.1 point
-
Looks awesome!! I have nothing to add because I am still at the "it's a stormtrooper! yippee!!" stage, but all the above advice seems legit. Hope you get your TK ID soon!1 point