
All Activity
- Today
-
You are officially further ahead on HWT than I am on mine. Still need to acquire 3 pouches and Tupperware boxes. Best of luck with your build.
-
Looks like you are off to a great start!
-
Sounds like it's worth trying, but I agree you might want to start with a few smaller pieces. Then do a bit of a torture test to see what issues you will face in use.
-
 Hello there! Im TK17229 from the Swedish Garrison please give me 501 st access and detachment access. Best regards https://www.501st.com/members/displaymember.php?userID=43277&costumeID=124
 -
My pauldrons all hang in my closet on hangers. After a while, they get a really nice fold in them that looks natural when worn. Doesn't poke up in the back either. Good luck with your HWT journey!!! I love wearing mine. The pack isn't light but it looks so dang awesome.
-

TK ANH Stunt by CloseTheBlastDoor
dblcross replied to CloseTheBlastDoor's topic in ANH Build Threads
I didn't use an ABS support strip on my rivets if it helps you make a decision. But I did use washers. -
Off to a good start, we'll after the bungle that is
-
After the day I've had today with a driver pulling over into the next lane right in front of me for the second time in my work vehicle I thought this post might cheer me up. I bought a set of ammo pouches from @justjoseph63 a while ago in hopes of building a HWT. . I must say, these are lovely. With a troop coming up this weekend I decided to start this journey and start with the TK Captian. So I ordered an orange pauldron from Trooperbay, bound it with twine and sprayed it with water to help it naturally lay down over my shoulders. I'm super excited to sport this tomorrow! Can you believe my wife asked me if I was doing this because the other TK I troop with had a white pauldron? I've wanted to be this guy forever! The styrofoam I laid it over was a store-bought item that is used to roll under your back when you're lying on the ground. The next thing I did was add snaps with leather thread and velcro to the pauldron and back side of the ammo packs. I hope this goes well tomorrow. This is the reason I used Chicago screws on my drop boxes and did not glue them together . I feel honored that I get to add these to my belt because they have been used. I'll add pictures tomorrow after the troop. Don't tell my wife, but next up is the backpack!
-
SublimeBW's Armor Master's (AM) ANH Stunt Kit - Build Thread
SublimeBW replied to SublimeBW's topic in ANH Build Threads
This is fantastic feedback and will get me over the last hump. Greatly appreciated. -

TK ANH Stunt by CloseTheBlastDoor
gmrhodes13 replied to CloseTheBlastDoor's topic in ANH Build Threads
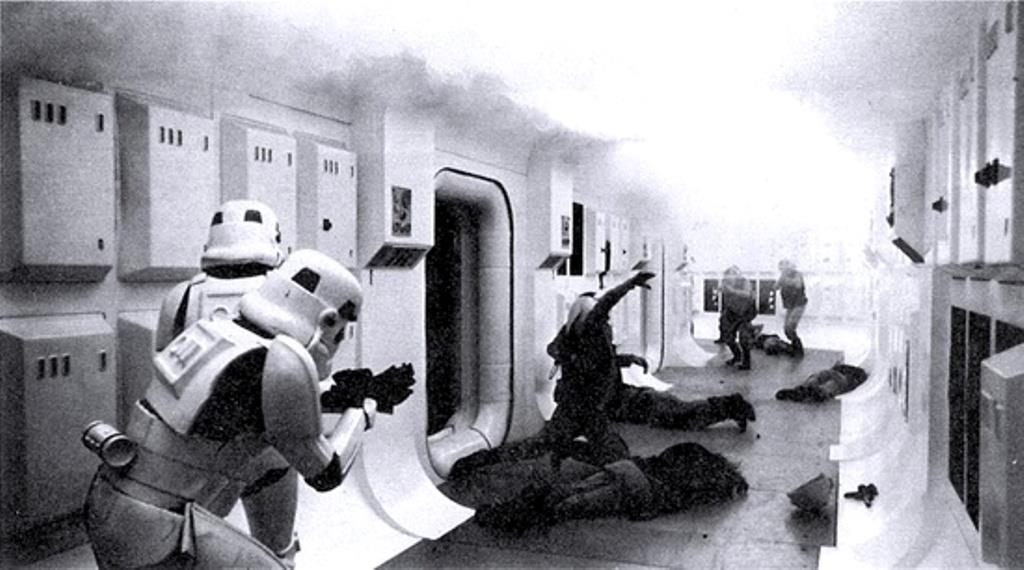
Screen suit reference and placement -
Chests definitely twists and can rip. Good example of the thighs and chest bending
-
TK ANH Stunt by CloseTheBlastDoor
gmrhodes13 replied to CloseTheBlastDoor's topic in ANH Build Threads
If not you can still use a washer and don't use the ABS strip, it's only added support, which again is overkill for some. -
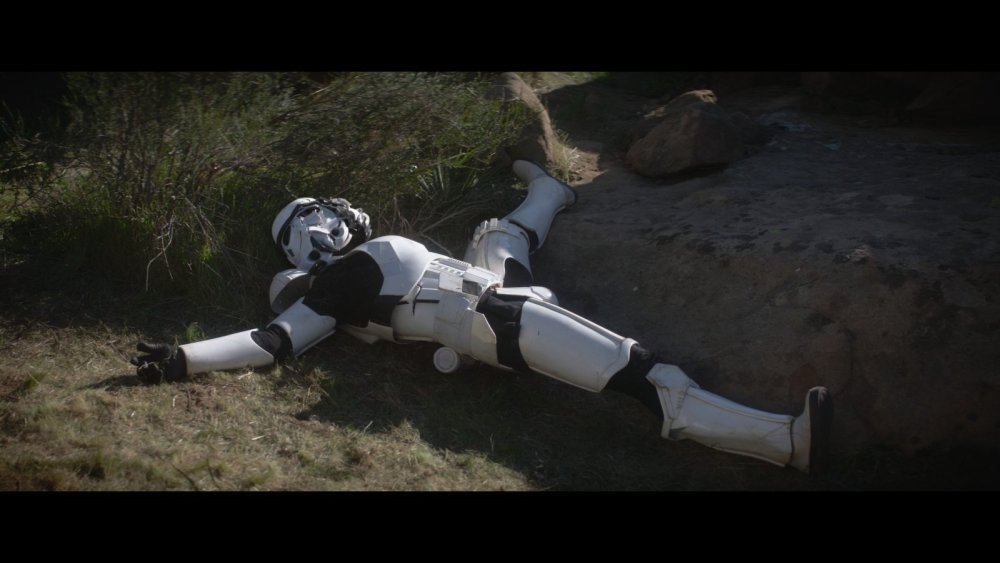
If this was real life the events that Luke Skywalker experiences in Star Wars a New Hope would leave him traumatized. Thankfully it just an action-adventure movie where heroes rarely have to worry about things like that.
-
Awesome. I think the main areas of concern for flex on a given R1TK/FOTK/Remnant would be the thighs, shins, and cod. This is why leather pieces would be great substitutes (even allow sitting) If a chest piece was made, that'd be even better. Will report back with pics once I get a good test piece
-

TK ANH Stunt by CloseTheBlastDoor
CloseTheBlastDoor replied to CloseTheBlastDoor's topic in ANH Build Threads
Thanks! I have the 9-pack of as-specified split rivets from TrooperBay. I just did a test fit, and I don't have really anything to work with: Hopefully I can find some longer ones locally! -
TK ANH Stunt by CloseTheBlastDoor
gmrhodes13 replied to CloseTheBlastDoor's topic in ANH Build Threads
You can get different rivet post lengths, I don't worry about a washer as the ABS does that job. I do however once finished I apply some silicon on the exposed rivet split post just so they don't catch on my undersuit or me, might be overkill to some but works for me. -
TK ANH Stunt by CloseTheBlastDoor
CloseTheBlastDoor replied to CloseTheBlastDoor's topic in ANH Build Threads
Got it, I'll leave the kidney plate as-is shape-wise. I'm an electrical engineer by trade, so I've got an old soldering iron that I've been using for the snap holes. It indeed works well! But it stinks to high heaven! The stackup of armor + 2x elastic + ABS is pretty thick for the rivet, it seems. But the ABS is in place of the washer, right? I'll give that a try. - Yesterday
-
It is certainly a curious idea. I'm intrigued. And would 2nd Glen's comment. Maybe try making one if the smaller pieces as a test and see what it looks like. Maybe hand guards or the cod pieces. Looking forward to what you come up with. Sent from my SM-N981U1 using Tapatalk
-
That would be a question for your GML as he/she/they/them look after base legion approval, for higher levels the @Deployment Officer Team may chime in, but it would be hard to comment on something that they can't see, a test piece may be a good option to move forward. I guess it all comes down to the finish and how much work would go into making these pieces. Problem I find with painting anything that may have some flex is cracking of the paint, I also wonder how it would look if damaged, scratched or chipped. Love to see a test piece.
-
Like the title says... I've been upgrading my R1TK armor, and by trade I am a leather holster worker. I have to do the wet moulding, dying, all of it. This all means that I've once or twice looked at the flexible urethane TK's of the new films/shows, and thought, "surely hardened leather would work as a budget flexible substitute for the expensive urethane?" So before I go and make some parts, resubmit my armor for approval and hope no one notices, I come here for y'all's two cents: Could there be a future where if the leather was prepared right, painted right, and accurate, that it could be approvable? Especially considering there are ways to remove the leather surface grain, and painting a consistent glossy surface (think techniques painters use on rubber parts of Iron Man cosplays). It wouldn't be anything like foam cosplays, since there's less room for precise details.
-
 Hammy262 joined the community
 -

[12]- TK-98752 Troop Log
stormztrooper1 replied to stormztrooper1's topic in Field Training Exercises
12. Star Wars Day at King Middle School- Los Angeles, CA- Friday 05/17/2024 https://imgur.com/gallery/k7bnpBa -
Galactic greetings Gary! The Empire needs more TKs so glad to see you will be building one. Lots of resources out to help you along, especially your local squad. Be sure to seek help, troopers helping troopers is what we're about!
-
Approval times can vary depending on your GML but also the legion staff as they finish up the paperwork, hopefully you will hear some good news soon
-
SublimeBW's Armor Master's (AM) ANH Stunt Kit - Build Thread
gmrhodes13 replied to SublimeBW's topic in ANH Build Threads
Measurements are just a guide as with some many different makers these days there is no one measurement that fits all. For higher level approval: The top of the ABS belt shall sit at or just above the bottom of the central and vertical ab button panels. A slight overlap is suggested, but not required. Note the belt can angle upwards on the sides when worn, this is due to the curve in the back plate, makes the belt ride upwards which can affect the height of the front of the belt, so check positioning once worn. Also align your drop boxes with the ends of the plastic belt, not the corners as some do: Drop boxes are vertically aligned with the end of the ammo belt with minimal gap between belt and box. Holser placement here -
TK ANH Stunt by CloseTheBlastDoor
gmrhodes13 replied to CloseTheBlastDoor's topic in ANH Build Threads
I would not attempt heating armor without a lot of practice on other plastic, you can go from pliable to molten mess in the blink of an eye, you should be fine with approval, your belt will help to hold in and also cover some of the area. Like your picture but glue between the elastic and ABS strip, try to use a soldering iron to make the holes in the elastic as it leaves a nice edge around the post and prevents pulling, OR if no soldering iron heat a screwdriver or similar tool on the stove, it will pay in the long run. Also if you make the distance between the holes 5mm shorter than is needed it will give a bit of tension once worm.


-
Who's Online (See full list)
-
Albums
-
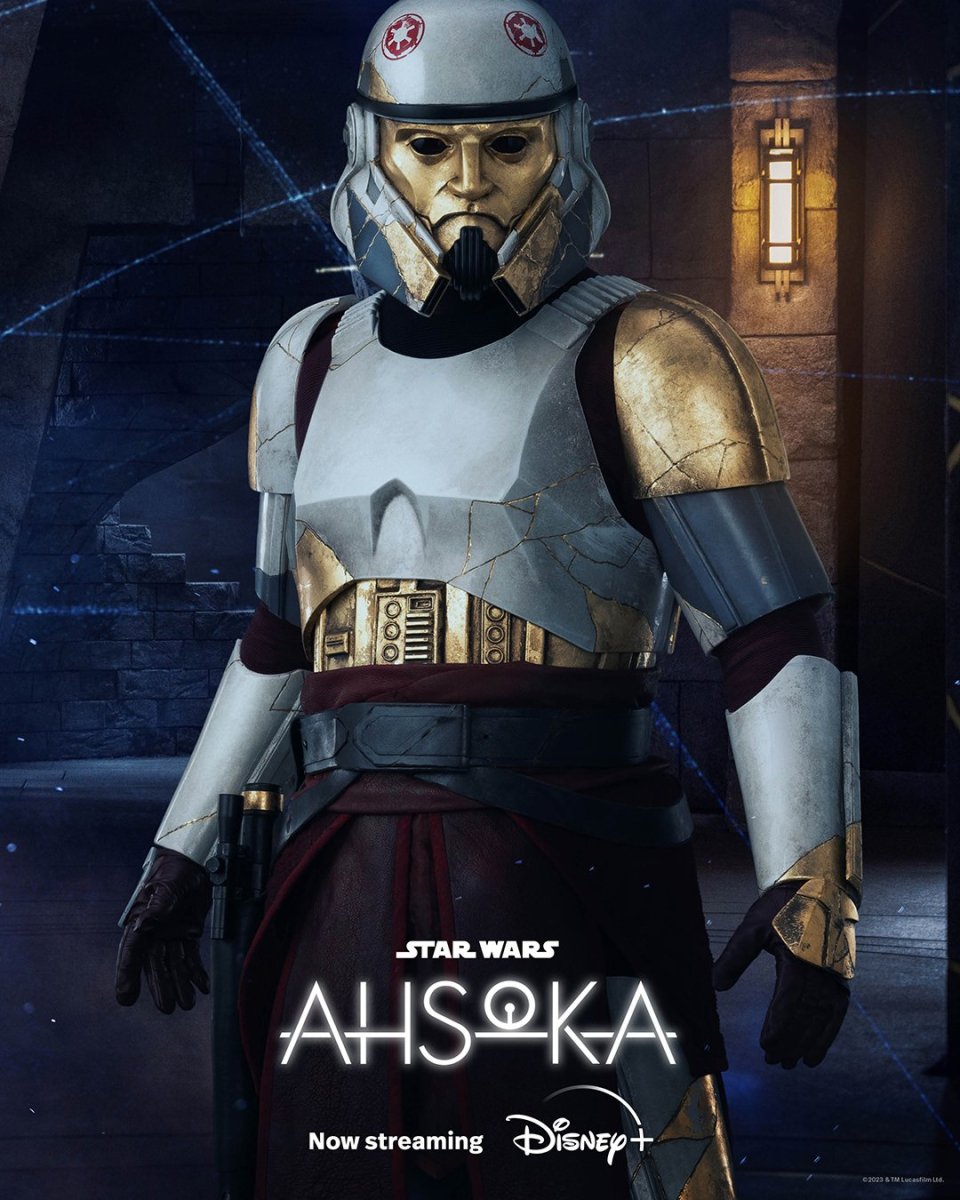
Captain Enoch (Ahsoka)
- By themaninthesuitcase,
- 0
- 0
- 2
-
Promo pictures & others
- By Locitus,
- 0
- 35
-
.jpg.da3b75dcced28b94590e16b06907ce49.jpg.d3465bdfa251d57f1217de22fbf5842f.jpg)
Publicity Blaster - Nambu Type 99 LMG
- By gmrhodes13,
- 0
- 0
- 4
-

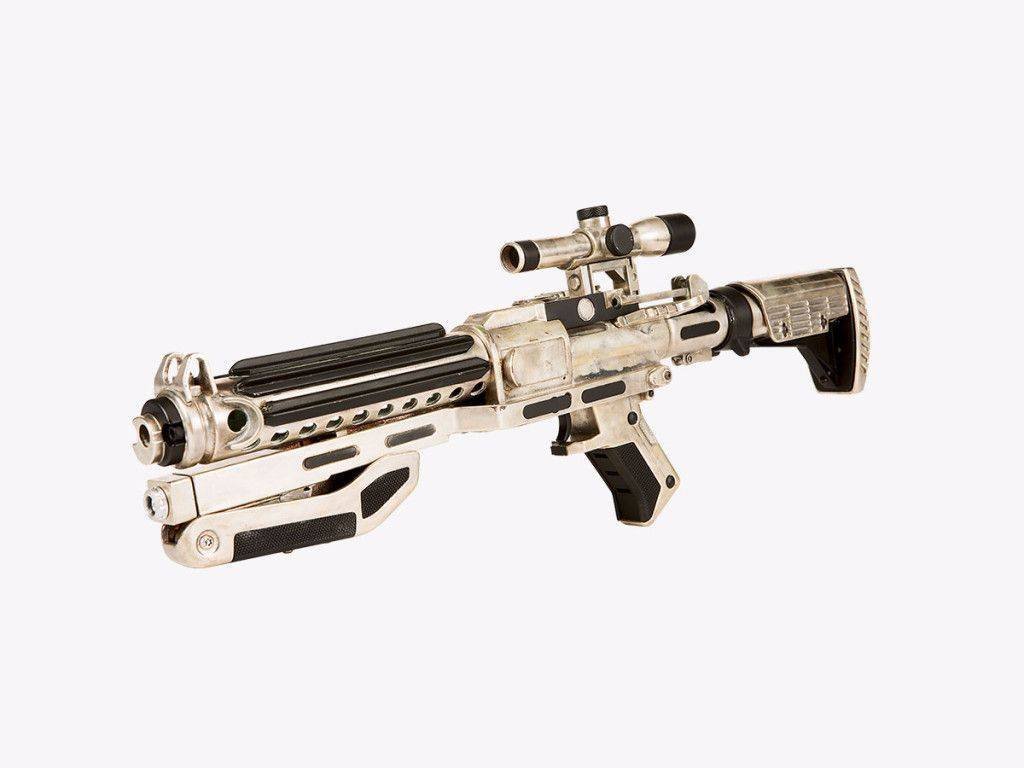
TFA F-11D Blasters
- By gmrhodes13,
- 0
- 0
- 13
-
Captain Phasma TFA References
- By gmrhodes13,
- 0
- 0
- 59
-