
All Activity
- Past hour
-
So, kama is now really the last part thats missing. Should be done by the end of june. Then Enoch is 100% complete. By the time im looking for a sound modul system to try to match his voice, since he sounds just badass
- Today
-
Meanwhile into the Post Office near you.
-
I've made a start on my lid build. Following along with RWA Ross's very helpful youtube videos. Got the eyes and frown grilles trimmed out, brow band in place, and positioning the front and back pieces with magnets in preparation to drill and rivet the sides.
-

TK-91213 Requesting ANH Stunt EIB Status (WTF) (1075)
Sithping replied to JBar's topic in Request Expert Infantry Status
Congratulations Trooper! -

TK-707 reporting for duty
giskard8 replied to streetjudge79's topic in Newly Approved Members - Sound Off!
Welcome to FISD! -
Welcome to FISD Trooper.
-
 Troy Big Ape Woodman joined the community
 -

TK-91213 Requesting ANH Stunt EIB Status (WTF) (1075)
revlimiter replied to JBar's topic in Request Expert Infantry Status
Congratulations John!!! Well done!!! -
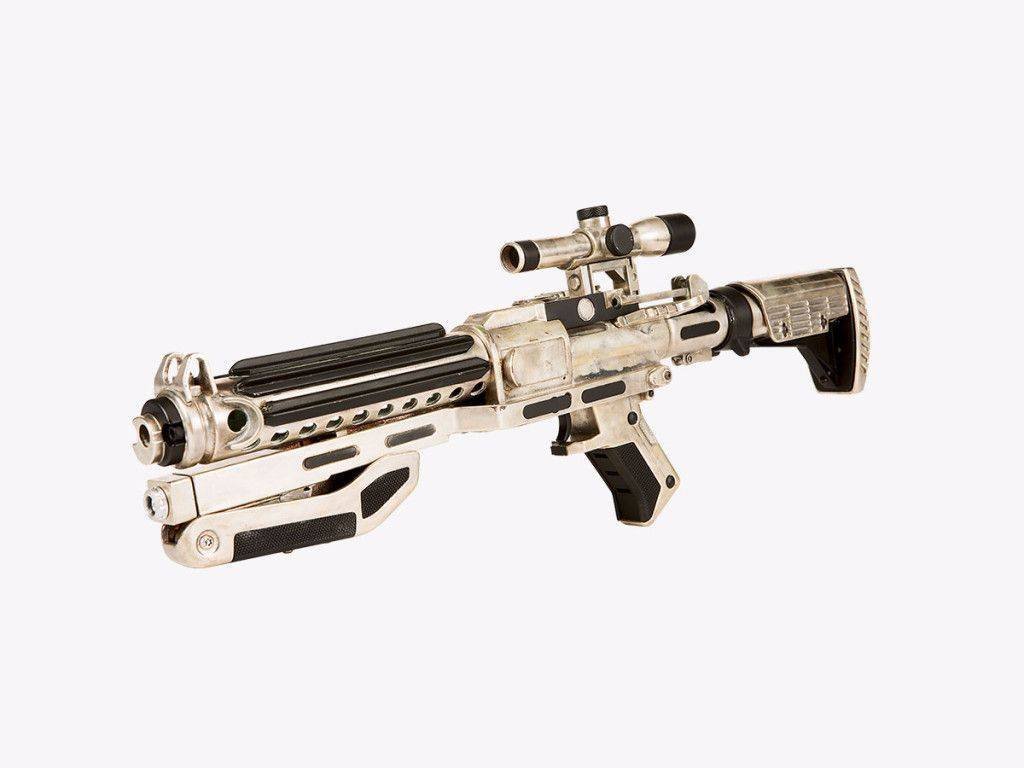
That one looks really good. Their Hero version should be coming shortly. Metal rail, hollow folding stalk, and open front sight box.
-
 njkgb1134 joined the community
 - Yesterday
-

Themaninthesuitcase SE-44C build
themaninthesuitcase replied to themaninthesuitcase's topic in Weapons of the First Order
Custom jigs is one of the best things about owning a 3D printer. Especially when you need to drill holes accurately or repeatedly. -

TK ANH Stunt by CloseTheBlastDoor
gmrhodes13 replied to CloseTheBlastDoor's topic in ANH Build Threads
It looks as if the WTF backplate sits up a little higher than the front, recent EIB approval And here, not as smooth a transition than other makes. -

Themaninthesuitcase SE-44C build
Sly11 replied to themaninthesuitcase's topic in Weapons of the First Order
Love the 3D jig idea, and the blaster looks great. -
Added Praetorian Blasters - Rubber Etsy: https://www.etsy.com/uk/listing/1742840523/e-11-blaster-classic-version-rubber
-
Themaninthesuitcase SE-44C build
gmrhodes13 replied to themaninthesuitcase's topic in Weapons of the First Order
A nice upgrade -
Themaninthesuitcase SE-44C build
themaninthesuitcase replied to themaninthesuitcase's topic in Weapons of the First Order
Update time. Whilst I finished about a year ago I never added the mount plate as I had a plan. Well I have actually completed that plan! Shocking I know. I'll start at the end and show how I got there, please excuse the wrong screws I need to get some M5 Security Torx as I don't apparently have any. The plate is actually 2 plates, or more accurately PCBs. Yes PCBs for making electronics. Aluminium PCBs are now a thing, and come in the perfect thickness (1mm in this case) and most importantly are pretty cheap. These cost around £9 plus shipping for enough to make 5. They are designed in KiCad to fit the horseman TFA blaster, I assume the TLJ is the same but I've not made one yet to confirm. They arrive as 2 plates, a front and a rear. The front side of each is a brushed aluminium, the back is a white PCB solder mask, with black silkscreen and hidden message in the copper layer (for the first order in besh). Also a logo because why not. I then use a 3D printed jig to CA glue them together to make the final plate. This is a little fiddly but only takes a few minutes, and a drill to drive the screws speeds things up. The result is pretty stiff, the individual parts less so. Next is mounting them. Problem is the horseman files have no pre located holes for the screws, which I pre added to the plates to fit the @R2Dan holster. The solution to this is more 3d printing. I created a jig that locates where the plate fits and allows me to drill the holes perfectly. Step one is to secure the jig. I use the "super glue and masking tape trick". Essentially you are about to make some low tack double sided tape. Apply a strip of low tack masking tape to the blaster And to the bottom of the jig and trim the excess Apply a few dabs of CA glue to the bottom of the jig and hold in place until secure. You can use accelerator if that's your thing, I didn't as I want to worry what the spray might do to the paint. We're using an M5 bolt, so the correct size hole is 4mm, well 4.2mm but close enough for what we are doing. Ensure you mark the depth so you don't get carried away. I allowed for a depth of around 12mm which should give enough meat for a secure mount. Drilling out holes in 3D prints cuts into the infill. This now leaves you with a really terrible screw interface, and it will probably rip right out. So to make this significantly stronger we're going to fill the hole we just drilled with 5 minute epoxy and leave it overnight. Apply some more masking tape, trim the holes and fill with epoxy. You might want a tooth pick to help poke it in and let the air out. It will need more then you expected as it spreads out into the print and fills the cavities in the infill. Try not to get any on the blaster, if you did like me: it's now weathering. Though in all seriousness no one will notice, as it cures very clear but just try be tidy as you will know it's there and it will haunt you. Once cured, setup you drilling jig and do it all again. You now have 2 4mm holes in epoxy not 3D printed infill. Hooray. Now if you're bored, glue on the pate screw in the bolts and call it good. If you're extra like me, continue. We have a 4mm hole, not an M5 hole and that will not do. So now print a 2nd jig, identical to the first, but with a 5mm hole in it. Mount this and use an M5 tap to cut a perfect M5 thread. The epoxy cuts well, especially if you leave it a few days to fully cure whilst the tap arrives from eBay. You don't need anything fancy, £4.88 on eBay plus a tap handle if you haven't got one. We're not cutting steel here. Do not be tempted to use a drill to drive the tap. Anger leads to hate. Hate leads to suffering... Preferably don't drop the tap and scratch your paint, allegedly. Use some white paint to touch up the alleged paint chip. For extra points apply a light countersink to the hole. Though you probably should do this before tapping. I am not a machinist, I won't judge. Glue the plate on and screw in the screws. And you are done! How accurate is this method? Perfectly accurate... and they are perfectly straight too. -
 I can confirm that Justin helped me with my Anovos TK, made sure everything looked good and took my submission photos for Basic approval 👍.
 -
Basic confirmed for @stormztrooper1 +1 and @Crow2xs +1 New total: 15
-
 I can confirm that Justin helped me with my Anovos ANH-S TK and took my submission photos for the Anovos ANH-S TK - Basic Approval.
 -
 Nastydude joined the community
 -
 I certify that you have helped me with my TK a few times and helped me get approved after they sent it back with stuff to fix. He's a gentlemen and a scholar and he's Mr. TK
 -

TK-91213 Requesting ANH Stunt EIB Status (WTF) (1075)
JBar replied to JBar's topic in Request Expert Infantry Status
Centurion is on the way for the ECG! Yeah and thanks for the help along the way -

TK-91213 Requesting ANH Stunt EIB Status (WTF) (1075)
starsaber25 replied to JBar's topic in Request Expert Infantry Status
Congratulations John! You have done an amazing job! Very exciting to bring another EIB trooper to the ECG! -

TK-91213 Requesting ANH Stunt EIB Status (WTF) (1075)
TKSpartan replied to JBar's topic in Request Expert Infantry Status
Congratulations Trooper, welcome to EIB ranks. -

[15] TK-23072 Troop Log (Social Media Consent)
budu1 replied to budu1's topic in Field Training Exercises
Mision 15 05/06/2024 ALCALÁ DE HENARES (MAD) - CPEE PABLO PICASSO -
Painting Black ABS To Match White ABS
gmrhodes13 replied to Dubfunkstar's topic in ANH (Stunt and Hero)
Really depends on your armor, different makers have different shades of white, also different plastics, I've had automotive touch up paint shaded before but it's never perfect and still needs some tweaking and a lot of trial and era Sometimes it's easier painting the whole armor and helmet to get one consistent color, some ROTK and FOTK are painted fully


-
Albums
-
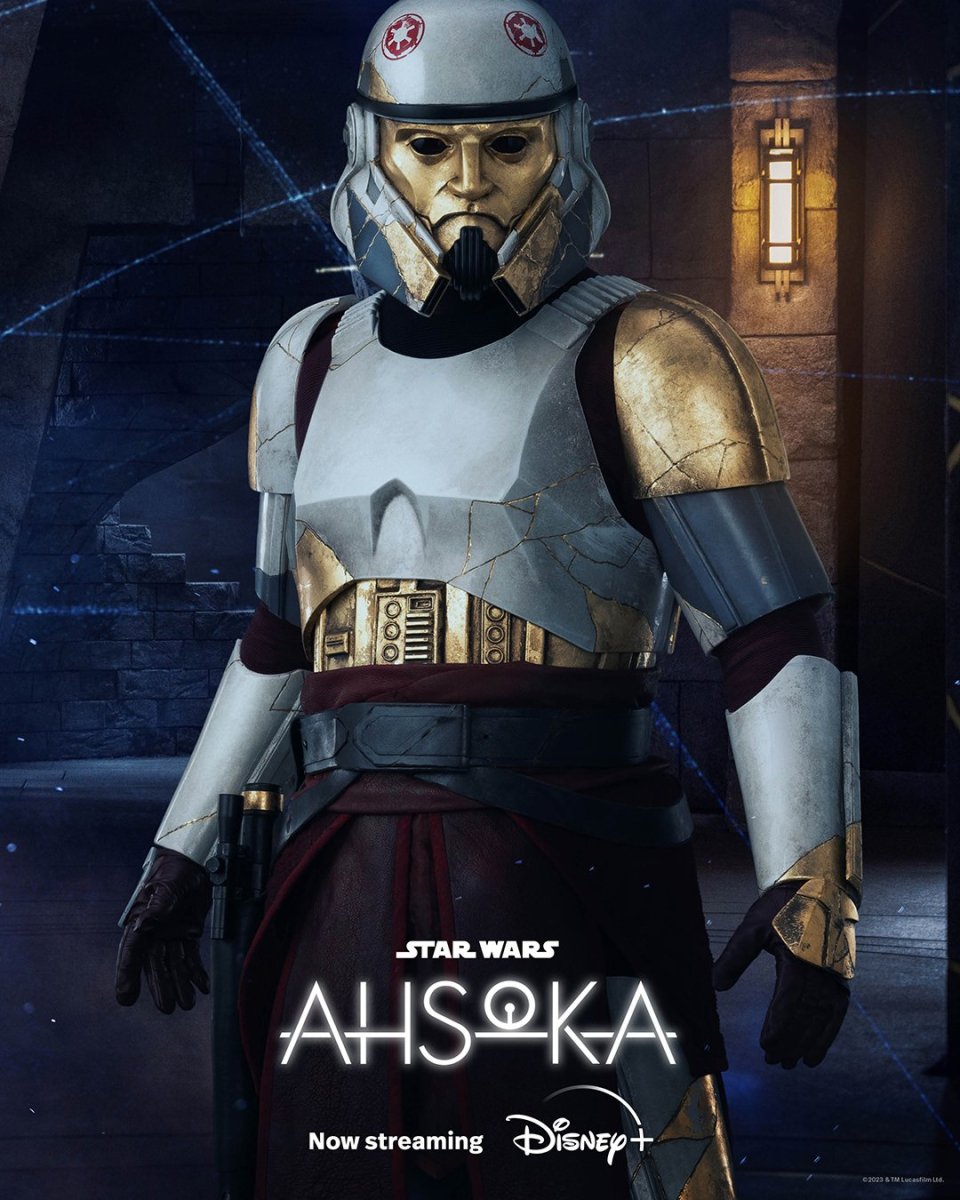
Captain Enoch (Ahsoka)
- By themaninthesuitcase,
- 0
- 0
- 2
-
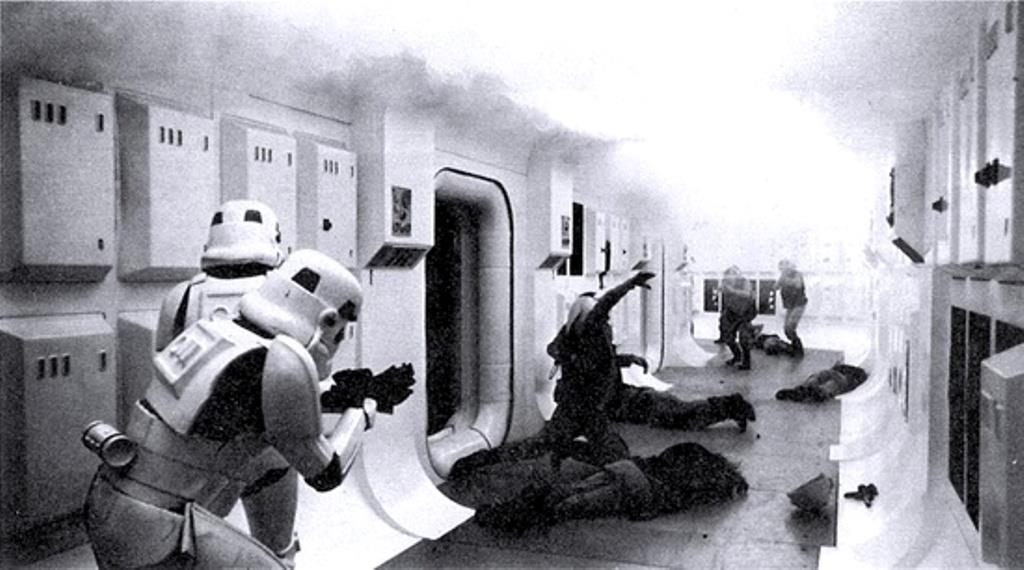
Promo pictures & others
- By Locitus,
- 0
- 35
-
.jpg.da3b75dcced28b94590e16b06907ce49.jpg.d3465bdfa251d57f1217de22fbf5842f.jpg)
Publicity Blaster - Nambu Type 99 LMG
- By gmrhodes13,
- 0
- 0
- 4
-

TFA F-11D Blasters
- By gmrhodes13,
- 0
- 0
- 13
-
Captain Phasma TFA References
- By gmrhodes13,
- 0
- 0
- 59
-