

MaskedVengeance
-
Posts
2,148 -
Joined
-
Last visited
-
Days Won
47
Content Type
Profiles
Forums
Gallery
Articles
Everything posted by MaskedVengeance
-
And not to miss anybody, so congrats to Peter (@4Runner), TK 33348 for becoming EI #968!
-

I come from the planet Maryland
MaskedVengeance replied to DarthOnarged's topic in New Member Introductions
Welcome to FISD, Fred! I too am working on an ATA kit! It looks like you already have much of your armor together, and if you end up getting an ATA helmet, check out Panda’s ATA helmet tutorial below: https://www.whitearmor.net/forum/topic/14806-how-to-assembling-ata-abs-helmet-1/ If you decide to start a build thread, I’ll be excited to follow along with you, and feel free to check out my thread as well! We can journey towards the 501st together! Sent from my iPhone using Tapatalk -
Awesome! There are plenty of ATA resources out there, including a great helmet tutorial by Pandatrooper, which I’m sure you’ve already seen. I’m currently building an ATA kit myself, and look forward to following along with your progress! Sent from my iPhone using Tapatalk
-
Welcome to FISD, Linds! You’re definitely in the right place to build a Stormtrooper, and all of us here are excited to help make your dream a reality! Be sure to check out the “Getting Started” section here on the forum—it has some great info! I’ve also compiled posts I’ve found helpful on my build into a single post in that same section. Let us know how we can help! Sent from my iPhone using Tapatalk
-
Welcome back, Iman! I have a slightly similar story to yours, having browsed through (but not joined) FISD a little over 10 years ago, but only now finally working on my build. TKSpartan provided you with excellent links to sub-forums with great resources, and I'll add my own compilation. This index contains many of the resources that I've found helpful on my journey to the 501st, and perhaps it can be similarly helpful to you! I look forward to following along with your build and crafting our armor at the same time. As others have already said, we're all here to help each other!
-
TK-33348 Requesting ANH Hero EIB Status [968]
MaskedVengeance replied to 4Runner's topic in Request Expert Infantry Status
Congrats Peter! Excellent work! -
JeklynHyde's RS Prop Masters, ANH Stunt Build
MaskedVengeance replied to Jeklynhyde's topic in ANH Build Threads
That, you are correct about. I guess I mostly just see them filled in, but you're definitely correct about both being screen-accurate. I'll assume, then, that the DOs would approve either for higher levels. You may simply want to check with your GML, who might not necessarily be well versed in TK stuff, to see what they'd want to see for basic. -
Painting Using Templates 101
MaskedVengeance replied to justjoseph63's topic in Tutorials, Tips and HOWTOs
Question, Joseph. I've always removed masking tape while the paint was still partially wet when painting the walls in my house, in order to avoid portions of the paint peeling off with the tape. Is this not really a concern when using hobby paints such as Testors? My plan had been to let the paint dry enough so it doesn't run once the mask is removed, but not enough to risk it peeling off with the tape. Thoughts? -
This looks GREAT! It's very kind of you to tackle this with the intention to release the files for free, and I'm sure you'll learn a lot through the exercise! I know I'll be interested in printing it! In case it's of any help, Nico Henderson completed a 3D Rogue One TK helmet earlier this spring, and you can check it out here. But you probably already knew that anyway. Nico is famous for modeling the Shoretrooper helmet that is most (along with Sean Fields' free files) used by Legion ST builders. @mr paul might also be a helpful resource for you, in case you ever have any questions! Keep up the excellent work!
-
Greetings and salutations from Greenville SC
MaskedVengeance replied to Volchier's topic in New Member Introductions
Hi Joseph! Here is the email address listed for Dave on the Getting Started armor thread. I'm sure he is just busy, or perhaps your message got mis-filtered by his social media or email account. [email protected] Hope this helps! -
JeklynHyde's RS Prop Masters, ANH Stunt Build
MaskedVengeance replied to Jeklynhyde's topic in ANH Build Threads
FANTASTIC job on those teeth, keeping paint off the gums! I think the only thing you need to do with them is fill in those gaps at either end. And wow you sure did put some excellent effort and detail into the tube stripes! I don’t think I’m that brave; I’ll probably just purchase the stencils (I currently have decals). Sent from my iPhone using Tapatalk -
Thanks for that link, Dan! I've actually been going through your build video series, and appropriately, Part 3 was next in the queue. I just took a six minute break from work and watched it, and flat sandpaper seems like a great idea. I planned on using that technique on my belt and ammo edges (and possibly for smoothing cover strips) and now I'll definitely need to employ that on my L3 wrists. Your information has been very insightful already, and I'm sure will continue to help me get through my build! Thanks again!
-
Thanks for that tip, Caleb! I've actually already been following along with Jeklyn's thread, and am looking forward to seeing the continuing progress and end product!
-
Glad to see you back at it! I, myself, have had periodic breaks from time to time while I work on my ATA suit. Let's keep at it together!
-
I do believe that Centurion ab cutout diagram is accurate, but somebody correct me if I'm wrong. My understanding is that the notch is not on the shim, or you could interpret it as the entire length of the shim being "notched," or cut off at the bottom edge. As for your calves, my understanding has been that you'd leave the flat area (rather than cutting it off), but perhaps try to contour it to your leg with a hot water bath. Then add a shim, or shims which will be butt-joined with a normal cover strip. Alternately, if you don't need much extra room, you could try to use a slighter wider rear cover strip.
-
Every once in a while I click on my avatar thumbnail on a post, expecting to navigate back to my own profile, and then I get directed to yours instead. Haha. Congrats on your approval! Will you teach your next Star Wars class in full Imperial uniform next time?
-

Lol. I do think my squad will troop my class at least once, and in that case the students will get to see me in full armor. They already think I’m a nerd so I have no idea what this will do for my reputation LOL!!!! And thanks for the avatar... I do think it’s the coolest one on this forum!!!
-
-
TK-33348 Requesting ANH Hero EIB Status [968]
MaskedVengeance replied to 4Runner's topic in Request Expert Infantry Status
Congrats on your approval, and good job going for EIB! Centurion on the horizon, I'm sure, right? -
Eric's mostly 3d Printed HWT Pack Build
MaskedVengeance replied to Eric Ostendorf's topic in HWT Build Threads
I agree that the structure would likely be compromised if printing the actual oil catch can. If I recall correctly, I've seen several builders use that can that Eric linked to on Ebay. Another option would be water or gasoline containers, or storage bins as Eric also mentioned. I did quite a lot of research (documented on my thread) on where to purchase handles for an oil can which I was initially interested in, but I'm not sure what shipping to Australia would look like. As you are, @tarok, I am super pumped about this project! -
MaskedVengeance's HWT Build Thread TK Tangent
MaskedVengeance replied to MaskedVengeance's topic in HWT Build Threads
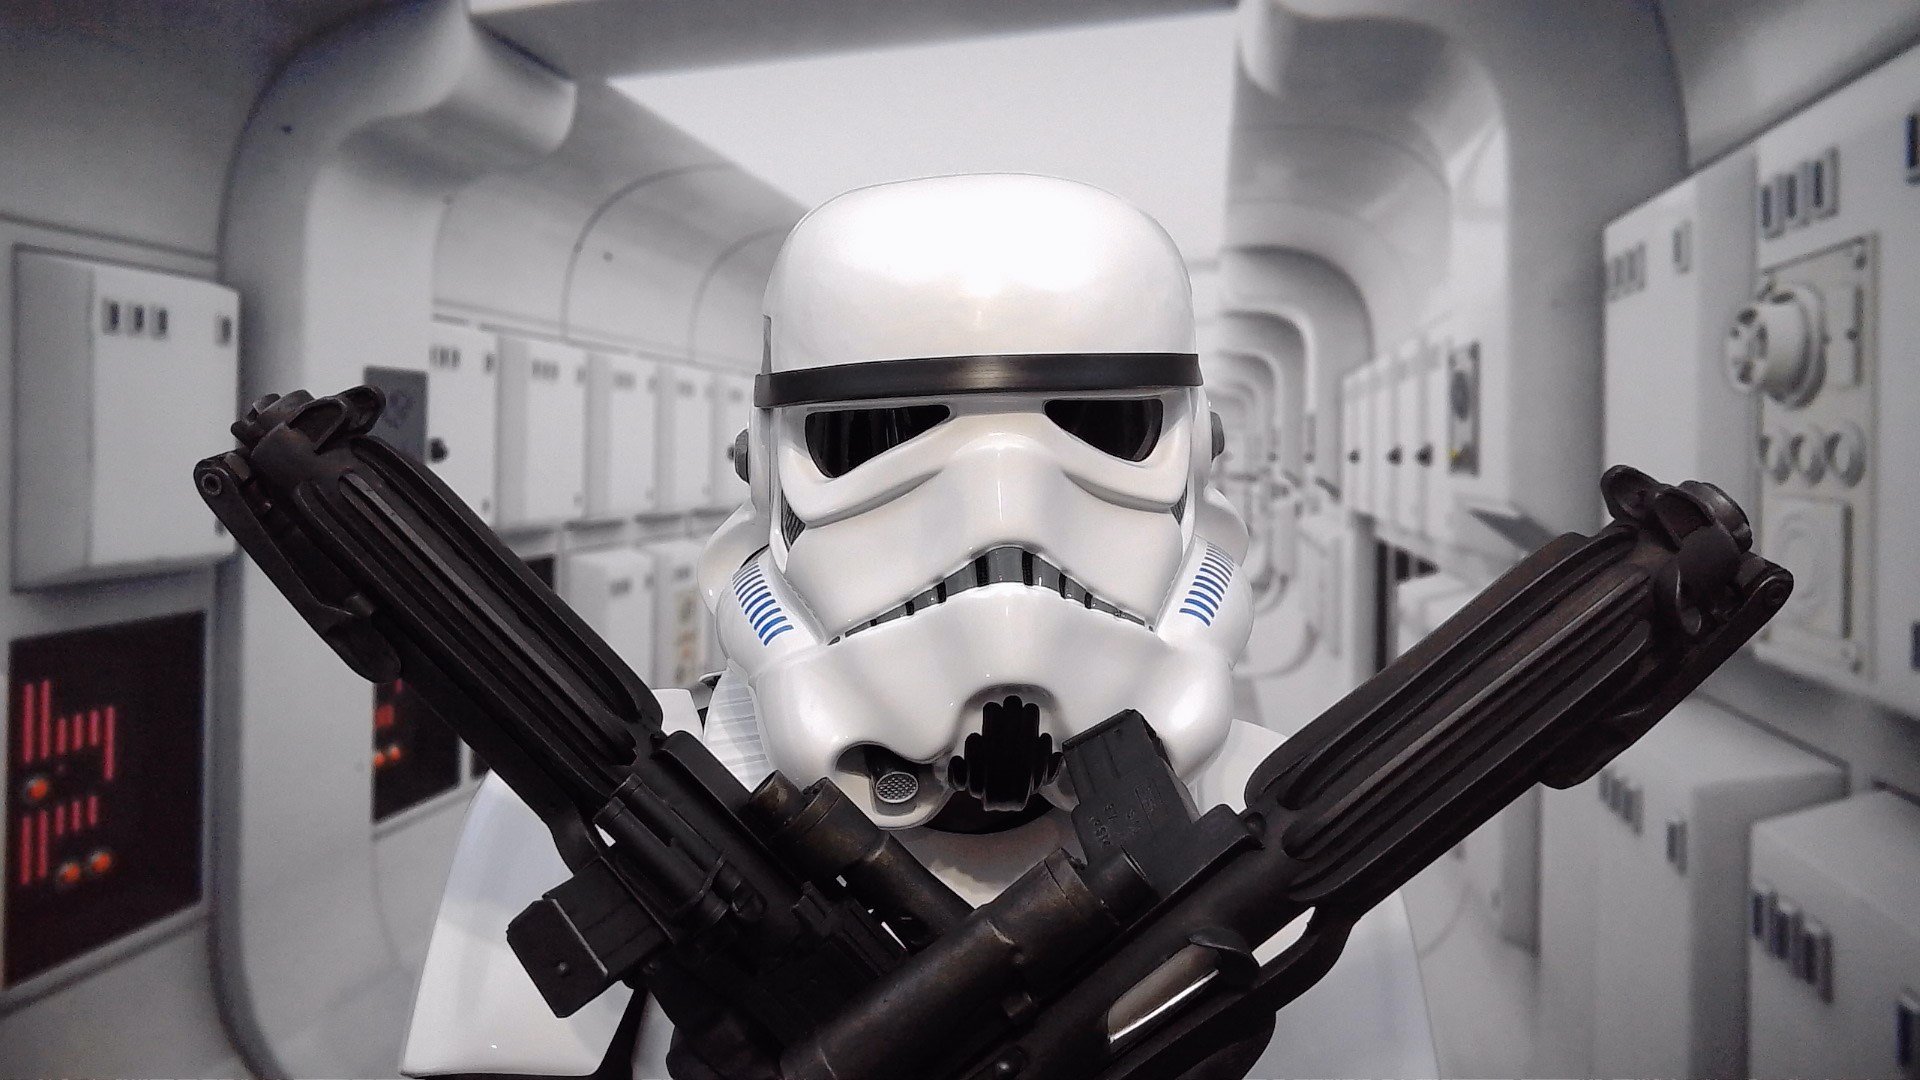
OP Post #7 This may go down as my shortest build thread update post ever on FISD. In reality, it's not even an update. Basically I was just anxious to get a peak of what I will sorta eventually look like. For those of you not following along, my ANH Stunt build has been progressing slowly, so basically everything in the photo below is wrong. Black Series helmet, only one rough-trimmed bell, no biceps. And of course I didn't even attach my shoulder ammo pouch, as I really just wanted to see what the pauldron would look like. I'm probably only embarrassing myself by posting this frankensteined image. But alas, these threads aren't about perfection. So here's my good, bad, and the ugly. I have a bad feeling about this... Maybe next time I'll at least add the biceps and shoulder ammo pouch so I don't get featured on the Homemade Costumes thread. Hey, everybody needs to hear/see a good joke sometimes. So laugh it up, fuzzballs. -
Slow and steady. I know you’ve had long breaks before, and I myself just came back from two months away. You’re doing great; it’s not a race! The final product will be well worth all the blood (literally), sweat, and tears! Sent from my iPhone using Tapatalk
-
Eric's mostly 3d Printed HWT Pack Build
MaskedVengeance replied to Eric Ostendorf's topic in HWT Build Threads
That's fantastic, Eric! By the way, I'm sure you already saw it, but your thread greatly reminds me of Bradley's (AngryEwok). If you hadn't already seen it, definitely check it out! You both appear to have the same commitment to matching the game character. Which I love. I hope to find a nice balance between game-accurate and CRL-approvable. -
Eric's mostly 3d Printed HWT Pack Build
MaskedVengeance replied to Eric Ostendorf's topic in HWT Build Threads
Great thinking with modeling that wipes container! I got lucky and already had my items sourced and purchased, but I may still consider printing yours since it has the flat back. I’ll also definitely be interested in trying both versions of the radio box plate, and see what my GML has to say. Finally, would you consider making only the button box plate, without the buttons themselves? I’m kinda interested in trying a combo of using the Snapit box, plus your plate (if ever made), and then the adhesive buttons. Amazing work, as I’ve already said before! Sent from my iPhone using Tapatalk -
JeklynHyde's RS Prop Masters, ANH Stunt Build
MaskedVengeance replied to Jeklynhyde's topic in ANH Build Threads
If you wanna wear a pauldron without building a Sandie, you can convert your TK to a Heavy Weapons Trooper (HWT), and actually switch back and forth. Basically you just need to make a backpack, get some ammo pouches, and slightly adjust the belt. I’m actually doing that myself right now, in case you wanna check out my HWT thread. Great job on your build so far! Sent from my iPhone using Tapatalk -
Blast 'Em!'s ANH Stunt Anovos Build
MaskedVengeance replied to Blast 'Em!'s topic in ANH Build Threads
Funny seeing all those pots of water on the stove. That’s gonna be me here before too long. Did you let the water get to a full rumbling boiling roll? If you keep having to do two batches of boiling to fill a bucket, you may consider purchasing another bucket to nest with the half-full one. That way it may act a bit as an insulator—having two buckets together. I haven’t tried it, but it may be worth a shot. I know Walmart has buckets cheaper than Home Depot. As for keeping the armor pieces together, I’ve definitely seen lots of people put containers or jars inside the pieces. You may also try wrapping rubber bands on the outside, if they’re needed to keep two parts from separating. I’ve found that thick rubber bands from grocery produce are the strongest, and I also plan to use them to form my TD plate onto the tube (and shoulder bridge piece onto the tube for my HWT). Sent from my iPhone using Tapatalk -
Navigate to each individual’s’ profile page here on FISD (using the links Joseph provided), then click the message button on their pages. Sent from my iPhone using Tapatalk
