Alay
-
Posts
1,552 -
Joined
-
Last visited
-
Days Won
17
Content Type
Profiles
Forums
Gallery
Articles
Everything posted by Alay
-
 Thanks for taking the time to review Uks! I appreciate it! Your backpack build guide was a life saver Okay off to fix this belt once and for all First CTG HWT Centurion, woooo!
 -
Thanks!!
-
Sorry for the delay, here are the requested pictures: Left of Helmet Back of Helmet Inside of the thigh ammo belt rivets Cod area rivet inside/outside Butt plate snaps inside and outside Attachment of both together Shoulder bridges front/back SE-14r Left and Right side Sorry for not including them in the original! Please let me know if I missed anything else
-
I have no idea why the same link didn't work before... but it seems to work now. Let me know Will do, thanks Uks!
-
ESB has a repainted/decalled helmet, clam gloves, and a holster on the opposite side of the belt (looped instead of riveted). They also didn't bother with the counters/power cells on the E-11. ROTJ is completely different, new mold, some of the faces are smushed too from a mold breaking during production.
-
RS is a great armor maker, the helmet will do you well. That being said, I don't know if any helmet will be comfortable... vision in these is awful!
-
Looks great!!! Can't beat the hand painted look on the ANH helmet
-
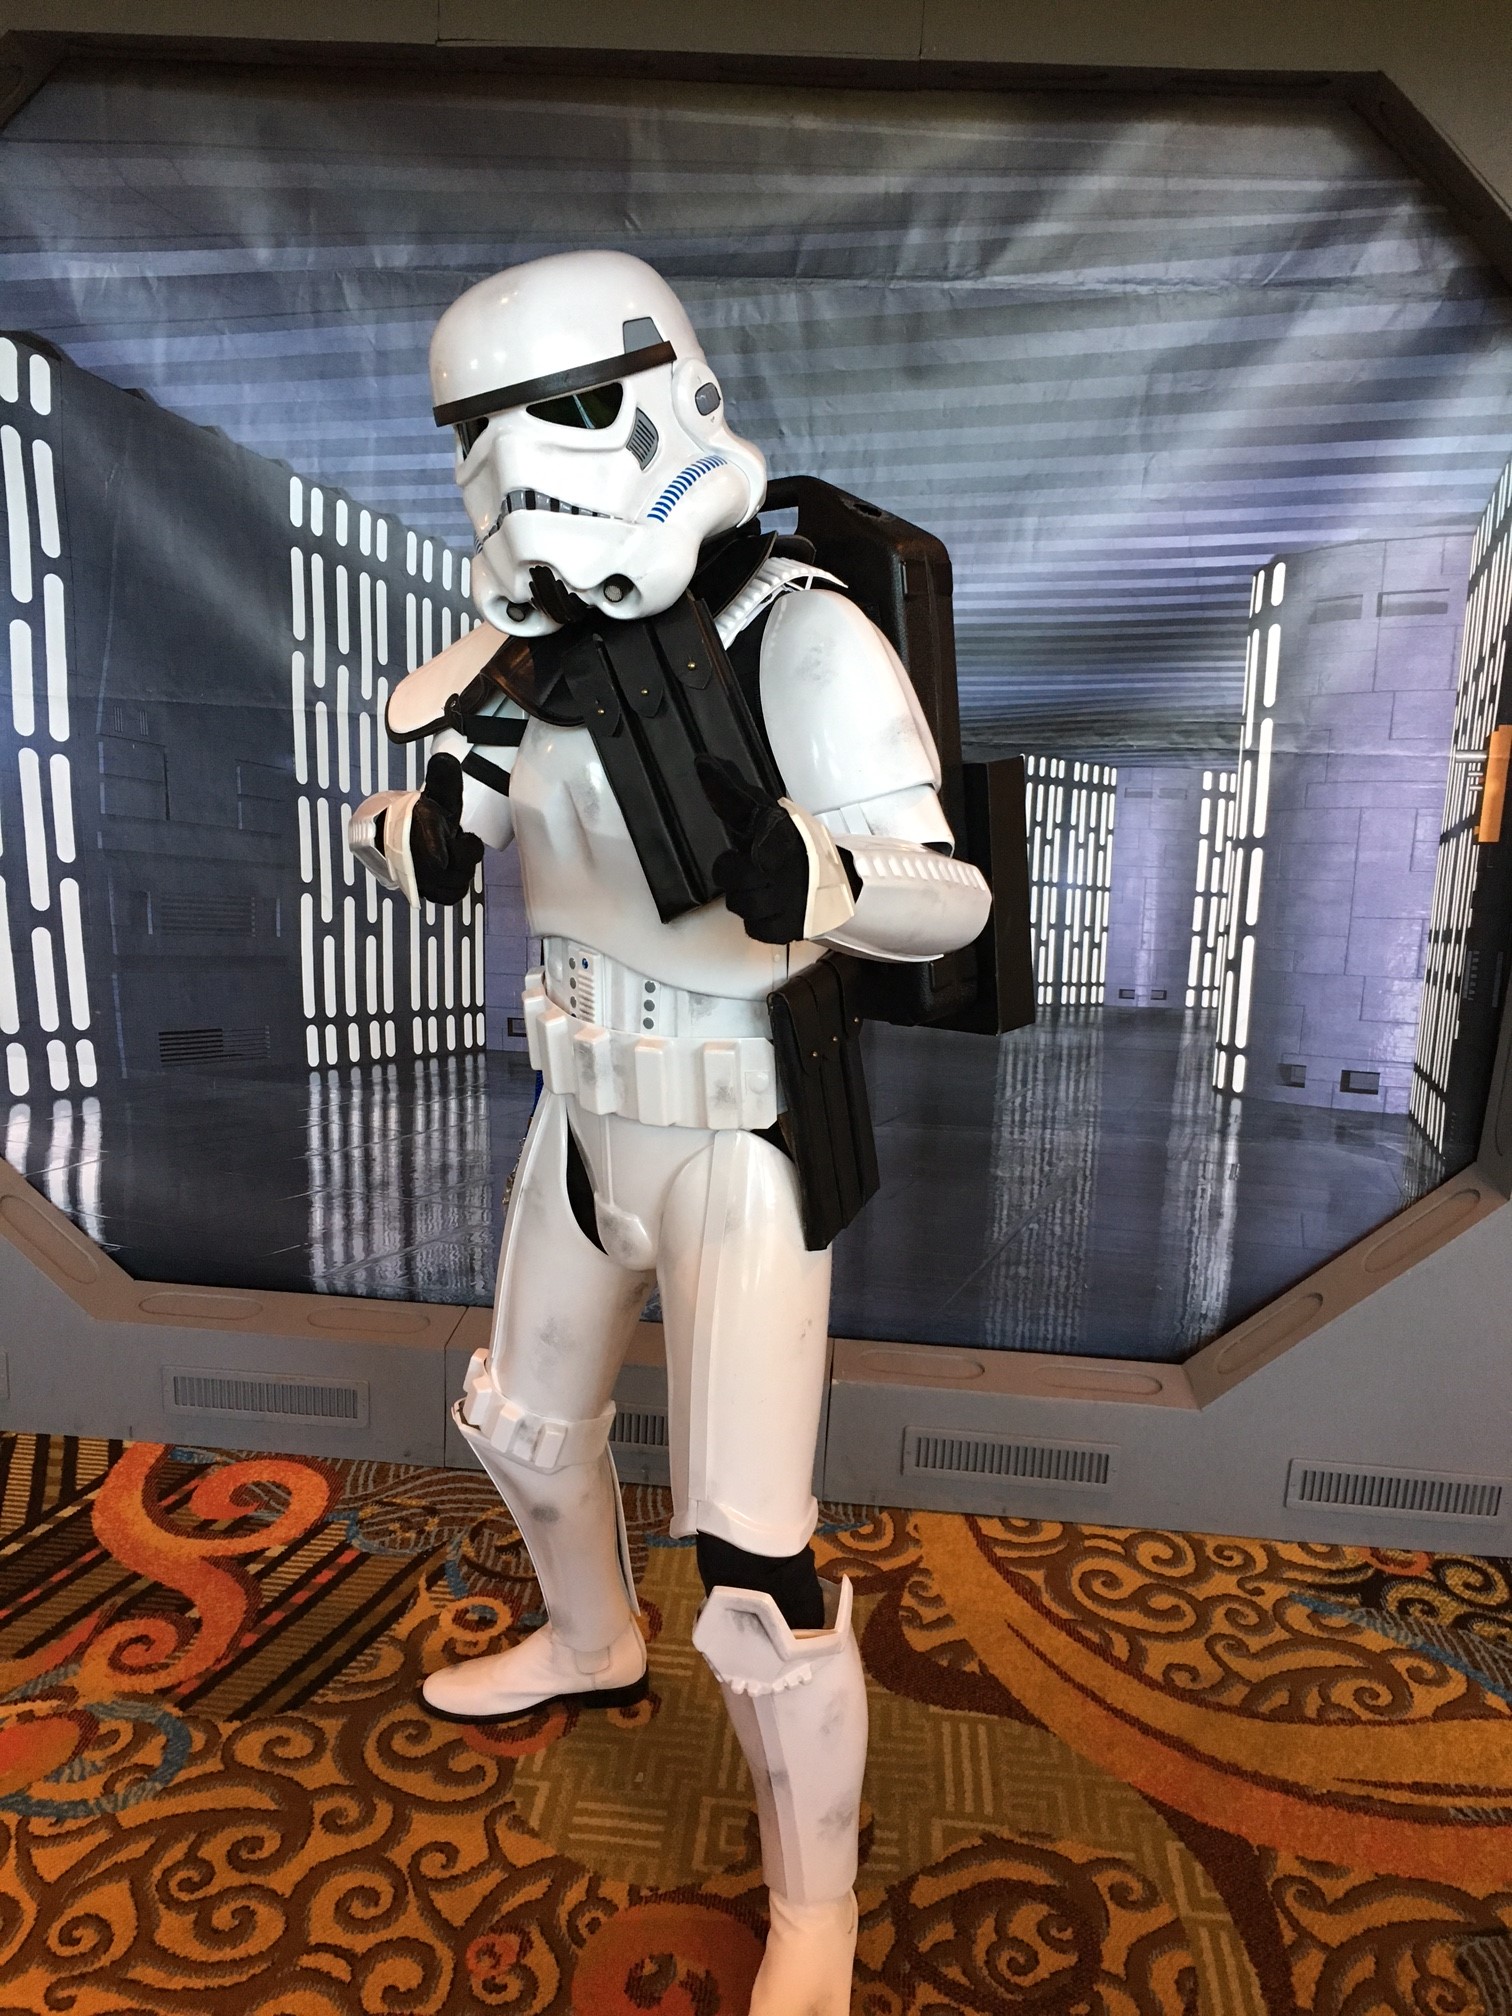
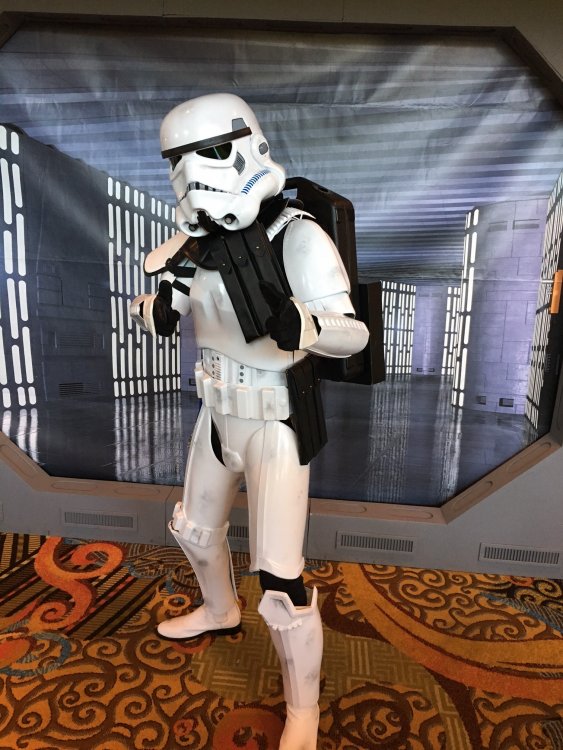
Trooper Info Name: Sarah Bailey Forum name: Alay Garrison: Connecticut Garrison Legion Number: 20466 501st Legion Member Page: http://501st.com/members/displaymemberdetails.php?userID=22318 Height: 5' 8" Weight: 125lb Costume Information Armor: AP Authentic Props Helmet: AP Authentic Props Blaster: SE-14r by Shawn Morgan Boots: ImperialBoots Canvas belt: TKittell Hand Plates: AP Kit Neck Seal: Veedox Pouches: Anthony Bailey EIB Application Thread: Front Left Left (Arm Raised) Left (Detail) Right Right (Arm Raised) Right (Detail) Back Helmet Detail Green Eyes S-Trim Ab details (Belt lowered as per EIB suggestion... I was actually wearing it upside down last time so the snaps were in the wrong spot... heh) Backpack details (redid weathering as per EIB suggestion. Dry brushed with silver many of the screws/raised elements. Shadowed up the earlier silver splatches to either remove or fade. Added more charcoal weathering) Gloves Shins Thigh (adjusted as per EIB) Belt connections Neckseal Rivet Alignment Forearms Removed return edge Interior strapping SE-14R Backwards scope (as per promotional reference shot, no wonder stormtroopers always miss) Pauldron weathering My ugly mug Requisite action shots Thanks for taking the time to review! I appreciate any and all feedback ~Sarah
-
There's a few of us here. Just kinda flys under the radar I suppose since focus is elsewhere.
-
The Official 2017 What is a Heavy Weapons Trooper Thread
Alay replied to Daetrin's topic in Heavy Weapons Trooper
Agreed on the generation count and quoting this bit for emphasis. "Generation 1" Heavy Weapon Trooper needs a weapon tighten up to go along with the pauldron/weathering/backpack tightening up when we get some free time. -
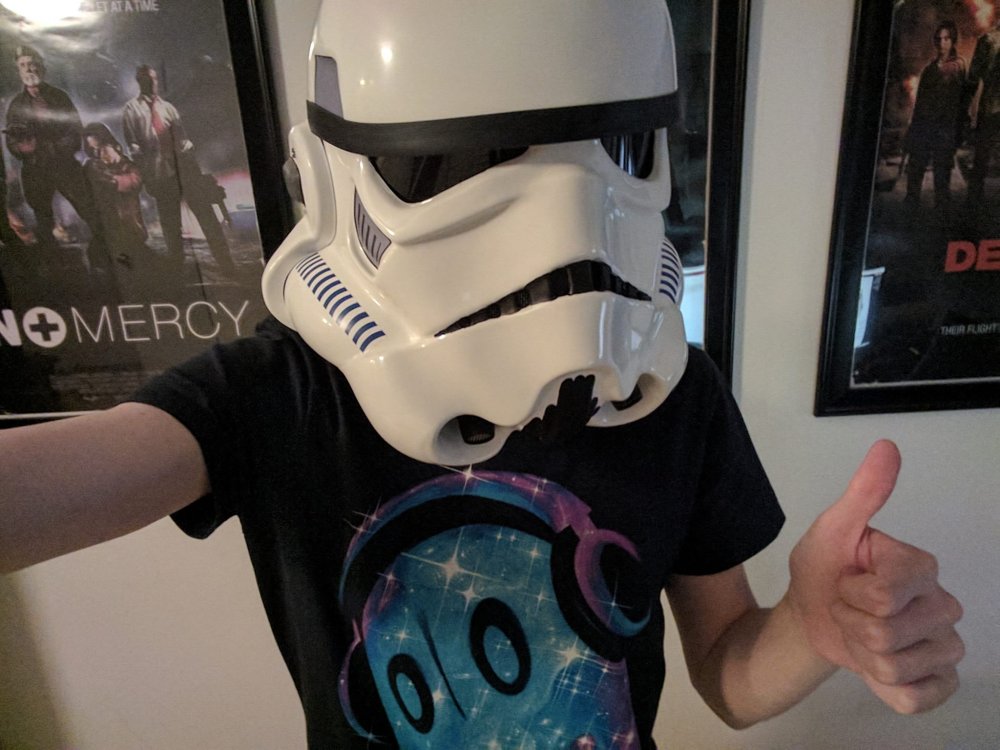
Removed the ears and pulled the brow up a bit. Looks much nicer now. Unfortunately, the trim I bought seems to have caused a yellow "burn" on the abs... it seems to rub off with a cloth/novos/elbow grease, but I'm a tad worried about using the trim again now... Does rubber normally react with ABS like that? o.O
-
I knew I'd forgotten something!! thanks
-
Hey all, Just finished assembling/painting/setting up the interior of my ESB style helmet (AP). I was looking for some feedback and had a couple of questions... I feel like the brow is a little too low. Should I tilt it up higher? If so, how high? The ear paint I used didn't dry to quite the right color to match the decals. These are the Trooperbay ESB decals... can anyone recommend a good color match for the ear paint? Acrylic or Enamel is fine. Anything else particularly ugly/something I should clean up?
-
I think it's a tad smaller than the stuff from Trooperbay, but I use it for all my helmets just fine. I buy it in bulk usually, but they sell by the foot.
-
Converted to an HWT for a bit (image below) and working on an ESB conversion after that (Helmet completed tonight, also pictured below). Costume still fits great after about 20 troops. I resized the thighs down yet a bit more and it fits like a glove now.
-
I just want to say great effort to everyone involved in the upgrade! I know what a PITA this sort of thing can be, and the forums look awesome now! One request, if possible? When posting a reply on the previous version of IPB I was able to toggle between a WYSIWYG and a BBCode view. Is enabling BBCode view a part of the new version of IPB? (Or was I silly and just missed it...?) Again, awesome job!
-
imgur.com and google photos are much more convenient for photos already. Photobucket is extremely slow loading... gross!
-
Hey all,<br><br> I'm trying to find a bulk buy source for brow trim as I like to have a stash on hand for new members helmets. Any suggestions on where I might find quality stuff?
-
Aiming for it at the start is definitely the way to go--much easier to build with the centurion details in mind then it is to build it then retroactively add them
-
Hey Paul, I wrote up a research post a while back that might be of some use to you or other command staff: http://www.whitearmor.net/forum/topic/40070-accessory-continuity/page-2#entry541746 Let me know if my nerddom can be of service in any way
-
To be pedantic, the exact definition of the Heavy Weapon Trooper is a bit nebulous based on the current CRL. It most closely represents the Battlefront *2* Shock Trooper class, but differs in several ways as well.
-
Awesome read! Thanks for posting
-
Geez Christine I'm so sorry to hear that happened! I wonder if it was a reaction to the tubing material or some sort of coating material/lubrication they used. That's awful I've used gaspumpheaven multiple times and love their trim. Especially the smaller profile which gives room on the already tight fitting AP Helmet.
-
TK 20466 Requesting HWT EIB Status [AP] [APPROVED] 2nd
Alay replied to Alay's topic in Request Expert Infantry Status
Thank you SO MUCH Tony for taking the time to review my build! Good catch on the belt, I hadn't noticed it was up so high. I'm working on rebuilding my thighs right now as they also sat too big on me, so adjusting the edges should be a simple correction from there. I'm definitely not satisfied with the weathering on the backpack... I wanted to use charcoal powder throughout but it doesn't show up well on any of the black bits of the backpack. I might try filling in the silver splotches with it, then dry brushing it out to taper the color... Speaking of weathering, do you feel it's an appropriate amount? Should I add more? Did I overdo it? I still owe you guys a full-body action shot, and once I've corrected these issues I'll post one to this thread In the mean time I'm recovering from a blaster bolt to the hip... Thanks again! I'll definitely be seeing you guys at Centurion once these issues are remedied -
This is a really cool build! Thanks for sharing! Careful with the temperature of where you store it... I've heard that HDPE and HIPS don't react too nicely with hot weather/direct sunlight