


T K
-
Posts
1,057 -
Joined
-
Last visited
-
Days Won
10
Content Type
Profiles
Forums
Gallery
Articles
Everything posted by T K
-
*link removed* Here you go! I hope I did this right. PROMO CODE: one sec... I need to find it.
-
This is great!!! Right now I am finishing up some designs, fixing some for print and then I will open up the shop. For the first two weeks they say everything will be 15% off. I'll let y'all know when I will be opening it. Expect it soon.
-
Hold tight! I am figuring out how to get shirts done. I have never done this before, so bear with me. Good idea! Simple is often the best. I'll give it a go!
-
Okay, last post for today. To simplify the scabbard I cut of the frilly bits. Here I shaped one of the parts and attached it back on the right side. I then made a paste out of superglue and baby powder to fill the gaps. I'll be able to sand this down later. I am glad at the rate this is going. I am heading into Salt Lake tomorrow to pick up some silicone and resin. I still am not sure how I will mold these yet, so any input would be valuable. Cheers!
-
Agree. I'll keep trying different designs. If you have any ideas please share!
-
Hand Guard! So after looking at the real sting I realized that mine is too fancy! There is only detail on one side of the guard, not both. Mine: This actually makes this a lot simpler. I will get bondo and smooth out the one side. I also sketched out how much wider I need to make the guard. Currently it is 11cm but for it to look right I need add 1cm to each side making a total of 13cm. The sketch above shows the proposed shape.
-
So I don't have much to do right now until school starts, April 30th. So here is my project! I was given a replica of Sting from the Lord of the Rings a while back and it is not quite as accurate as I would like. So I want to help it along. Note that I do not intend to make this 100% screen accurate, if I wanted that, I would probably start from scratch. Here are pictures of my Sting. And it taken apart. Notice the weld of the bolt. Not so straight. Here's the real deal. Here are the main changes that I want to accomplish. Color Width of Hand Guard Fix Scabbard Details My plan is to get bondo and other materials to make a master and then mold and cast copies so I can play around with different designs. Stay tuned!
-
I am not sure where to go with that one. Here are the designs I have now. I am not in love with the ab plate details... What thoughts do you have?
-
Here are some designs. Thoughts?
-
Funny you say that! I am working on some designs to see if people would like shirts/hats. I am far from where I want to be, but keep an eye out. I will also be updating the Periodic Table for print.
-
That's true. Haha!
-
I had this idea today. Kind of fun. Hope y'all enjoy!
- 39 replies
-
- 15
-

-
Years later..

-
 The Detachment with the costume is the Pathfinders Detachment, they deal with scouts and those sort of troopers. Link: http://www.501stpathfinders.com/ My first costume I built was a Clone ARC trooper out of EVA foam. Though I learned a lot, I would recommend another route. But once I got my hands on kits made from ABS and other, sturdier materials, I never wanted to use EVA foam again. With that said, foam is fun to make props, but not really 501st quality. Good luck friend!
 -
TK-42775 Shadowtrooper Re-build and Size down
T K replied to TK-42775's topic in Other 501st Costumes
I have an Anovos kit and it is very flimsy. One problem that you probably thought about it matching the black abs. Now with that said, you do not need a return edge there, especially as you are sizing down. For instance Luke's armor did not have a return edge as it had to be cut for his height. I'd recommend that you don't worry about it, unless you really want it there. I am not sure on the best way to add an edge, possibly someone else might know.
-
TFA First Order Stormtrooper Helmet Build
T K replied to T K's topic in Build Threads Requireing Maintenance
College has me tied down right now with the funds. I probably will build the F-11 blaster before I get armor. -
TFA First Order Stormtrooper Helmet Build
T K replied to T K's topic in Build Threads Requireing Maintenance
Buffing. It is a lot like sanding. Ha. Well this is the stuff I picked up. And I followed it up with these And here are the pictures. I like this! My arm doesn't though. -
TFA First Order Stormtrooper Helmet Build
T K replied to T K's topic in Build Threads Requireing Maintenance
You know it. -
TFA First Order Stormtrooper Helmet Build
T K replied to T K's topic in Build Threads Requireing Maintenance
Good to know. I will probably give it a go tomorrow. -
TFA First Order Stormtrooper Helmet Build
T K replied to T K's topic in Build Threads Requireing Maintenance
Thanks for the info! I have used some polish that I had on hand. What do you use when you buff it? I was thinking a microfiber towel by hand? Any better method? Yeah, it's been a while. Just done spending some time in the Bluegrass Garrison's turf. I am glad to be back. -
TFA First Order Stormtrooper Helmet Build
T K replied to T K's topic in Build Threads Requireing Maintenance
Well, time to resurrect this old thread. So the last post Derrek informed me that you actually want to start with a black coat followed by a white one. Sanding and painting was on the horizon. I like it in all black. It has a very good look to it. Time to mask and paint! Looks nice in white too! As you can tell I may have gotten a better camera and a new lens. For pictures like these. This closeup shows the touch up I needed to do on the brow. I don't have any pictures mid work, but what worked really well was some charcoal! I knew there would be a clear coat coming and that the brow was supposed to be rubber so I gave it a go. It turned out pretty well. Guess what is next? Yup, sanding. But look what it does! There are some imperfections, like the black spot, but I am happy with it. I will be adding very faint weathering. Nothing like a sandie or Finn's bloody helmet, just enough to make it feel used. You can see I have a little bit from above the brow already. Somewhere above I said I was going to get armor to match with this helmet, but that won't be the case, this bucket will be display only (For now at least). So now I want your advice. How should I attach the bill part? and how should I attach the lens? There is quite a gap between the lens tabs and the interior of the helmet for attaching. What do you recommend? -
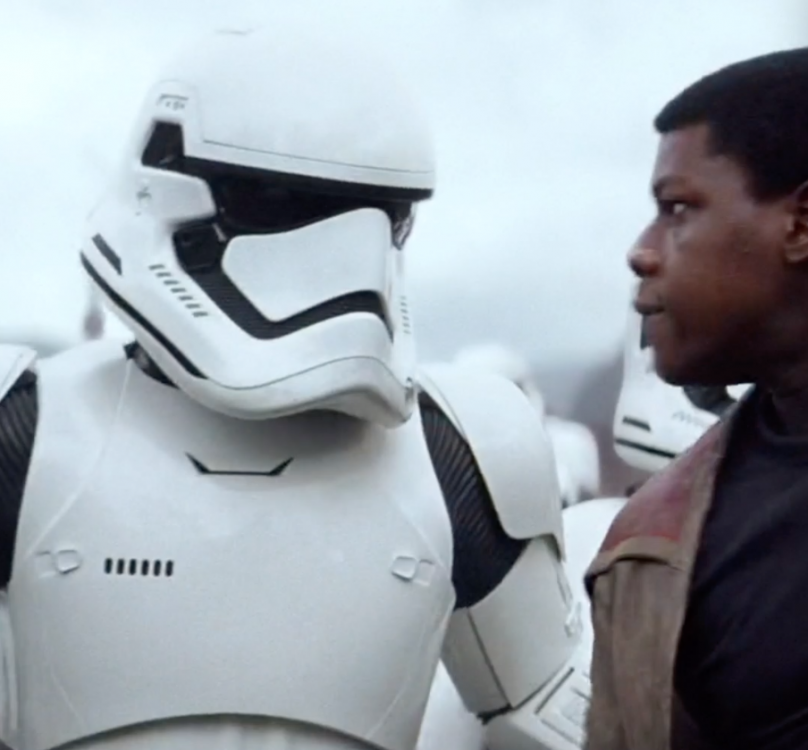
This trooper is missing a helmet greeblie.
-
Harbinger's SE-14R Build (with budget lights n' sound!)
T K replied to Harbinger's topic in BlasTech SE-14R
This looks like it is going to turn out very well! I also have the SE-14R on my radar for a build. [edit] also, the link you gave is broken. Was this the one you printed? ---------------- -
That looks great!
-
Just take your time, ask questions, and post pictures of your progress to get more advice. There is a lot of good advice given here in this thread on how to paint the inside of your helmet. You can do it.
