justjoseph63
-
Posts
12,745 -
Joined
-
Last visited
-
Days Won
326
Content Type
Profiles
Forums
Gallery
Articles
Everything posted by justjoseph63
-

Big cover strip problem..
justjoseph63 replied to justjoseph63's topic in Assembly, Mods, and Painting
Oh... my.. God. I just realized what I was doing wrong... I was measuring incorrectly!! The ones I had (gone now) WERE 20mm wide, (I cut them last week). After looking at your diagram, I noticed that for some strange reason that this afternoon I was looking at CM, thought each was 5mm, and thinking "gee, 20 mm (4 CM) is awfully wide". I Now, I have to put everything back together again, but, once again, Germain, you have really helped me out. I feel like a complete idiot, but a happy one now! -
First, I promise this will be my last post for today... Here is the situation: After getting my calf pieces to fit perfectly, I glued on the cover strips underneath the front seam. Today, I decided I would glue on the front strips, then realized that 15 or 20 mm would be too wide, and overlap the ridges, so I went with 10mm, and they look nice. (Bear in mind that I have small calves). Then, it hit me, the thigh cover strips will have to be 15. Oh crap. This is going to throw everything off. I have worked so damned hard (up to now) to get this build to Centurion standards, and now I will probably have trouble just getting 501st approved. Any advice at this point would be MORE than appreciated. Thanks!
-
Thigh ammo pack trimming/rivet size...
justjoseph63 replied to justjoseph63's topic in Assembly, Mods, and Painting
PERFECT! Merci!!! -
Getting toward the finish line, but still have a few more questions! I am at the point where I am ready to attach my thigh ammo pack, but I need to know the proper trim size on the top and bottom. I thought I had downloaded a diagram, (probably courtesy of billhag), but can't seem to find it or anything in the threads. I need to know before I use the heat gun to bent it slightly. ALSO, The split-rivets I have are 5/16th, the same ones I used on my kidney/ab armor. Are these acceptable, or do I need a smaller size? Thanks for all your help!
-
Bicep armor questions...
justjoseph63 replied to justjoseph63's topic in Assembly, Mods, and Painting
Thank you, gentlemen, much appreciated!!! -
Hi again! I am almost at the end of my build, but I have 2 questions regarding the bicep pieces... 1). Which side is the "thumbprint" side worn on, and 2). I need suggestions (and hopefully the link to a thread with photos) for the best way of attaching them to the shoulder bells. Many thanks!
-
Disney World Star Wars Weekends - Who's Going?
justjoseph63 replied to Dark CMF's topic in Off Topic
Wow, looks like I will get to meet my E-11 guru! Yeah, Tim, I will definitely be there, (I live like 20 minutes away). I am almost at the completion point of my armor, and should be approved in plenty of time! I had the chance to meet some of the Makaze (Orlando) squad a while back, and they were saying that in the past, Disney has invited them and other local squads to join in at least one event fully armored. Not sure of the details, but should know something by then if they are doing it again, and will keep in touch if you like. See ya' there! -
Thank you SO much, gentleman. Lots to think about! Good call on the "bikini cod" syndrome. Or worse yet, "Speedo cod"... (which I would only be able to wear in South Beach).
-
Unbelievable! You used the EXACT same floor tiles I did, (great minds think alike).... Wish I would have angled the vent box like you did, though. Looks incredible!
-
Tack! Jag maste foretfarande veta om kanten, dock.... (Sorry if that was wrong, practicing my Swedish).
-
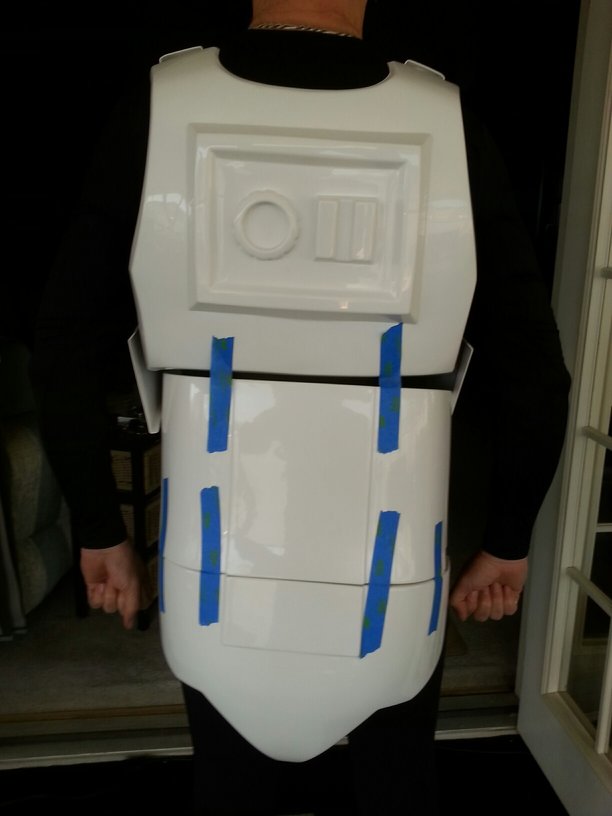
Since I couldn't cut any more off of the chest piece shoulder straps to raise it up, this was the only alternative. I have a spinal condition which causes me to lean forward slightly, and it was either shorten the ab plate by cutting off the cod and dropping the ab plate down a bit, or cover up the top of the top of the button panel. I have taped it up temporarily, and it works out well. I did take your advice about the cuts you suggested, and it not only looks amazing, the fit is perfect!
-
Hi again! I had to remove the cod from my chest plate, as the button panel was riding up too high in the front. I did cut the shoulder straps back as far as I dared, and it helped, but not enough. I would ideally like to permanently glue the 2 back together, but to do this I would need to trim down the return at the bottom of the ab plate so that I can get good contact for the E6000. I am thinking this would be O.K., as it will be hidden by the belt, but I thought it best to check with the experts first. Thanks for any and all input!!!

-
Wow, Mathias, you just made my day! It gave me the courage to do the trims I was hesitant about, and now I am not going to have to trim the kidney plate after all! EXCELLENT advice, and many thanks! I will be posting the new photos as soon as I can. One step closer.......
-
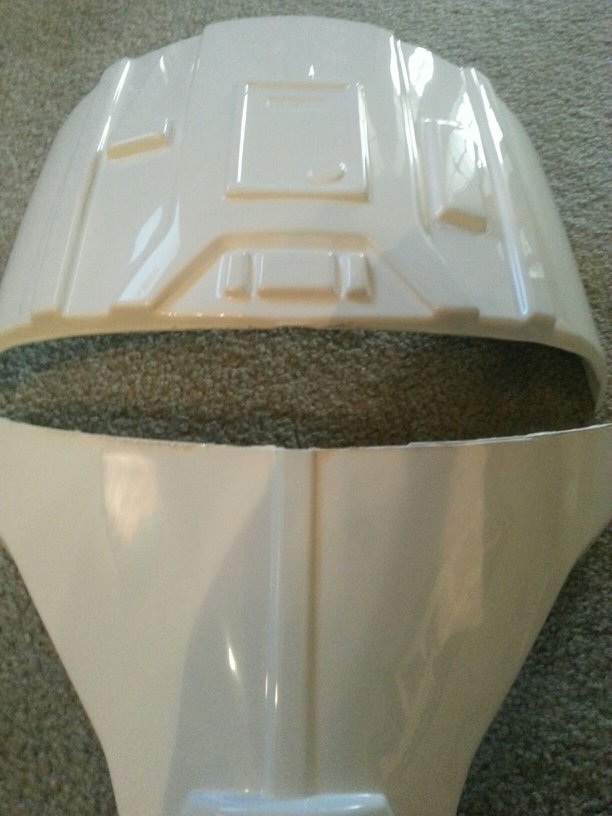
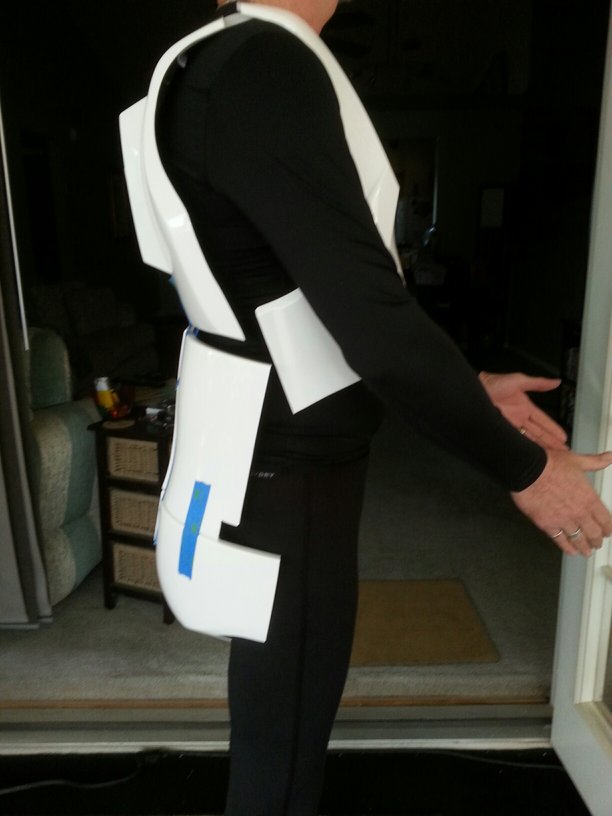
Hola! I am at the point in my AM 2.0 build where I need to trim the kidney plate, and REALLY need some input/diagrams/build threads concerning this aspect. As you can see, (photo 1) it is entirely too long in the back, and I think trimming the kidney would be the best bet. (?) Any tips, and especially photos, no matter how small, would make me one grateful guy. Also, will I need to add a return edge to the bottom after trimming? (To be honest, that scares the bejeezers out of me, but I will attempt it if necessary). Many, many thanks! (Critiques also very welcome)!


-
GeorgePBurdells ANH AM 2.0 Armor build
justjoseph63 replied to GeorgePBurdell's topic in Build Threads Requireing Maintenance
As will I. I had to take a break from my own AM 2.0 build. Kind of stuck in a few areas, and have to post some pics. Looking forward to following you! -
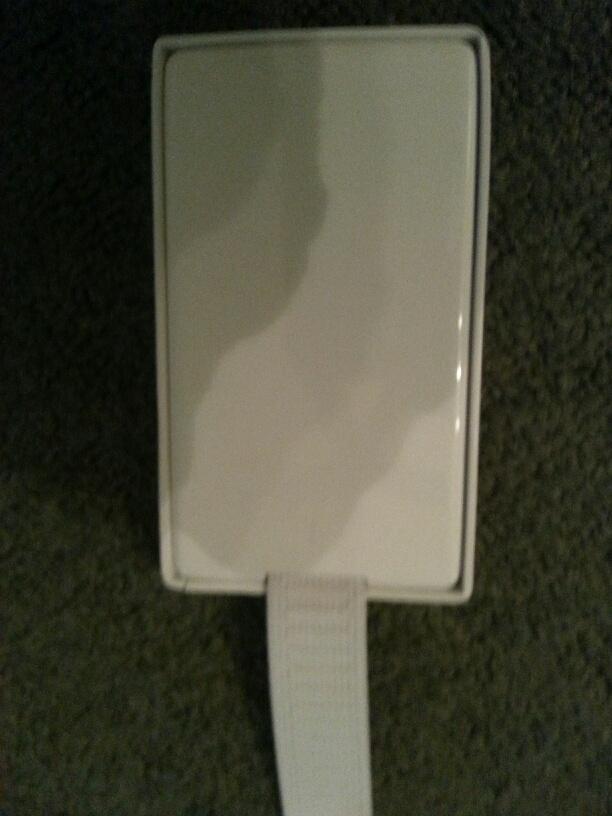
Hola! Yet a few more questions! I took a break from my armor build, and spent the entire day on my backpack... Then I got to thinking, will I need to order another ABS and canvas belt to wear as a HWT? I have already attached my holster, and I think taking it on and off again would be, well, a bit of a pain in the posterior armor... Is it permissible to carry the DLT-19 (on it's way to me now), and wear my E-11 at the same time? (I have seen pics of TKs' doing this). I really, honestly don't want to break any rules, either in etiquette or realism, and don't want to look ostentatious/ridiculous, and will take any advice to heart. Many thanks for ALL input!
-
You guys= AWESOME! Me= Most grateful!
-
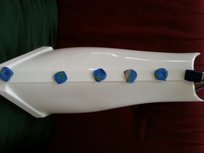
Hi! I have a question hopefully someone can help with... I am wondering what the best thing to "fill out" the magazine pouches would be. I purchased the canvas ones, but they are pretty flat looking. Yes, the best thing would be actual magazines, but I am on a budget. Any suggestions would be really appreciated. On a side note, any close up photos of the pouches being worn would be great as a reference. Many thanks!
-
Scorcher's AM 2.0 Hero (first build)
justjoseph63 replied to Scorcher's topic in Build Threads Requireing Maintenance
Just a quick note... If you decide to go with the 3 bump ears bars, you can try ATA. I believe they run about $13.00 or so for the set of 2. Might save you a lot of work if you decide to go EIB or Centurion. -
I got caught in this guy's trap when I bought my first set of armor. HORRIBLE! The bucket was the size of a Volkswagon! I did think briefly about selling the helmet by itself as a "Star Wars baby bathing tub", but it was too big.
-
Yeah, I agree, Romen. I was seriously thinking about going, but could not find a source for a Hawaiian print cod and butt plate..
-
Much appreciated, Germain, juste ce qu'il me fallait!
-
A crazy question, but I gotta ask...
justjoseph63 replied to justjoseph63's topic in BlasTech DLT-19
Thanks, Steve! Do you have any contact info. for them? THANKS! -
Hi! This is going to seem a little bit (or a lot) nuts, but does anyone know where I can purchase a DLT-19 kit? I tried one maker, but I simply cannot afford $495.00. And, Doopydoos no longer ships these kits to the U.S. "Make your own", you say.... Easier said than done! I have seen all the tutorials, and while they are fantastic, I don't have the proper woodworking tools, or the blueprints/templates for this. I am looking to spend around $250.00, if this is feasible. I am eventually shooting for HWT, (just started my back-pack), and think this would be a great addition. Thanks in advance for all info. !!!
-
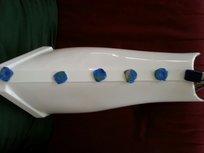
Hi! I am ready to attach my drop boxes, but have 3 questions if I may... 1. I know that it aligns with the outside of the ammo belt, but how far down does it need to hang? (I am sure I saw a Billghag diagram, but I can't seem to find it). 2. Will this type of setup (photo) pass all levels? I cut it down to the required 10mm thickness, but I think this looks better than a rivet. Will change if needed. 3. I plan on using heavy duty snaps to attach them to the belt, this way I can remove them so I can change to a HWT as needed. Again, will this pass all levels of TK? Many thanks for all your help!