gmrhodes13
-
Posts
31,208 -
Joined
-
Last visited
-
Days Won
1,070
Content Type
Profiles
Forums
Gallery
Articles
Everything posted by gmrhodes13
-
Normally the process from the legion side is pretty quick after the GML has finished their review. Hopefully you'll have your TKID soon
-
 Stunt Basic The “ear” bars have three or four bumps and are gray or painted gray, with a black outline. Painting the bumps with rank stripes (highlighted) in black is optional. L2 Ear bars have four bumps only. Not three. Hero Basic The “ear” bars may have three or four bumps and are grey or painted grey, with a black outline L2 Ear bars have three bumps only, not four.
 -
voice sound systems current state?
gmrhodes13 replied to BAZINGA's topic in Electronics for Helmets / Blasters
Correct you can add aux sources to the Aker amp, I have a T and run a mp3 player and also a cord from my blaster so it's nice and loud for conventions. You can get cheaper amps from Aliexpress with combined mp3 players but you then have no way of turning on and off or next track when you are kitted up. I have not heard much success with the throat mic's but some may chime in about them. I use the wired Aker mic or an FM headset which has a small receiver which goes with the Aker an Icomm behind the chest. There is normally enough room behind the chest for the Icomm, Aker and a Mp3 player and if you have them on in once place you don't have to worry about extra wires to the helmet, but some do have them in the helmets -
Appears not, Imgur is a little weird with videos and can have problems with sound, most use Youtube
-
That's a pain, I tend not to use much in the way of oil based paints, I find it very thick and takes quite some time to dry. May even be worth just using the paint without a clear coat, just be a matter of touching it up if it gets scratched.
-
Sorry I don't have any on hand. It's only a piece of scrap plastic shaped to fit in the back, glued and clamped, this helps the pieces to match a little better. Just make sure you rough up both surfaces with some coarse sandpaper so it gives the glue something to grip too. Also any pieces you glue that need clamping I try to leave for 48 to 72 hours so the glue fully cures. I heated and bent the lower edge so they matched, I've been using a heat gun for years but you could use a hot water bath. Using to pieces of wood when hot to clamp together will help to stop it distorting, once clamped just bend to create a new edge. I don't have mobility cuts as I have long legs and there's already a lot of room at the knees, if you add mobility cuts you can end up with too much black. So I would advise to see how they look on when all your legs pieces on. If you do add mobility cuts make sure you check the gallery to match references and don't cut through the upper ridge Any mobility cuts on the back do not extend beyond the top of the raised ridge.
-
Congratulations trooper, well done For anyone wishing to know more about either of these awards follow these links Master Armorer 3D Contributor Award
-
I normally apply 2 to 3 coats as you get a deeper shine, that was with acrylic paint but I used the 2K spray clear for my Mando and that goes on quite quick and settles so you don't get as much orange peel and that only needed one coat.
-
Congratulations and welcome to the Centurion ranks trooper
-
Modifying a Black Series helmet for accuracy
gmrhodes13 replied to OddViking327's topic in Rogue One Build Threads
Don't forget to share your vent and trap files in the 3D depository so they can be easier to find for anyone looking for them Thingiverse stl files for the vents and traps -
I think anyone that get's into costuming suffers with at least a little OCD, if not a MASSIVE amount . There are never too many questions, only silly mistakes from not asking them
-
Work in Progress: Adding a kidney armor shim
gmrhodes13 replied to TK22020's topic in Tutorials, Tips and HOWTOs
@15mm-20mm Chest piece may cover the "Han" snap depending on your armor and size Using a two snap system, starting with the posterior measure in @1-3/8" and 5/8" or so from the tip of the cod. Yes ab/kidney should meet at the top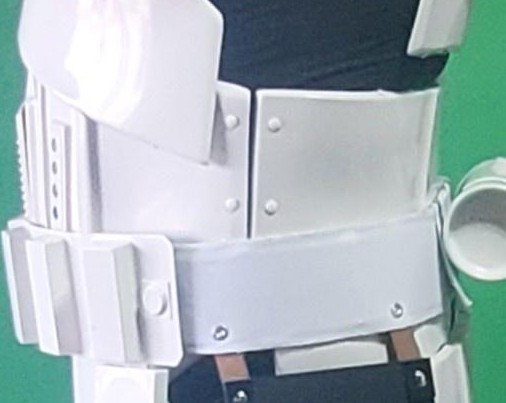
-
As Andrew mention you could do a search on Ebay Ebay Canada link C $18.97 free shipping Ebay Canada link C $22.49 shipping C $5.22
-
Remnant Stormtrooper CRL Discussion Thread
gmrhodes13 replied to BigJasoni's topic in Anthology/Remnant
Be a nice addition to the gallery section, I've not seen this detail previously although I presumed it would be the same as most other costumes have been in recent years. But I digress once again, back to the Remnant CRL -
Remnant Stormtrooper CRL Discussion Thread
gmrhodes13 replied to BigJasoni's topic in Anthology/Remnant
I agree about not adding the J slot and strapping requirement and was searching for some references as I'd removed it from the suggested CRL text a few posts up, we have other costumes which are built the same way and we've not added those as requirements as they are internal strapping, like the Rogue One CRL, another example is Phasma's biceps with the J hooks and tab/velcro and they are not in that CRL, FOTK's had a tab/velcro strip there too and not a CRL requirement, a few examples. I'm actually surprised that nobody building a phasma has enquired about an update for the CRL as you can clearly see the chest/yoke/back is hinged, shhhh perhaps I shouldn't mention it again Incidentally for anyone wondering no version of FOTK's had the hinge chest/yoke/back Anyway back to Remnants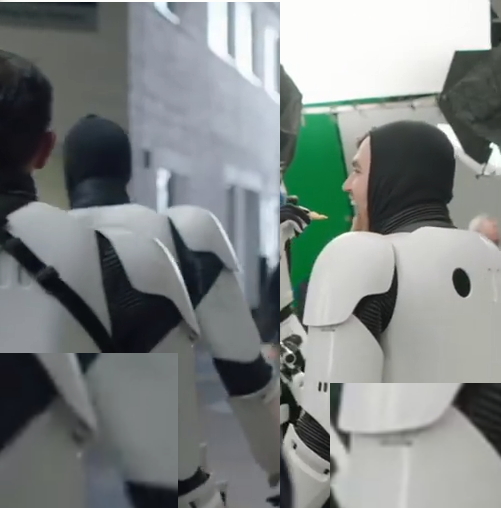
-
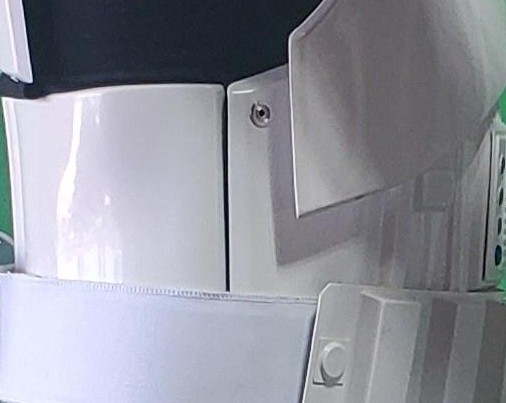
Really depends on your size, I also have room behind my ab plate and have a large piece of foam holding it out so the belt doesn't pull the sides in too far. At the end of the day once you have everything in hand it's a case of making things fit for you and your comfort. I did make removable end caps on my detonator but someone mentioned they have had one taken in the past so I decided to no longer use it for valuables.
-
Many add to behind the chest, I use velcro on the back to hold in place, mine is similar to this image, plenty of room there. Some hang it around the neck
-
Thought of getting a pocket sewn in? Also depending on your thighs and armor you may or may not be able to get anything into a thigh pocket, some fit people pretty snugly. I've also seen these types of pack used, sew on some elastic with velcro and you could add it separately over the leg or even velcro to the inside of the thigh. Lots of different ones out there
-
Nice work trooper. On some areas I use wet and dry ultrafine sandpaper 2000 grit, this helps to remove any dark scratches and such then use the automotive compound to bring up the shine. With the wet and dry sandpaper I use water with a drop of dish washing liquid, this helps the sandpaper glide a little easier as well as the water makes the sandpaper last a little longer with less clogging. At the end of the day what ever works and gives you a great end result. Well done and thanks for sharing
-
Exciting news, looking forward to seeing some BBB photos in the not too distant future
-
Not all of us have very much in the helmet, I have a 10mm thick piece of foam in the top, blocks of foam either side of my head, 2 fans which sit in the recess behind the mic tips and 4x4 battery AA packs in the cheeks, and I wear a head mic. Some helmets are also larger than others so they can accommodate a little more. From memory AP and ATA are very similar in sizing which would be the smaller end of helmets compared to some others.
-
Have you tried local sporting/running shops, many carry compression clothing. Locally I purchase mine from Kmart (a bit different Kmart to the US) and they are pretty cheap at $15aud each. You may find you may not be able to fit much in your thighs so side pockets may not help, some hang a pouch off their neck for carrying keys phones and such.
-
Nice work, great to see you had success
-
Remnant Stormtrooper CRL Discussion Thread
gmrhodes13 replied to BigJasoni's topic in Anthology/Remnant
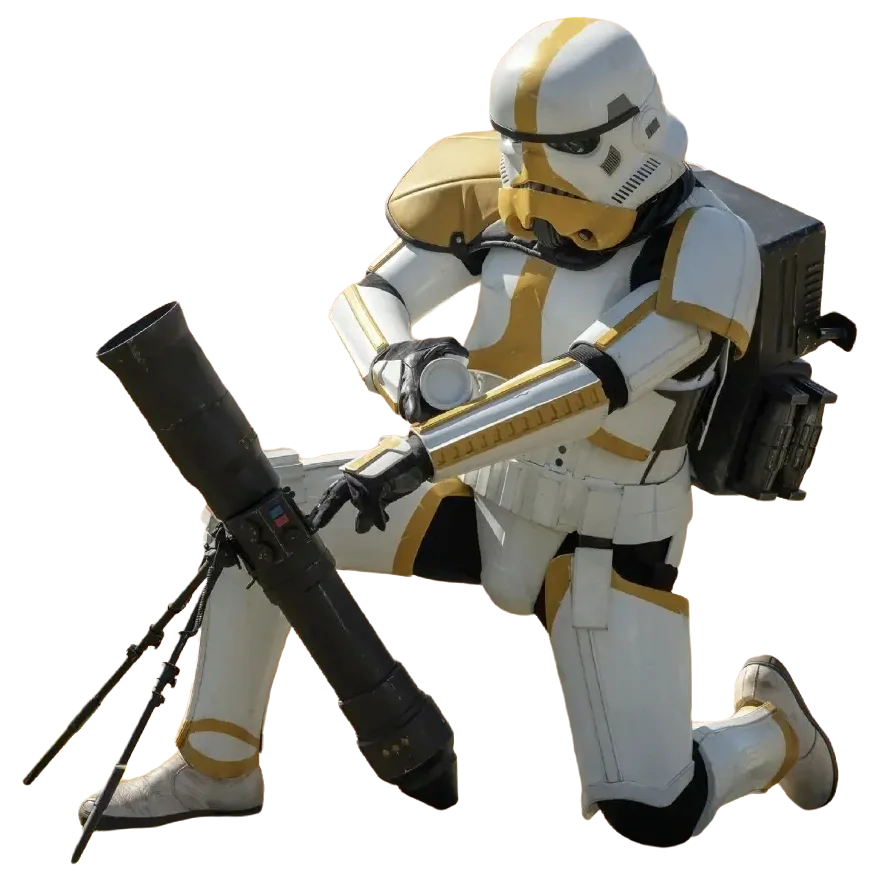
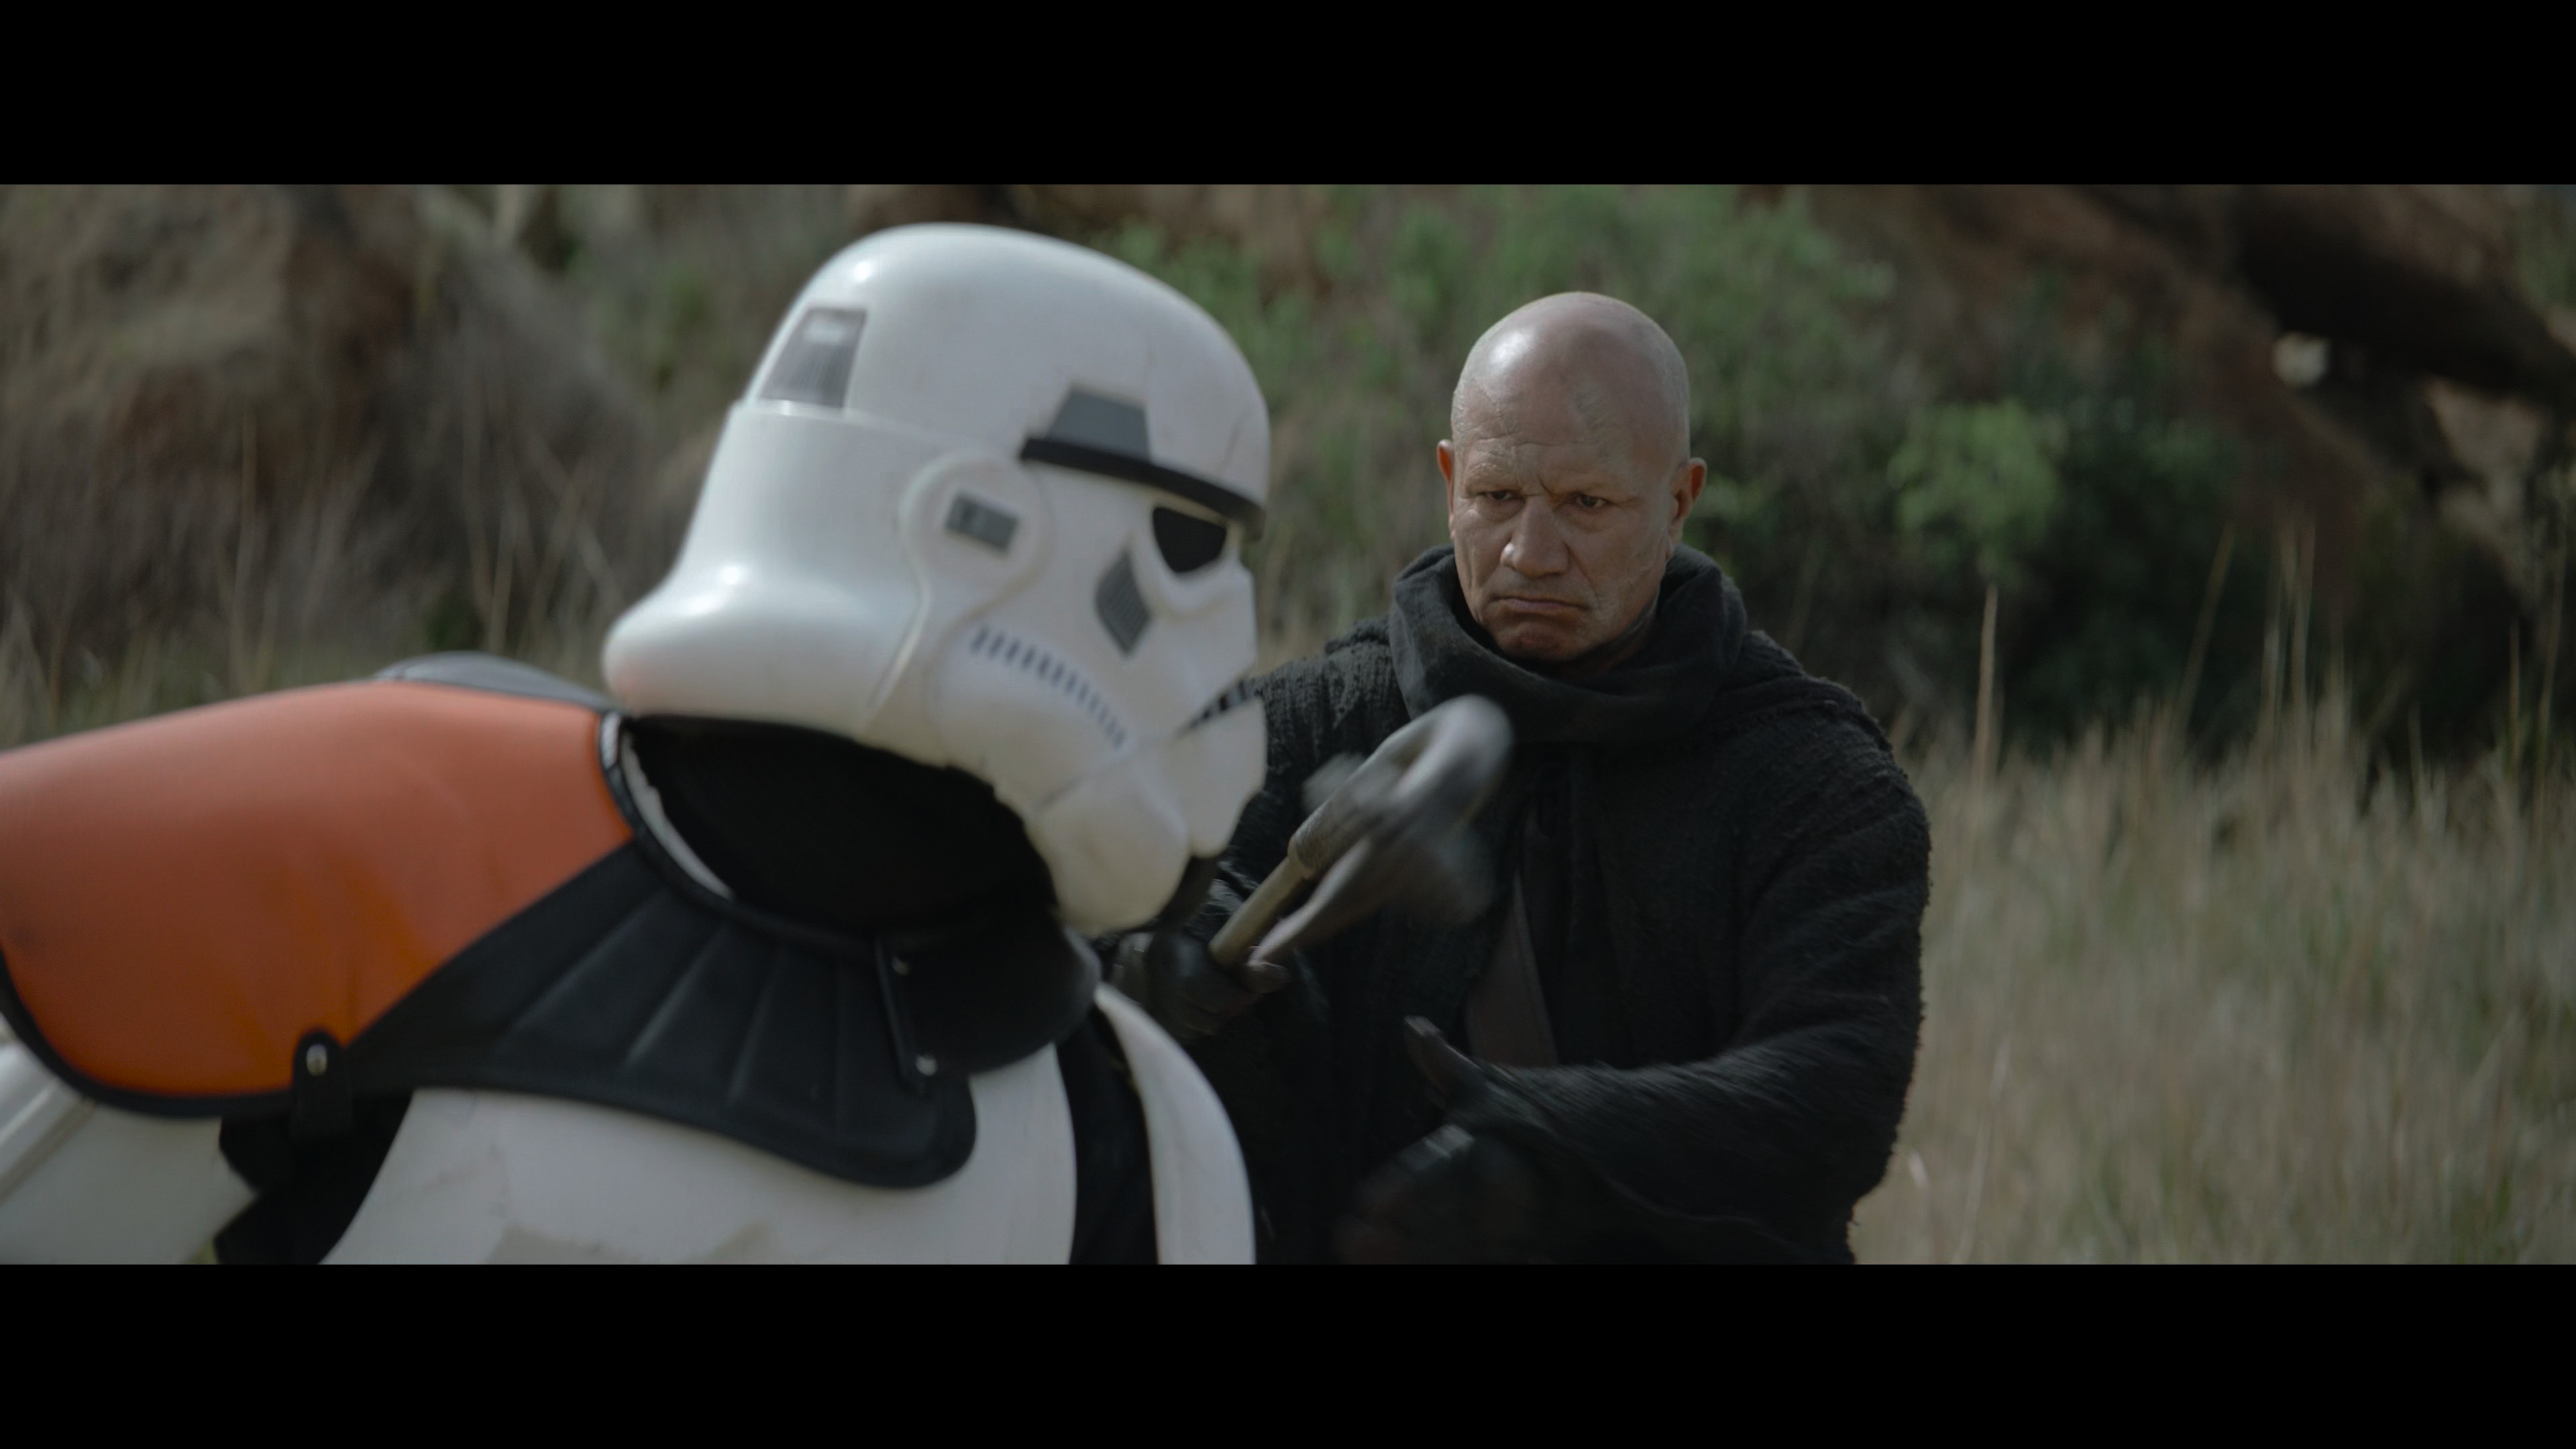
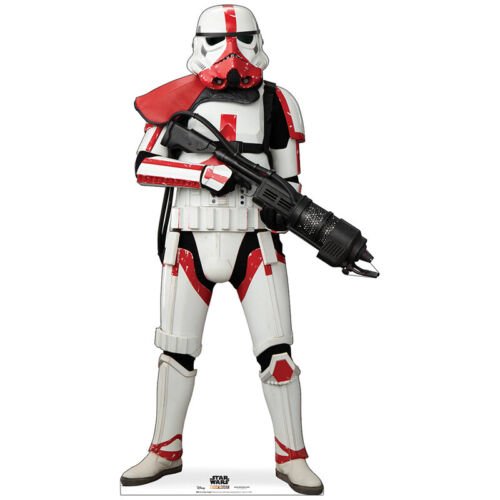
I thought it what was going to happen hence why I only concentrated on the Remnant there's too much info to compile in one thread in regards to multiple CRL's. There are definitely some differences between Rogue One, Mandalorian, Mandalorian Remnant and Obi-Wan, whether these will constitute a new CRL for each is entirely up to the amount of differences and our DO and LMO's. There are specifics to episodes as well and I know we want the general/standardized look but in some cases there are no other references and it's not a minor piece. Take pauldrons for instance, Rogue One, Mandalorian, Incinerator, Artillery and Sandtrooper/Jedha Crystal (although there is a mistake) all had 3 panel/stitched color sections BUT get to Mandalorian S2EP6 Chapter 14 and we have an example of a one piece color section which doesn't fit into any of this "new era" variants. RO - Rogue One MI - Mandalorian Incinerator MA - Mandalorian Artillery OW - Obi Wan Apart from the HWT's can't say I remember seeing any pauldrons but I've not delved into that as yet RO/SOLO era - Rogue One Jedha / Crystal Sandtrooper All 3 panel/stitched. The Jedha trooper CRL has an error, the white pauldron is different to other Sandies not only is the ribbed section white but the closure should also be white not black as per reference below MB - Mimban MC - Mandalorian Commander S2EP6 Chapter 14 And then we get to this trooper, no 3 panels/stitching which is different to all these era variants So this one wouldn't fit into the Rogue One CRL or a New Era Obi Wan as he doesn't have a holster, it may pop up in another series who knows. That's just one example.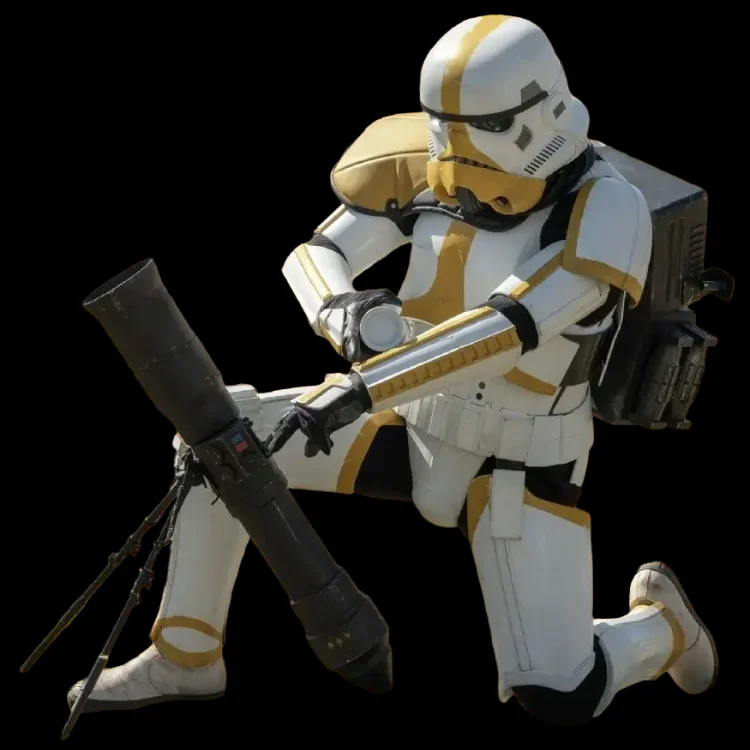

-
Remnant Stormtrooper CRL Discussion Thread
gmrhodes13 replied to BigJasoni's topic in Anthology/Remnant
Optional Accessories Items below are optional costume accessories. These items are not required for approval, but if present appear as described below. If adding in an accessory after initial approval, the item still needs to be submitted to local GML for approval before use. E-11 Blaster Weathering is optional 8/24/2022 Manufactured by BlasTech Industries, the E-11 is standard-issue for many Imperial troops. Light, compact yet powerful, the E-11 blaster is always in high demand throughout the galaxy. "Note, the E-11 holster as seen in the Original Trilogy movies is not an authorized accessory for rogue One armor". No holster allowed Based on a real or replica Sterling Airsoft Gun, Sterling Sub-Machine Gun, scratch-built, or a modified commercial toy Stormtrooper blaster. A small flashlight shall be mounted on the right side of the blaster centred over the T-Tracks. OPTIONAL Level two certification (if applicable): Blaster shall be based on a real or replica S&T Sterling L2A1 AEG Airsoft Gun. (Folding Stock does not need to function) D-Ring shall be present on the rear end cap. Scope shall be a real or replica M.H.R. (Minneapolis Honeywell Regulator Co.) M38 Telescope. 1943 model is preferred. Counter shall be a real or replica Hengstler 400 Series counter. Eagle logo is preferred. Power Cylinders shall be mounted on top of the magazine well. R1 style power cylinders are preferred over ANH style. 6 rows of T-Tracks cover the Sterling receiver holes except for the lower left row with the bayonet lug. Flashlight shall be a real or replica Element M300A Mini Scout Light. 3D printed blasters can not contain visible print lines and must be sanded smooth for a more realistic appearance. OPTIONAL Level three certification (if applicable): Scope shall be a real or replica 1943 M.H.R. Co. M38 Telescope, 1942 model is not allowed. Counter shall be a real or replica Hengstler 400 Series counter with Small eagle logo. Large eagle logo is not allowed. Power Cylinders shall be R1 style, ANH style is not allowed. Blaster must be weathered If flashlight is fitted must be working (this requirement consistent with other CRL's) SE-14r Light Repeating Blaster Weathering is optional 8/24/2022 SE-14r Light Repeating Blaster. The barrel detailing is evident with the cocking lever and slider in place. The ejection port is also evident. The scope mount looks similar to the magazine but smaller in size. OPTIONAL Level two certification (if applicable): Must have the correct 4 x 20 scope OPTIONAL Level three certification (if applicable) Blaster must be weathered E-22 Blaster Weathering is optional 8/24/2022 Based on a real or replica Sterling sub-machine gun, scratch-built, cast, 3D print or a modified commercial toy Stormtrooper blaster. It has a extended stock attached at the rear and a extended front housing with second lower barrel. Tactical flashlight (Surefire scout M300 or replica) mounted on right side of barrel. Magazine is extended length. Power cylinder is larger with 2 outer cylinders and 2 smaller central cylinders Scope is a M38 1943 version Scope rail is fitted onto rail blocks, one inside the rear sight and the other at the front end of the rail. There are 3 swivel studs fitted, one on the rear stock and one each side of the front barrel housing. Sling is 25mm webbing strap that is adjustable using a silver 25mm 3 fixed bar webbing buckle (optional).(not seen on remnant references) Sling is fitted with Talon quick release 25mm swivel or replica (optional).(not seen on remnant references) Red lights fitted on both sides of the rear housing, Hengstler fitted with a red light for the 3 forward tubes and 2 small red lights fitted into the rear barrel housing under the torch, the lights are permanent and are non flashing or pulsed (optional hero version only). (not seen on remnant references) A flashlight mount is present on the right side of the blaster A small flashlight shall may be mounted on the right side of the blaster centred over the T-Tracks. OPTIONAL Level two certification (if applicable): Base is based on S&T Airsoft sterling with closed working parts (no spring) Screws used are M4 x 25mm Allen screw/bolts and sunken Allen screws for power cylinders Sling is fitted with Talon quick release 25mm swivel. Scope must be correct M38 1943 version OPTIONAL Level three certification (if applicable): Power Cylinders shall be R1 style, ANH style is not allowed. Blaster must be weathered If flashlight is fitted must be working (this requirement consistent with other CRL's) PAULDRON NOT SEEN ON REMNANT TROOPERS Pauldron Rogue One Pauldrons denote rank or mission specialization. The Rogue One Pauldron is specific to Rogue One and differs from the original trilogy in color and stitching. Original trilogy Pauldrons are not an authorized accessory for Rogue One armor. An Orange, white, or black ornament made of leather plastic or leather-like material, worn over the right shoulder. The Orange is specific to Rogue One and a different shade from the original trilogy. A red pauldron as seen in The Mandalorian Chapter 14, may be worn as part of the New Generation TK costume, but not as a Rogue One stormtrooper. 8/31/2022 The colored panel is divided into three sections by color matched stitching to conform to the wearers shoulder and has black piping around the outside edge. The remainder of the Pauldron is black and divided by black stitching into 10 segments. The neck closure is black and has two black snaps visible. There is a black elastic strap that runs from back to front and is worn under the bicep to hold the Pauldron in place. The strap is conned to the Pauldron on top by two black snaps inlayed in black “D” shaped leather or leather-like ends. The underside of the Pauldron is white regardless of top color and is divided with white stitching into 13 segments. The entire outside edge is finished with black piping and the underside of the neck closure is black. OPTIONAL Level two certification (if applicable): OPTIONAL Level three certification (if applicable):