gazmosis
-
Posts
4,043 -
Joined
-
Last visited
-
Days Won
23
Content Type
Profiles
Forums
Gallery
Articles
Everything posted by gazmosis
-
Do we have any pictures of ones that have been converted yet?
-
[email protected] This is also Trooperbay's but he uses a separate email for his armor dealings
-
 I think it's a great alternative for trooping! Great find
 -
Oh yeah...we bad!
-
Nice tips!
-
Have you tried it on yet? If they built it for you they should have done it according to YOUR measurements. There really should not be any issues.
-
Spacebrew's ANH Stunt Build (MTK)
gazmosis replied to spacebrew's topic in Build Threads Requireing Maintenance
You look great! See what you can do regarding getting your side seams to align better. The rear cover strips on your thighs and shins look big to me. Too big. Are they bigger than 20-25 mm in width? -
Did you trim the top return edge of your shins off or did they come like that?
-
CRXPanda's Rebuild Thread
gazmosis replied to CRXPanda's topic in Build Threads Requireing Maintenance
Elmers glue......WOW!! -
AP Armour with ANH Centurion as Goal - Build Thread
gazmosis replied to MechaPumpkin's topic in ANH (Stunt and Hero)
Wicked cool build so far! Some things to consider. Your neckseal ribs seem a bit large to me. I think another stitch in between them would help. Second is your helmet paint. I commend anyone who gives this a go. It's a challenge no matter what your skill set. This the crowning Jewel of your whole suit. I would strongly recommend to go back and take a second look at the black outlines of your traps and consider making them a bit thinner and more even. There is a difference between "hand painted look" and over enthusiastic hand painted look. The black surrounding the tears, traps and rank bars should be a small pinstripe at best. A seldom mentioned method of cleaning up or altering paint edges is simply with a brush moistened with thinner. By massaging the paint, you can remove it with control. Wash the brush often to keep it clean, dab off the excess and repeat until satisfied. If you remove too much, you simply paint it back in. This method will really help clean around the tube stripes. Your tears under your eyes look small to me. There is a "valley" of sorts where the flat bottom of the tears meets the "walls". The tears should be painted all the way to this valley. A pencil placed in the valley will self guide when marking this off. Keep up the great work!! -
The Doopy kit is very much a "glue and go" kit. With anything on here though, research is key. There are things to do and NOT to do. Scan other builds, find what you are comfortable attempting, use the upgrades listed above if you want to improve the kit and have the skills to do so. Use pics of the real Sterling available in the photo references above to see what the real thing looks like. Remember, the only foolish question is the one you didn't ask.
-
Hovi Mic as analog volume controls?
gazmosis replied to shnar's topic in Assembly, Mods, and Painting
The other issue is that the recess that the hovis sit in is not perfectly designed for the hovis to rotate. The innermost portion is not flat, the surrounding area is not even. This would need to be a much thought out project that would need to be applicable to any/all helmets. I'm sure it can be done, though. -
TK-27639 Requesting ANH Stunt EIB Status (RS PROP)[461]
gazmosis replied to ZARAL's topic in Request Expert Infantry Status
Hello Alberto!! Thank you for your EIB application. Rs does it again with yet another great set. Let's look!! CRL and EIB Application Requirements: All required submission photos have been posted. Your armor contains all elements necessary to qualify for EIB. I would like to congratulate and welcome you to Expert Infantry!!! Other-Armor Fit/Assembly: In this section, we will discuss your armor and provide suggestions to improve the overall appearance of your armor. Unless specifically stated, these suggestions will not affect any application. First, very nicely built and fit to you!! Your paint details are well done. I would probably sand down those "OUCH" points on the crotch portion of your butt plate. It's great to see the side hardware on the ab properly placed when the extensions on the side are used. Very nice!! The better news is that there isn;t much to discuss!!! Centurion Suggestions: Centurion requires a much more specific set of photos showing details not always seen in EIB applications. I do my best to spot/mention items that can be improved on for Centurion, but the accuracy of the armor is ultimately the responsibility of the trooper. I really hope to see a Centurion application from you, Alberto! Just two things I can see that will need adjustment first. That lower gap on your right side will need to be eliminated. Start simple with tightening the belt. If that diesn't do it, you might need to install a lower strap to bring that together. Once you have succeeded, please re-take the full body shot to show this gap has been eliminated. It should not show in your Centurion application. Second, the paint should be removed from the split rivet on your cod. If you have any questions, don;t hesitate to contact me. Well done and congratulations again!! -
Thank you for following up on this!!! Welcome to EIB!!!
-
Welcome Christian!! Nice armor!! Looks like RS? Were you looking for some feedback or do you have any questions?
-
http://www.therpf.com/f75/star-wars-episode-7-stormtrooper-helmet-kits-collecting-deposits-new-v2-helmet-223406/index18.html?highlight=episode
-
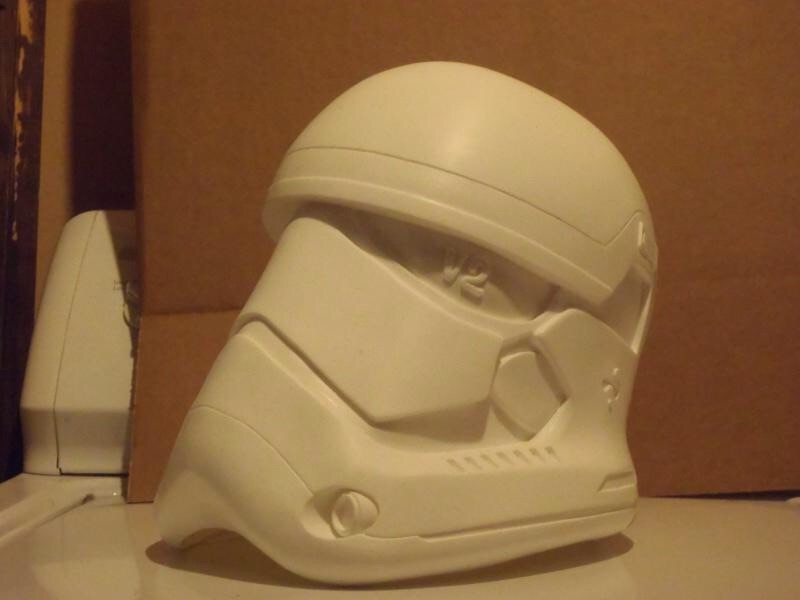
Aaaaand it starts. $235 two part cast. Includes lenses, head greeblies and mic tip

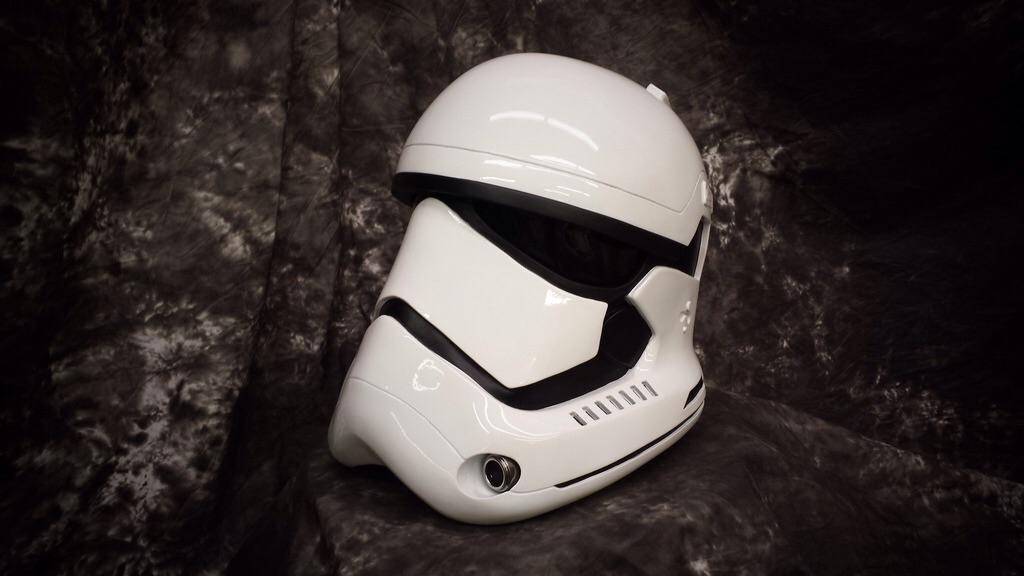
-
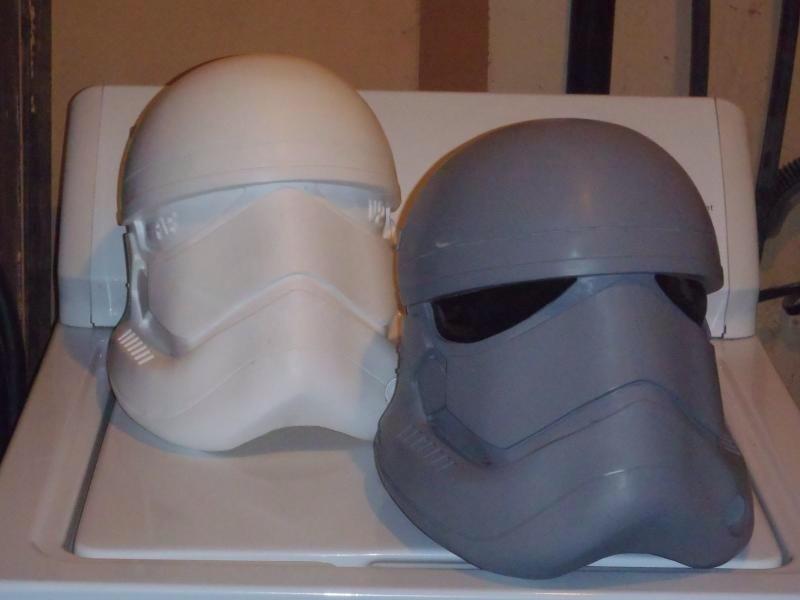
There is a give and take in this situation. The original suits were 3D printed in polyurethane resin. The suits we have seen to this point have all been vacu formed. Liberties were taken into consideration when the molds were made but they are REALLY CLOSE
-
Zarlon's First ANH Build Thread (ATA)
gazmosis replied to Zarlon's topic in Build Threads Requireing Maintenance
Sorry about not responding earlier. I honestly think you should go,back and take a look at your helmet regarding the eye openings and the round portions of both ears. Looking at the eye openings from the inside, you can see the cut lines. When you see that, you will see that you can still remove quite a bit. look at how close to the face the marked cut lines on this ATA helmet are. As for the ears, the round portions can be brought down. Note how thin the ears are here.
-
Jay is correct unfortunately. In the review, I mention specifically the "on the magazine side". An easy replacement T-track can be found on a black yard rake.
-
No source for the blasters yet.
-
What bondos are people using? I used Micro lite with no cracking issues.
-
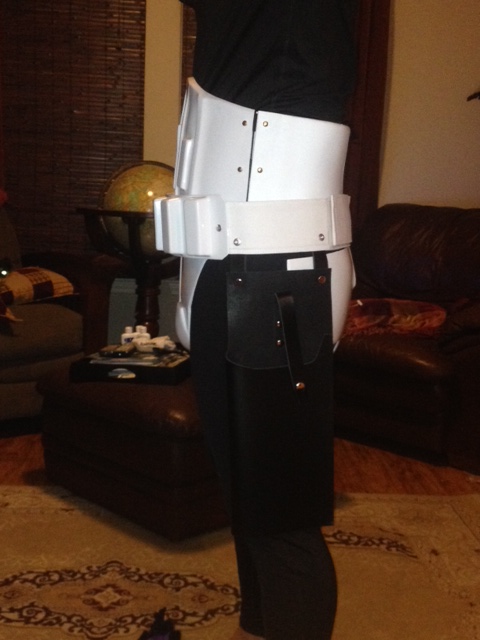
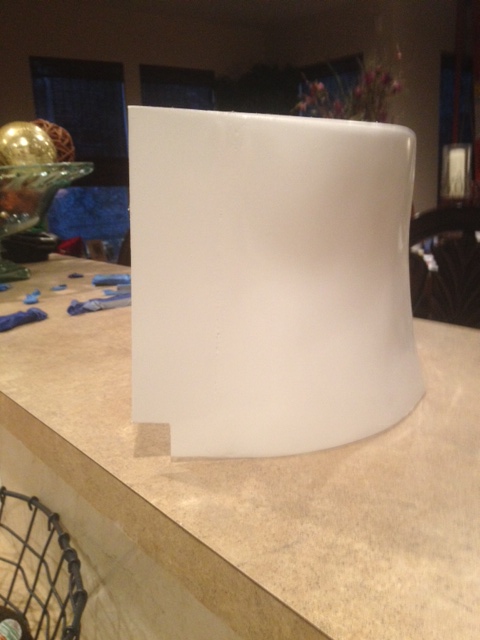
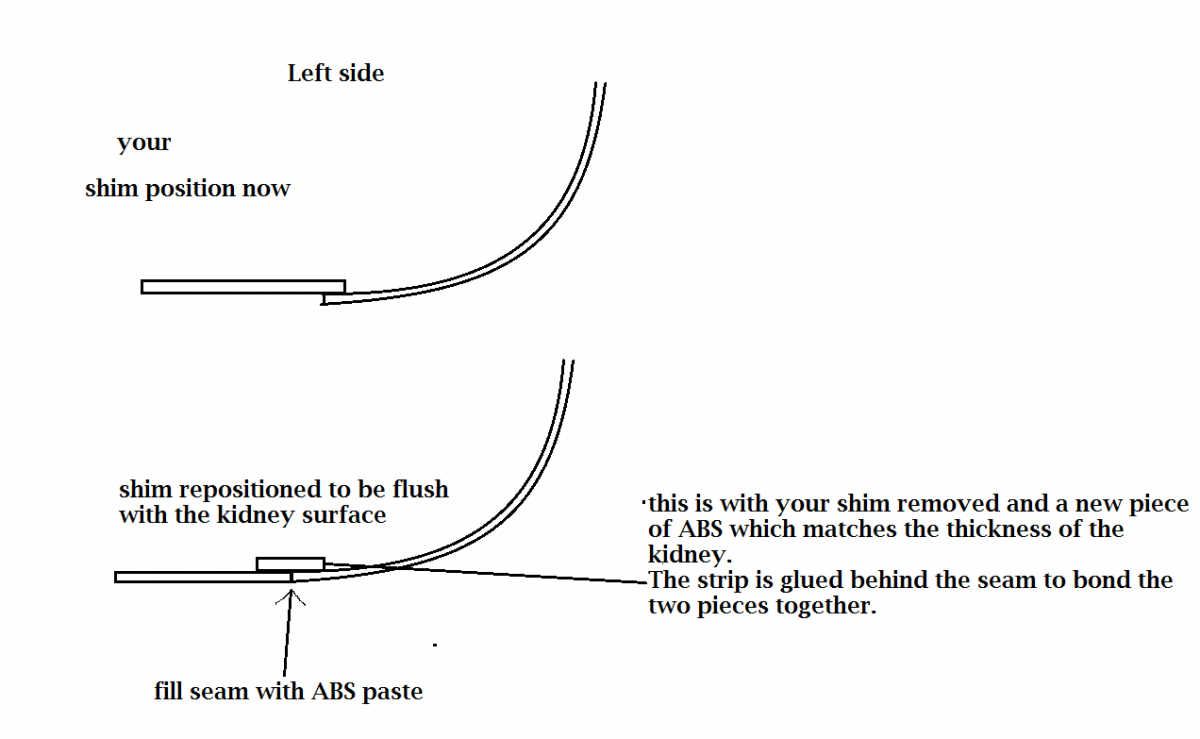
Mr. Pascal! Thank you so much for your application to EIB. It is always a pleasure to see a well built set of RS. Let's look at yours!! CRL and EIB Application Requirements: All required photos have been posted and your armor contains all necessary elements for EIB. With that, I would like to congratulate and welcome you to Expert Infantry!! Other-Armor Fit/Assembly: ​In this section, suggestions for overall armor appearance will be summarized. Unless specifically stated, these suggestions will not affect Any application: Being a taller trooper, this armor fits you really well. What I am very pleased to see is the correct placements of your side hardware on your ab when using the extra material that is left on the sides in case you need it around the middle. Well done to not use the suggested dimples provided. The suggested hardware marking dimples provided by RS are fine to be used if your sides are cut accordingly. Because you are a taller trooper, I hope you think that is is mandatory that your thigh pack be lowered. Although this is not totally incorrect, a loose thigh pack can get caught and break (I've seen it) a dab of glue on the center against the thigh will solve this. Outstanding helmet detail painting! I also love the low profile scope rail. While we are on the subject of your blaster, those power cylinder wires on the RS blaster are a bit enthusiastic with soooooo many coils. Reducing these can be something to consider in the future. Having the 2 snaps on the butt and the cod split rivet are not mandatory for EIB. However, I do like to make sure that this hardware is left unpainted but I am sure we will see it in the centurion application Centurion Suggestions: Although I try my best to see everything, Centurion applications require photos that show aspects of the armor not seen in EIB applications. Ultimate responsibility lies with the trooper to make sure points are followed. Before applying for Centurion, I'd like to see a couple adjustments. First the easiest because it may just be the way they are positioned in the pic. I'd like to see your shoulder bells up against the ribbed bridges and have less gap up there. The next one will take a little work but will be so worth it when done. Although your hardware placements on your shims are spot on, I'd like to see the shim applied flush with the armor surface so there is less of a ridge between the two. If done carefully, the seam can be extremely subtle. Here is the means I am taking about to join them: Typically, plastic paste made from acetone mixed with plastic scraps is used to fill the seam. This is some side seam work that is close to impossible to tell this kind of work was done. Much congratulations on your EIB and having possibly the coolest name in the entire Legion!!!

-
ANH TK STUNT Blair Induction Filters Help
gazmosis replied to SirUberNoobPwnr's topic in Tutorials, Tips and HOWTOs
The real name are mic tips. But if they were named that as an Imperial description in a book....cool! Anyway, you really shouldn;t need glue to hold them in. Good mic tip castings have a small lip just under the edge that the screen sits on if you cut it very carefully.