Leaderboard


Popular Content
Showing content with the highest reputation on 01/06/2025 in Posts
-
4 points
-
I am sure @jsilvius can help with that.2 points
-
Thanks! 😊 Needed to hear some good as I’m finding more and more small things I’ve done wrong. It’s fun doing this, and I love building but to be honest I’m no expert, far from it. And doing all the mistakes break my spirit a bit 🙈 I get carried away and overdo things, have a hard time leaving them wonky, cricked and not symmetrical.. I can look at a picture, aim for it and look back 10min later and wonder what the hell I was thinking 😅 I know it will end up okay in the end, and I know I will be proud of the result but the way there is a rollercoaster for me. So I really appreciate your moral support and also not to mention support I get behind the scenes. @Nairy my friend and garrison buddy have given me a lot and even Paul at Troopermaster have reached out giving me super great tips and @gmrhodes13 pulling out spreadsheets, pictures. Thanks to all of you! So in the spirit of “troopers helping troopers” I’ll add the section “what NOT to do” in my build thread too 😃2 points
-
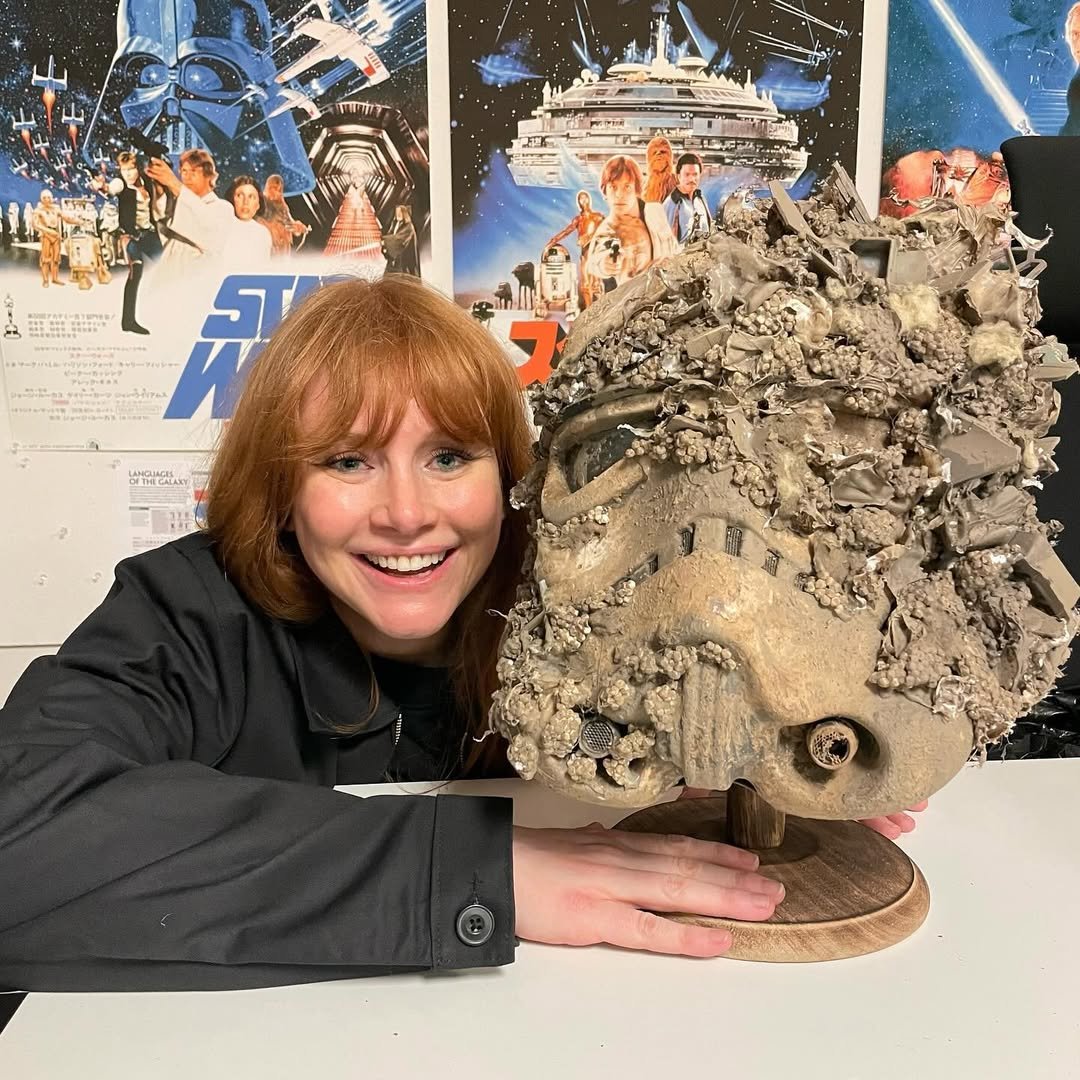
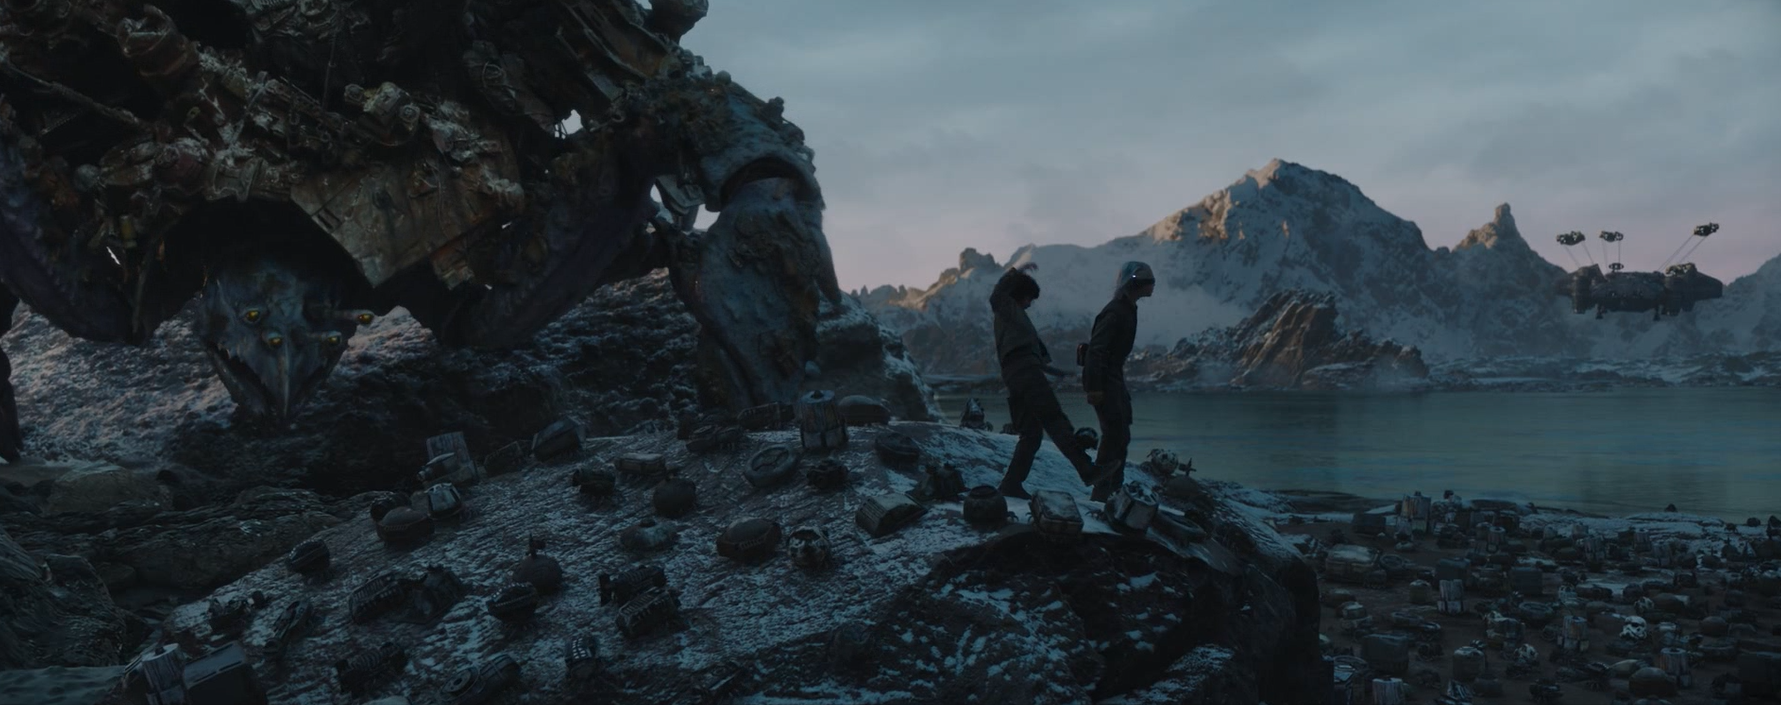
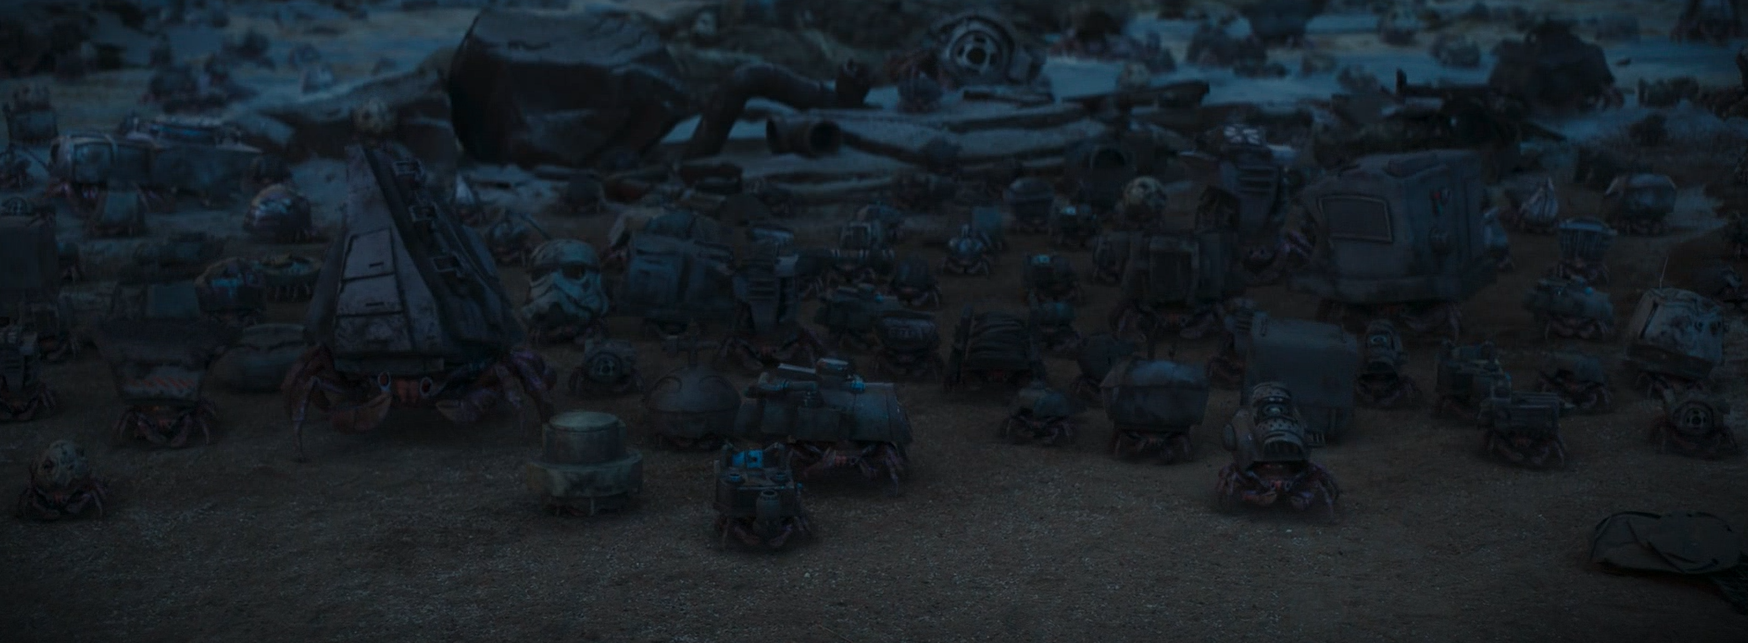
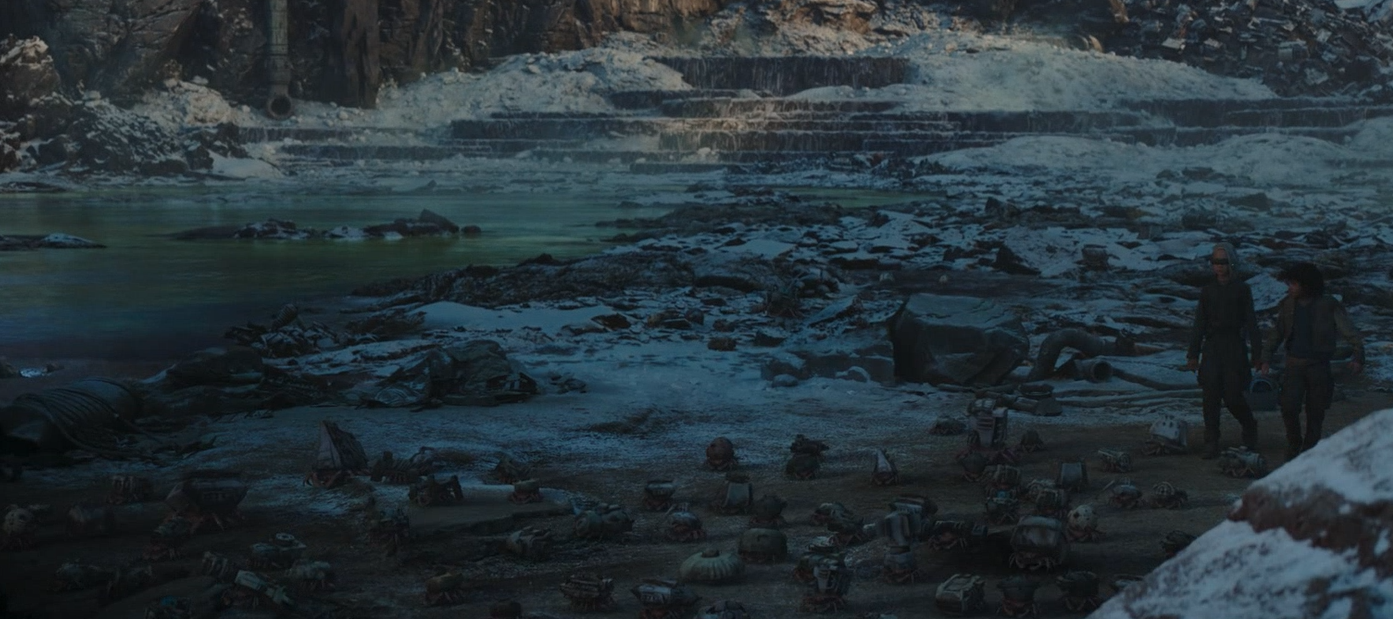
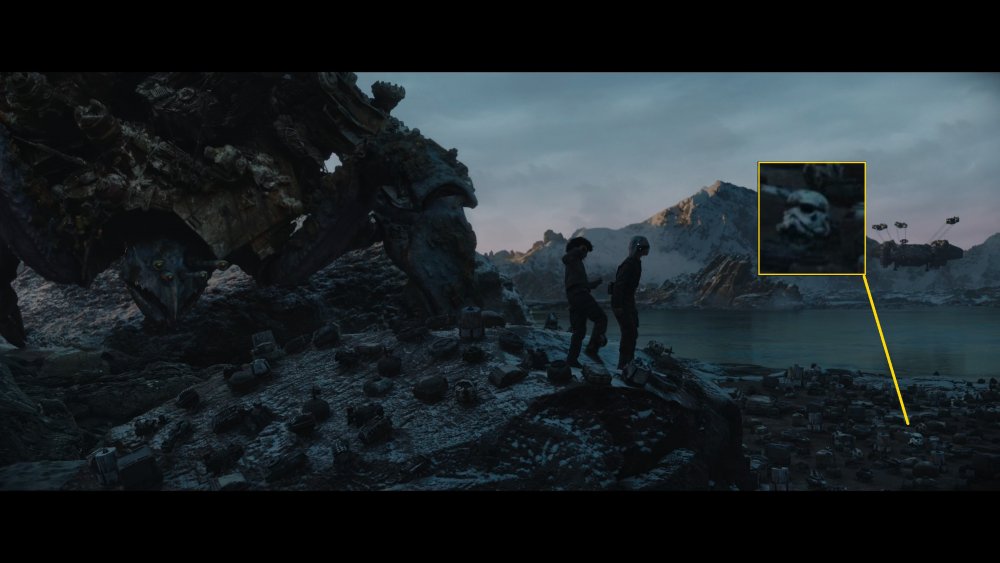
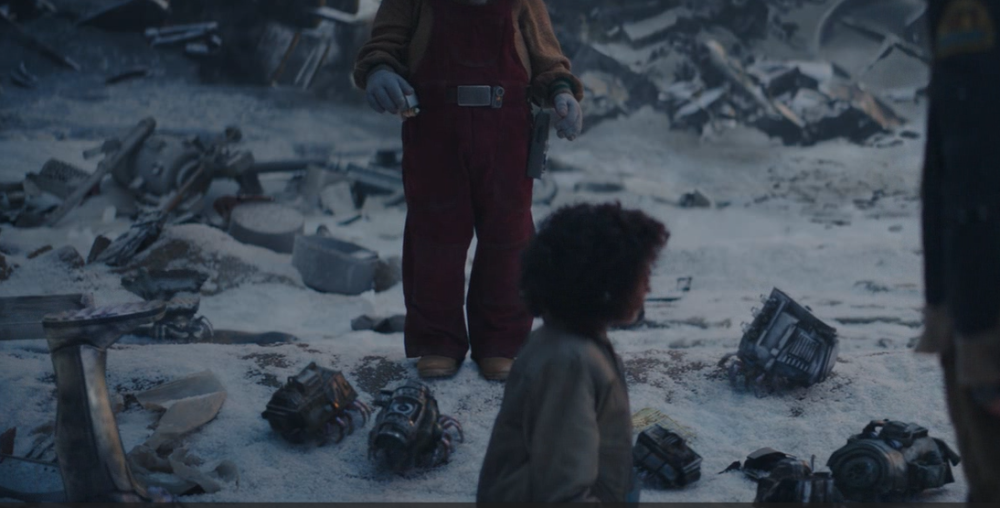
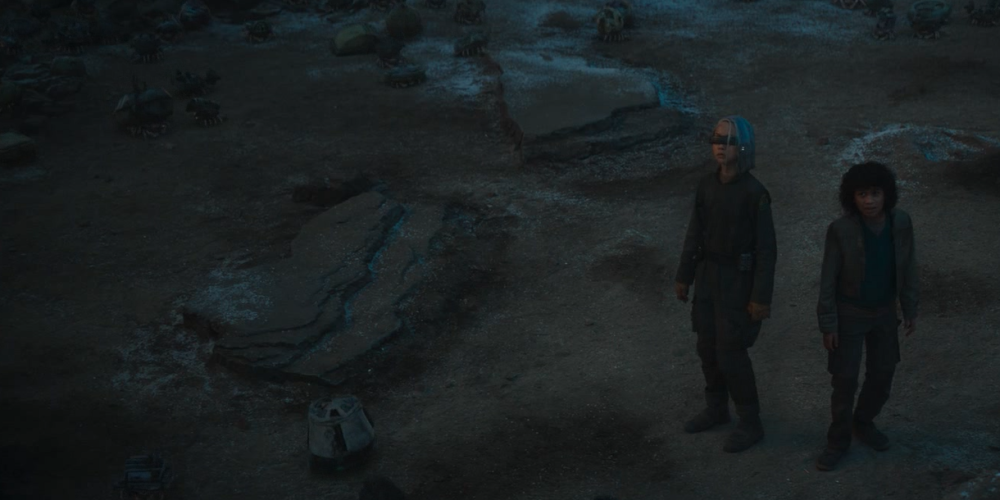
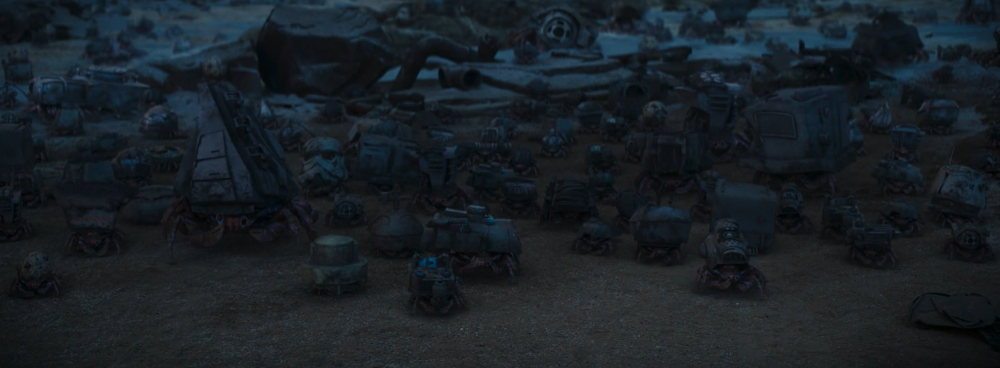
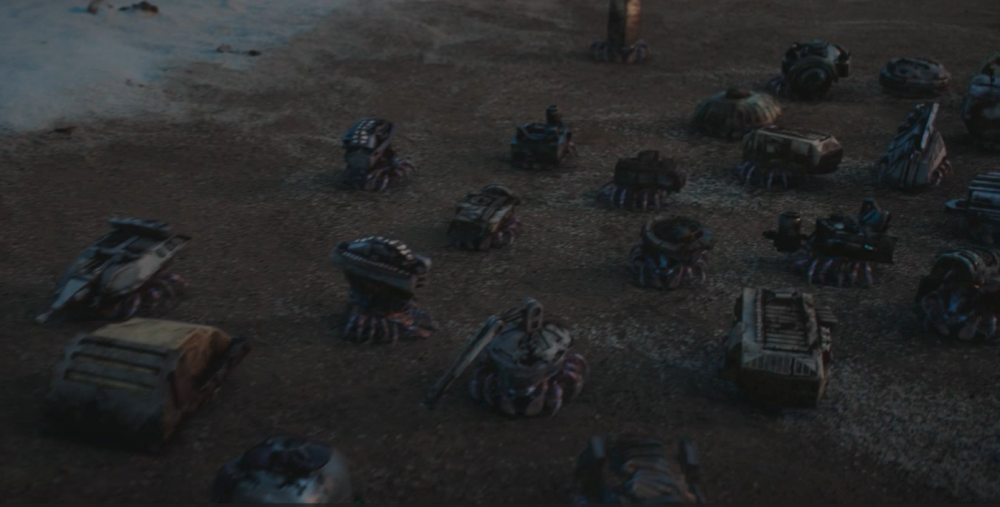
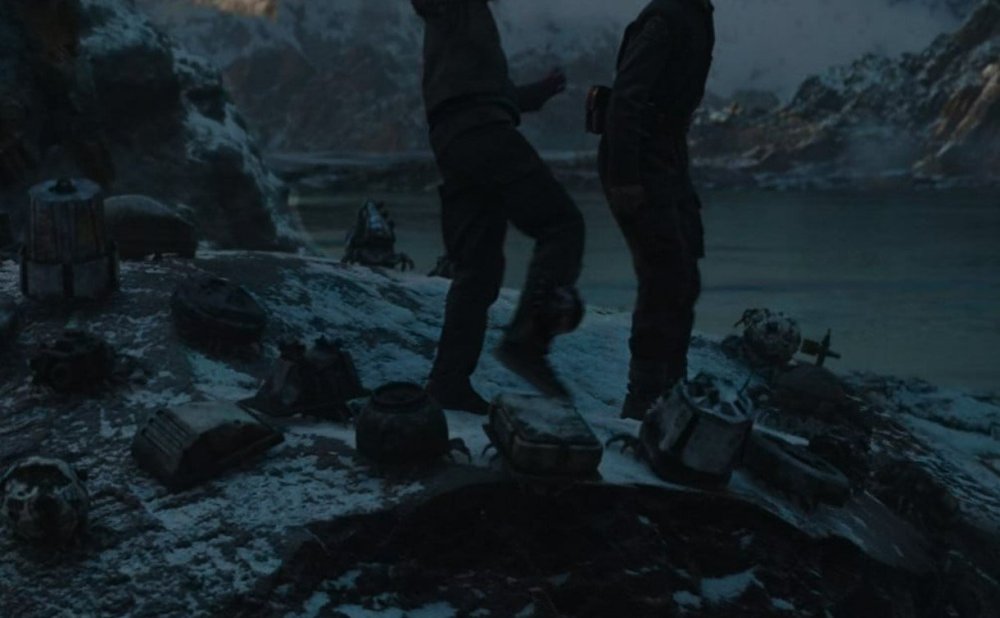
Stormtrooper Trash Crab - Possible Spoilers - Skeleton Crew EPVI Trash crabs were a hermit crab-like species of crabs that roamed the planet Lanupa where they scavenged and wore pieces of technological scrap. Trash crabs then were able to communicate, although very limited, with the technology they scavenged, which the human Wim believed was a sign they were sentient. One gigantic member of the species was Tet'niss. Trash crabs were similar to the scrap crabs of the Outer Rim planet Trionak. Did you spot the Stormtrooper helmet trash crab? Bryce Dallas Howard pictured with one of the helmets (although I've not spotted this one in the episode, yet) Love the shin and boot There are a lot of other Star Wars items used, a couple of jedi training remotes, some R unit heads, mouse droid shell, as well as a lot of other items, how many can you identify?


 2 points
 -
Update #10 - ‘with some modifications’ Thought about placing some kind of control panel below the drawers. Should be easy to make from wood with some knobs and greeblies. Then I got an old tablet in hands and things went a bit crazy. Sorry, had missed to take photos of some steps. Now what to do with that thing? Would be cool to have some Star Wars footage, looking like coming from Death Star security cameras or so. Hm, maybe that already exists?! On Youtube I indeed found a suitable clip. So I contacted the owner and asked for permission to use it. As chance had it, this was made by FISD member Daniel @SKUTCH and he agreed. Thanks again, Daniel. He looped a 3.5 mins sequence to a 25 mins clip. I chopped it down to 2.5 mins with no audio and transferred it to the tablet, where it can run in an endless loop. Wondering how it looks like? You got to wait a moment. Then it was time to fill that cabinet with everything I had gathered over the years plus the blasters, all decoration and stuff. I started at the bottom because some things are just stacked on top of each other. Ever since finding those device covers, I dreamed of how cool it would be to have the red and white lights blinking, like seen on many background props in the movies. Unfortunately I wasn‘t able to do that but luckily there is Dave @Cody42 in my Squad. He had offered to build custom-made circuit boards to fit behind the covers. It took some time, phone calls, measurements and bucks but he went all out and designed the following: Having no AC power outlet nearby the cabinet, he ingeniously made the circuit boards to work at 5V DC via Mini-USB port. That means they can be operated with a standard power bank. It is also possible to switch through various light modes, adjust the brightness and the interval time. And whatever you select remains stored in the memory, even when the power source gets disconnected. https://youtu.be/x7fIisnKrJM In the video you can see two temporary push buttons. These are required for configuration. For the final setup Dave had simply planned with my black switches, which were already present in both panels. Dave, I cannot thank you enough for this awesome work. Even after a few years now, everything is still working fine. And that‘s it. Project finally completed. The cabinet is completely filled with goodies and electronics. The 'surveillance' video looks very cool and the lamps change every 10 secs. As photos don‘t work well to show the final result, I simply filmed the cabinet from top to bottom. Enjoy.2 points
-
Hello. I have been building armor (commissions) for the last 5 years. Most of my work is from word of mouth / Facebook, but I would like to offer my services on one of the forums. What is the appropriate forum to make my post offering my services? Thank you in advance.1 point
-
I wasn't sure on this so didn’t want to be hasty in my decision (tried to learn from my mistakes). But leaning towards painting them black as I think it looks nice 🤔1 point
-
Hovi mesh can also be painted black if you wish Correct Aerators/Hovi-MIX tips are present. Screens used shall be of a wide type mesh. The rim of the mic may be weathered, and the inside raised area painted white. Interior sides shall be painted black, mesh can also be painted black. References1 point
-
I have used painters masking tape but still get bleed, I’m a master at it 😂 but painting it white first was brilliant!!! 😱❤️ Thanks for the tip.1 point
-
A couple of ways to reduce bleeding is use a painters masking tape not just masking tape, also paint white first, any bleed areas then get full of white, then apply your blue1 point
-
It looks stunning!1 point
-
I used a template. My opinion is don’t! ❌ Mine are now sorted to the trashcan. These give a lot of bleed through and are also very hard to place on the curvy surface. Troopermaster gave me the advise to just use some thin masking tape and a precut template. So stealing his pictures he sent me to show you guys how I think it should be done next time 🫣 At first I was thinking of just starting over and wiping the paint of the bucket. I know the bleed is easily fixed with just a toothpick after the paint have dried as I did it on my last bucket. This time though I thought before doing. The Humbrol Enamel paint isn’t the easiest cleaning so tried first on a spare plastic piece. And WOW am I glad I did this. The only thing really cleaning it also dissolves the abs I just left a second or two 😱 I know this is an issue talked about a lot here on the forum but can’t say it enough! Even the brush was just to throw away after as it was full of abs. Ditched that idea and went back to clean the lines with toothpicks after it dried instead. Just carefully rubb the tip in an angle against the paint and it will slowly scrape it off. The the tip gets full, cut 1mm of and continue or take a new toothpick. Before: After: After doing this I went back with “the right way” and did a touch up to the lines I wasn’t happy with. It will need some minor toothpick trimming after dried too but not much 🙂1 point
-
Following is a guide on WHAT NOT TO DO!! 😅 I had cut out the teeth too much 😔 Even though looking at pictures, planing and having a goal I somewhere on the line got carried away and took a bit too much. “This needs to be a bit straighter”, “only touching up this” and “fixing this small thing, there is a line”. I know this is an issue I need to work with myself on but here I am. Honestly at first I just wanted to quit as I got so angry at myself. But after some mental torture and a lot of screen helmets I at least found one probably made by the intern that was at least close to mine 😆 So my Hero won’t be Luke or Solos, it’s the one in the back 😅 But as you know misery loves company! Blue lines… 😒1 point
-
Need some paint on the bucket too. As I always have troubles having a steady hand, especially when applying dark paint on white background I try and keep the outer black line as straight and solid I can but don’t give full attention do the inside as it’s going to be gray later anyways. This helps me a lot doing the black first and grey after, more forgiving. Added a bit grey to the mouth too. This was when I started realizing mistakes have been done and they where not to be alone, more would follow 😔1 point
-
More progress on the Triple D's AM Kit to replace my ATA kit.1 point
-
Perhaps in the "Ongoing Sales & Project Runs" section maybe? If you intended to provide a long term service to the community and constantly updating on order progress. Ongoing Sales & Project Runs - 1st Imperial Stormtrooper Detachment1 point
-
Self-build kits (helmet & armour) together with recommended strapping kit ordered from RS Prop Masters - now the long wait until BBB day!1 point
-
Its an honor you having one of my scopes on display. Sounds like good fun to have people guess.1 point
-
Copy that Tino, and thanks. Outstanding work on your rack!1 point
-
Oh my gosh. I just thought this thread was bumped. I didn't expect fresh content. Let alone content like THIS!!!! Incredible work Tino. Just incredible. I mean, the 2019 version was already mind blowing... This is perfection.1 point
-
Thanks guys!!1 point
-
1 point
-
Thanks for all the kind words, guys. Means a lot to me. Thanks Brian. Hope you don't mind I meanwhile took your premium scope out of that little showcase box. It simply was too much fun to tell people "One of these scopes is real. Guess which one - without touching." Hey Tony. Guessing I won't ever offer something like this for sale. Just imagine the shipping costs... However, if you want to upgrade the wall-mount for your blasters, here is a link to the gun rack, which started it all. The measurements should help to build something similar and you can expand or reduce the size to match your amount of blasters.1 point
-
Done the last trimming and sanding. Test fitted the rubber trim on the opening of the helmet. Ready for paint…1 point
-
1 point
-
You could reach out to troopers who are local to you, Carolina Garrison looks to be close to you, info: https://carolinagarrison.org/, they also have a few squads which may be even closer to you Carolina Garrison Roster of Unit Member Costumes carolinagarrison.org Territory Occupied: North and South Carolina (United States) Squads: Crimson Sky squad members www.facebook.com/groups/1741675 ... ?ref=share Western Overwatch squad members www.facebook.com/groups/6316304 ... ?ref=share Palmetto Guardian Squad squad members carolinagarrison.org/1 point
-
Feel free to visit my shop. https://ukswrathsspeciality.etsy.com/listing/5257182781 point
-
Update #09 - Cabinet background Never felt happy with all that free space inside the cabinet. And the boring rear door was still clearly visible. So I had to focus on the background instead of the display pieces. Was happy with the result and for me both panels brought some Star Wars vibe into that cabinet. Yes, blinking lights would have been very cool but I lack the skills to build something. We‘ll get back to that later. Next I had to reorganize a few items inside the cabinet. About six years ago, two drawers had been added, just laying on a painted wooden shelf. Their flat metal surface made them slip around, each time I touched them. Pretty useless when not being mounted. So I tackled this next… Moving the drawers to the middle, caused a large area to fill right below them. This (plus other things) will be covered in the next update...1 point
-
Congratulations again Eric, With respect to your Hovi Tips, here is a post I just put up outlining an easy way to fix them.1 point
-
I think it was 'Heroes of the empire', also available on YouTube by the looks of it1 point