Leaderboard


Popular Content
Showing content with the highest reputation on 09/17/2024 in all areas
-
4 points
-
3 points
-
3 points
-
Leaps and bounds compared to the V12 points
-
Correct - hopefully you're pointing this out just as another way in which the new pauldron has improved over the original commissioned one Okay just a few more before I find time to put everything on again...2 points
-
Here are all the hard parts: Helmet: Upper Armor (front/back/shoulder straps) Abdomen Backplate (I hope it's acceptable to ignore the fastener, its dissappearing under the upper part and is giving a better grip for a better fitting) Shoulders Bizeps Forearms Thight(s) (second following for obvious reasons) Shins Blaster2 points
-
2 points
-
Hey folks, Pretty late in my progress but I'll try to give all of you a bit of a overview along the progress. Pictures may vary a bit as I'm gathering all my pictures from all the different sources. Hope all of you got fun, as always I'm open to critics or suggestions! Started as a 3D-print, everything exept greeblies in ABS on my RatRig Vcore and my Bambu P1S I'll save you from a lot of sanding pictures, files was mixed for maximum perfection: Painted everything in Ral9016 Pretty happy with the paintjob, nearly too nice to destroy later on https://imgur.com/HlNQ0jf First fitting, don't judge yet, there is more to come and I'm still not done at the moment Fitted the Cogs, already gave me a good amount of headache Didn't like any colour I had so i mixed it myself Started Strapping Gold. A lot of gold (total run time for gold leaving approximatly 15h) Prepared Strips to make the border of the Kama Top already strapped, undersuit is still to loose and the wrong colour started weathering...and took everything of later on as I wasn't quite pleased I clear coated everything between 4 and 10 times to give the gold leaving enough protection (always freaked me out when the clear coat was drying) Sewing the undersuit tighter fitted the eyes perfectly (took a lot of trial and error!) Also looks pretty creepy from the inside Getting closer with fitting, ignore loose belts and neck seals! started weathering again after endless youtube sessions and trying to find my way gave everything after rethinking and redoing another coat of varnish, two heavy layers and one dusting to get the right sheen started with the blaster, not much to add here, mostly abs with a handle out of resin and knobs out of aluminium Shoulder belts added, waiting for the correct ones Kama, done by my wonderful friend Anne / @Xavenia (more on this later) coloured the undersuit darker Still a good amount of work, but I'm positive to be done soon!1 point
-
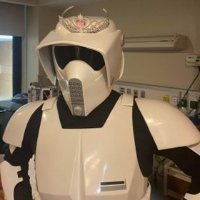
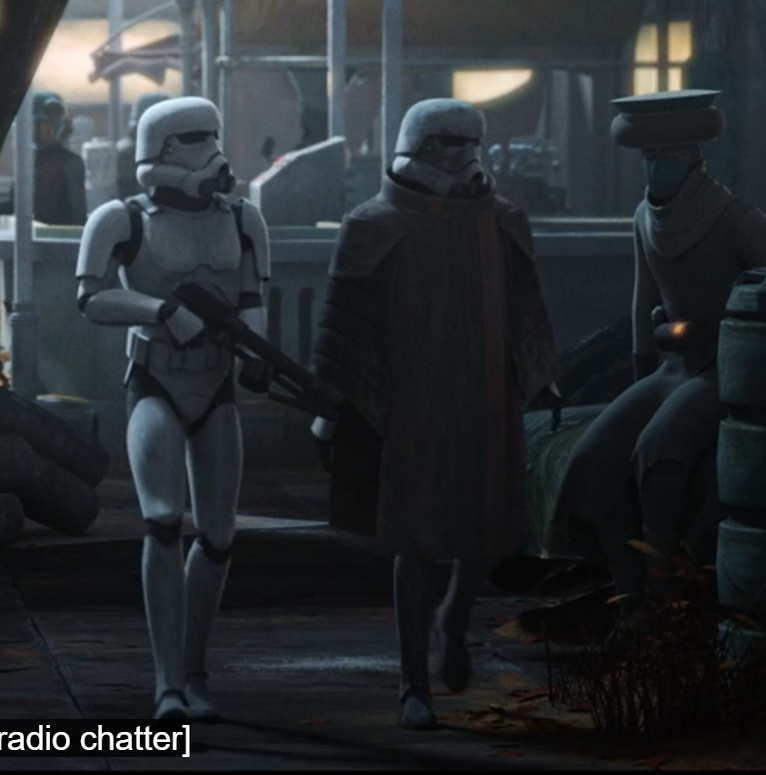
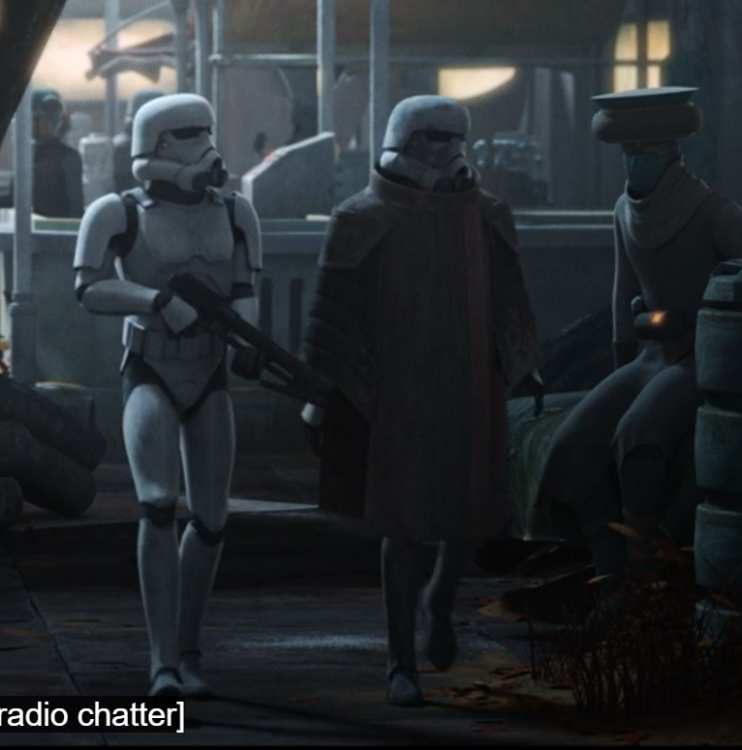
If you know where this is from than you'll get it:1 point
-
Thank you so much for this! Some great stuff in here1 point
-
Thanks for the feed back glen! I will be getting back at it in a day and will put what you said to work. So many suits and when looking at references , sometimes these small details are hard to see. Appreciate your help!1 point
-
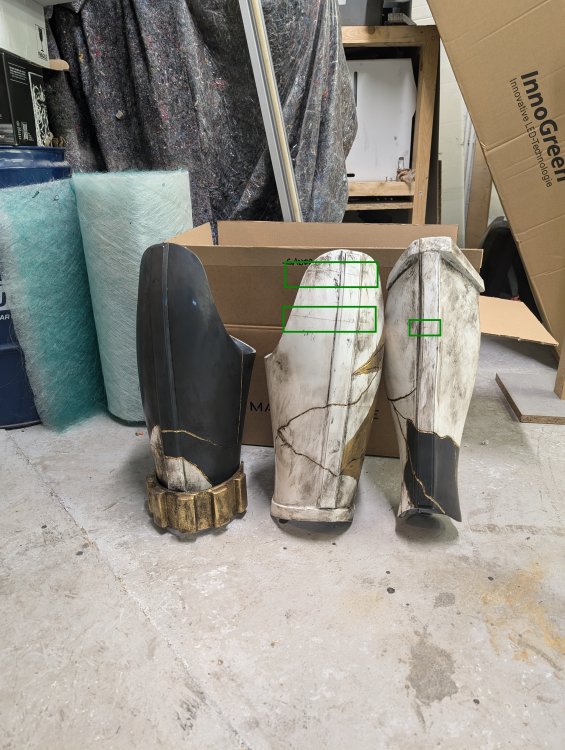
My question is are the inside of the forearms supposed to look different or trimmed to the same “u” shape. I have them trimmed to where the flash was. Normally the right and left sides are a different shape/size, same as screen suits Also, the bottom cod piece of very bland and no hard lines to see where to exactly shape it too, I have a rough pencil marking for now but curious any tips or tricks. Trim line looks fine Bicep with the thumb print goes on the left arm NOTES ON BICEPS: In the original films, many of the biceps had an indentation, or "thumbprint" (normally worn only on the left) on the inside. As the biceps are interchangeable, this is not a requirement for any level. You can take off all the return edge on the shoulder bells if you wish too Swoop on the shoulder bells goes to the front Note: For ANH S/H and ESB as mentioned in the CRL for basic approval, shoulder bells are interchangeable. However, note that many (but not all of) the originals contained a "swoop" (slight curvature on one side) at the bottoms, which should ideally face the front. Some armor makers have incorporated this detail into their molds, but some have not and many times troopers get them backward. This is not a requirement at any level. <--- Front References to other WTF forearm builds Found from searching that the left forearms have a slight curve to it while the right is more straight Left Wrist Left Elbow Sorry if I've missed anything.1 point
-
Awesome Alex. congratulations!1 point
-
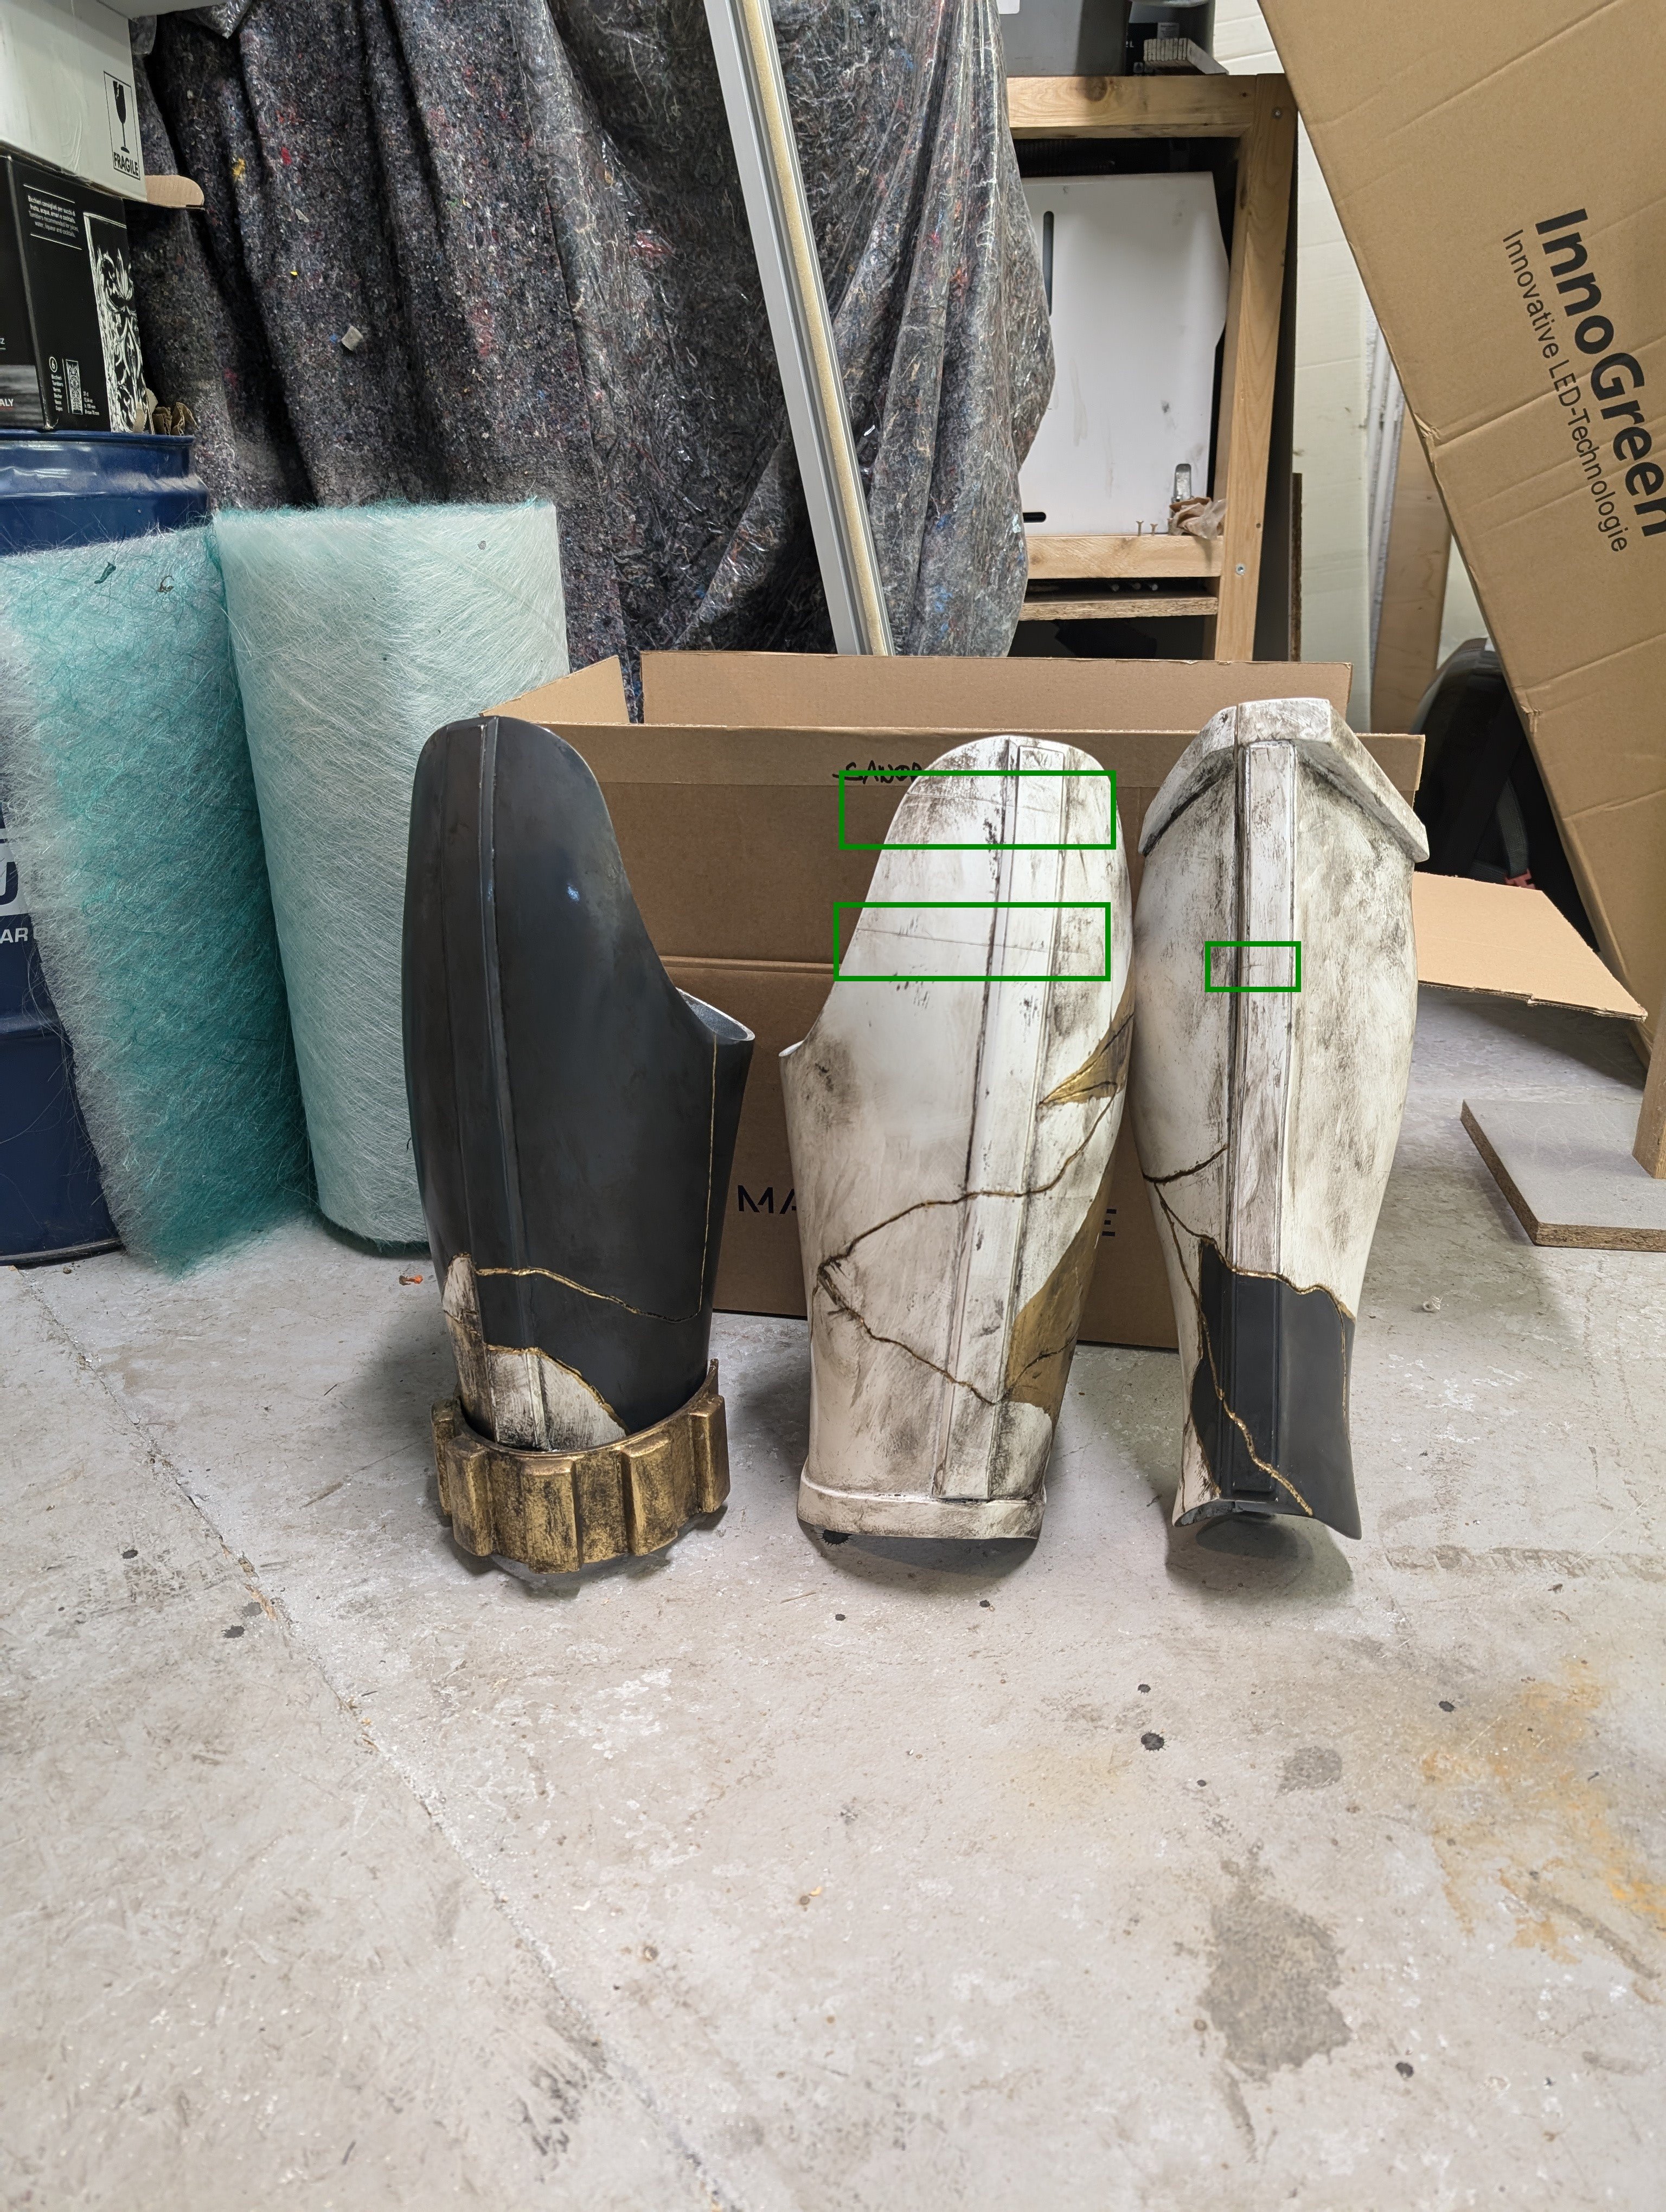
Thanks gmrhodes13 for the first reviews! first point...not even the best sanding and finishing prevents you from tipping over a finshed prop, shoved it away for later all the time as its nearly invicible...but you are right, lets get this fixed! Also thanks for the second pic, helped me a lot! Think this is the way! EDIT: now I'm happy with it!1 point
-
Nice work so far. Just watch out for print lines and cracks 3D printed components must have no visible print lines and must be smooth for a realistic appearance. You may also want to distress/weather your red cogs
 1 point
 -
If you use the "direct link" or link with the extension ie: .jpg, .png, .gif (or right click, copy and paste) your image will show in your post A good how too here1 point
-
(I don't remember seeing one of this same meme format, but sorry if I re-did the same idea)1 point
-
1 point
-
1 point
-
Welcome aboard Steven! Good luck1 point
-
Welcome, Steven! Glen has you on the right track! Would be awesome to see you run with this new build! Whereabouts in TX are you? I grew up in Amarillo, and have family in SA. #GSG1 point
-
Oh hello there I know you dare to join the Tk ranks huh? Sent from my iPhone using Tapatalk1 point
-
Thanks Chris for the kind words on my Armored imperial commando build. I will gladly help troopers who would like to start this build. I will also add content to my build thread you mentioned, in the upcoming months, to make it as complete as possible.1 point
-
Could also be a good opportunity to create more than one CRL, build the base and then variants. Base Shock Desert (or what ever this is ) Pilot

 1 point
 -
Sent from my iPhone using Tapatalk1 point
-
Finally! Sent from my iPhone using Tapatalk1 point
-
Alright, after getting excellent customer service from RS Prop Masters ("RSPM") who answered many questions within 24 hours, over the weekend, even when they are supposed to be closed, I have decided to commission an ABS set armor from them with an E-11 and DLT-19. I did go with ESB build as opposed to ANH. I decided on ABS over PVC because here in the northern areas of the Empire State, the cold is a reality almost 50% of the year. Apparently, according to RSPM, PVC gets brittle when exposed to cold temps, making ABS a better option for winter trooping and travel. Thanks to those who commented. Looking forward to becoming a part of the community. Sent from my iPhone using Tapatalk1 point
-
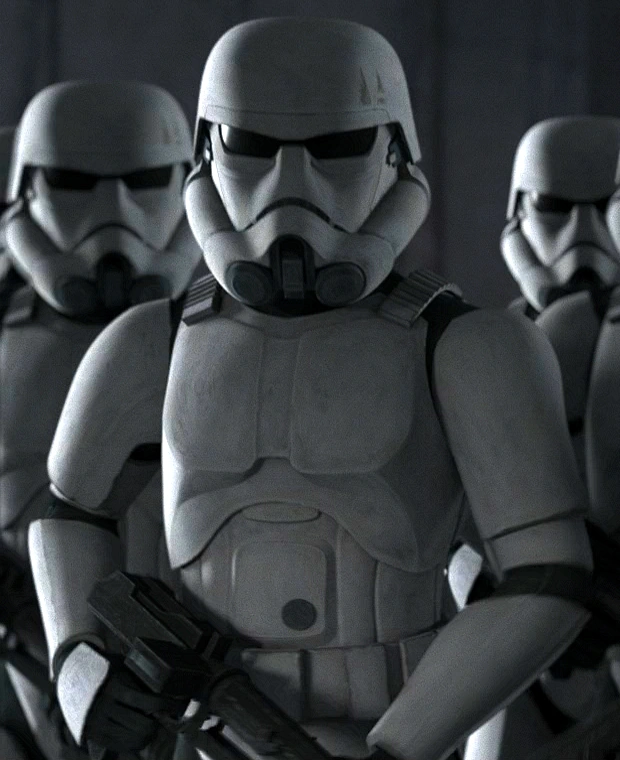
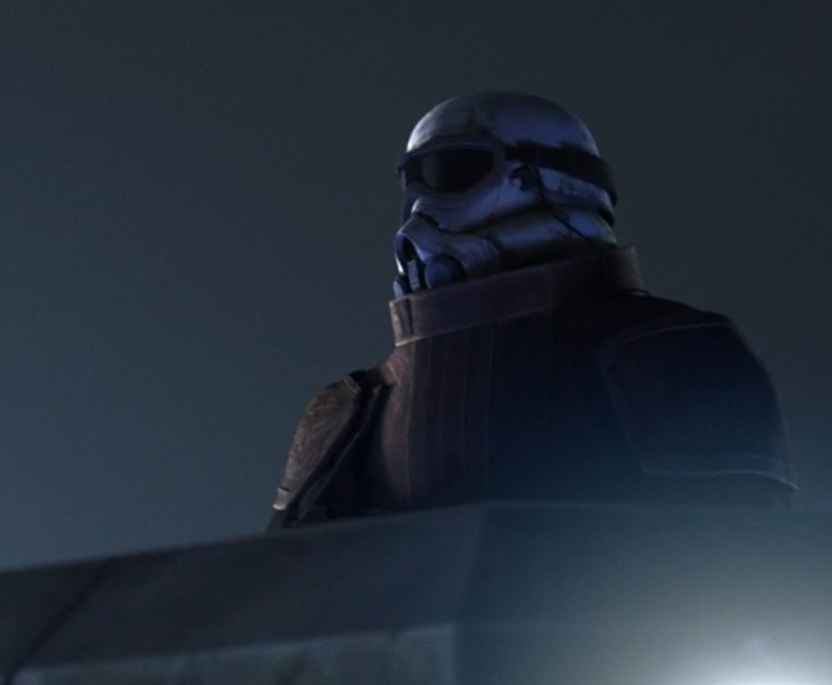
As Glen mentioned, the "ideal" ear position has the top (round) part centered right below the rear of the trap, and in a perfect world it should cover the faceplate/cap seam completely. Note in the references how the bottom screw lines up with the rear angle of the trap. Sometimes the top 2 line up with that line, sometimes they are just close, which is fine and dandy. We aren't looking for perfection by any means, but it's important that the bottom should be angled back.1 point
-
That's the one1 point