Leaderboard


Popular Content
Showing content with the highest reputation on 08/26/2024 in all areas
-
you know, I was thinking all day "Man, I wish I had something to help clean up those edges" and I never thought of a toothpick, it's perfect I'll definitely go back and do some touch-ups later... once I get some toothpicks (because somehow we're all out)2 points
-
Yeah I figured I'd need to trim some screws, and even with the anchor the gaps at the corners of the eyes, as small as they are, are unavoidable with this method, but I don't think it'll matter much because it still looks great. I've made sure to get me some of Henry's Helmet Fans too, those little things are push a lot of air.1 point
-
LOVE. IT. I know it was scary to trim off that extra material, but it made all the difference in the world! Now bring home that CRL!1 point
-
Those few adjustments have made all the difference1 point
-
I can see your point and have modified the gray panels to suit, and will be painting them a bit darker gray this time around! This was an excellent point and I'm glad I spent some time on this before going any further. When the new, thinner and more flexible pauldron is laid on the armor, it is now able to lay more naturally to ensure that it does not raise above horizontal at the shoulder. However, it became clear that trying to push the front pie slices into place was the main cause of this and that more material would need to be removed from the front edges of the pauldron. At our Squad armor party this past weekend while I had some extra eyes, I laid out the pauldron and red panels using some magnets to hold them in place - I used the back panel to help locate everything but didn't have enough magnets to also hold it on, which shouldn't matter for the front placement. It became clear that all of the excess material in black would need to go in order to allow the pauldron to slope more naturally downward... One side done, for comparison... And the other, with all of the pie cuts trimmed to fit... I'm MUCH happier with the way that lays now and I think is a huge improvement over the previous version, shown below for comparison... If no one protests, I think this is now pretty much ready to be glue down, but I welcome any final constructive feedback. Thanks all!1 point
-
Thank you so much for all of your encouraging comments and support. I'll be sure to double-triple check everything before I start, and I appreciate the fact I'll have multiple guides to reference for this. Hopefully I'll be finished with this project by late September, in time for a troop. I'll be sure to post updates if I have any questions or concerns.1 point
-
Went all the way around with ABS paste and sharpened the corners1 point
-
It looks like a dry fit so I'm sure it can be tweaked quite a bit down the road but if you can pull your chest up higher that would in return bring your back plate down so that the back and chest are even with each other. Hopefully you have enough ab armor available so that the chest can still overlap it. Also yeah you'll want to carefully cut the posterior and kidney armor right down that middle seam just be careful and go slow. This will definitely give you some more wiggle room with strapping to close that back armor gap1 point
-
Just watch your gaps and placement of pieces, a full standing mirror is great to have on hand. Good luck, hope you receive some good news in the not too distant future1 point
-
Thanks, Glen! I checked with the Golden Gate Garrison, and there are no additional requirements. I think I'm going to go ahead and submit to them without the pre-approval, since every step of the way I've had your expert guidance!!!!! I think very little could go wrong. Will try and check overall fit first to look for anything glaring.1 point
-
1 point
-
Hello and welcome, some belt info for you: Tony has an in depth build: Belt Assembly by ukswrath Bending the ABS Belt by gazmosis, Boba_Skywalker3 Attaching Belt to Abs by GnrlGrievous Holster Placement on Belt by CableGuy Current (2021) Holster Placement by gmrhodes13 (follow-up to previous thread above) Removable Holster with Snaps by Harbinger Belt, Holster, & Drop Boxes video tutorial by RWA (youtube)1 point
-
The butt plate and kidney should be separate Posterior Armor A separate rear armor piece is split from the Kidney Armor Most kits fit people up to 6" over that there can be issues with gaps, it's a matter of tweaking to get things sitting close to screen references.1 point
-
Face plate looks great. Take care with the armour to make sure it remains in proportion to your self and also the reference. On some of the files the proportions aren't quite right in places so keep an eye out for that.1 point
-
Hi, There isn't anything I can see wrong. Make sure you logon using your email not user name. I would also try clearing your cache, and also making sure you are using an up to date browser. Are you using any plugins or add blockers at all? Failing that try a different browser and see if the problem follows.1 point
-
Thank you for the great references on the helmet, Starting on that a bit today. Got a little farther with the kit and strapping, still waiting on my keep trooping boots. Feeling a little tall with the torso parts, with the cod piece to neck line causing a gap. I did redo the shoulder straps after the photos to added 2 inches to let the back plate float better. I'm sure there is a lot of adjusting to do, just working with industrial velcro for now, lets me tweak as needed. So the back plate will sit a little lower to address the gap in the back. Walt's kit comes with the butt and kidney plates as one piece, he said I can leave it that way or cut it. Would the belt then fill the gap on the back? I pencilled a line on the side of the back plat to trim back, but I have a fair gap on my sides between front to back, can this stay to help fill the gap? Seems like a lot of mistakes can be seen in some of the troopers in the movies, but I really want to get to approval as quickly as I can and find a safe starting place for my first event. Trying to get this completed before a charity event on Sept 22. Any feedback, would be appreciated.1 point
-
You can post in that thread for feedback, a good idea before the next step to iron out any bugs, but entirely up to you its not mandatory. Approval process is through you GML (garrison membership liaison) there are normally instructions on your local garrison forum, normally you se b d him/her/them full length photos, front, back, side, side, action and helmet off. You also need to fill in a legion membership application and pick 5 available TKID's (numbers) and the first available is issued once your costume is approved, this number is with you for life. You can find legion membership application here https://www.501st.com/members/join_form.php Available ID numbers here https://www.501st.com/members/search_avail_ids.php Once your costume is approved and you are issued with you legion ID you can request higher TK access here1 point
-
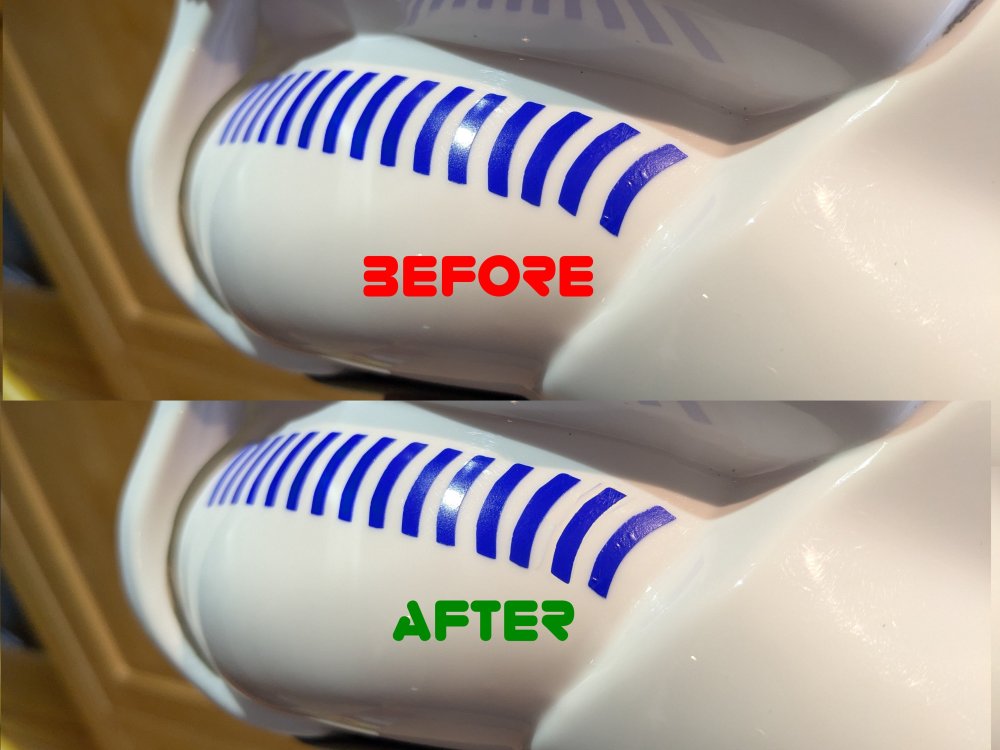
This one is great This one the second stripe is a touch high but you should be ok Nice work
 1 point