Leaderboard


Popular Content
Showing content with the highest reputation on 02/12/2022 in all areas
-
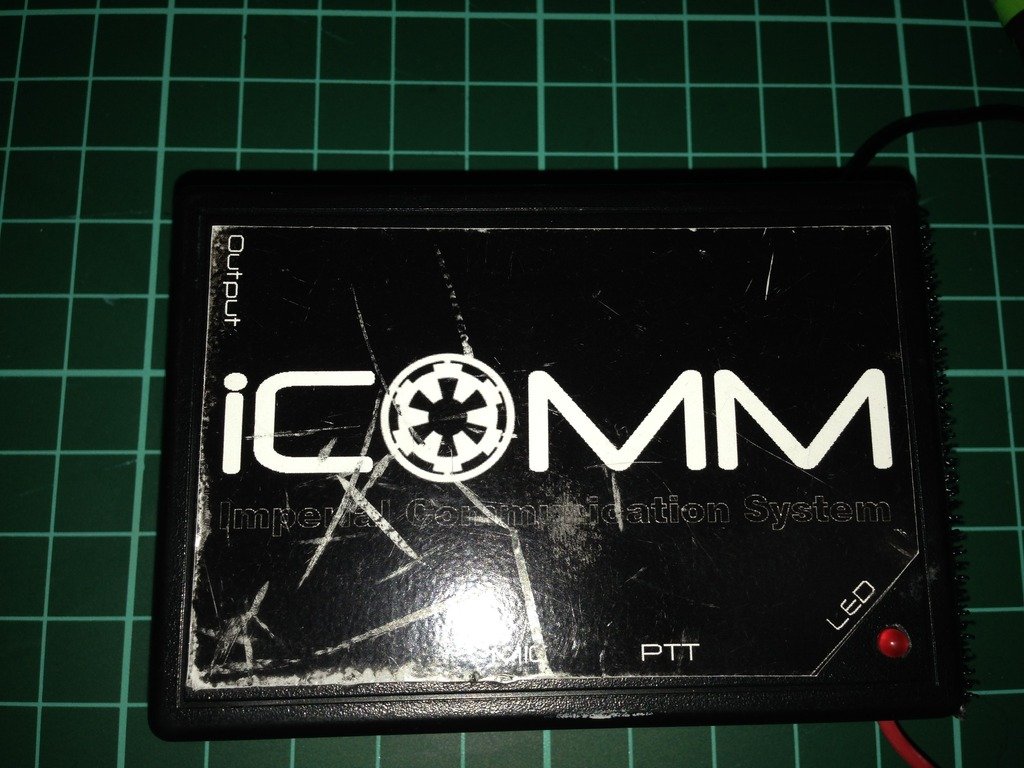
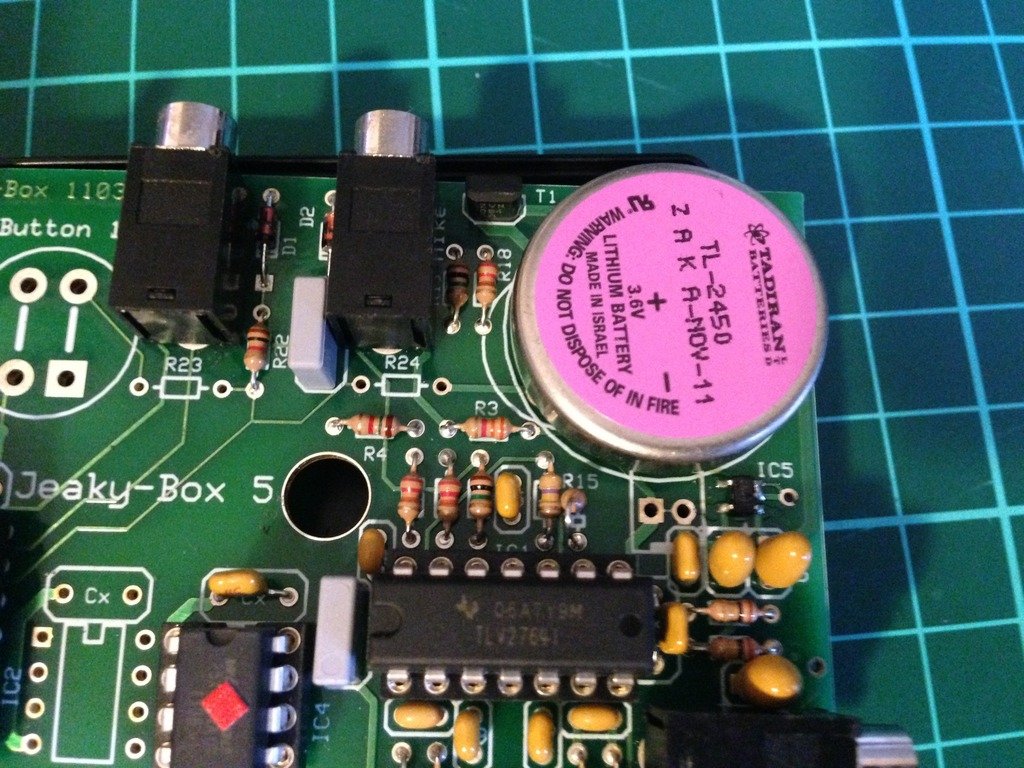
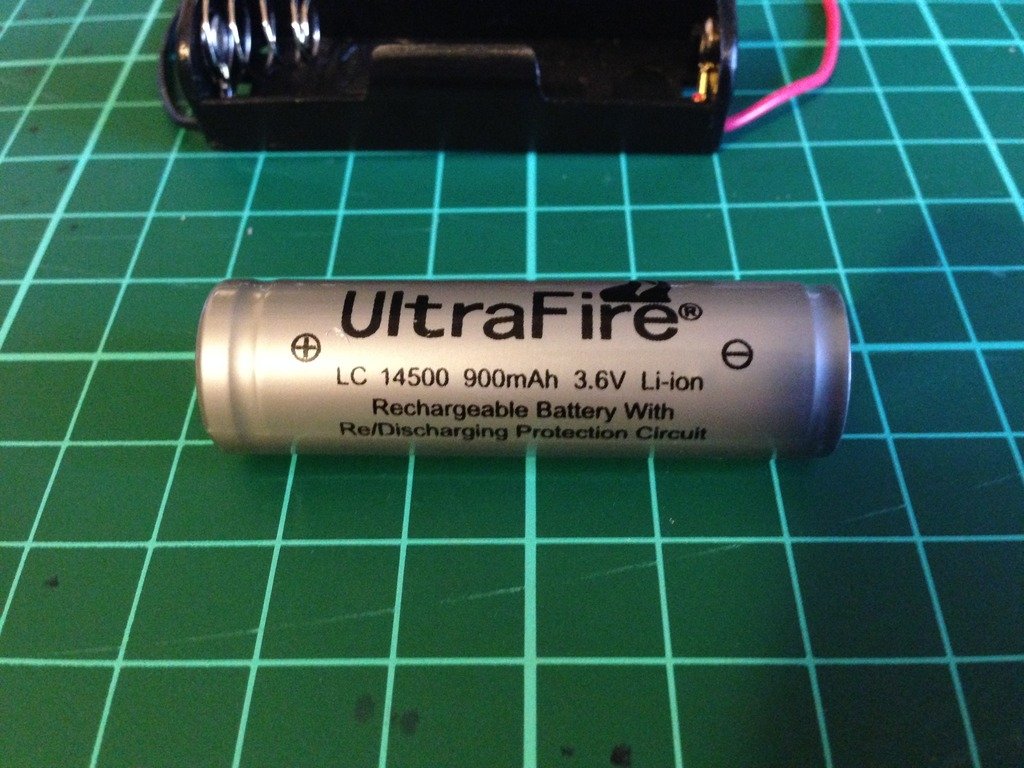
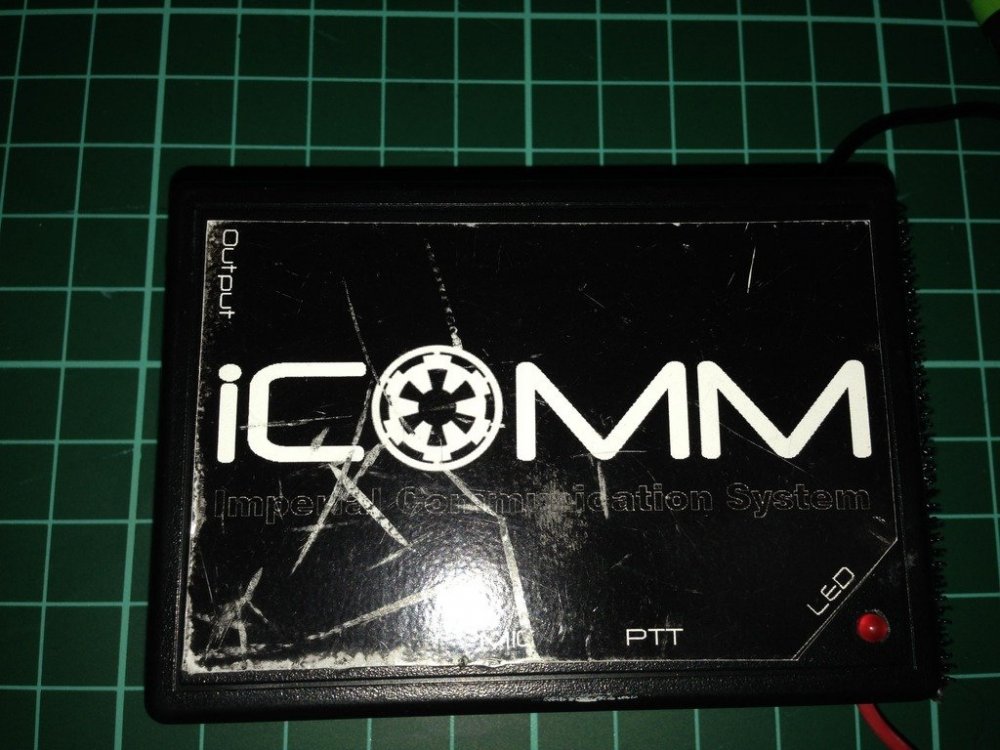
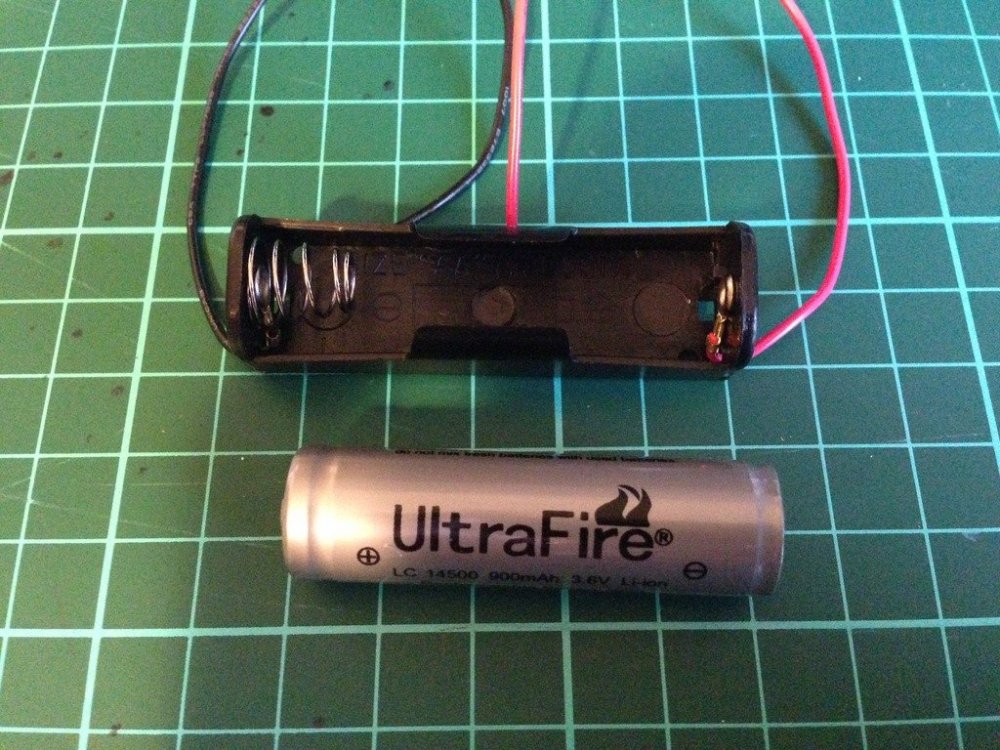
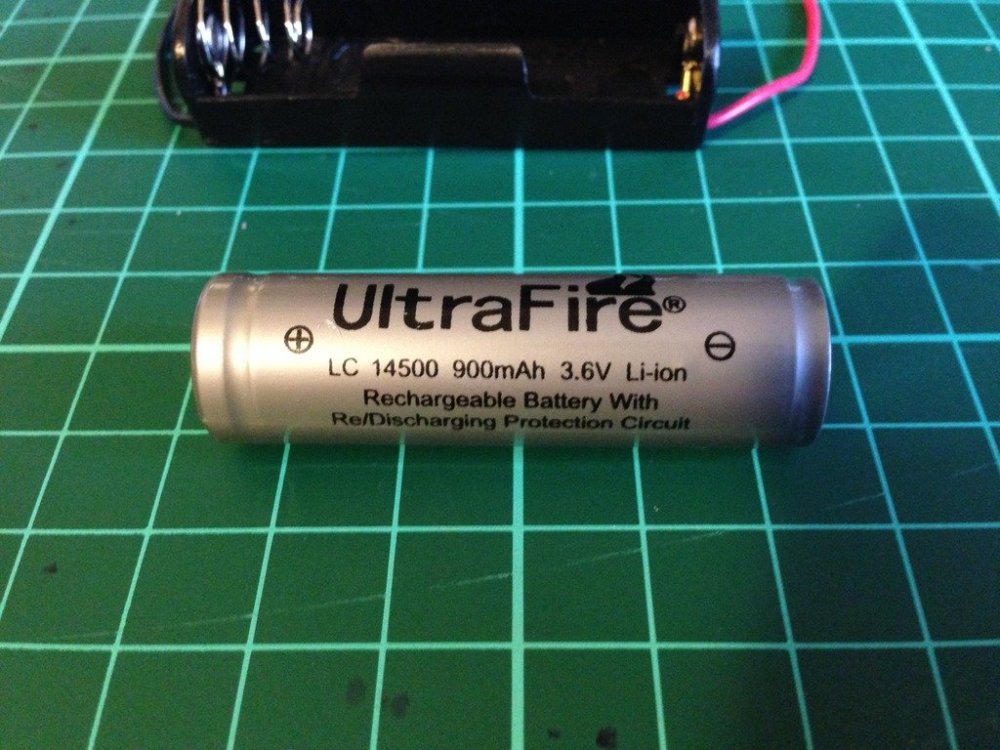
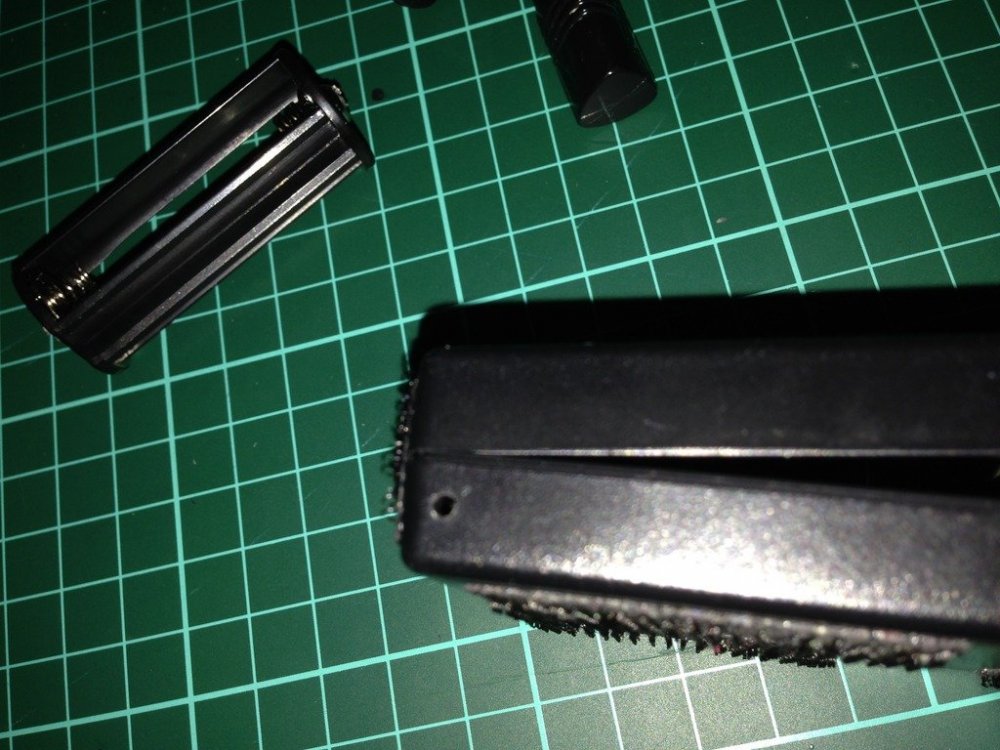
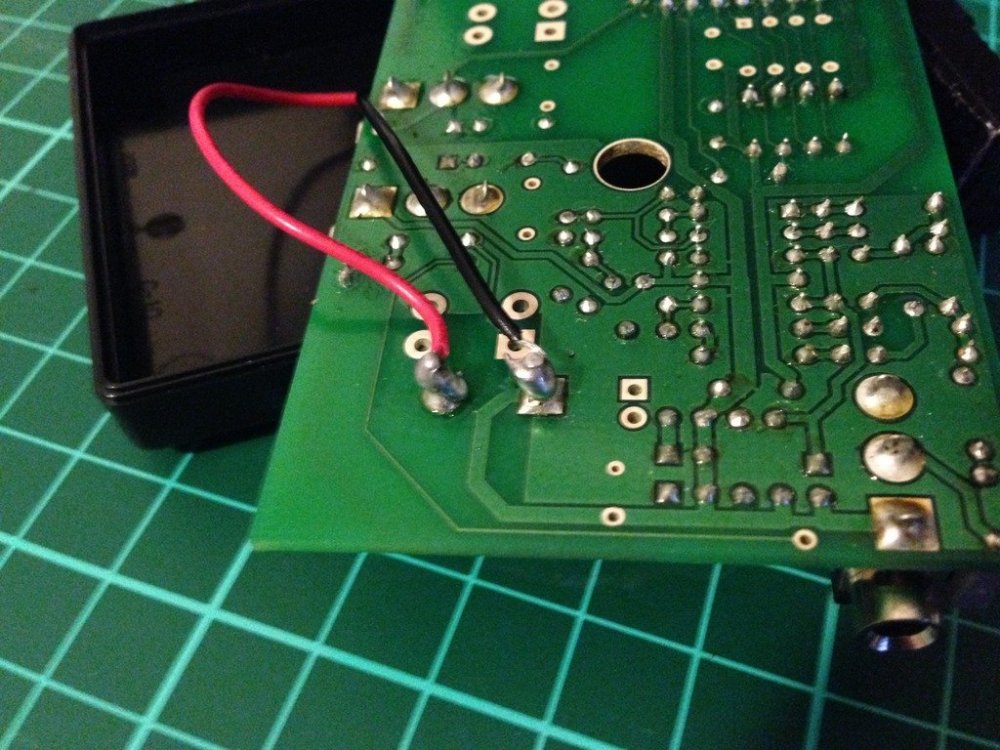
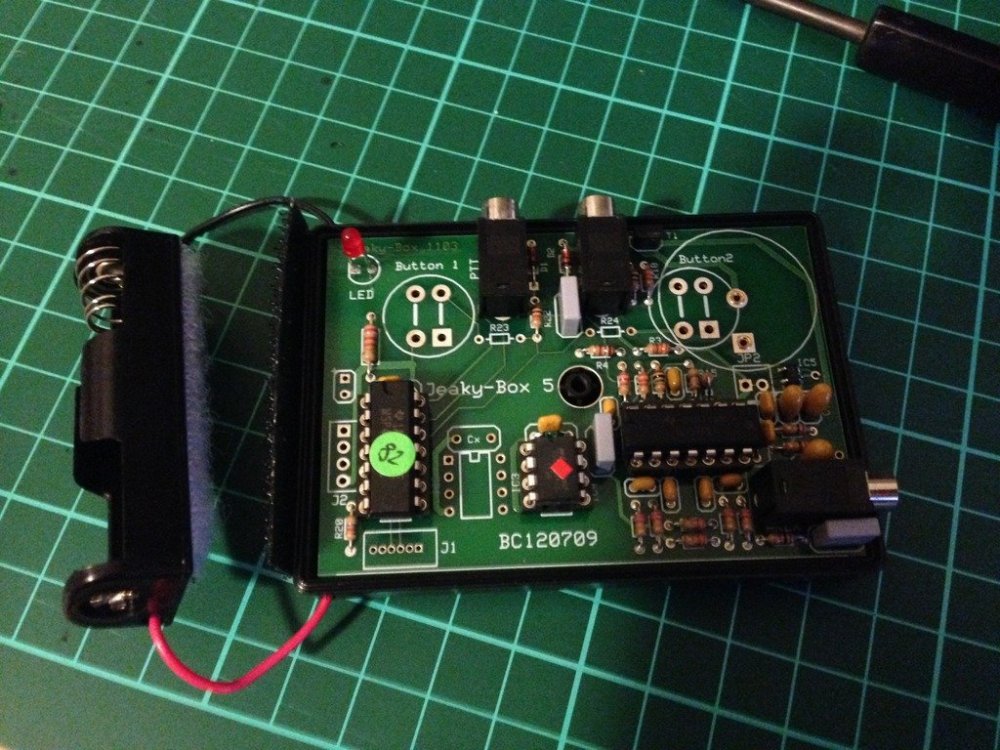
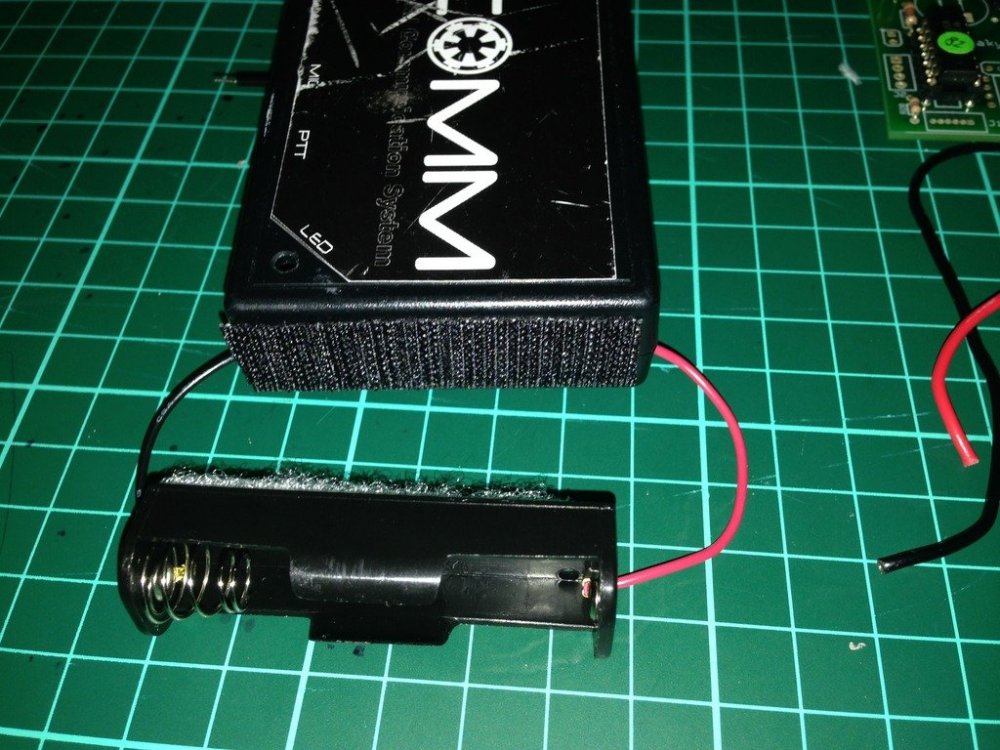
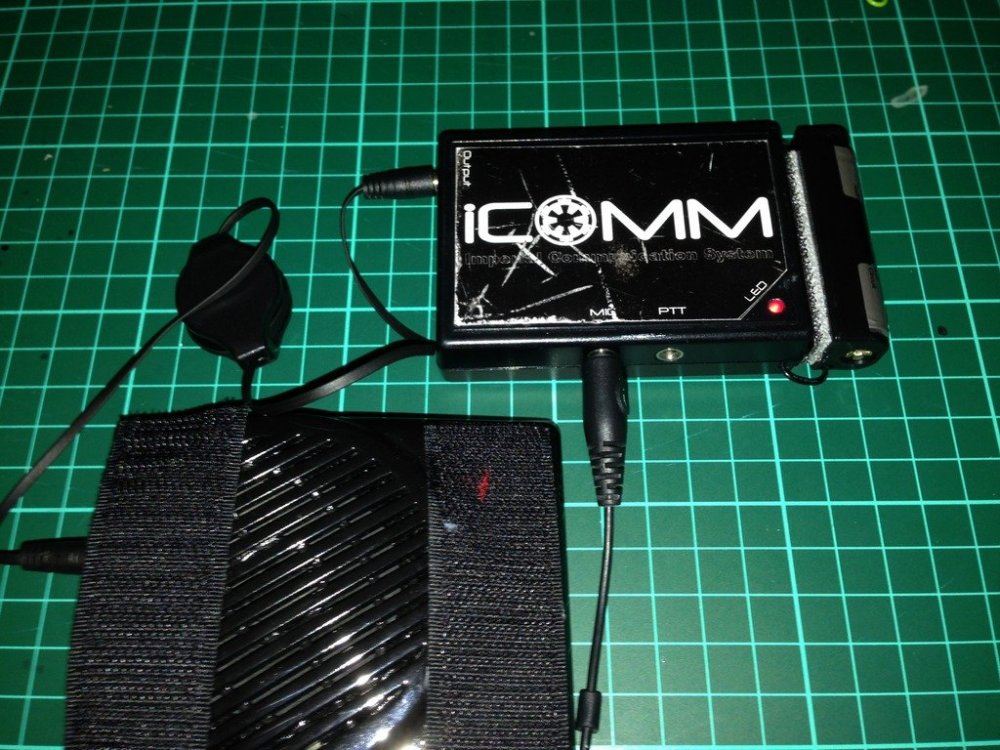
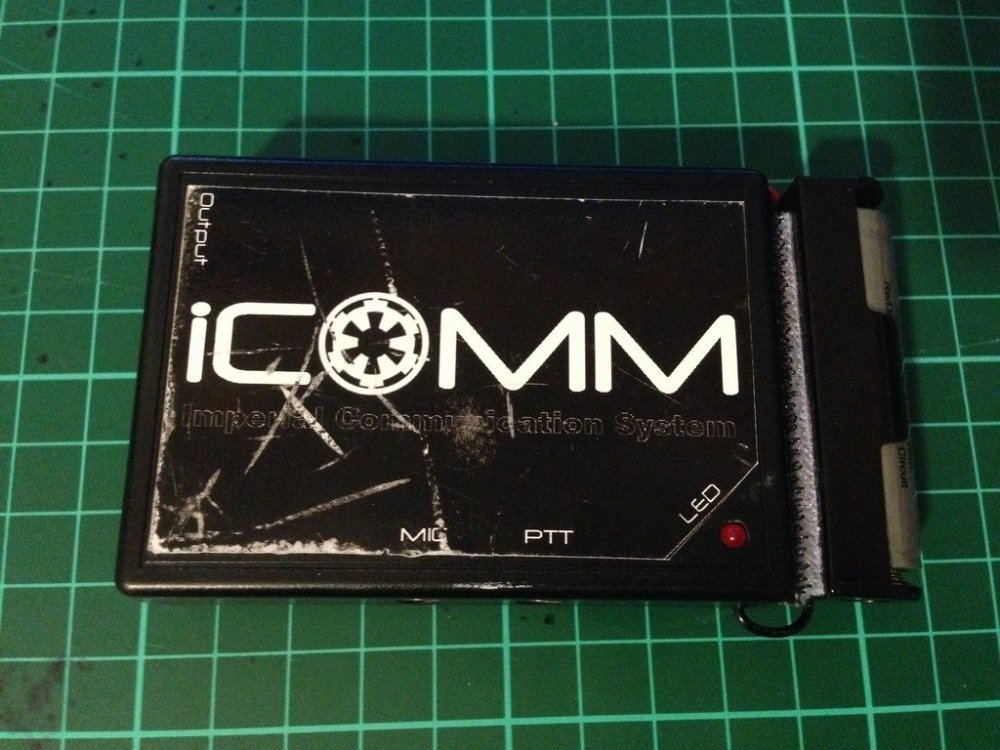
The humble iCOMM, works well while the internal battery is good, but after a year or so..........they stop working. How to tell, its the iCOMM battery. If the little red light no longer comes on and the static burst is not sounding, there is a good chance it is just a flat battery. Image has been scaled down 42% (600x450). Click this bar to view original image (1024x768). Click image to open in new window. Internal iCOMM battery Image has been scaled down 42% (600x450). Click this bar to view original image (1024x768). Click image to open in new window. Freight is expensive to get the very specific battery that is inside. Genuine replacement batt $5 US, freight, $25 US. Whattt!!! $30 US.... for a battery.....at least that's what I said. (approx $38.40 AUS) So I decided to do a little research, and come up with a reasonably simple and inexpensive mod, approx $12-$15 Aus. A simple AA battery holder and a rechargeable Lithium ion battery. Image has been scaled down 42% (600x450). Click this bar to view original image (1024x768). Click image to open in new window. Not just any kind of rechargeable battery can be used. The iCOMM is sensitive to voltage, so a 3.6 volt battery is required. The milliamp hour rating, or how much draw per hour on the battery, is only 560mAh, not bad for its small size, but I have replaced it with a 900mAh, so almost twice the capacity, and rechargeable. Approximate lifespan......Years and years. I chose to go with a battery with an internal protection circuit, as Li-ion batteries are finicky with charging. (have been known to EXPLODE). A digital battery charger, designed to suit 3.6-3.7 volts is perfect. Available on evilbay for as cheap as $5 shipped from China Image has been scaled down 42% (600x450). Click this bar to view original image (1024x768). Click image to open in new window. As I discovered during the research phase, the internal battery is easily removed. Image has been scaled down 42% (600x800). Click this bar to view original image (1024x1365). Click image to open in new window. First I added some adhesive Velcro to the back of the battery holder. Image has been scaled down 42% (600x450). Click this bar to view original image (1024x768). Click image to open in new window. Then I drilled a couple of small holes, one in either side of the bottom half of the iCOMM casing. Image has been scaled down 42% (600x450). Click this bar to view original image (1024x768). Click image to open in new window. Thread the red +, and black - ,wires through the holes of the casing.(From outside through to inside) When you flip the circuit board of the iCOMM over you can solder the wires to the corresponding posts. The outer most post is the positive (+) and the inner post the negative(-). Image has been scaled down 42% (600x450). Click this bar to view original image (1024x768). Click image to open in new window. Flip the circuit board back over and fit back into the case. Please note, you will actually have to fit the circuit board back into the top part of the case as it is the half that has all the plug holes and LED hole. Image has been scaled down 42% (600x450). Click this bar to view original image (1024x768). Click image to open in new window. Place the two halves together, put the screw back in, and add the opposite half of the adhesive Velcro to the end of the iCOMM. Feed the wires in through the holes to keep the excess out of the way. Image has been scaled down 42% (600x450). Click this bar to view original image (1024x768). Click image to open in new window. Tested for success, my iCOMM is again fully operational. Image has been scaled down 42% (600x450). Click this bar to view original image (1024x768). Click image to open in new window. As you can see, the overall size hasn't changed too much. iCOMM 8cm long, iCOMM with external battery adaption, 10cm long. The weight has increased by only 20 grams. Image has been scaled down 42% (600x450). Click this bar to view original image (1024x768). Click image to open in new window. Parts List and cost Battery Holder AA size $1.00 UltraFire Li-ion battery $6.00 (Protected circuit) Digital battery charger $5.00 miscellaneous bits $3.00 Battery holder from Jaycar, all other parts from ebay. Please note: These prices were in Australian $, so would be cheaper again in US$


 1 point
 -
Mandatory Info Name = Jessie H. TK ID = 10272 Legion Profile = https://www.501st.com/members/displaymemberdetails.php?userID=21573 EIB Thread = Garrison/Squad = Southern California Garrison, Orange County Squad Forum Name = JHowe102 Armor = Anovos Helmet = Anovos (w/ UKSwrath mic tips and justjoseph63 hardware) Blaster = Hyperfirm Armorer = @TheRascalKing Optional Info Height = 5ft 8in, or 173cm Boots = Imperial Boots Ammo Belt = Anovos Canvas Belt = Imperial Issue Holster = Anovos Gloves/Hand Plates = Double1 chemical gloves with latex handguards, justjoseph63 on FISD Electronics = Aker amp, iComm, 5V fan system Strapping = RascalSnaps Neck Seal = Anovos Armor Photos Front, Helmet Off (unadjusted) Front, Full Body Back, Full Body Right Full / Detail Left Full / Detail Action Shot Helmet Detail Photos Front Sides Back Helmet Interior Hovi Tip Detail Frown Detail (repainted) Lens Color (backlit) S-Trim Detail Accessory Photos Belt Holster Attachment Drop Box Details Neckseal Blaster (Hyperfirm) Thermal Detonator Boots Forearm Return Edge Right Ab Snap Left Side Rivets Sniper Knee Attachment Thigh Ammo Pack Attachment Shoulder Bridge Attachment Interior Strapping (RascalSnaps) Abdomen Detail Gloves/Handguard Flex Cod Details New photos were added to show that the blaster was repainted to remove any sheen/weathering, sniper knee was trimmed back further, backing material was added to rear thigh gap, and we did our best to address all dressing issues pointed out at EIB. I chose not to move the ears, as this was a prebuilt helmet and they are not drastically off by any means. Thanks for looking!1 point
-
Hi Austin. You need to add a link to your 501st membership profile, have a look at others posts1 point
-
Hi Jessie, and thank you for your Centurion application! Thank you very much for your patience. CRL and CENTURION Application Requirements: All required photos have been submitted, and on behalf of the entire D.O. staff we are pleased to welcome you to the rank of CENTURION. Congratulations! Other-Armor Fit/Assembly; In this area we review observations made by your fellow troopers and the DO team. Some observations may lead to suggestions to improve the overall look of your armor. Note that we consider both text (CRL) and pictures (screen caps/reference images) when reviewing submissions. Nothing to add. Excellent work, Jessie. Congratulations #509.1 point
-
Exactly! You get what you pay for. Cheap snaps just don't last (trust me on that one) and Velcro loses it's connectivity over time. I always use the Tandy line 24 snaps.1 point
-
Yeah, I've never seen a crack in that area before. I would go with Glen's suggestion of painting it using enamel paint and a very thin artist's brush. It may take a coat or two, but you should be in good shape after that.1 point
-
That's a weird spot for a crack or two by the looks.of it. Any white paimt should help. Adding some sugru or ABS paste behind will help it to not crack further.1 point
-
John Halfmann 91882 EIB Letter size Mario Way to go, John! https://www.whitearmor.net/eib/certificates/91882-eib.png1 point
-
Remember we have Trooper in all height and body type.1 point
-
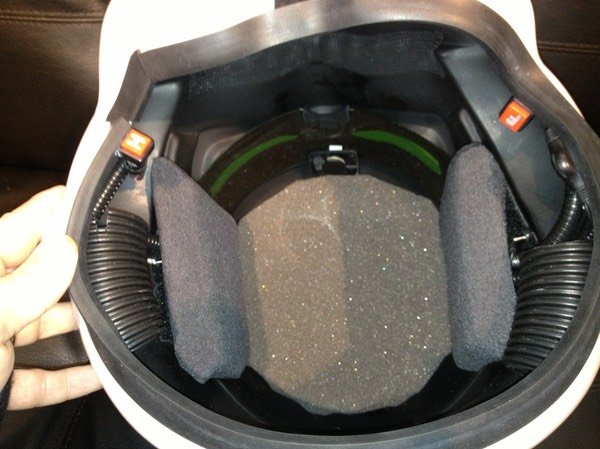
I use a block of foam on each side which fits snugly against the side of my head, this stops any wobbling or tilting, may work. Not my helmet but similar padding A few others with side padding
 1 point
 -
Hi Matt. 1- The Button of the bicep should go in a position that allow you to bend your arm when you carry your blaster. Reference Image The reference below can give some idea of the proportions.1 point
-
When shopping for snaps, I find spending a bit more on quality snaps is a good idea. I had cheap ones from the local haberdashery store and they started popping loose. I replaced them with good quality sporting/yachting snaps and I haven’t looked back [emoji4] Sent from my iPhone using Tapatalk1 point