Leaderboard


Popular Content
Showing content with the highest reputation on 04/20/2021 in Posts
-
That’s a nice read. Well done everyone involved. Must admit I’ve not been on here recently. Keep up the great work.2 points
-
Great work and very impressive building skills. If I was to pick I would suggest sizing down the chest plate a little, it is a tad on the large size2 points
-
That's great, thanks [emoji106]. Just found the trooper bay video too, should be good to go for the first shin tonight Sent from my SM-A715F using Tapatalk1 point
-
No actual measurements but here are some references
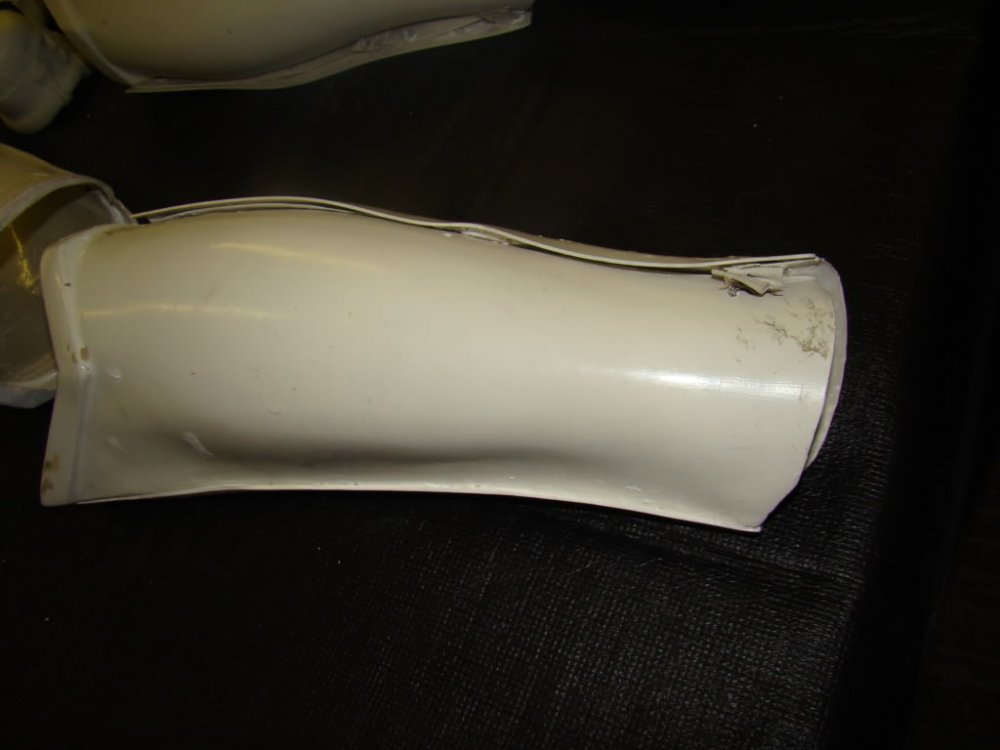
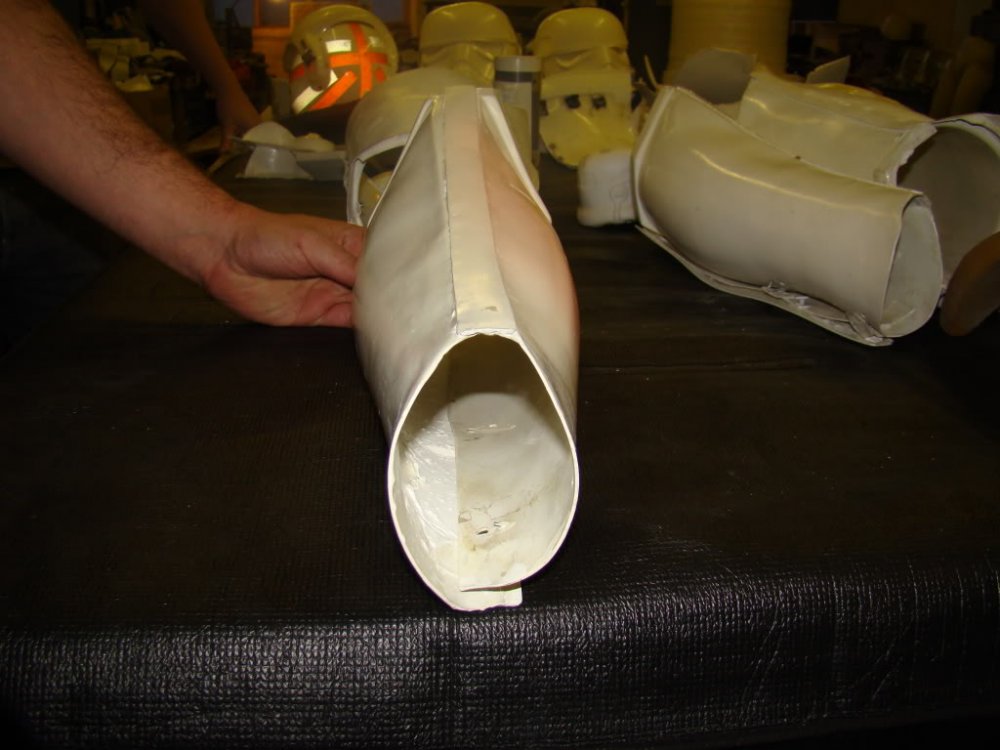

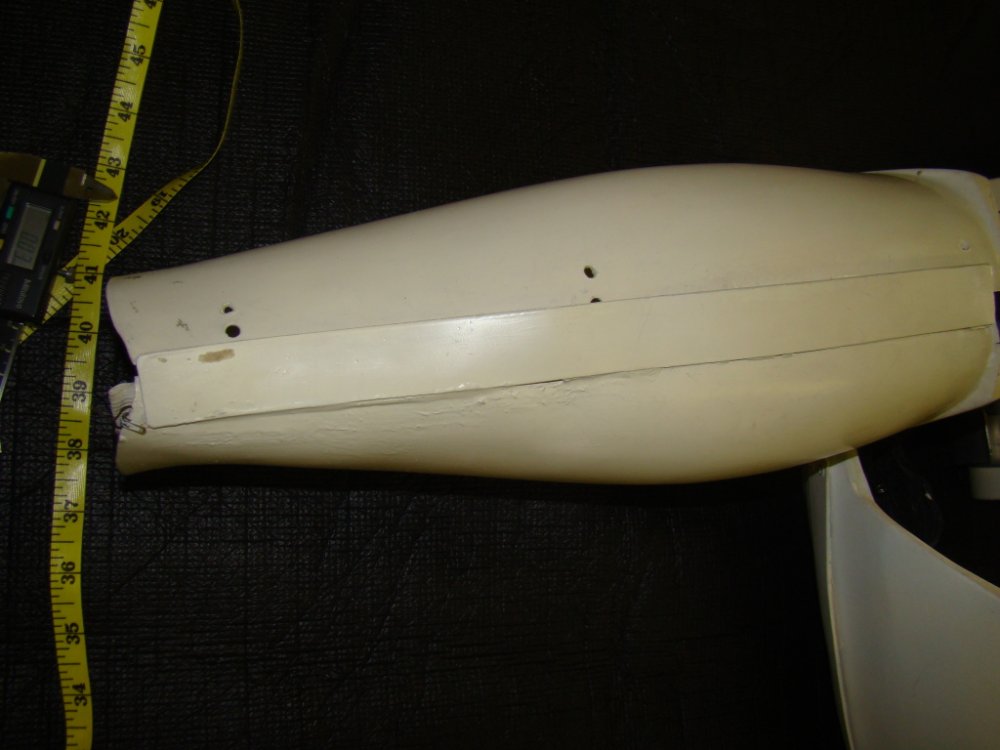
 1 point
 -
I think these (link here) would be your best bet, Keegan. The listing says "Free U.S. Shipping" and that's actually a really good price!1 point
-
Thank you for the review1 point
-
I appreciate it! Your build thread was so helpful. Thank you.1 point
-
Welcome to the FISD Luke! my name is Andy and I am the CO of the Southern Cross Garrison; make sure you sign up to the www.501scg.org forums as well and we can help out ! Jump on there, introduce yourself and post some pics and we can help you out! thanks andy!1 point
-
I use a few different sizes, those you mention will work, max width I have is 1", depending on width and thickness can change how much pressure/pulling power the magnets have. Quite cheap on eBay and Aliexpress, as most that comes from overseas shipping does take some time though.1 point
-
Great work trooper and a nice clean application, a couple of suggestions if I may to really take you to the next level. Your right drop box elastic is a little longer on the right side than left You have quite a lot of shoulder strap showing on the rear, you could adjust the front straps to 1 large tab and 4 to 5 smaller tabs. Also note the elastic in the reference image goes around the backplate, not just the elastic. Shoulder elastic is being pulled outwards, doubling the elastic can help this Bottom ear screw head is on a slant, not flush to ear Right side bottom ear screw is very low and you have a large gap between the ear and rubber trim Paint on the sides of your vocoder are slanting inwards and the top curve is a little thin. Just for esthetic's you could also have the hovi's facing out at the same angle, using a small wedge of rubber tube behind can help adjust the angle of the hovi tips. There is quite a bit of wire on your blaster which could be reduced Once again great work, these are just suggestions and not requirements, I'm sure the DO's will be along soon.
 1 point
 -
Great job Jonathan, best of luck on your application1 point
-
Wow fantastic build so far, nice work Greg1 point
-
Nearly finished, now. Currently, he’s “Mr No Stripes” AND “Mr No Lens”... ;-)1 point
-
"I cut and glued in some wood supports for a more solid mounting points on the pack". Excellent idea! Another idea I used was to cut out the entire circular area. This served 2 purposes- It allowed me access to the interior to better secure some of the attachments with short drywall screws (including the side tube), and it allows the OII plate to sit nestled inside the rear of the pack so it doesn't make the pack sit too far out away from the armor. I lined the entire rear exterior with 1/8" thick black craft foam (EVA), which can be pressed into the circular opening and prevents the pack from scratching your armor.1 point
-
Thank you Glen! Good advice.1 point
-
Sorry to hear you have been unwell, I can definitely relate to that and becoming discouraged, just try small bits at a time, they all add up in the end.1 point
-
Hope I’m not too late mate: Bicep hooks: I used a piece of cover strip abs 3/4” wide by 4” long Mark one end in two segments 1” long, once done trim and sand the edges of the piece so it doesn’t fray the elastic. Break out a heat gun, and have another piece of abs cover strip available to help form the abs when it’s malleable. Heat up the abs, keeping 4” to 8” away, I highly recommend having some heat resistant gloves to avoid burning yourself. You will see the abs start to soften, once this starts to happen, place your other piece of abs on the warm abs and begin to fold it over. Take your time shaping the abs into position, and I highly recommend doing a few practice runs. Once you have the hook shaped, it can be tightened up applying some more heat, and a ruler. Next heat the abs again to shape the bicep hook to match the contours of your bicep.1 point
-
Locitus has some pretty good pictures of how he formed his: http://www.whitearmo...=40#entry154717 Here's a good shot of how TM placed them on a suit he built: http://www.whitearmo...83 You can also see an example in the archive pictures: http://www.whitearmo...L-JoeR_Arms.jpg (although the angle isn't all that great, maybe someone else knows where to find a better one) I formed mine using some spare cover strip material and a heat gun. I heated them and bent them by hand with leather gloves until I had a hook that could reach over the return edge. I used the shaft of a large screwdriver to form the curve around. As for attaching them, I glued them with E6000. So far so good, they do seem to help keep the arms from falling down.1 point