Leaderboard


Popular Content
Showing content with the highest reputation on 08/29/2017 in all areas
-
Jonathan, try Jim Tripon (Jimmiroquai) for the FOTK, you can get either Ep7 or 8 and he only required 40% down. Current turnaround is more favorable with a 1-2 week prod lead time. Only problem is that youll have to commit extra funds while you cancel Anovos and wait for their refund. Welcome to the SUCK!2 points
-
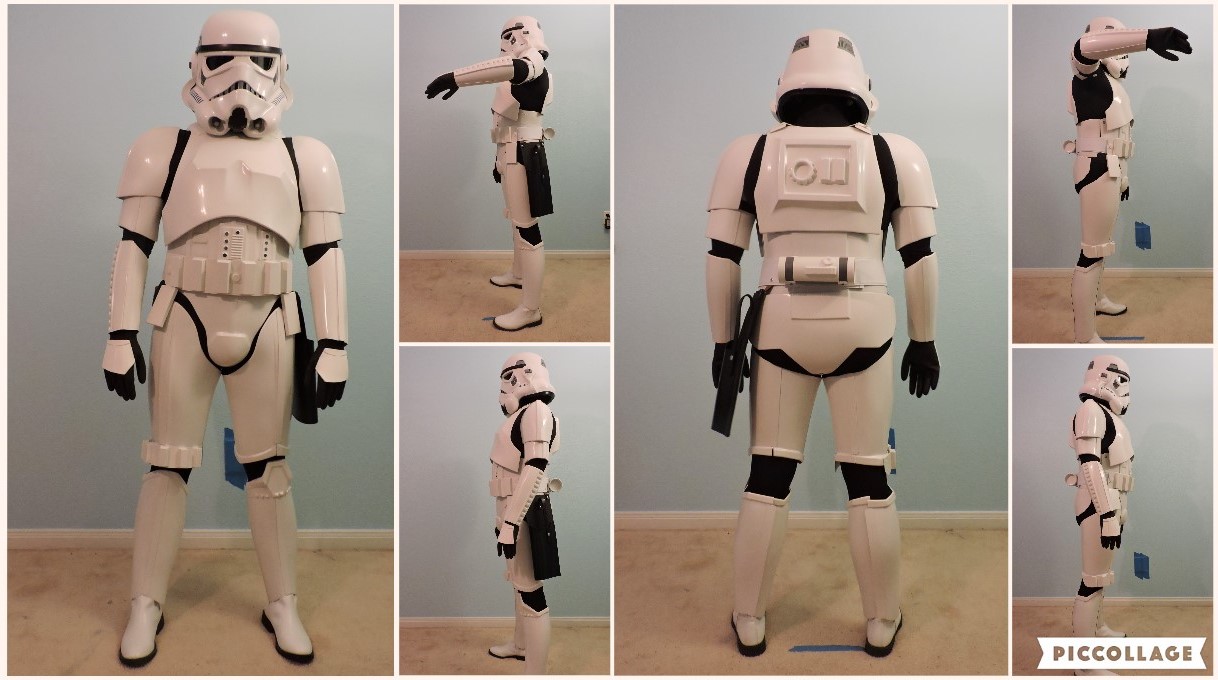
TK-63088 reporting for duty!

 2 points
 -
That's a detailed response. You almost feel sorry for them. But I don't. Sounds like damage control to me. Here's hoping you'll get the kit this year! Sent from my iPhone using Tapatalk Pro1 point
-
And the decision is.....frayed edge. i freeze framed the scene where the TK is facing Liea after being stunned. There is a good close up of the waist. It is not 100% in focus but it certainly looks frayed. Thanks for all responses.1 point
-
Yea I'm SERIOSULY debating on it. Sent from my iPhone using Tapatalk1 point
-
Yeah, I did a refund on a previous order and it took around 5 weeks to get the money.1 point
-
Heard the same thing gents and i cancelled my order with Anovos. Going with Jim Tripons Ep8 kit instead. Hoping to make Premier myself. Good luck all1 point
-
I know we have dicussed this a thousand times already. Since I have not been around due to total immersion in another costume project, I apologize if it has been discussed recently. We all know about the cover strip measurements: 15mm for arms, 20mm leg fronts, 25mm leg backs. However, a good friend of mine with direct contacts to RS Props said those are too wide. He just finished his RS build and used these thinner measurements for his finish strips. Just want to find out the opinion here.1 point
-
I know, right?1 point
-
Not interested in the prize, just like to look ahead. Figure Centurion is the best of the best. That is where I want to be. Hope to join the crowd https://imgur.com/gallery/GOOY31 point
-
I'm really happy I could be a part of this build. You armor is top notch Alberto. It was fun. I'm sure you will have your EIB and Centurion badges very soon!1 point
-
Let the priming begin!1 point
-
For the past two days I've been landscaping the front and back yard. But I did have some time to work on the armor and get the shins mostly built. I just need to test fit the backs when my son gets home. Before he left, I took measurements of his shins and used these when making my templates. To get the shape right, I tried the pattern-making technique using duct tape. I covered the piece in foil, making it as form fitting as possible. Then carefully covered with duct tape trying to make it flat and form fitting around the piece. Once it was covered I made a slice in an inconspicuous spot, along the edge of the front cover strip. Then I flattened out the duct-tape copy and cut it into it component parts. I took one side and the center piece to make my template. I knew based on my sons measurements that his shin was 8" tall where mine was 16". So I'd have to reduce the template by half...at least in height. So I took a picture with a ruler in the image then brought it into Photoshop where I adjusted the image size until it was scaled to real-world dimensions. Then I reduced it by half and printed it out for my template. Here are the piece cut from 6mm foam. A couple things to note here. I wanted the shin to have the same flat face the real TK ones do. So when I cut the center piece and each adjoin side piece, I cut the edges at a 45 degree angle so they would meet up nicely. The image below is actually my second attempt. The first on followed the curving line at the back of the shin template, the ball of the calf area but when I did a test fit, it was going to be too complicated to assembly and too much heat bending a weird shape. So I simplified it and made the back cut straight. I did an initial heat bend over a rolling pin to get the basic curve. Then I did some more extreme bending to get the radius tighter. Basically held it in my hand while heating then squeezed it into shape. Here you see how the 45 degree cuts make the pieces easier to assembly with clean lines. Here's the first piece after gluing. I was in a bit of a rush when making these. I assembled both shins before realizing I forgot to check the radius at the ankle and at the knee against the measurements I took of my son. Turns out I was about 1" short. Doh! So, easy fix here, don't panic as you can simply glue on a filler piece. To get some extra room I cut and glued in a 1.5" filler piece on the back of each shin. Again, cutting 45 degree angles for a nice closure. Once I can fit these on his calve, I'll know if anything needs to be trimmed off this filler piece. For now, it's ok. I'll probably make the closures using Velcro. No magnetic closures this time! The photo below will be the left shin. That way the joint will be tucked inwards and less visible. Now it's time to trim out this piece. For reference, here's my shin. I started with the raised top banding. For this I used 4mm foam cut into strips about 15mm wide. To do this, I simply placed the strips over the shin and marked where they should be cut and at what angle. Bevel the connections. I made some reference dots so I would remember which pieces connected during gluing. Here I'm test fitting a piece. Here they are after gluing. Then I added cover strips from 2mm foam. Purely decorative, not functional. Next came the sniper plate. I sketched out a template for the hexagonal piece. The side pieces took some trial-and-error to get right. The main issue was getting the correct angle between the hexagonal piece and the side pieces where the touch. As you can see, the angles on the side pieces are not the same as the angle on the center piece. Once I had it right, I cut new pieces at the correct angle and length. Bevel those joints. After gluing the sniper plate together then gluing it down to the shin, I then made some trim pieces out of 2mm foam. I also made the raised bumps on the bottom out of 6mm scraps I had laying around. That's it for tonight. Thanks for tuning in and I hope this is useful for anyone making a foam costume. I think the belt will be the next piece I make, should have an update in a couple days. Good night!1 point
-
Ahhhh haaa! I saw others being pulled up on this so checked them during the week.... 'Nah, that will never be noticed' I thought. LOL. That's awesome - loving this level of detail. Wish there was more ranks after this to obtain. I'm getting obsessed. Pro tip: When your wife finds ABS shavings covering the kitchen table and floor after you promised her it was over - DON'T tell her it's "For The Empire". It won't end well. And you then have to cook your own breakfast.1 point
-
Hi Troopers, The wife and kids are off on a vacation up to Quebec City to visit relatives. I had couldn't get away due to too much going on at work. So while they're gone and I have the house to myself and some free time I want to get some more built on this costume. It's time for 60 second abs! Let me start off my showing some no tools I got. When I first stared off I was going thru lots of Xacto and box cutter blades due to the foam dulling them rapidly. So I got a couple sharpeners and they are great. They make the blades razor sharp again and I've been using the same blades for several days now. The flat and orange one is one I picked up at HD and it's a diamond sharpening tool. Works great on the Xacto. I saw the other one recommended in an Evil Ted video and it's really great too, especially for the box cutter. Both were in the $12 range. I also picked up some masking paper at HD in their paint section. This roll has been great for laying out patterns. Last night I took some measurements of my son. Waist circumference, height, inseam, position of the chest piece relative to his waist, etc. I then used these measurements to lay out a shape for what would become the ab. In this image the solid line is the ab piece and the dashed line is the chest piece laid over top so you can see how they will overlap. I made then overlap as that's how the real ones are but also so he can grow a bit and I won't have to remake this section. I cut out the left half of the pattern and used it to create the foam piece. I used 6mm foam like the other main pieces. Than I re-traced the chest profile onto the ab. This way I could sketch the detail panels for the ab in relation to the chest piece above. I started off with the main raised panel on the center of the ab piece. I sketched this out in pencil then made a cleaner drawing on the actual 4mm foam sheet that I'd cut the piece from. I repeated the process using 4mm sheets for all the other details, using contact cement to glue them down. I'll cut out the buttons tomorrow but I have to hit up the local hardware store for some metal pipe which I'll use to push thru the foam, cutting out the circles like a cookie cutter. this piece took about 3 hours to make. I just realized I forgot to make the raised piece at the bottom. Guess I'll add that tomorrow.1 point
-
Great build! :-)1 point
-
Awsome. Sent from my iPhone using Tapatalk1 point
-
Update to my Blaster build Hengsler Mod I have been meaning to do this mod for yonks, Altair's beautiful Blaster build thread has inspired me to get off my butt and get this relativity easy upgrade done. Simpixel from FISD makes it straight forward as he not only has a template with all measurements accurately done, but he can also supply a printable form of numbers to put on your Hengsler for added realism. I chose my TK ID 11469 First sanded the end flat, taking off what was the raised area of molded counter display. This is where I noticed that my Hengsler wasn't square. Quite obvious in this shot Marked and ready to recess in for reset button and screen. I gave Altair a call, as I was having a devil of a time trying to print the display numbers out at the appropriate size. He told me he had the same issue and trial and error was the only way. Here I printed out various sizes, but for some reason, this time the 10mmx34mm actually printed at exactly that and is the one to use. It was time for some Dremell action, also used a sharp chisel to hollow out the screen and counter reset button area. Scope (one of my local garrison members) graciously, helped me out today with a piece of 4mm thick perspex. Thanks Jas, luv ya bro. From that piece I cut out a section 10mm x 34mm. I marked the depth it would sit in the recess, and used the end of an Art-line pen to mark the curvature the original lens on the counter has. Starting with 80 grit sand paper, I slowly sand the curve into the perspex, following the line marked at either end., gradually moving to finer and finer paper. Then hit it with 2000 grit Wet n Dry, and eventually the Dremmel with buffing pag and cutting compound. Used a spare piece of ABS, and cut out the reset button, width, 10mm, length will depend on how deep you drill out the slot to put it in. Image of the parts to complete the counter. Assembled for test fit. Next step is to primer, colour coat and then clear finish, reassemble and all done. Repainting time. Once the matte black has dried, I will weather and colour the crew heads. Well, you have got to love the weather conditions . Absolutely perfect for painting and drying. 24 degrees C, and 33% humidity. Everything just dries so quickly. Painted, clear coated, and assembled. Mounted Now, I will consider doing the curly wires that connect the counter to the power cylinders. Very few of the film used versions actually had these wires so we shall see. Maybe so more research will push me to go there.1 point
-
Not quite finished, as it needs one more finishing touch.1 point
-
Now to another fun bit, the lettering. On the original scope the lettering was white, this is a really simple and effective technique to get the same look. Tools needed. 1 x white crayon, a soft cloth and a modeling knife. First rub the crayon into the groves, I like to use a reasonable force to embed it right in to the lettering. then simply, wipe it off, towards the end of the scope, this may take a bit of work, so when the friction from wiping creates a small amount of heat the wax softens and most will come off. I then lightly scrape, and i mean, lightly any surface wax that doesn't come away. Then for an added touch of realism, i like to dig a little out of some of the letters, it gives that used worn look.1 point
-
Great, wonderful, !!!!!!!! i seconded that request!!!!!!!!!1 point