
All Activity
- Past hour
-
Hello and welcome, you will find a pletherer of information here Also some YouTube videos helpful https://www.youtube.com/@cableguydan/videos https://www.youtube.com/@RichieStormtrooper Good luck with the build
-
 Hello and welcome to the forum, you may find these videos helpful https://www.youtube.com/@cableguydan/videos https://www.youtube.com/@RichieStormtrooper
 - Today
-
 Hello, I hope everybody is having a great summer. I am a filmmaker who is writing a screenplay about two Star Wars armorers and their struggle to complete a large number of stormtrooper costumes in one week, for a charity event. I decided to join this forum as part of my research. I do not consider myself a Star Wars "fan" per se - I remember watching all the original movies, prior to the special editions, and loving all of them, and then watching the Phantom Menace and being disappointed. I've done that much! I don't do costumes or engage with the fandom on a personal level, and its been years since I've seen any of the films (though that will soon change). This is more of a story that came to me because I wanted to write a narrative fictional story set in the confines of a real (fantasy) fan-universe. I will be posting some specific questions, mostly in the armoring sections. Glad to be here!
 -
 @TKSpartan @Doggydoc I know I'll need a full suit up, but I wanted to highlight most of the adjustments here before I do: Mid Section: Shoulders: Helmet: There is some paint flake clean up to do , but you should get the idea!
 -
I may be looking to build another kit, so I will eagerly watch your progress. Best of luck!
-
Welcome to FISD Kevin. Great to see you're and experienced Trooper. Looking forward for your Building thread.
-
Hello everyone. So I have acquired a new set of armor from 850armorworks. It is their new ANH TK kit. I have many kits, from the original armor FX, to an RS kit, had a Dave's depot kit, a new kit coming from a maker in Canada and now the 850 kit. I will hopefully be documenting the build here if anyone is interested in following and has any questions. I will have pics as soon as I can take and post. I do plan on doing a tutorial video as well, though I dont know if I can post videos.
-
 NullusAnxietus joined the community
 - Yesterday
-
I don't do double snaps, only singles. Has never failed me yet. But my snaps are marine-grade so very strong.
-
Based on Alain's files (assuming these are what replaced your PPC pieces), using his posterior plate is "required" due to how the spine plate creates a square rear protrusion. While this isn't screen-accurate to how the armor is physically assembled, it functions the same because the components are worn together as one unit. When properly assembled, the spine plate should slide under the rear belt, wedging the butt plate into place. However, because these digital files don't fit perfectly together, expect to do some manual sanding and shaping during post-processing. See the attached mockup for reference:
-
 User ID 6957 TK ID 1880 https://www.501st.com/member/1880/
 -
Welcome back! It’s always great to see veteran members helping the next generation of troopers. Hopefully you’ll find someone who can give your TK armor the appreciation it deserves. The local garrison or official community channels would probably be the best place to start.
-
NOTE: You must also include a link to your 501st record as per the instructions in the first post of this thread, else your request will be ignored:
-
niadly changed their profile photo
-
Requesting access User ID 6957 TK ID 1880
-
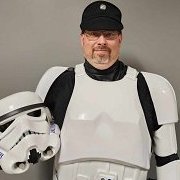
TK-12953's Captain Cardinal build
jsilvius replied to jsilvius's topic in Captain Cardinal Build Threads
So after a bit of work, abs slurry, putty, filler, sand, sand, sand, and just a couple of the coats of paint to see how it looks. I know it will be covered by the cape, but I want it to look well. - Last week
-
Ok. I did try to put the posterior plate in there but it didn't fit but probably because it came from my other print file and I did a little heating to make it fit better with that print. New posterior coming. Lol. Thank you.
-
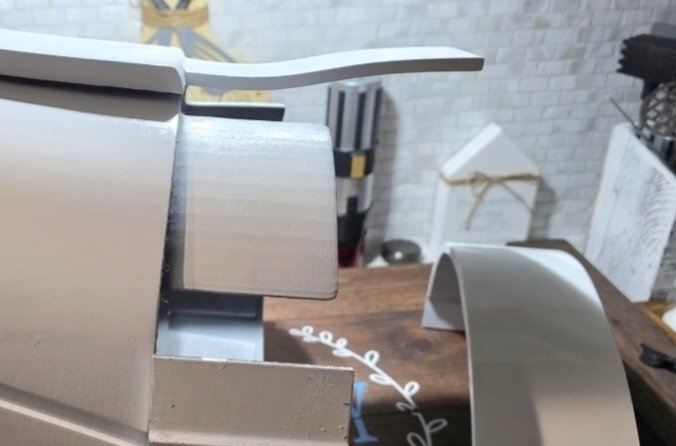
It's actually a bit counterintuitive: the rear belt shouldn't sit flush against the abdomen because that kidney plate runs underneath it. That slight gap is unfortunately intentional. Additionally, the posterior plate wedges between the abdomen tabs and the rear belt to help hold everything in place, which furthers the reasoning it doesn't sit flush. You can see here because of a costume mishap, it shows there's no way for it to sit truly flush.
-
Next question, but first off thanks again for all the help, on the back plate for abdomen armor that coveres the opening it has the tail but it stops the belt from sitting properly or nicely. What do you all do to fix this? Thanks!!
-
Not really! Most of us are still doing some variation on this theme
-
 Rey B joined the community
 -
Wondered if there is a more uptodate planner for the popper locations for Stormtrooper armour
-
Thanks! I'll get to it.
-
SmallField joined the community
-
More work on the painting part on front ab and back plate. And I realized the front buttons will need to be repainted to the correct color.
-
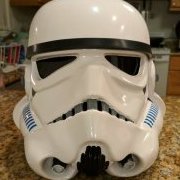
Sha Sha's (Slow) KB/850/3D printed FOTK Build for Short Troopers
shashachu replied to shashachu's topic in TFA Build Threads
Today was a rare windless day so I took the opportunity to paint several pieces. Biceps: Ab: Chest: Back: Just as I was finishing up the ab, it started sprinkling! In July! Fortunately just a handful of drops got on it, but it was while the paint was quite wet, so I'll need to sand and recoat. Now that I have been more patient with my painting (several light coats), I've definitely had better results. I also finally primed and sanded the helmet: My plan for painting the helmet is as follows: - Mask off everything but the black satin areas (brow, stripe at bottom, lower trapezoids) and paint them black satin - Once dry, cover the black satin areas with tape - Paint white gloss - Once dry, mask off everything but area around eyes and trapezoids at temples - Paint black gloss - Remove masking on all gloss areas - Spray the entire helmet with 2k - Remove masking on black satin The frown is a separate printed piece and is already sprayed satin black. The snout is also separate, so I can paint it white and spray the clear separately. It's risky to rely on masking and spray paint, but I don't think I'll be able to hand paint the black satin areas and be satisfied with the results. Not pictured, but after they dry, I have also been wet sanding every painted piece with 1000 and then 2000 grit in preparation for spraying the 2k clear. -
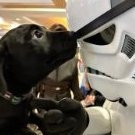 Hi Joe, Thank you for your EIB application. Your armour looks great and is close to EIB level, but we are going to need a few changes before we can go ahead and approve it. Lets start at the top and work our way down. Please feel free to reach out if you have any questions. Helmet We are going to need a bit of paint cleanup on the frown ear bars and vocoder. This should be a fairly quick fix with a toothpick dipped in varsol or mineral spirits to carefully scrape away the over painted areas. DO NOT USE ACETONE FOR THIS AS IT WILL MELT THE PLASTIC ON THE HELMET. Your paint on the frown is extending up onto the gums in several areas. Please take a few minutes to clean this up. CRL Basic: Frown is painted gray and does not leave the teeth area. A total of 8 cut outs in the teeth area of the frown are present. References For your ear bars, the black outline will need to be cleaned up a bit as well. References Similarly, your vocoder paint needs to be cleaned up a bit to give more of a defined outline for each of the stripes. Again, this should be a fairly easy correction with a toothpick and some varsol or mineral spirits. References Shoulder straps The white elastic under your shoulder straps is being pulled out by the shoulder bells. This can be corrected by placing some velcro between the ABS shoulder strap and the white elastic one that is being pulled out. This will also bring your shoulder bells in a bit more and achieve the level 3 criteria. References Biceps Your biceps armour pieces are rotating somewhat when worn, this is likely caused by them being a bit too large. This can be corrected by padding the inside with some foam to help keep them aligned with your arm, or by trimming down some of the size for a better fit . References Forearms Your forearms are sitting a bit too high, creating a larger gap than desired at the wrist area. For a more screen accurate look, you want to try to adjust the strapping between the biceps and forearm to create similar sized gaps between the biceps and forearm and forearm and hand plate. References Abdominal Armor The lower edge of the abdominal armour should align with the edge of the cutout notch in the kidney armour. This should be a fairly easy correction and take a few minutes of trimming and sanding. References
 -
Also adding in that KeepTrooping (who also sells the flight suit, boots, and gloves) sells a pretty solid neck seal. It's a "one-size-fits-most" application, so it'll need some taking in compared to one more custom tailored to you; but could be more cost effective. There's several Etsy seller's too that specialize in the New-Era/Non-Saga seals as they do differ from those found in the OT armor which appears to be the speciality of the sellers mentioned above.








-
Albums
-
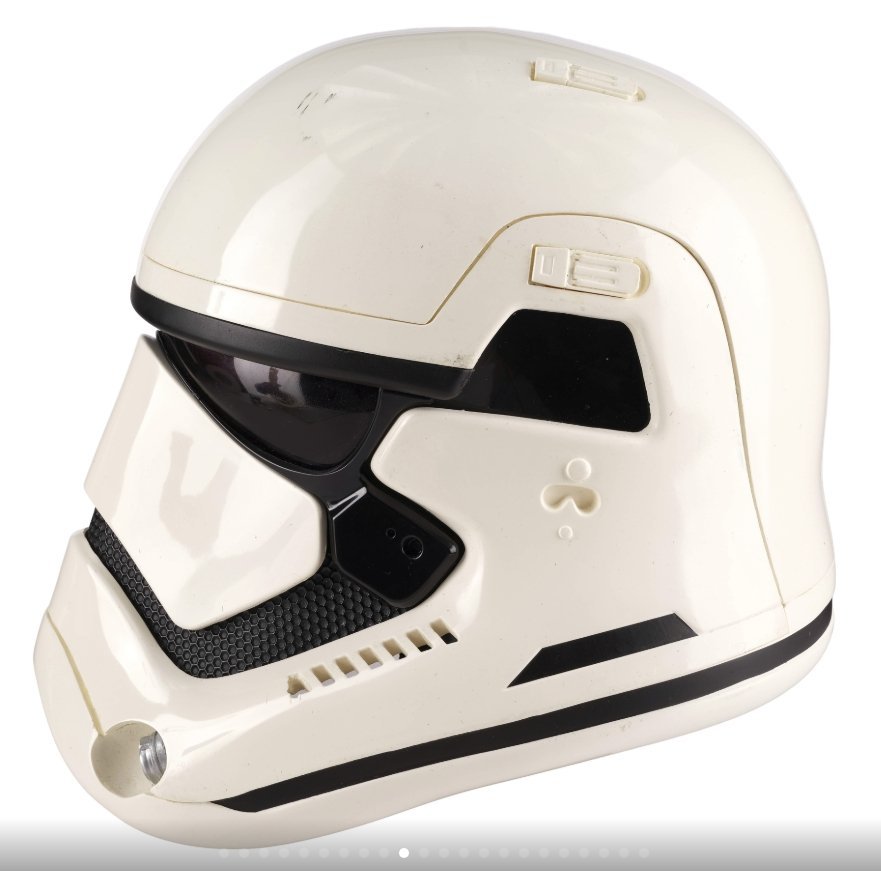
TFA Screen Used Helmet- Propstore Auction
- By gmrhodes13,
- 0
- 0
- 6
-

Andor Behind the scene Credit Makinarium UK
- By Sly11,
- 0
- 0
- 3
-

ILM-Made Stormtrooper Appearance Costume 1995
- By gmrhodes13,
- 0
- 22
-
.jpg.4442dc5fe3f1c7f833bba442847f56e5.jpg)
R1 Visual Dictionary, Promo & Behind The Scenes
- By gmrhodes13,
- 0
- 0
- 45
-

ANH Hero Helmet - Hovi & Mesh Coloring
- By gmrhodes13,
- 0
- 0
- 11
-