CallMeMrTibbles
-
Posts
695 -
Joined
-
Last visited
-
Days Won
8
Content Type
Profiles
Forums
Gallery
Articles
Everything posted by CallMeMrTibbles
-

Fraying canvas belt
CallMeMrTibbles replied to CallMeMrTibbles's topic in Boots, Soft Parts, and other Accessories
Didn't even use one full bottle. Trooped with it yesterday, and no problems. Recommended. -
Good luck with it mate. Looking forward to seeing it all fitted [emoji106]
-
Thanks! Really nice of you Got it from here... https://numpaint.com/result/Star+wars/pg/1/
-
TK-10346 - Reporting for duty
CallMeMrTibbles replied to RageQuit's topic in Newly Approved Members - Sound Off!
Good to hear you found a solution that works. Looking great -
I'm sure my voice must be being picked up, but I'm really not noticing it, and even with the Bluetooth system I'm not noticing any delay. I don't have my voice changer / amp yet though (on order, should be here in a couple of months). That may make a difference.
-
Congratulations!!!! Welcome to the ranks of EIB
-
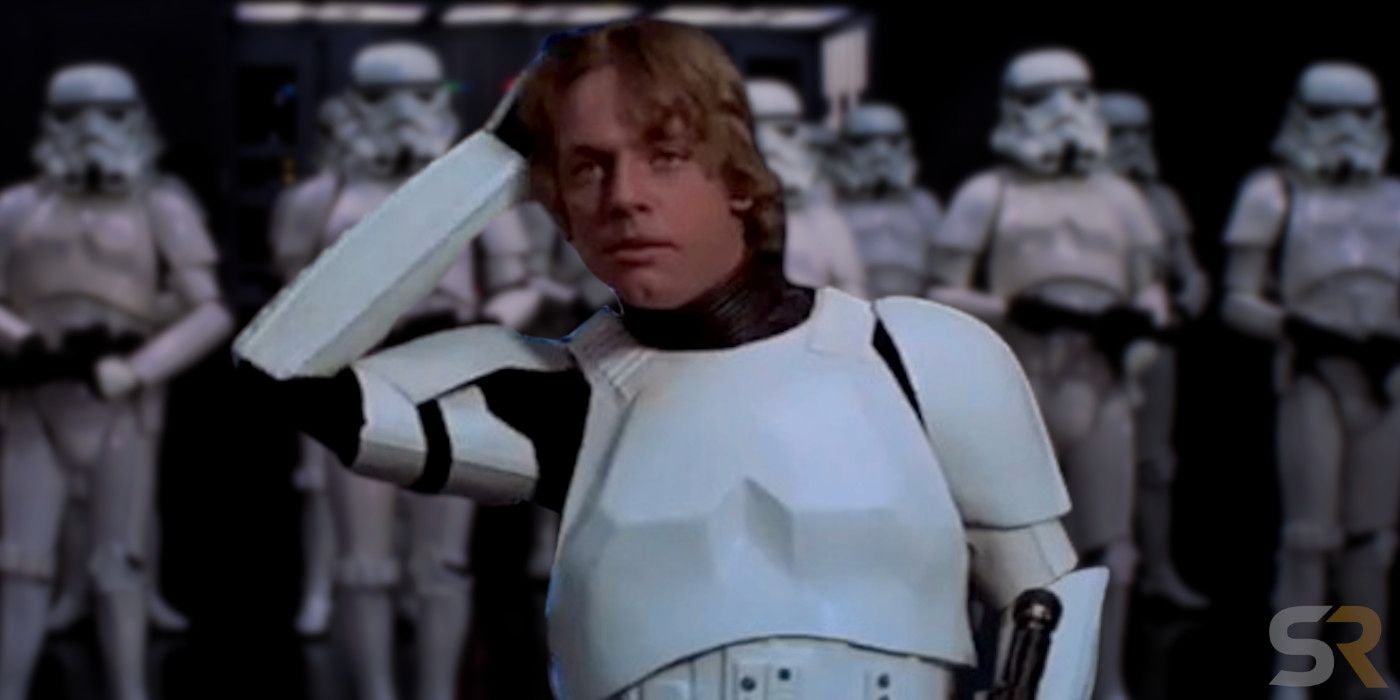
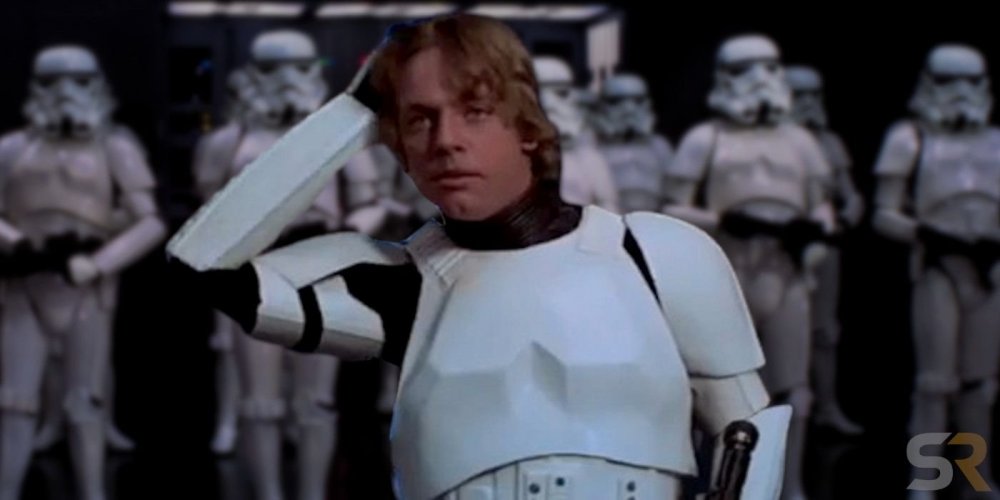
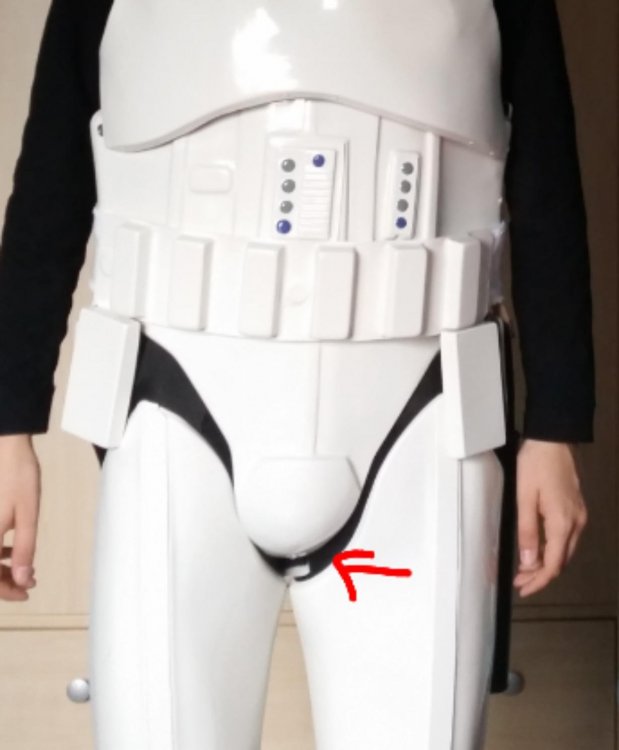
Hadn't realised that you were moving close to T-Jay. That will make everything so much easier for you. My first thought is really just what T-Jay has already said about moving the back sections higher up. From what I can see in your pics it looks like you have enough space in the butt and back sections to do that. You can use masking tape to hold the armour in place when trying different positions, rather than straight away installing new poppers. Will be easier if you have someone that can help you. But, you still want to keep the top of the kidney and ab lined up. So, if your kidney moves up, so should your ab section to maintain that line. If you are able to do that and its still comfortable to wear (I guess around the cod section mostly) then all cool. Your chest plate wouldn't need to move as you would just have more of an overlap of the chest and ab. Mark Hamill famously was pretty small for his armour, and you can see this especially with how close his ab buttons are to his chest plate. My second idea is really only if T-Jays suggestion can't be done for any reason. As you are currently wearing the armour, where the butt and cod meet is very close. I imagine that the end of the butt plate between your legs is already uncomfortable, and it would likely cause even more problems walking around when trooping. You could trim the butt plate shorter at this point (so it doesn't sit so far between your legs) and make maybe make it a little narrower if needed too. In doing this you may need to remove the front most popper and install a new one further back. (Contact RS for a new popper if needed, as not all poppers work together, even if they look the same size) This should stop you from being able to see the butt plate from the front, as well as make everything more comfortable. Obviously once done this can't be reversed, so (as already said) anything that involves cutting plastic should be a last resort. Yes, this would mean there's no return edge where you've done the trimming. My butt has practically no return edge at this point. It's not a requirement for clearance here even at level 3, and actually allows the plastic to flex a little more without cracking. I did shorten and reshape my butt plate in this way a little, even though I'm quite a lot taller. If doing this, drill out the popper first, as you only need to trim back to the hole, not the edge of the popper. When trimming (as I'm sure you already know), slow and steady. Trim a little. Try it. Trim a little more if needed. These are just my ideas to go into the melting pot. My last thought... Even though you have the uncertainty of the move coming up, try not to be tempted to rush to get it finished. Rushing is when mistakes happen (from personal experience!), and even if (absolute worst case) you can't store or work on your armour where you'll be living, there'll be an alternative that lets you carry on with it. Opportunities always present themselves. Really excited to see your post saying you've got approval!
-
The specs day 8 hours use before needing to recharge. Do think I've ever tried running them flat, so not sure how accurate that is. Cool. Interested to see what you end up doing
-
Thanks Andrew
-
I do my best And thank you
-
I have Reaper already on my laptop. Overkill for this kinda thing, but already know it from a previous hobby. (It's free and very powerful, if anyone needs to know). The denoise one you linked will be very useful. There'll be a plug in for Reaper, but likely it'll be complex to learn. Not sure if trooper amp let's you have a different level for voice versus samples. If not I can go back and adjust sample levels. Good call though. I wouldn't have thought about it myself.
-
Sealant is a very good plan. Will do. And already bitten by the building bug . Didnt take long, did it!? Outfit wise, I'm going to work on ANH stunt and hero and HWT kinda simultaneously, sharing as much as possible with my esb tk. Will get the belt parts ordered next month. May have caught the painting bug too. Thinking of starting with something like a Rothko style Tatooine one. Not sure yet.
-
I forgot you mentioned about moving areas. If you haven't already, I recommend contacting (and maybe joining) the new garrison as soon as possible. It will be good to hit the ground running when you've moved, and you may even be able to share a work / storage space with fellow garrison member if the church is disapproving (no promises, but worth looking into). I'll put together something with suggestions. Could be a day or two, but I won't forget to do it
-
It was looking more like a Jackson Pollock at one stage!! Thanks buddy
-
And, its finished! Thank you everyone for the likes and kind comments. It's been a lot of fun, and helped keep me centered. Suggestions for the next one gratefully received [emoji16]
-
@Morgi How far have you got with your local garrison re submission for clearance? We can def get to work with these issues, but we may be working on stuff beyond what you need for basic right now. That's not a bad thing, but it's also a personal boost getting the basic clearance sorted. If you get any feedback from your garrisson let us know and we can work on their remarks together too. Don't forget that your local garrison makes the final call at basic level, so always go by what they say if it contradicts anything here. It's a shame really that we can't just pop round and have an armour party; we'd maybe get it sorted in a night or two (plus it'd be fun to all meet up!). Maybe post on your local garrison to see if someone local can pop over to help. Seeing and adjusting in person is always so much easier. If you want to keep plugging away, definitely happy to help if I can . I have a couple of ideas already, but didn't want to write a several pages long comment
-
Just found this that is going to be perfect for me (I think) https://www.101soundboards.com/sounds/573995-radio-police-inside-car Going to chop it up into several short chunks (one short random sample played per remote trigger on my trooper amp) Want to give the impression that I am having a 2 way conversation with someone back at base. These samples sound to me like trooper chatter, but are obscure enough to not be able to tell what they're saying.
-
Great. Thanks Glen
-
Anyone know if there are any ship samples available from here? TIE / Falcon / Speeder / etc. engine sounds?
-
Cool. Gonna look great when it's all fitted [emoji106]
-
Shoulder bells rotating to the back
CallMeMrTibbles replied to mamaking's topic in Assembly, Mods, and Painting
Let us know how you get on, and have fun on Friday -
Cool. Thanks for this Are you planning to install the magnifying lens over the red filter? I wonder how it would look to have the scope display without the red filter and magnifying lens(?) Obviously small, but I've only ever seen pics of it on in built blasters, and wondering if it would be smaller / easier to fit without the filter and lens (?)
-
That's grotesque I love it!
-
Shoulder bells rotating to the back
CallMeMrTibbles replied to mamaking's topic in Assembly, Mods, and Painting
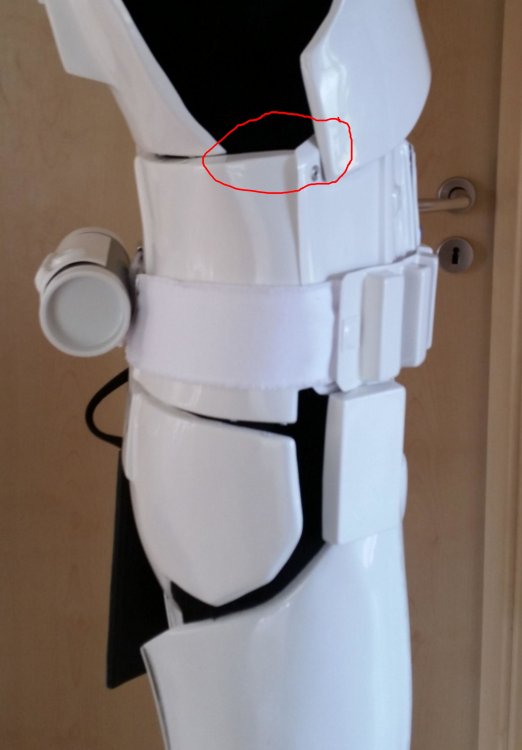
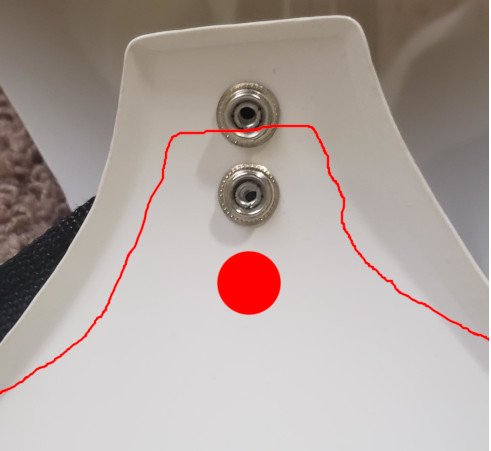
On the webbing from chest to back, how far back is the popper that the shoulder bell elastic connects to? From the first pic it looks quite far back. -
All that sounds perfect