
TKSpartan
-
Posts
5,720 -
Joined
-
Last visited
-
Days Won
32
Content Type
Profiles
Forums
Gallery
Articles
Everything posted by TKSpartan
-
TK SPartan TFA FOTK Build Thread (KB Props)
TKSpartan replied to TKSpartan's topic in TFA Build Threads
BICEPS ASSEMBLY 24-48 Hours Later Next will be to apply ABS paste to fill the seam , Sanding and Polish. Finished Return to Index -
TK SPartan TFA FOTK Build Thread (KB Props)
TKSpartan replied to TKSpartan's topic in TFA Build Threads
SHOULDER BELLS ASSEMBLY Return to Index -
Help: How to move backplate up and chestpiece down?
TKSpartan replied to Shears's topic in Assembly, Mods, and Painting
The hot water method is a bit slow pace, you need to repeat the process again and again. Personally I prefer the "Ninja Style" using a Heat Gun but It needs to be done carefully because the piece can be damage. You could make a test with a scrap piece too. AGAIN: BE CAREFULL -
TK SPartan TFA FOTK Build Thread (KB Props)
TKSpartan replied to TKSpartan's topic in TFA Build Threads
Hi, I have updated my first post adding the photo requested. -
Welcome to FISD. We are here to Help. If you can, open a Build Thread Here , post tons of photos , they speak more than words . Good luck
-
Help: How to move backplate up and chestpiece down?
TKSpartan replied to Shears's topic in Assembly, Mods, and Painting
Almost boiling and take care on not let the piece too much time into the water to avoid melting. Perhaps you can make a test first with a scrap piece. -
Help: How to move backplate up and chestpiece down?
TKSpartan replied to Shears's topic in Assembly, Mods, and Painting
Hi Jeff. Looking at your photo, it looks like the Back plate could be reshaped a bit to fit more comfortable, how this could be done? What I have done to fix this is to apply a "Hot water bath" to the section marked in the photo bellow and bend it upwards to give it a better shape. Doing this , all the rest get in place nicely . Good luck and looking forward for your advances. Reference Image -
Hi Chris, Welcome to FISD, the very home of the shiny white. Have you read this forum section yet? also you may want to check this Post Compilation that can be so helpful. Feel free to browse the forum and don't hesitate in asking any question you have. We are here to help.
-
ESB TK WIP - UKG - first build - hoping for centurian
TKSpartan replied to CallMeMrTibbles's topic in ESB Build Threads
Not at all but it would depend on your GML , I think you could try to get an intermediate level, moving the thighs and even the shins just a little . or wait for your GML comments. -
ESB TK WIP - UKG - first build - hoping for centurian
TKSpartan replied to CallMeMrTibbles's topic in ESB Build Threads
Amazing looking Richard!! great work. Easy basic pass!! Just a simple dressing detail to consider : You my want to rotate your thighs inward to reduce the Cod/thighs gap a little, as you did in the first photo you posted. -
TK SPartan TFA FOTK Build Thread (KB Props)
TKSpartan replied to TKSpartan's topic in TFA Build Threads
Hi Andrew, I'll take the photo this weekend, even though I have glued the Torso section and biceps already, all the remaining pieces are unassembled -
-
Hi Joe, you're on the right path mate! You may want to check the center lower tooth paint, with just a bit excess. Using some non Acetone remover on a toothpick could make the deal. Reference Images Keep on doing a great work !!!
-
Great Looking armor Gretchen! Easy for basic and a couple of adjustments for higher levels. Adding to what Tony said: Ab buttons panel could be flat with no return edges. Reference Image
-
Hi Scott, welcome to FISD. As an experienced builder, a Stormtrooper armor will be a piece of cake. . You may want to browse the following forum section that can be useful and don't hesitate in asking all questions you have. We are here to help.
-
Fish's ANOVOS Build Thread - Aspiring for L3
TKSpartan replied to fishgoh0nk's topic in ANH (Stunt and Hero)
I'm sorry not being clear. It's to be careful not to remove the ridges. As the crl states: CRL L3 Any mobility cuts on back of piece do not go past raised ridges. -
TK SPartan TFA FOTK Build Thread (KB Props)
TKSpartan replied to TKSpartan's topic in TFA Build Threads
DETAILS TRIMMING Hand Guards Biceps Forearms Chest Cover Ab Boxes Shins Return to Index -
Fish's ANOVOS Build Thread - Aspiring for L3
TKSpartan replied to fishgoh0nk's topic in ANH (Stunt and Hero)
Hi James, nice to see your on your way to the approval !! About the mobility cuts, those you have marked looks ok. just take care of the ridges . Reference Image Keep up the good work. -
Bienvenido al equipo !! Welcome to the Team !!
-
BlueBoxFromSpace ATA ANH Stunt (first build)
TKSpartan replied to BlueBoxFromSpace's topic in ANH Build Threads
This is the reference we usually use. Additionally, this one could be useful -
Hi James, welcome to FISD, congratulations for your BBB Day , enjoy and remember, we are here to help. Post tons of photos, ask every question you have the most important: Measure twice, cut once. check the gallery section and other's build threads.
-
Congratulations Trooper!!! Welcome to the ranks
-
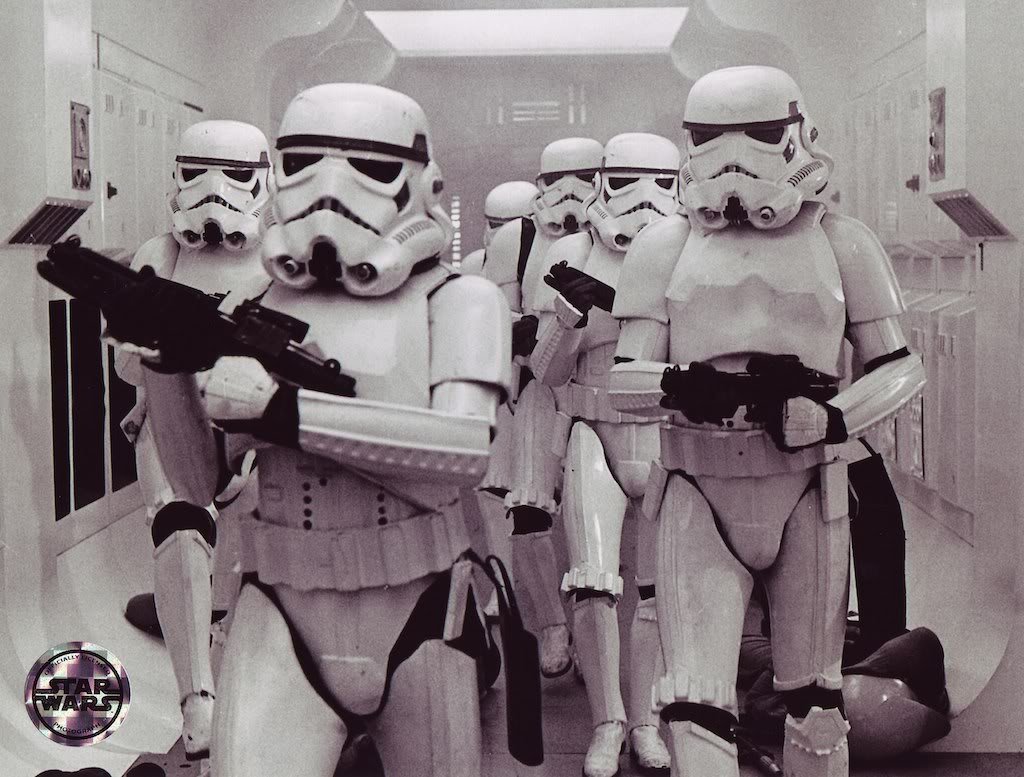
Stormtroopers in a ship corridor (photo edit)
TKSpartan replied to OddViking327's topic in Off Topic
Really Cool !! -
Welcome back Dax. !!
-
TK SPartan TFA FOTK Build Thread (KB Props)
TKSpartan replied to TKSpartan's topic in TFA Build Threads
Thanks Tony , yours is one of my references thread , I'm doing a lot of homework
