
Parquette
-
Posts
560 -
Joined
-
Last visited
-
Days Won
1
Content Type
Profiles
Forums
Gallery
Articles
Everything posted by Parquette
-
 Now you have an AT-ACT driver helmet!
 -
Here are some more details concerning the rest of the armor: Thighs: -Are fit to wearer, and are symetrical. -Have raised areas directly in the middle of the front and back areas, with a piece of trim on top of each raised area. -Are as pictured. -On the wearer's right thigh, at the bottom is a mini ammo belt, it only exists on the front and slightly goes to the sides, but it doesn't exist in the rest of the sides or back. -Is short enough that the sniper knee plate of the wearer's left shin doesn't catch (if you look in the film they were purposefully made shorter than the originals) -Not too much curvature in the front (if you look at the screen caps they aren't too curved, and actually have foam paddings inserted so that it doesn't bounce around at the top) Shins: -Is fit to wearer -On the wearer's left shin at the top, is a special extension called the sniper's knee plate, which will be done as pictured. It is extended forward a little bit, and no rivets are visible. -The wearer's right shin has no special extension at the top. Boots: -Are all white. -Completely black soles that are all 1 piece, with no separation at the heel. It is a completely straight sole. -The wearer's inner side of the boots have zippers, which no Chukka boot elastic. -Are made of leather or leather like material. Must be white. -Are practically same as FOTK boots. Undersuit and/or gaskets: -Is black. -Is fully ribbed from top to bottom, all horizontal ribbing. -Is made of fabric, not shiny. -The shirt has a special fish net of sorts for the arm pit areas. Can either be black or very dark grey (I forgot which it is). -Pants made out of this ribbed fabric isn't necessary, and gaskets can be made in alternative. As long as it is present at the knees where it is visible on the screen used costume. Made exactly out of the same material. -If choosing to go the gasket route, any form of black undersuit will work for underneath the gaskets, as long as not shiny (there is no reflection above the thighs in the open area where you can see the pants). And that's that. Once I have my build put together and attempt to submit a draft of the CRL based off of all the info posted here by me and others to the staff, I'll also gather reference images taken by various people to show these details. Also, no holster is visible or present in the film, so to keep with accuracy I think we should leave the holsters to the OTTK.
-
Very nice observations there! I never thought of the backpacks functioning like thst before.<br><br> In concern for the pauldron, I've only seen the orange on having a white underside. The black one looks completely black. And because not a lot of people are going to see the white anyway, it could be optional as well. But I would love to see the backpack be an optional thing for the standard R1 TK CRL.
-
Black Series R1 mod. Next step, neck hole rubber edging. I was asked about how I'll be doing this, so here's what I bought and did. Then I'll also show you how the tube stripe vents are coming. So I went to Ace Hardware and bought a pack of weather stripping. They come as one looped weather strip, and to be quite honest I don't know the official pricing, because the tag said around $30.00, but the cashier said it was in the computer as around $19.00, so I don't know which to ...believe. I'm more inclined to believe the computer, ha! Anyhow, it has a soft flexible part, and the other half is a really hard, almost wind shield wiper in looks, rubber. Cut that entirely off. You can see it in this image. Now you have only the soft part. I noticed that the overall shape is like a L with a hook at the top, which you can see in the above picture. I cut off the _ part of the L (interferes with final product), and used the hook as a place to slot over the neck hole of the helmet. After slotting on, I would trim it down to size, but I'd advise having it overlap with the front half of the helmet's trim, so that it looks much smoother. I'd also reccomend using a rotary tool to cut open any restricting areas in the ears of the helmet that keep the trim from sliding right over the neck hole. Then its time to actually put it on for good. But before doing that I reccomend supergluing the neck hole edge before putting the rubber trim on. Now you have a new trim! It's much more lined up than the old trim which didn't look any good. Hopefully this helps! Also regarding the tube stripes, to cut them out I'm using a rotary tool with a few bits (including saw bit), and some files to clean them up. I used the saw bit for the rotary tool first, then other bits to clean it up. But the files really do the cleaning. I'm not finished, but wanted to show how it's coming. Teaser for next update
-
Thank you sir! Yeah painted it after filling in the area in the back <br> I just painted the rear half of the helmet (not including top cap) with Rustoleum 2x Ultra Cover White gloss. While it isn't the best match, it's what I bought the other day so I'm using it
-
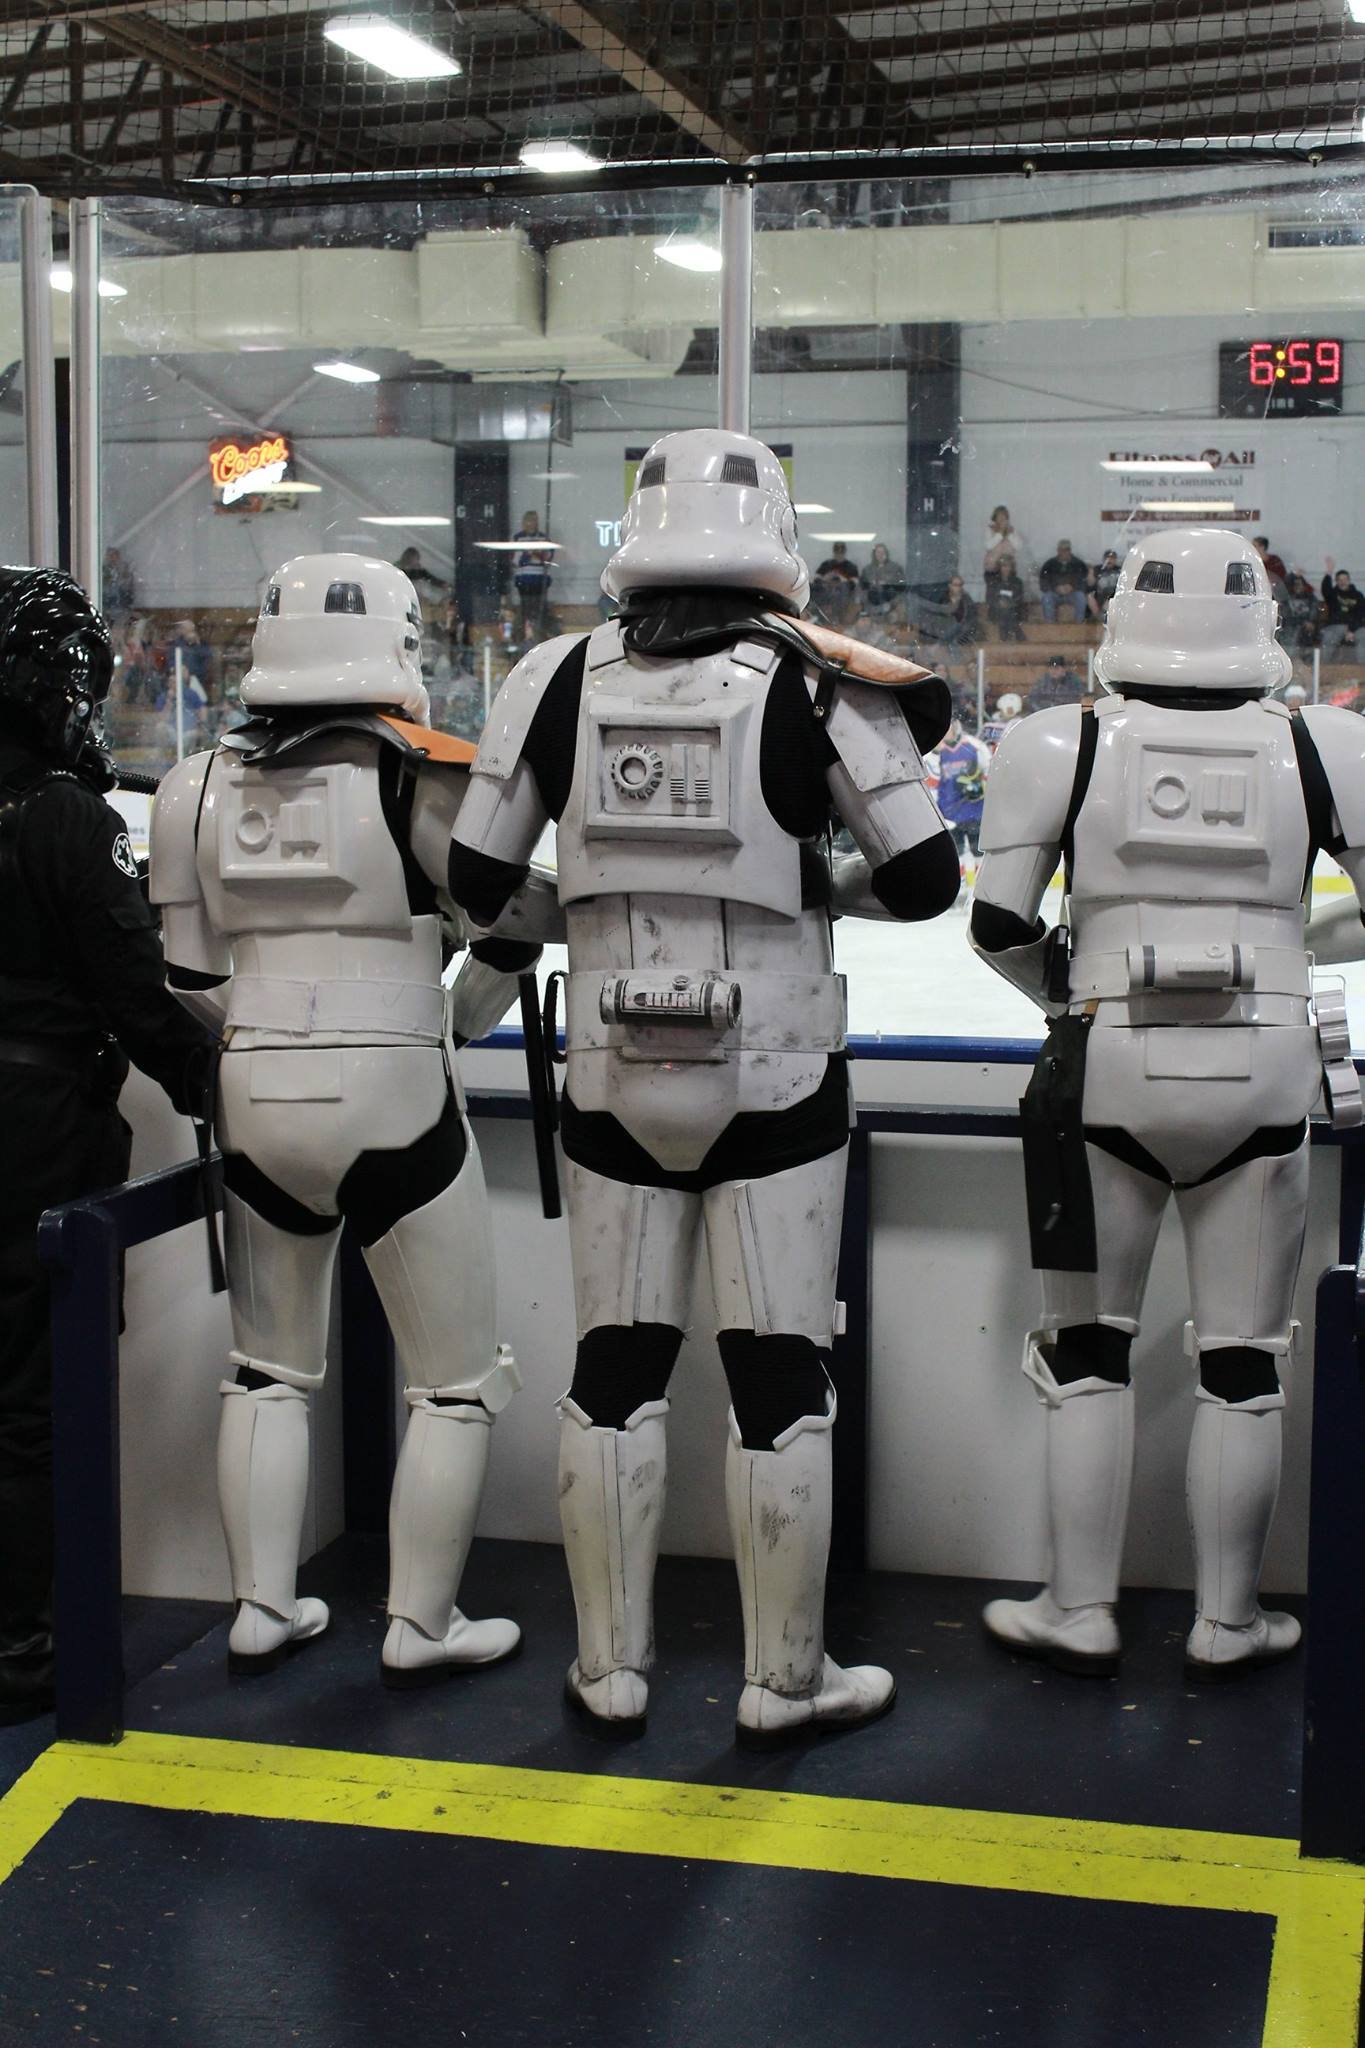
No need to worry Vaphil, a completely appropriate question It is very possible, with even some Youtube tutorials which were made on the topic. I personally haven't messed with the voice changer to make it sound better, and opted to gut the electronics out. I am planning on using a wireless microphone/speaker system I heard other 501st members using at my first troop (not 501st yet, but they let me ). Mainly to save money and time, one could go with the modifications route of the already existing speaker, but it definately wouldn't be the loudest speaker in the world. If one was at a crowd for instance at say an NHL game, it would be hard to talk over the crowd to another person without having to shout with your normal voice. Hope this helps man! Good luck with your mods to your helmet! Merry Christmas btw!
-
Here's a mock up of my Rogue One Black Series so far with all my mods. Today I did a rough cut at the tie stripes, and once cleaned up with a file or something, I'll put some blue tape underneath. Why blue tape? You see overlap lines in the blue portion of the tube stripes, which makes it look like tape. They did say it was designed as an actual functioning vent for easier breathing, so it'd make a little sense. Mainly I cut the indentations out with a rotary tool using a blade, and a bit to fix the edges. Be very careful when doing this cause you can mess up by accidentally trailing off and making cut lines along the surface. Also how I put on the electrical tape is by separating the helmet sections, and I put 2 pieces of tape on the brow. One for the underside and middle front of brow, and the other for entire front of brow and top. You want to make sure no bubbles or separation is occurring, this will effect the overall life and look of the tape. Maybe putting superglue under the tape's edges so that it stays down? I'm thinking of doing that with mine because for some odd reason the edges refuse to stick to the top.... but with the tape make sure no noticeable tape overlap or seams are present. I'll get to documenting the neck hole trim later, but I will say that drilling out the tube stripes is a pain in the neck to try and get perfect with a rotary tool. I'll need to get a file of sorts or something that can fix the edges and make it more cleaned up. Also, Merry Christmas everyone!
-
Exactly my friend
-
Yup. I'm not exactly sure if it's blue tape or what underneath, because you can see overlaps over each blue piece. After all, in a recent interview the head of costuming (I can't remember if it was that person or what) said that they designed them as vents. Also, very true, but one can make clean enough indentations that it could possibly pass basic. Especially since making sharp edges is very easy in hand sculpting, this effect can be easily achieved if one is hand sculpting the helmet from scratch. I haven't seen one like this yet, but it is possible. We don't want to be too reserved and strict with this CRL in particular, seeing as one can acquire certain characteristics and looks by other means not 100% accurate, and this is only basic we are talking here. What I would like to do is see if we can keep this one just a little bit flexible, like the Kylo Ren CRL. That one has multiple options for the outer robe fabric, and with other parts it is somewhat forgiving. I am hoping we could keep this one like that, especially since not a lot of people will notice the gaps between the blue and the recessed white areas in the tube stripes much. As long as one's helmet has the look, it should be ok, especially since the gaps are not very huge in the screen used helmet.
-
Hopefully I'll actually begin collecting parts and other goods around the beginning of the year (around the next few months that is), but don't quote me on that. Mainly parts for modding and such. I'll post my armor over on my WIP, and maybe a few images here so that we have a fan build to go with the CRL guideline draft.<br><br> I'm actually thinking of weathering mine a little bit, but not too much. I like some of the weathering on the sand troopers from Celebration. They are subtle hints of dirt and scratches at the corners of areas. I'll also do black in areas too.
-
So far none have been shown, but yes they could very well exist.
-
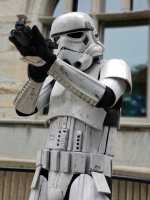
Went and saw Rogue One again for the 2nd time (first was at premiere night). Had to take a pic with the poster and helmet!
-
Well the sandtroopers in the pic have backpacks. They are sandtroopers.
-
The CRL thread is documenting all the changes
-
The R1 troopers are very much different from the original, not just the helmet but every part of the armor. The ab details only have 4 buttons instead of the 5th one that is above the grill, which in R1 is replaces by a square recessed area. There are a lot of difference in this costume, with some additions to make it more in depth.
-
Black series helmet update: I changed the brow to have electrical tape versus plastidip, because I only plastidiped the brow's underside instead of the entire thing, so the edges fray. Then after failing to get plastidip out of the can I untaped the helmet and some plastidip already on came off with it in an area or 2. So electrical tape works, and hopefully once a CRL is up and functioning, it could pass basic. I also updated the interior with padding and a home made elastic... chin strap. It actually keeps the helmet on my head when I look down pretty well It was majorly inspired by the chin straps that the Shoretroopers have inside the helmet to keep it on the wearer, so I assumed that the Stormtrooper helmets have it as well. Thoughts on brow welcome hopefully I'm not kidding myself with the tape (I have it slightly tucked into the skullcap so it stays down. This stuff's edges don't want to stick very well). Aside from a few wrinkles at the very ends of the brow where I tucked it into the helmet, it hopefully will pass. Here's to hoping! Here's the interior of my helmet, with 2 different kinds of padding.
-
Is AM2 ANH based? If so I won't be able to use it because of the assymetrical versus the synetrical longer/narrower Rogue One armor. Thanks for the suggestion though!
-
Where can I eventually get authentic FX armor parts? My budget isn't too big, and I'll mod them anyway. Is there a member on here that sells them?
-
So I'll be looking for some FX chest and back armor to mod into an R1 trooper (believe me, it can work ), but none have popped up on here recently. I know eBay isn't the best source, but it's the only place I can think of to go to when it's finally time for me to actually get some armor. How's this guy? I know his stuff isn't 501st approvable by any means. I'm only mainly concerned if he is a recaster? http://www.ebay.com/itm/Replacement-Front-Chest-Plate-compatible-with-Stormtrooper-Costume-Armour-/171512467100?hash=item27eef08e9c:g:sjsAAOxy3NBSd4Wa Any even no I'm not buying anything at the moment, if he is a recaster can someone point me in the right direction to eventually acquire FX chest and back armor?
-
There is a thread on the Shoretrooper being a TK and not a Scout a few threads below Btw, here is what I have so far for eligible R1 TK armor. Chest and back pieces: FX Stormtrooper armor. I know you are all sighing in your heads, but with mods these can work. The front chest armor is more symetrical, and the only major mods needed on both pieces are putting the sloped slots around the shoudler areas for the shoulder straps to insert into, and connecting them under the arm with black plastic pieces. Along with fixing the back armor center box to correct R1 details, like the extra plastic panel put over the box wall tops, and making an artificial seam along the inside next to the walls. Look at the Sandtrooper photos above. The chest armor is a tiny bit straight. Imperial Boots T7 Boots. Link below. Through info someone found out, they appear to be FOTK boots, with the flat sole and zip up the side. Helmet: Black Series R1 TK helmet (heavily modded). Also here is more info on the arms that can be contributed to the CRL draft: Shoulder bells: -Are straight at the sides, but are curved and round at the top. Down the center is 1 single raised strip of plastic, be it already part of the mold, or inserted on. -Is same color as rest of armor. -Sides are L shaped, so that it's profile looks like so, L) Biceps: -Are straight, but in the arm pit location, has a cut out to allow for easier articulation. It will look like so, \__/ -In the middle, front and back sides, will be 1 straight piece of plastic, that is raised on another plastic strip, either molded into the bicep already or placed on. -Appears to be seamless, however seams are encouraged as long as they are hidden. Fore arms: -They have same styles of trim along the front and back sides like the biceps, being raised by an additional layer of plastic strip. -On the side is a grill with exactly 13 bars running down the middle. On the ends of each bar is a long piece of trim running up and down the grill. The trim will be seamless. Gloves and Handguards: -Gloves are all black, with a netting material of sorts for the top, but a different fabric for the underside of the hand. -On the index finger is a stitched piece of fabric (same material as the hand's underside) that, while stitched to the finger, has 1 hole towards the end of the finger that reveals the netted material underneath. Like so, (_()___ -Handguards' shape is as pictured. -Handguards have a sudden obtuse angle towards the thumb of the hand. -In the middle of the handguard is a tapered piece of trim straight down the middle, and before reaching the bottom, immediately spreads out and covers the entire end. Hopefully you guys get the general idea of what I mean, I know my phrasing isn't the best, but it's getting there lol! I'll contribute more sometime, but for now I would like to get to finishing the Black Series helmet and building the rest of the armor so that I can submit my research to the 501st eventually. Obviously, I can't submit my costume for approval yet, but I can submit the costume with my research and CRL draft to show it's potential and accuracy, that way they have a visual to go with the draft, so we have a CRL up and running. Yup, I'm determined to do this
-
Next step: Filling in the speaker and battery compartment lid in the rear of the Black Series Rogue One helmet. I filled in the speaker with plumber epoxy putty, but I scraped off all the excess after pushing it in as much as I can. It will leave putty in the cracks, but there will be holes in the putty from scraping off the excess. Then I put e600 over the battery compartment lid, because it was difficult to get the putty into the cracks (unless you took out the lid, stuffed the putty on all the edges, then placed back in and removed the excess, which I didn't think of until after doing the e6000). After letting it dry most of the way (impatience) I put loctite superglue over it, because e6000 is more latex like and if you sand it it's edges slightly start to peel. I tapped and smoothed the superglue on so it doesn't make drips and globs. I did this about 4-5 times to ensure everything was pretty smooth, sanding in between each time. It's pretty smooth now, but you need to sand. Also be prepared to have a coated finger of superglue. Lol I've used this stuff so much I'm used to getting superglue on my fingers. Also I updated the brow: I put electrical tape on it to give it a better look on the underside instead of that plastidip job I did (accidentally ruined it when I tried to fix a problem). But because the tape us only do wide, I still have its edge showing at the top. Because of this for some reason it doesn't want to stick do well. It's not super bad at first glance but once you look into it you'll see it. I would put superglue underneath but that hazes and could ruin it. Oh well... I'll post more steps soon I also updated the interior with some spare padding I had laying around. It feels better, but still needs a little more. Here's how the brow looks with the electrical tape. A big improvement, aside from the lack of stickiness at the edges, no matter how much I push it down. But the stuff works well for the effect, just may need to overlap the end with another piece. Note: it's best to dismantle the helmet's skull cap and faceplate so that you can have more freedom to put the tape on the brow, be it 2 separate strips or 1.
-
I love how it looks like it could have come straight out of a war, and that texture of the helmet's surface reminds me of the kind of texture WWII American helmets would have had.
-
Technically that is a major possibility. However, the standard R1 TK will be of the FISD.
-
What's the maker's name? Would like to see if it is sold at other places that I may have locally, or if anything Amazon.
-
I'm pretty certain that bunched up fabric is extra padding in the gaps of the leg armor, in order to keep it from bouncing around. There was a Deathtrooper photo where you see a brick shaped fabric padding that is sticking out of his thigh armor, and someone thought it might be padding. It's not on the belt, but it's behind the thigh armor. In regards to the belt, good find on the possible fabric behind the plastic! Yeah for a while the belt seemed all plastic, but it would add extra strenght to add a fabric belt behind it.
