


Dday
-
Posts
2,739 -
Joined
-
Last visited
-
Days Won
11
Content Type
Profiles
Forums
Gallery
Articles
Everything posted by Dday
-

starsaber25's MTK ANH Stunt Build
Dday replied to starsaber25's topic in Build Threads Requireing Maintenance
What I would say is the scope rail is too high, you should cut drop it in the front by about half and the counter bracket seems to not be flat. Also, the counter should be more forward so it is closer to the power cells. It seems the counter is a little far back compared to the scope, and the scope is a tad far back, like 1.2 inch each. These are details that I do not think will stop you from EIB/Cent but will likely be mentioned. Details, details. You've done a good job so far, just minor tweaks left... and the tracks! -
The sides and tip need to be shaved a little for it to fit into the hole. Shave it into a pointy shape, so that it will slide in. Just make sure you don't shave to high otherwise it will be seen on the outside of the hole.
-
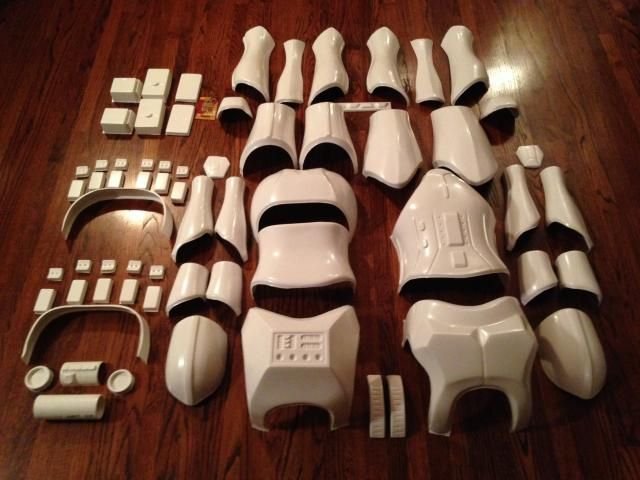
Casting parts is very time consuming. Creating the molds is difficult to start with to get them just right and error free in a way that you can pour into without bubbles forming... which is next to impossible... Then there are so many parts actually pouring the molds takes a bit of time. So for someone to buy a parts kit from a sterling (almost much be in the USA to get one) then create the molds is possible, or in Europe you can buy the deactivated but complete sterling L2a3 and cut the parts off to mold, but all this is time consuming and more then your average guy wants to do As far as reproducing the actual parts, thats a very expensive thing to do to get them machined, and you'd need a larger enough scale to make it worth while. To machine from aluminum the individual parts I think might be more trouble then it's worth since they are some pretty complex parts.
-
What he said. The seams in the front won't work. The front should be a single piece and the back a single piece, there should be a seam under the elastic, in the middle where the front and back are connected.
-
I have been considering modifying the front sight of my kits to match the real sterling more. I'm doing a sterling L2A3 conversion for a member here and will have hands on the parts for a few days. I will take some notes and see what will be involved in getting a good cast of the separate pieces and making this part much more accurate.... so something to look forward to
-
Alex, Here is a full how-to to build a former from Mynock, a contributor here. http://mynocksden.com/diy-vacuum-former/
-
They seem stringent, but if you really look into what it is asking for, the kit has everything you need. While it's not the most accurate kit available it is good for it's price range. I offer a full pipe build which is pretty kickass (if I do say so myself). The run is current full but there is a standby list
-
Eric, An E11 isn't required for admittance to the 501st at all. It is an optional accessory and only required if you want to get additional FISD accuracy levels, but is in no way required for 501st acceptance. The blaster offered on trooperbay is a doopydoo kit, and when built correctly is acceptable for all levels of FISD accuracy.
-
Very nice pimping of a doopy build! I like it!
-
There is an Efx legends Vader #307 on the RPF for $1600... If you need help and want to buy it, let me know.
-
Looking Mr and Ms Berbs!
-
Dan, if you need just the rear sight I can hook you up as I'm casting parts now for my E11 run (details in the signature). Since it's such a small piece, just cover the cost of shipping and I'll send you one. Send me a PM, we can discuss the finer details. Maybe later you'll decide you want a highly accurate E11 kit and will buy one of the ones I sell...
-
Perfect, thanks!
-
How was the splitrivet look on the outside preserved with the snaps on the inside? Can you do photos form outside and inside so we can see some details?
-
You can get them between $800-1400 if you watch for it.
-
Looking good! The only thing I can see that stands out for criticism (if you care) is the scope is too far back. The front foot should be even with the charging handle, or there about. It's not a make/break situation, just what I see. A great example of the blaster build, congrats and thanks for sharing it with us!
-
The back of the rivet will not be jagged but should be curved a bit around the ball of the nail. There will be an edge and it will stick out, but thats normal. It will weather the armor in a screen accurate manner. If you think the edges are too sharp or something you can file it down a little. Just be careful you don't remove that cup shape, because thats what holds the rivet in.
-
Here is a shot of Kevs backplate, I"m not sure how this classifies as TK style. It is the size? the details are 100% not TK is what I can see.
-
We see two shots of Jes back. Bottom Left Center, bottom right with the big gun:
-
$1,000 Rubies With Deceptive Photos (shocker, I know)
Dday replied to BoomerTrooper's topic in eBay Armor
Rubies is not the armor shown in the second photo. The rest of them are rubies. IMO it's still slippery. Rubies is not a professional costume but a OTS (off the shelf) costume. -
Both of these seem a bit overkill.... but what good are we if we don't go a little overboard sometimes!
-
Why have the originals when you can make copies of them!
-
Jes Gistang [KWDesigns] Build in Georgia
Dday replied to bzb's topic in Build Threads Requireing Maintenance
She might want to get a top with longer arms... she'll have all us nerds picking up our jaws from the floor. Otherwise she can redefine "going commando" -
I think he used opaque as a word because the unknowing saps why buy it don't see, or think about the meaning of the word. What a con artist...
-
Yes, all about the quick buck. There will always be copiers out there, we just have to stay vigilant
