gmrhodes13
-
Posts
31,206 -
Joined
-
Last visited
-
Days Won
1,069
Content Type
Profiles
Forums
Gallery
Articles
Everything posted by gmrhodes13
-

David Fraser's 3D printed R1TK build
gmrhodes13 replied to DavidF's topic in Rogue One Build Threads
Another image showing the strap
-
TheSweatshop's 3D Printed Rogue One TK Stormtrooper
gmrhodes13 replied to TheSweatshop's topic in Rogue One Build Threads
Looking forward to seeing the progress -
I had a member reach out and let me know he made some V tabs out of some aluminium strips he had for TD brackets and to date he's had no issues. If you do think of going this way I would make sure you round off corners and check after any troop to make sure they are causing any cracks.
-
Thats your 501st forum profile, not your membership profile, have a read of the first post in this thread for detailed instructions
-
FYI to remain active and a member of each detachment you have a costume for you must log into detachment forums at least once per year (election cycle) A.C. will be along in due course to update your status here.
-
Introduction from Riverside California.
gmrhodes13 replied to Lukeasite's topic in New Member Introductions
Hello and welcome to the forum, a great page full of info for the first timer -
This link is to your 501st forum profile, not your membership profile, have a read of the instructions in the first post of this thread
-
A.C. has not been online to update, he will be along in due course
-
David Fraser's 3D printed R1TK build
gmrhodes13 replied to DavidF's topic in Rogue One Build Threads
You could attach snaps, glue plates to armor and run elastic between or velcro or a combination -
Incorrect link, please check the instructions in the first post of this thread
-
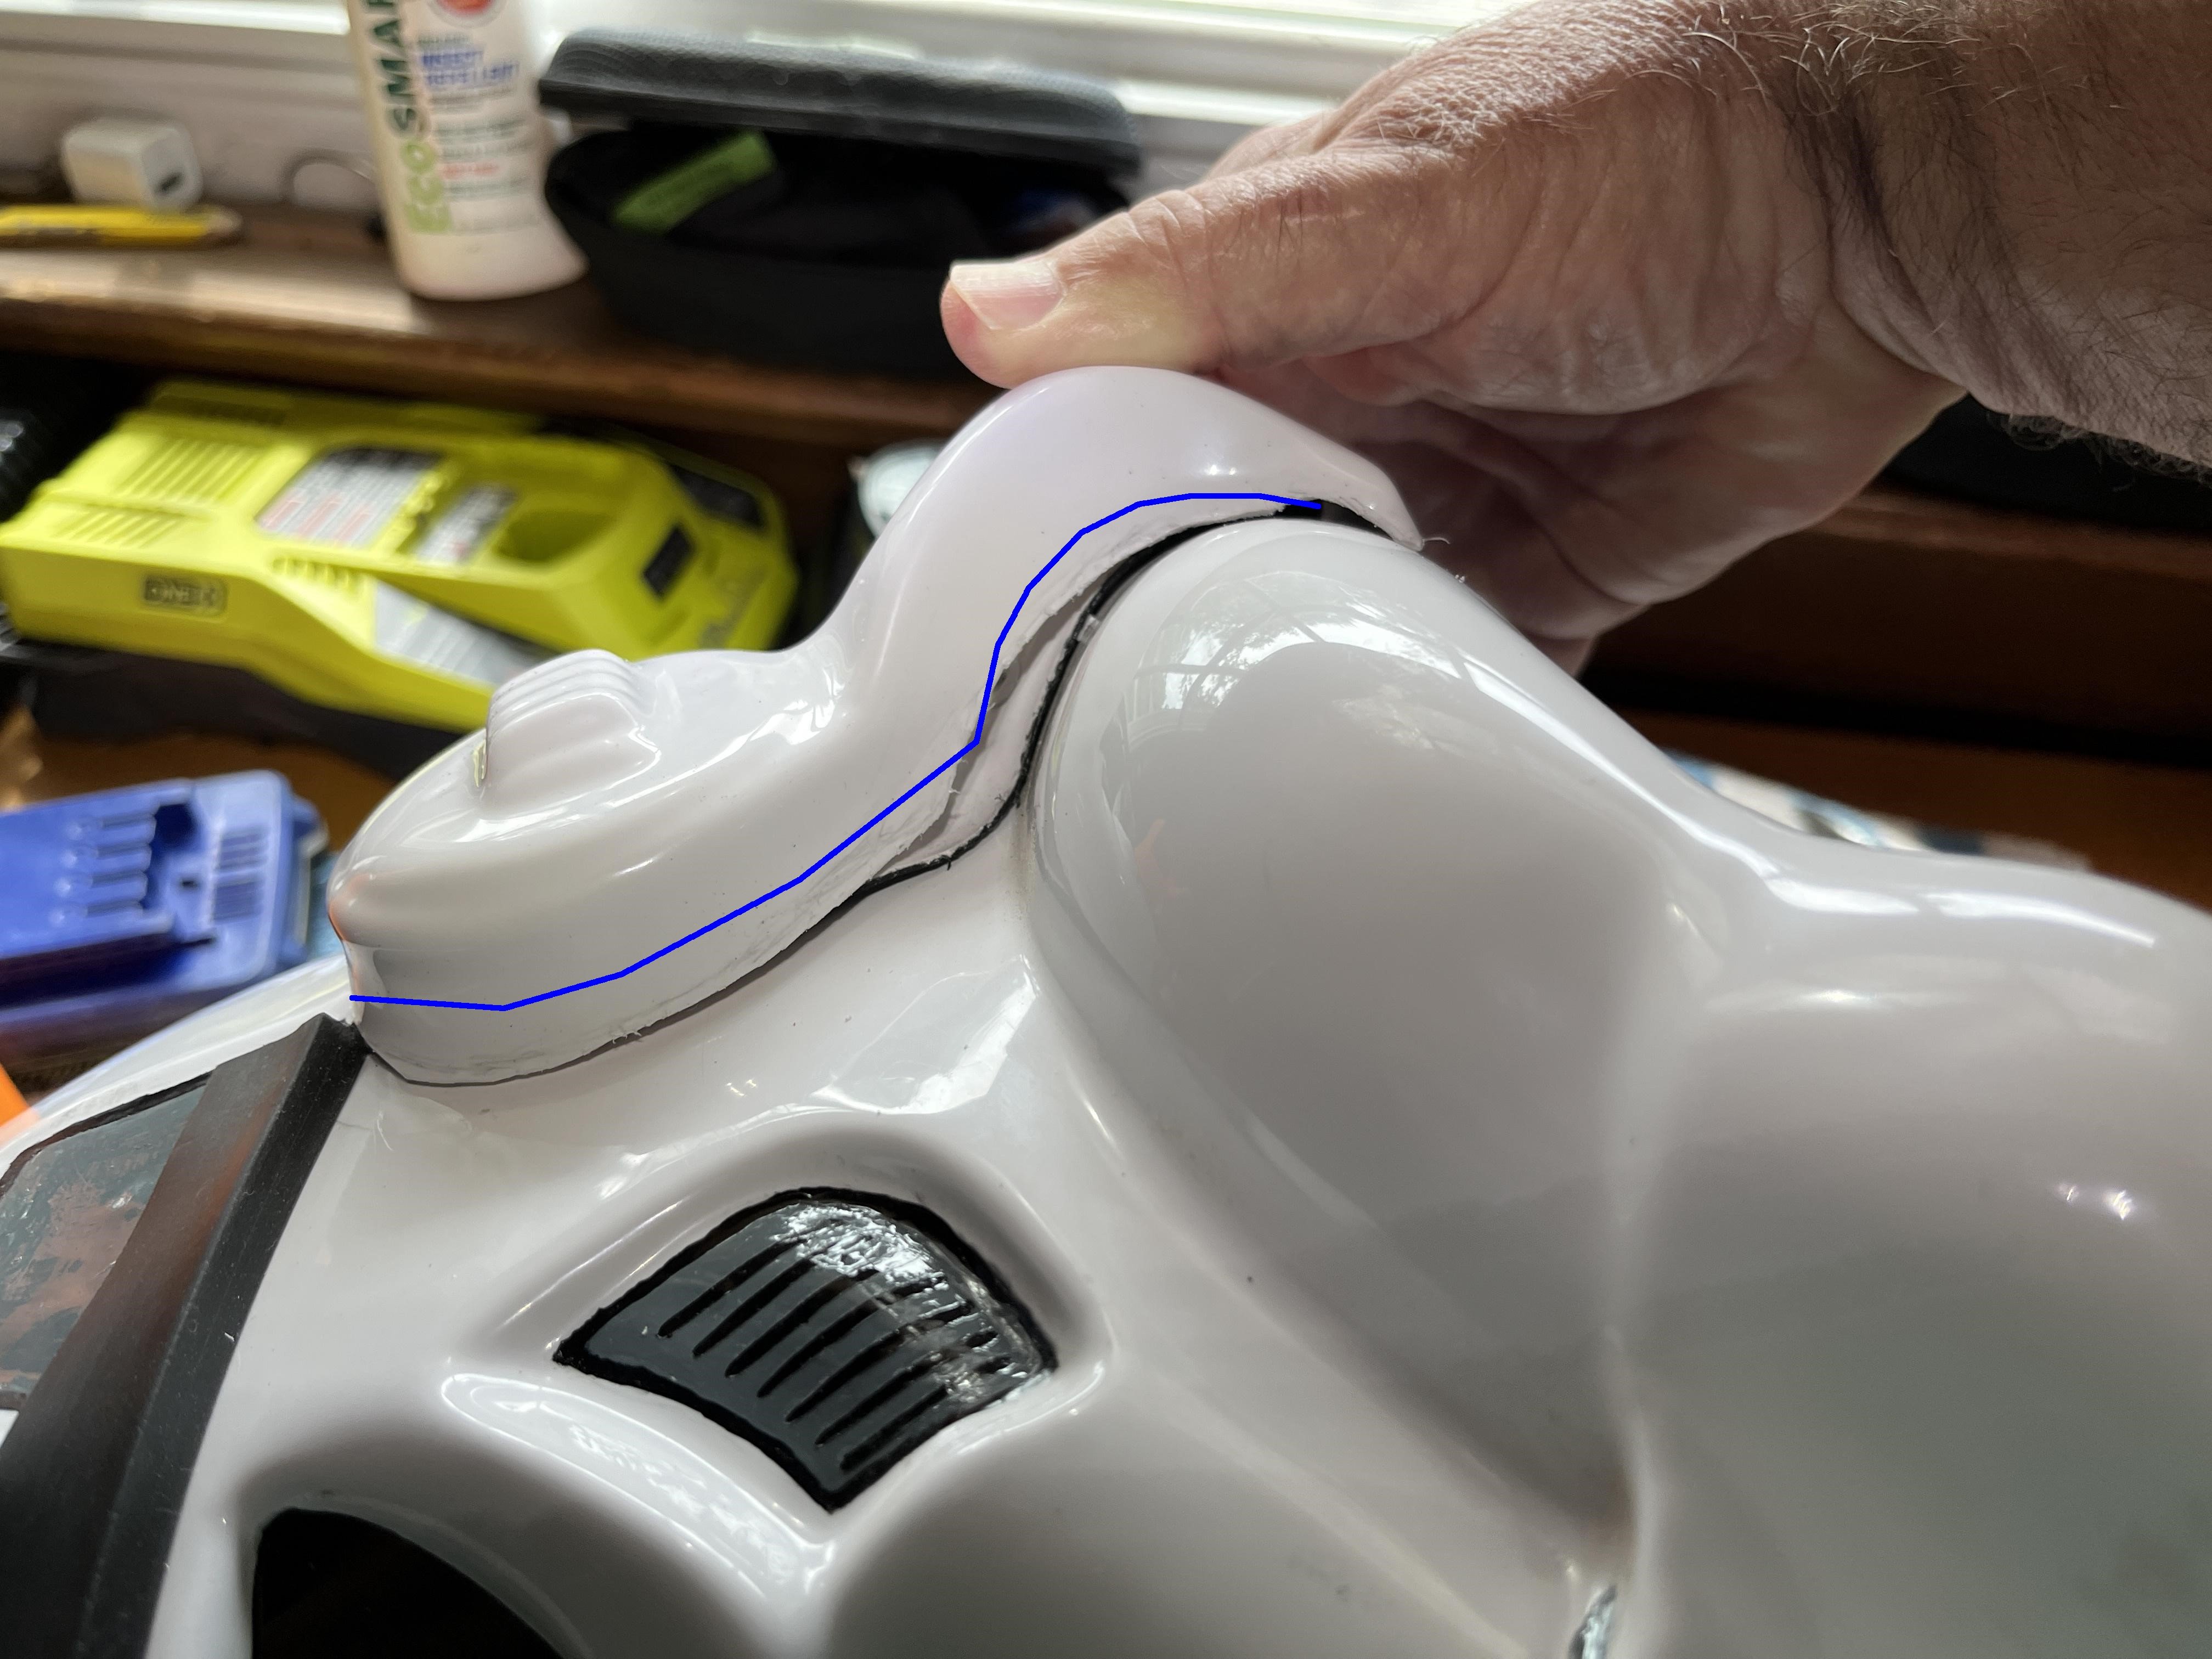
I think you will be ok with those, you just have to remember that you trim anything touching to allow the non touching areas to come in more. Can be quite tedious as you have to attack this a little at a time. Also adding the "step" will allow the ears to sit better on the top of the ear. ATA's ears are quite thick around the round top section and can be trimmed quite a lot. This is one of the best ATA builds I've seen on the helmet, you can see the thickness of the top sections are a lot narrower than yours You want to follow the helmet, if you run a pencil around you will get an approximate line. You may be able to see that you have more meat on the top of the ear and this needs to come down more. Your trim line around the inner corner of the cheek is not quite in the right spot. Crude but should give you the idea. Just remember what ever is touching needs trimming slightly to all gaps to be filled Compare to one of my ears (albeit I've built a few helmets in my time)

-
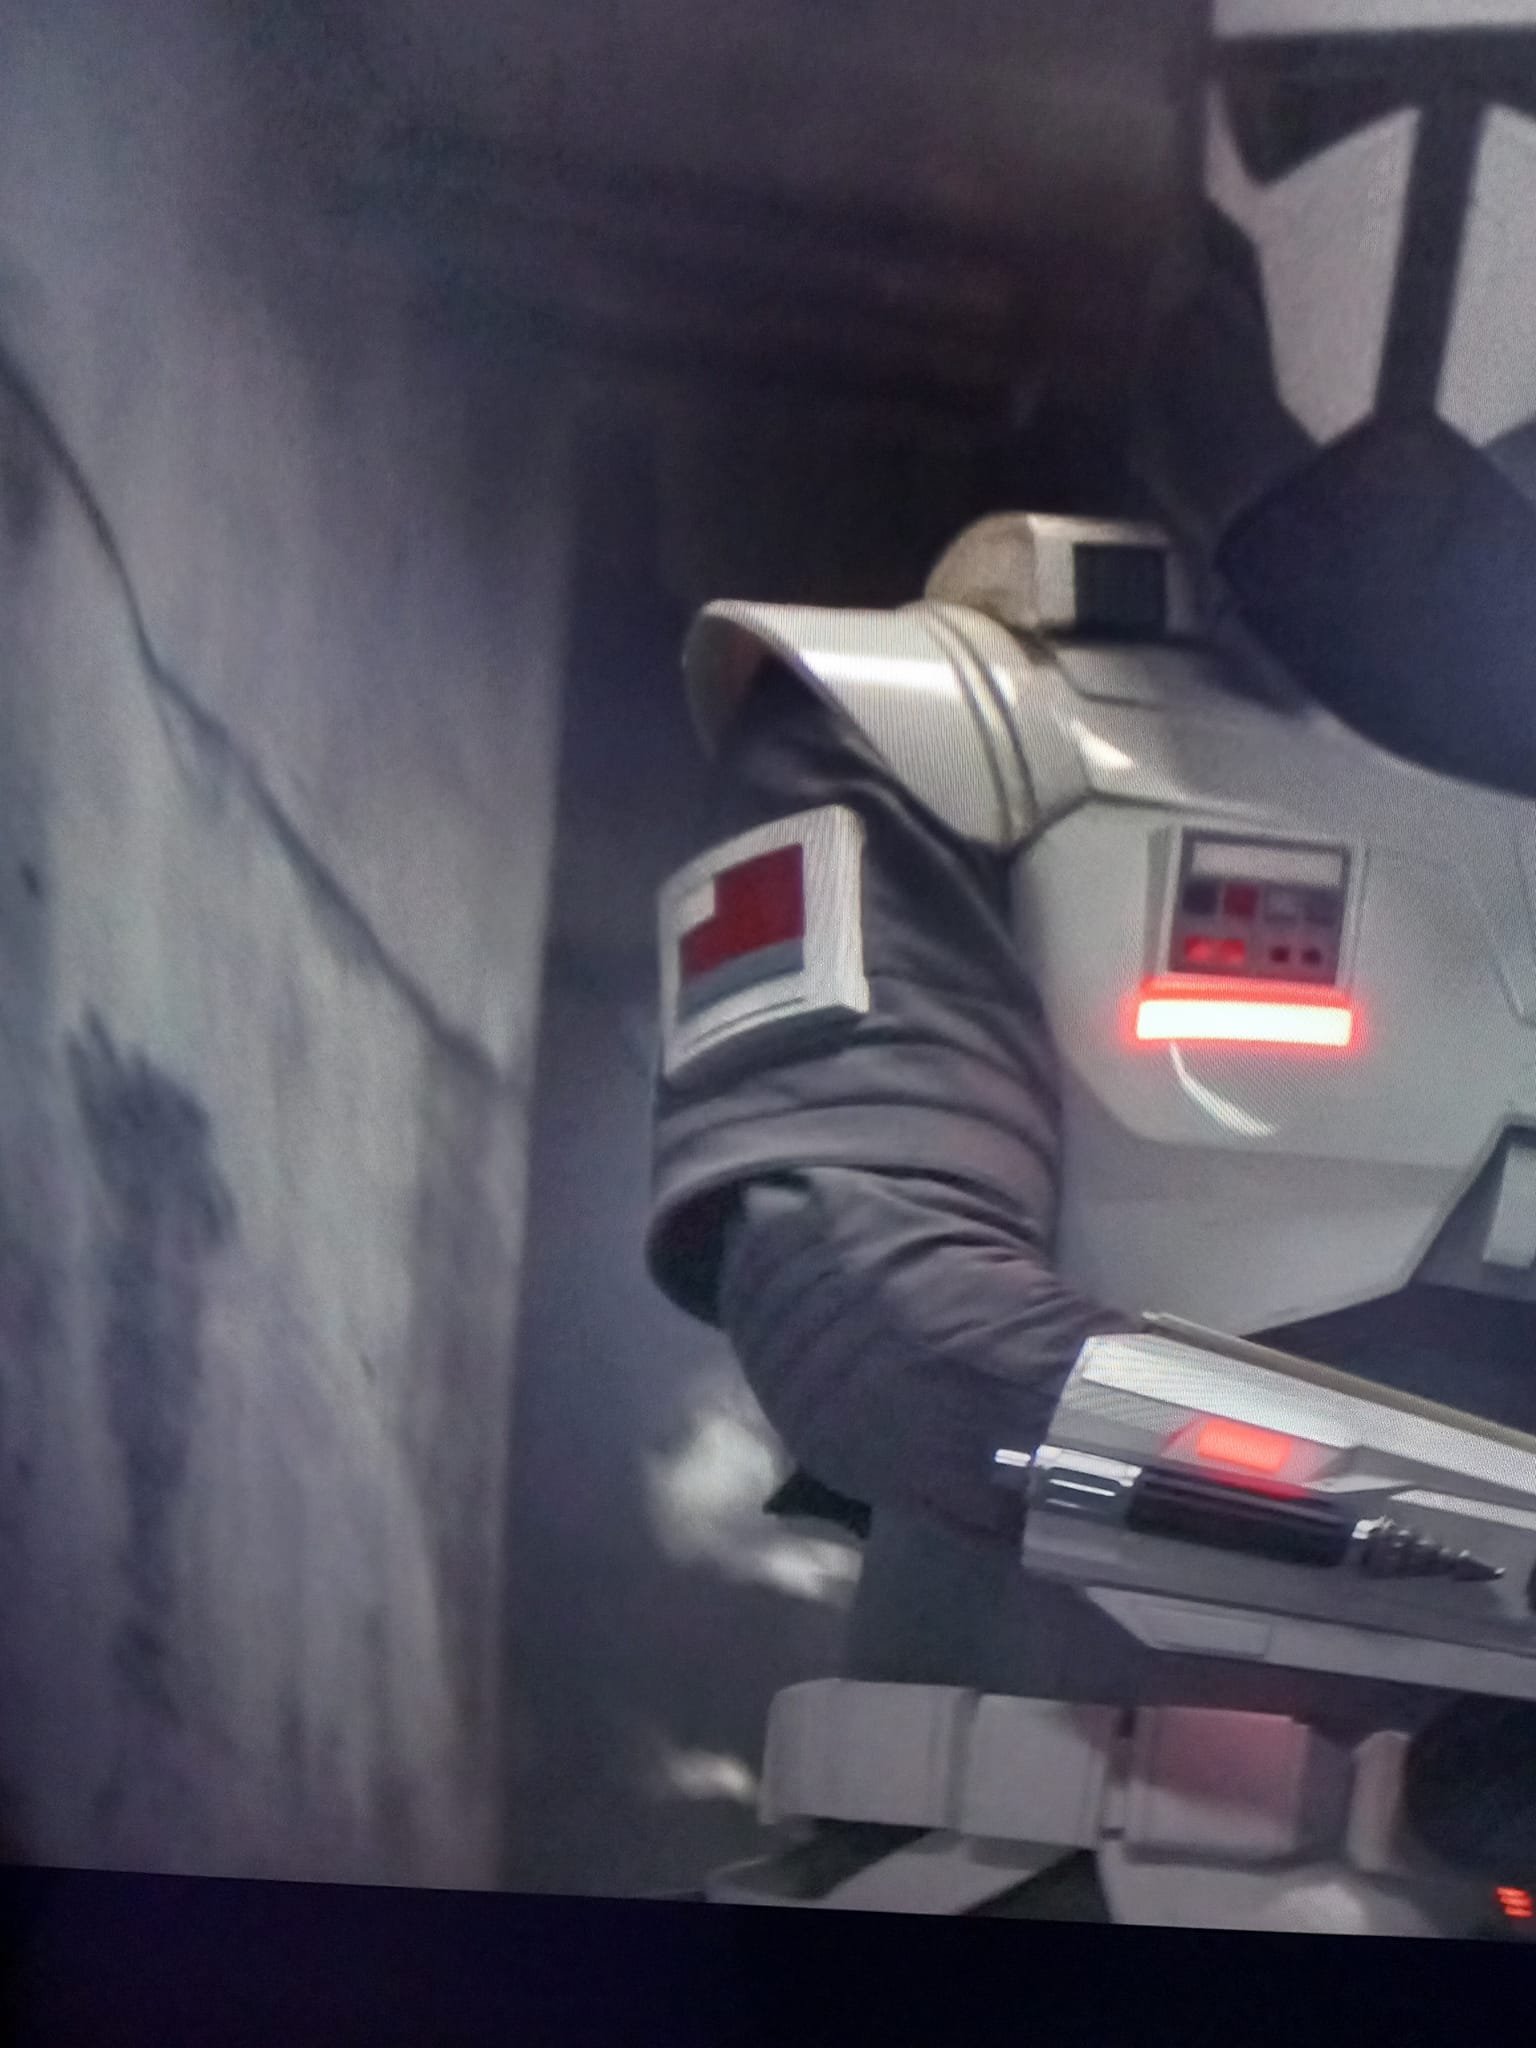
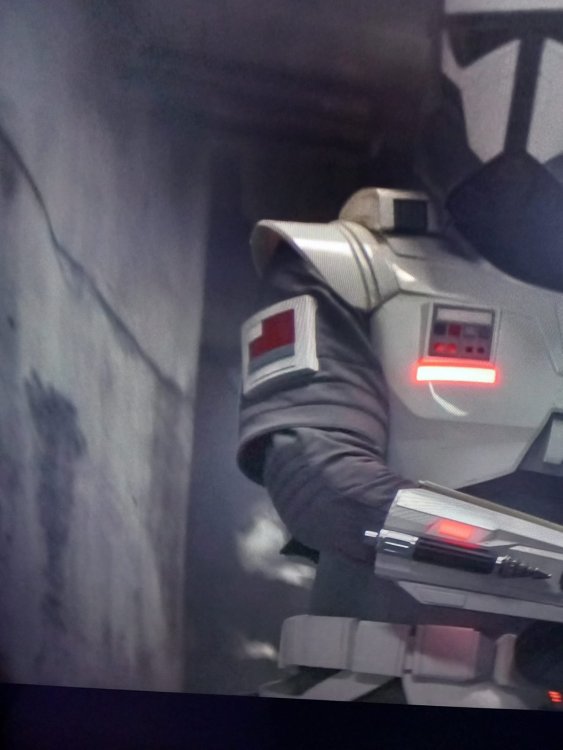
Ah yes the pack that never was Believed to be worn by this TK who can hold his breath well No pack Explained here
-
Unfortunately we lost Terrell ATA to Covid December 2021, a massive loss to our community. It was heard some time latter that someone purchased his molds but to date we have not seen any sign of them or any production of kits. A few things you could try. You could also put a WTB advert up, ATA always sent 2 pairs of ears with his kits, unfortunately I passed my spare set on to another trooper so I can't help there but you may find others may have a pair lying around. What I would suggest is trying to get with other members locally and do a comparison of the other makers as they white can be different from one make to another. How bad are your ears, if you want to post a few photos and see if they are salvageable.
-
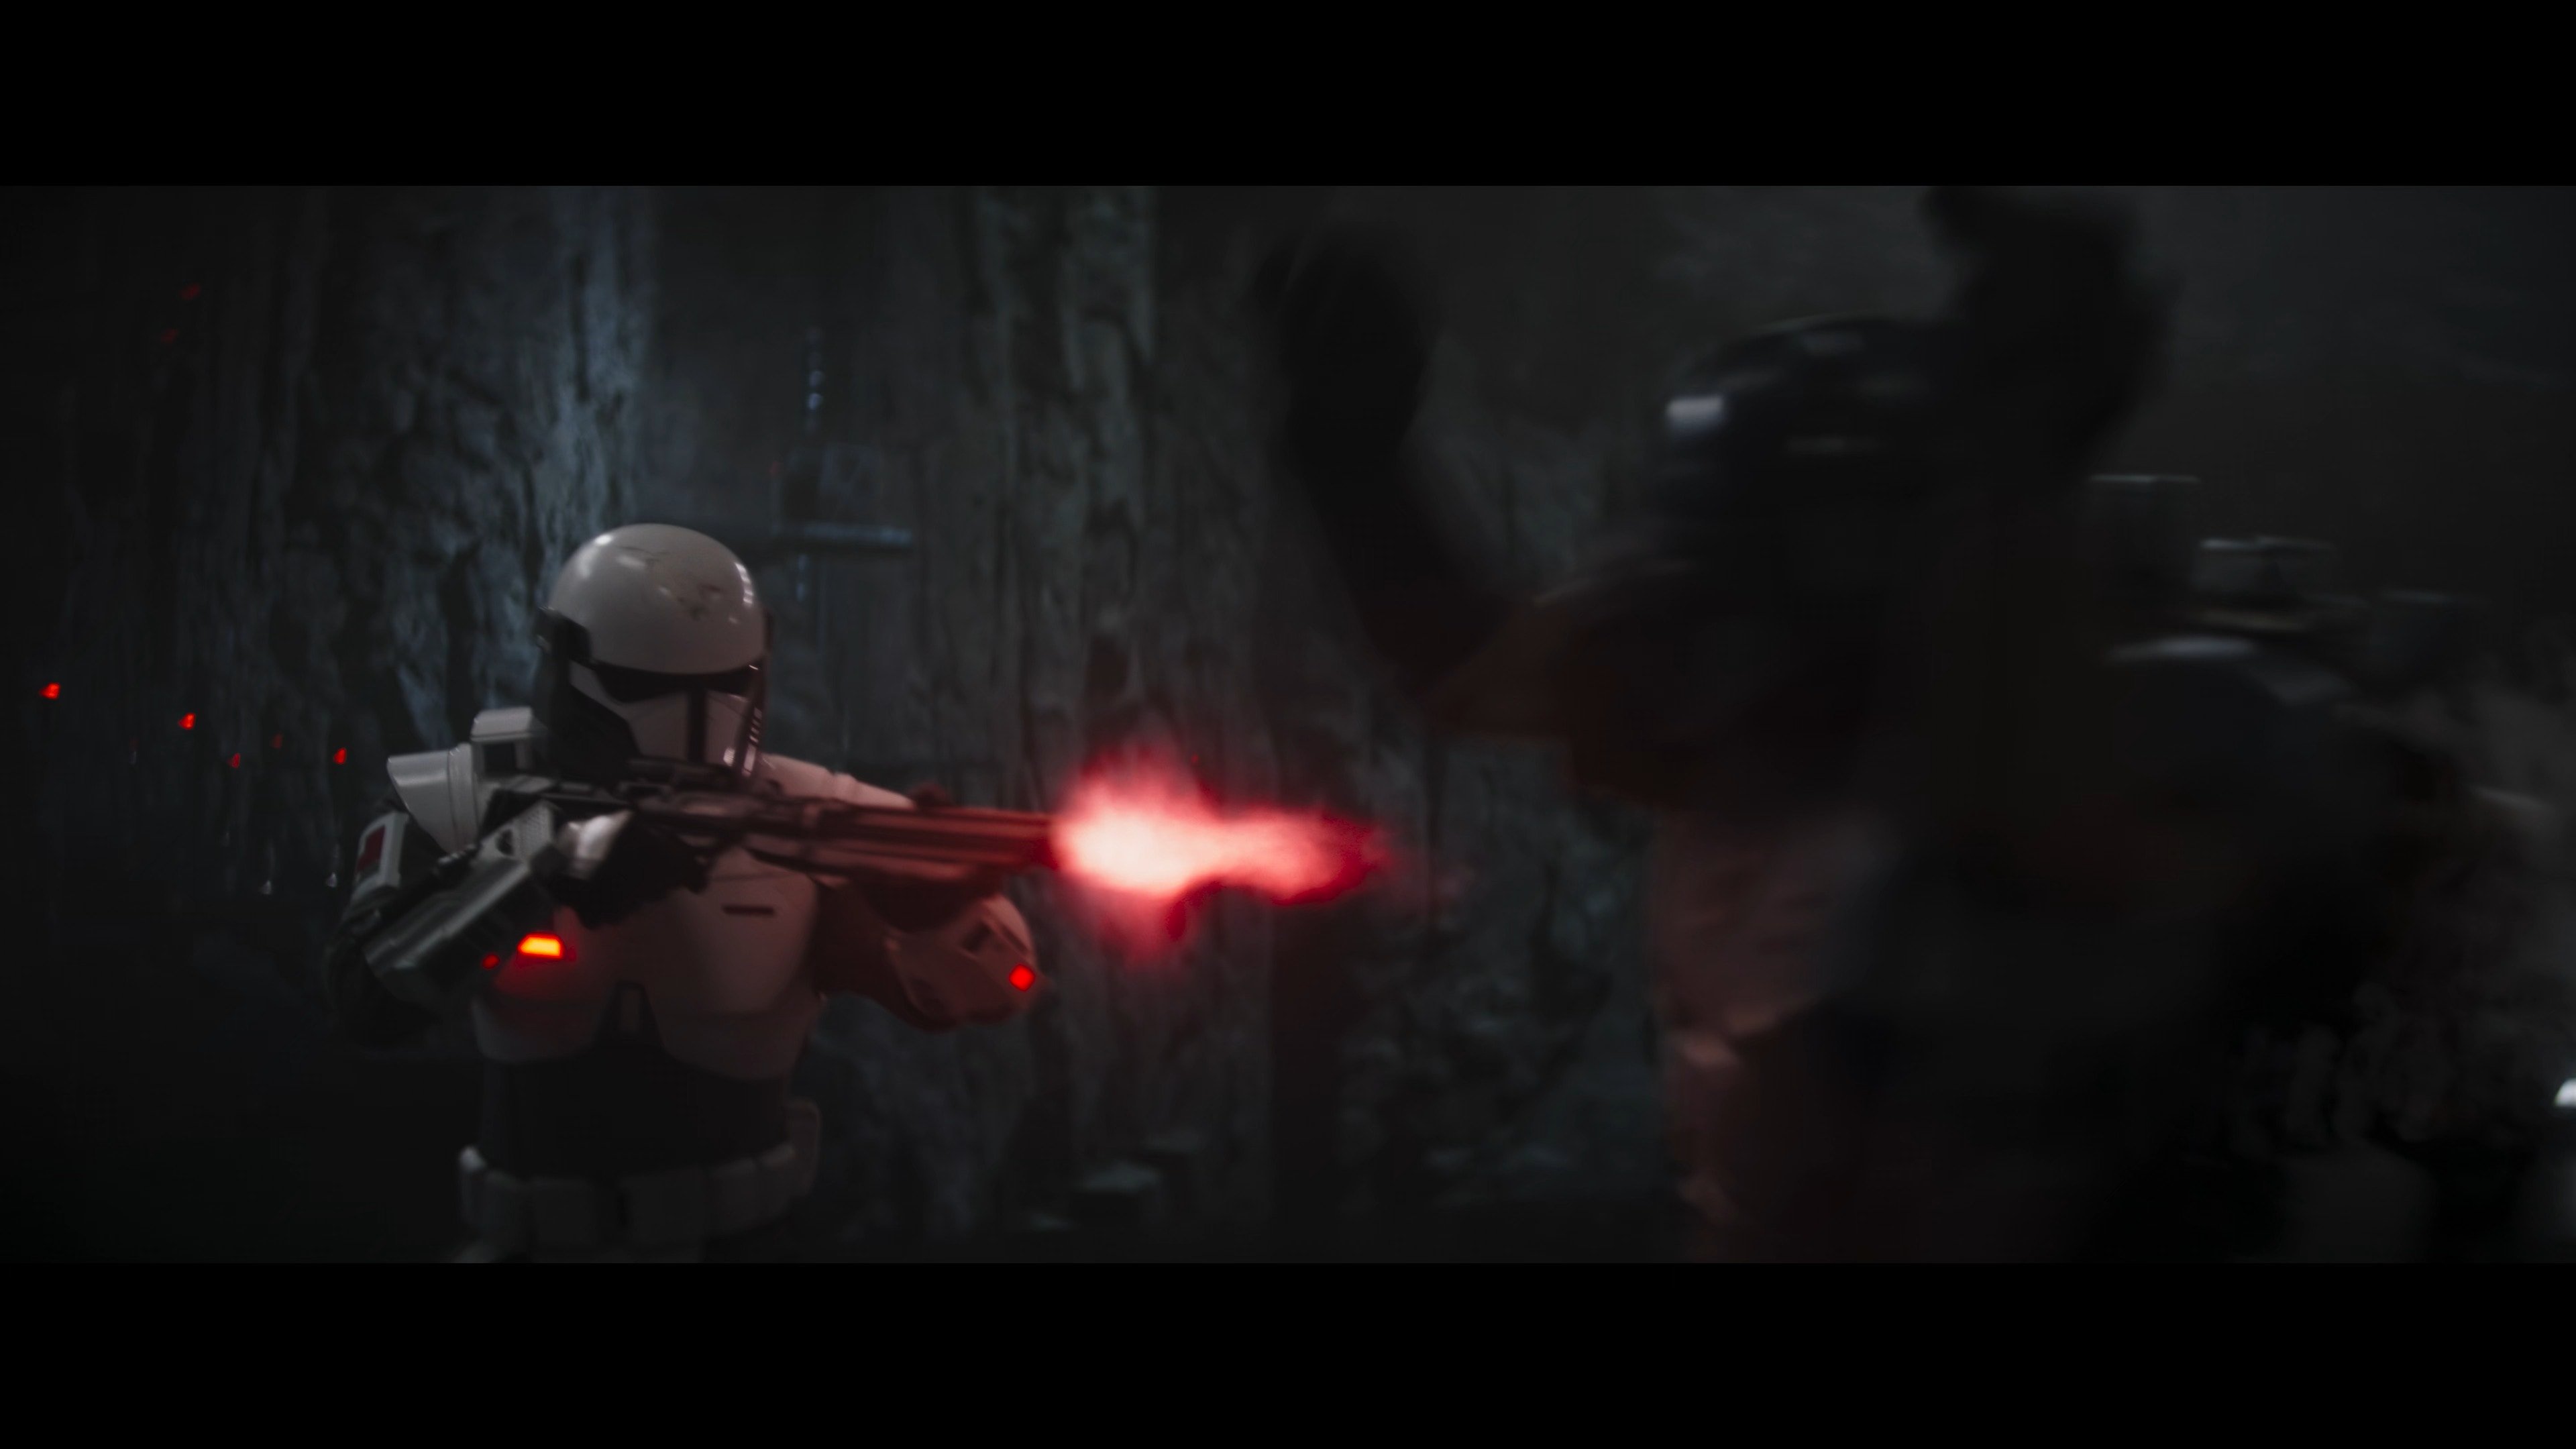
Had a few minutes spare this morning, a couple of things. I'm not sure if it has been mentioned, came up in one of the build groups, sewn lines on the long sleeves are only on the outside. OPTIONAL L2 Long sleeves do not have horizontal quilted ribs on the inside of the arm between the short sleeves and the gauntlets Blaster OPTIONAL L2 3-D printed blasters can not contain visible print lines and must be sanded smooth for a more realistic appearance Handle should have a molded/curved appearance From TFA onwards we've added electronics to CRLs OPTIONAL L3 Must have working red barrel light I'll find a better reference Rifle blaster Rifle may be scratch-built, or a modified commercial toy Imperial Armored commando rifle blaster Details to be painted black and metallic per reference photos. OPTIONAL L2 3-D printed blasters can not contain visible print lines and must be sanded smooth for a more realistic appearance OPTIONAL L3 Must have working red barrel light


-
David Fraser's 3D printed R1TK build
gmrhodes13 replied to DavidF's topic in Rogue One Build Threads
Happy May 4th Looks like you have things well in hand, most impressive the amount of research you have done, it is the key to a good build. If you get stuck on anything we do have our gallery sections full of references https://www.whitearmor.net/forum/gallery/category/21-starwars-story-reference/ Looking forward to following your progress -
Congratulations and welcome to the ranks trooper Hopefully we will see you apply for EIB Info here You can also start a troop log, you receive a reward at specific levels, info here Looking forward to seeing your future trooping photos
-
First May 4th in 12 years I didn't troop, but I celebrated the day in another way Still some work to go, but very happy with the artist and yes, "research is the key"
-
Have a read through the instructions in the first post as your link is incorrect
-
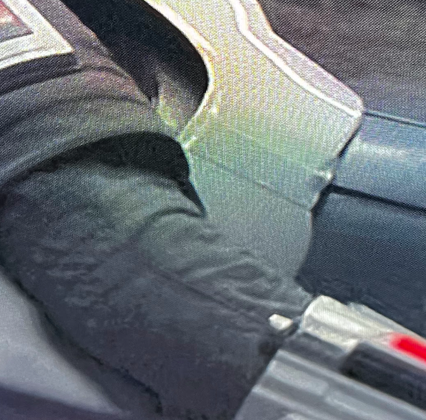
They don't normally have rubber, I'd say this was put on afterwards
-
I don't have much return edge on my arms, although I do have some on the front of the forearms as they are quite thick on the front https://www.whitearmor.net/forum/gallery/category/32-specific-parts/ No return edges Chest/back/yoke definitely a return edge as you can see in this image No return edge thighs and shins
-
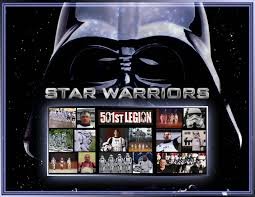
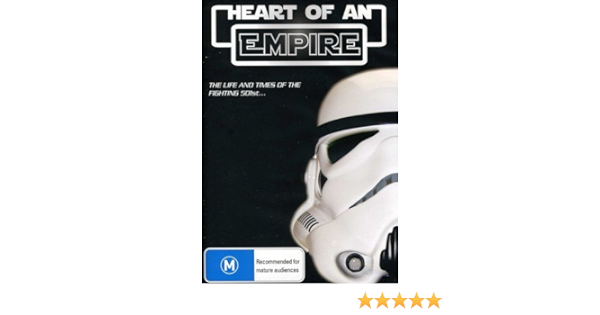
If you can find a copy this is a great watch Star Warriors https://www.imdb.com/title/tt2076340/, I've just about worn mine out, this and Heart of an Empire https://www.imdb.com/title/tt0455524/, when ever I'm in doubt about what I'm doing I watch these
-
I think you will find this is for the Rogue One and other series not FOTK, the ribs are a little small and FOTK don't have ribs around the tops of thighs, we have shinny shorts
-
If only LFL would do another global call up, shame I wasn't a member then, would have been awesome
-
Bumping this thread as this came up on social media
-
Hello an Bonjour et bienvenue à bord