


gmrhodes13
-
Posts
31,208 -
Joined
-
Last visited
-
Days Won
1,070
Content Type
Profiles
Forums
Gallery
Articles
Everything posted by gmrhodes13
-
On mine I found the shoulder bells gap on the front would open up when moving the arms and then returning to rest so I made the elastic shorter on the front than the rear, this helps pull the shoulder bells in at the front when at rest, see how you go when you are all kitted up
-
Not sure what Dave supplies. Luckily we can purchase rubber gloves from our local grocery shops for any a few dollars, so I purchased two pairs, medium and large, I found the large a bit too big, but they are ok for washing up and spray painting. Note many of use wear soft cotton inners which soak up any sweat, I normally go through 2 or 3 pairs on a hot troop.
-
 Nice work trooper, a couple of additional things. You could trim the excess from the end of your belt, normally stop under or just at the end of the TD You ab button colors look very dark, may be lighting Your shoulder straps are sitting high on the backplate, you could ben these down, also if you wanted you could trim the large tab Looks like you may be able to bring your shoulder bells inwards a little more, you can remove all return edge if required A few tweaks and you should be good to go. Good luck with approval
 -
Correct, snaps on the rear of the belt. A thread that may be helpful
-
TKModder421's Nico Henderson R1TK helmet build
gmrhodes13 replied to TKModder421's topic in Rogue One Build Threads
Like a lot of things practice makes perfect, I used to do some automotive spray painting but swapping back to spray cans can take some trial and error. I did find using automotive acrylic paint the best as you can apply a little heavier without creating runs as it would dry quite quickly, for a lot of enamels you just cant do this. With auto acrylic paint you can also sand, buff and polish which is a bonus if you have any dry areas or runs. One thing for sure is I'll never use rustoleum again, I've tried that a few times on droids and it's terrible paint to get a constant coverage, no matter how much you shake in between. Not sure if I've mentioned it before (I loose track of build comments) any paint sanding I find is easiest to do wet, with wet and dry sandpaper, helps to not clog as fast and makes the paper glide a little easier, a few drops of dish washing liquid can also help glide the sandpaper. Hopefully your next go over will do the trick, looking forward to seeing the progress -
Should be very helpful for our new builders
-
I've done on a few occasions I have also used the electronics out of cheap toy blasters, they may not be as accurate but allows you to have some basic sound and lights at a low cost. Just note if you are applying for higher levels you have to make sure additions can't be seen, like switches, I had to remove one, fill the hole, sand and paint for my L3 application
-
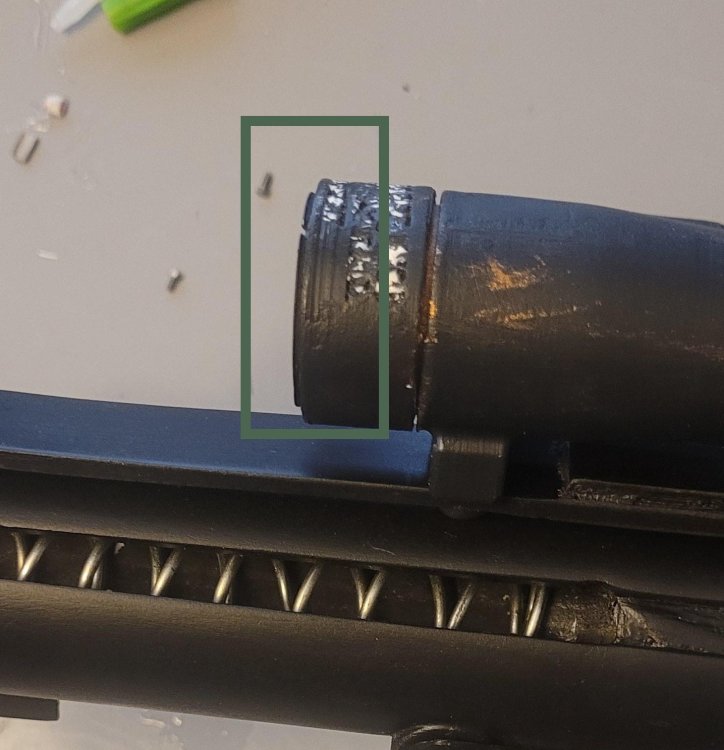
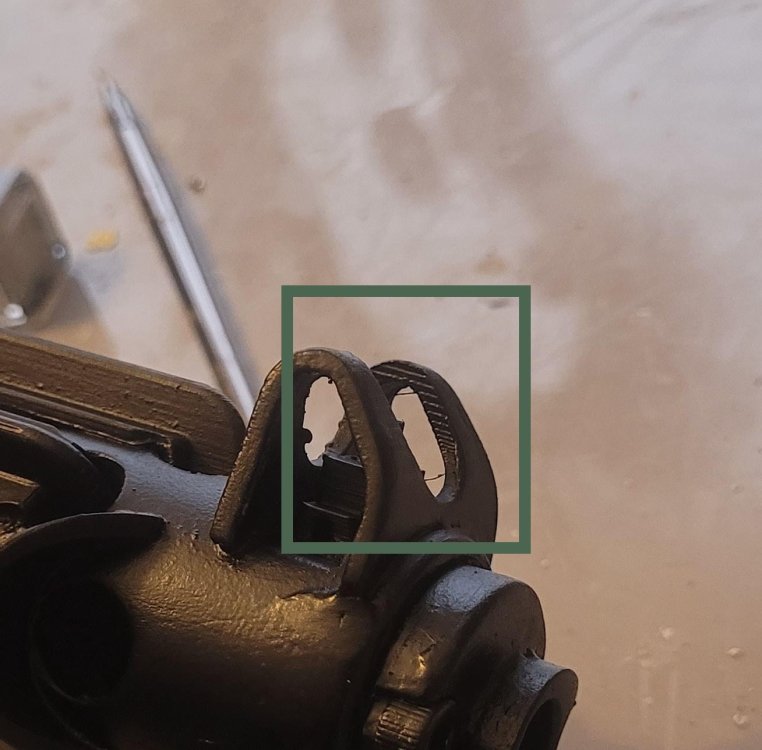
Very nice, just watch what images you use as close up's, especially for higher level approval OR do a little more sanding, a few areas 3D print lines can still be seen For L2 EIB 3-D printed blasters can not contain visible print lines, and must be sanded smooth for a more realistic appearance.
-
Hello and welcome aboard, Imgur is what I use and don't have any issues. I think post of has have the were to start/panic after we have opened our BBB's, not to fear as soon as you start trimming your first piece you will realise it's really not that hard to do. Make sure you do your research, you will find just about everything you would want to know in this thread When in doubt we also have the gallery sections full of references https://www.whitearmor.net/forum/gallery/category/24-anh-tk-reference/ Good luck and hope to see a build thread from you soon.
-
Leaps and bounds, coming along nicely. I find using elastic on areas that you will be moving is best, you can be quite restricted with nylon especially on the arms and legs. That said for other areas which you don't need to move very much like ab harness I used nylon. At the end of the day it's what ever feels more comfortable for you, a little trial an error doesn't hurt to get if feeling right
-
After 2 years, my time has come! (..from CP, Canada!)
gmrhodes13 replied to Scout_Troop3R's topic in New Member Introductions
AM is for the bigger trooper so you shouldn't have an issue with height, this is an older thread but with some great info which may help -
You can use something as simple as Windows Paint if using a computer, I've not used any of the mobile editing apps. I don't know about others but I use Ulead Photoimpact, been using it for years, couldn't get into to Photoshop, too many tools for my brain.
-
Hello and welcome aboard, this thread should help you with some research Also check out some of the build threads to compare different armor makes https://www.whitearmor.net/forum/forum/31-costuming-and-builds-original-trilogy-and-anthology501st-approved/
-
After 2 years, my time has come! (..from CP, Canada!)
gmrhodes13 replied to Scout_Troop3R's topic in New Member Introductions
Hello and welcome aboard, this thread should help you on you way, good luck with the research For local help you could reach out to your local garrison, you can do a search here https://501st.com/maps/imagemap-northamerica.php -
Hola form Spain, Canary Island
gmrhodes13 replied to Petter.TK1969's topic in New Member Introductions
Nice work trooper, if I may you could cut off the excess material from your thigh straps Looking forward to seeing you out and trooping
-
Looking good, I agree with your own review, apart from the biceps, I don't think you will want to lower them any further, if you do they will easily pull out from under the shoulder bells and catch. Many use bicep hooks to keep the biceps at the right level that way you can keep them low but not allowing them to slip out, not sure if you have them, some info here
-
And just found the thread with my disputing the white rim weathering Replies from our DL and adjustment made: Can change it to Tips may be weathered, that allows both. And updated It now reads as follows.... Correct Aerators/Hovi-MIX tips are present. Screens used shall be of a wide type mesh. The rim of the mic may be weathered, and the inside raised area painted white. Interior sides shall be painted black, mesh can also be painted black. So the option to have the rim painted or all black was discussed and then included, hence the use of the word "MAY"
-
Missed that, had 5 pages open at once. "Correct Aerators/Hovi-MIX tips are present. Screens used shall be of a wide type mesh. The rim of the mic may be weathered, and the inside raised area painted white. Interior sides shall be painted black, mesh can also be painted black". The reason for these updates is for closer screen accuracy, as there is overwhelming evidence that the vast majority of the Hero helmets seen in the film were painted in this way. As noted, the mesh may be painted black but this is not a requirement at any level. Note the above was from Joseph announcement, both the weathering or the rim of the mic tip "MAY" be weathered and also the mesh "MAY" be painted black, personally I would have disputed the rim weathering and perhaps this needs to be discussed yet again to be clearer, we know the mic tips were white resin, we know the inside sides and outside was painted black, why the rim is weathered just wear and tear. And here is the Stunt which specifically calls for the rim to be white: with the rim of the mic and the inside white or painted white. Don't worry you haven't ruffled my feathers, I just remembered the issue of the mic tips and thought it had been made clearer and resolved. "May" and "Can" to me are options and as such it should be up to the applicant, I also think any changes should be posted in the applications and not via PM (DM for you younger folk) just so everything is clear.
-
That's why I hand't seen it, I thought I was going blind. If it had seen it I would have made mention to the DO's
-
Congratulations reaching EIB once again trooper and I must say what a nice backdrop you used Just a little of info for you Looking at your EI app I may be wrong but it appears you weathered your hovi's on your own accord (I may have missed it mentioned), it is an option in the CRL as we know the outside of the hovi's were black and some weathered so both are allowable hence the "may be weathered", a thread here on the subject Some references It was reworded as such in 2022 after being discussed with members, here is the announcement of the change 2 other approved EIB Hero's, no weathering weathered The DO's and those who work on the CRL's use the "generalized" / "majority" look, what details we see mainly by most is used as references, although "Mr No Stripes" was seen without tube stripes he is not used as a reference as he was only one trooper (although seen in a few scenes) One of the many discussions on the subject of "Mr No Stripes" here It's a shame you are not proceeding to Centurion, you are so close, hope you change your mind in the future.
-
TK-33555 Requesting ANH (Hero) EIB Status (RS) (1056)
gmrhodes13 replied to Armor9's topic in Request Expert Infantry Status
Congratulations trooper and welcome to the Expert Infantry club and also the Expert Infantry Honor Gallery -
Congratulations once again trooper
-
Congratulations Andrew
-
Hello and welcome aboard, for Scout trooper info head over to the Pathfinders forum home of everything Scout. For 501st approval you need the complete base costume, it must meet the CRL (costume reference library) info found here You could also reach out to your local garrison, some allow volunteers to attend 501st events, some don't due to state/country restrictions, you can find a full list of 501st Garrisons here or search via map Good luck with the research
-
I normally only polish if I have a high profile event, then I use Tcut (auto polish), great for getting larger marks, scuffs and scratches off. I've only had a couple of cracks in my ATA which is 10 years old (now a sandy) for that I glue strips of abs behind the cracks, scuffing with course sandpaper, and apply JB weld, I find that holds really well and can be sanded if you get any runs. Inside the armor get's wiped down with anti bacterial wipes, again when ever it's been a sweaty troop. I noticed my Stunt helmet had some yellowing, no surprise there been outside with a lot of troops over 39.5deg C. I mixed up some Retr0bright, I've read about it but never used before and it's pretty amazing stuff, mixed, applied and out in the afternoon sun for 2 hours (low 20's deg C) and I couldn't believe my eyes, back to pure white once again. I used to carry quite a big bag of tools and replacements but found over the years it is rare I have any issues, lost 2 snaps over 10 years, now I use industrial elastic and soldering iron to create the holes, gives a little more strength, also a dab of E6000 can give a little more strength around the hole. I also carry some white gaffa tape, just in case, plus it's screen accurate One other update was adding an external AA battery to the Icomm unit, the internal battery can expire after a few years, replacement was going to cost $25 just for shipping, Andrew has a nice upgrade for an external battery I always charge everything before a troop, also check for any missing snaps and to make sure everything is still there.


