Leaderboard


Popular Content
Showing content with the highest reputation on 05/20/2025 in all areas
-
Haven't used mine for quite some time
 4 points
 -
Lego Blaster - MKII File-Name: Lego Blaster - MKII Designer: DavisPropsInc Last Update: 29/05/2024 File-URL: https://www.thingiverse.com/thing:6640722/files Description: Lego blaster rifle at 10x the scale. Most of the measurements are accurate, but some are not. I recommend to print the split version and glue the two parts together. Terms of Use: https://creativecommons.org/licenses/by/4.0/ Image:3 points
-
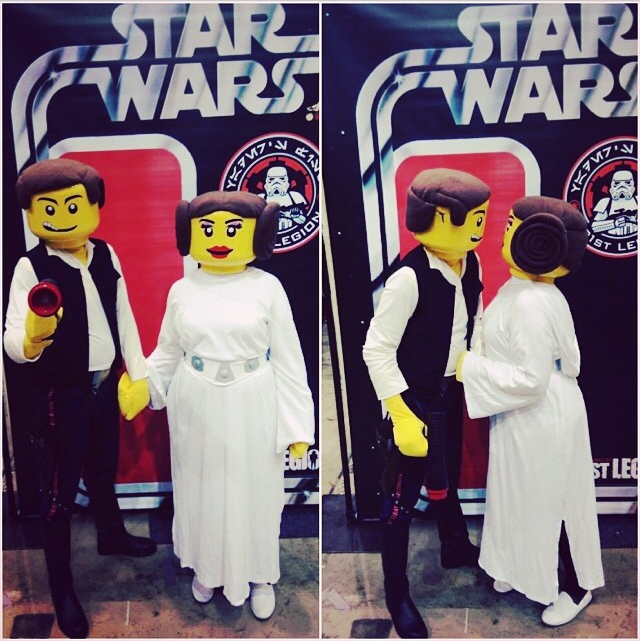
Once in a great while, this one attends a troop with me. Usually the unofficial toy themed ones.2 points
-
Lego Blaster - MKIII File-Name: Lego Blaster - MKIII Designer: Peterson Daughtry Last Update: 30/01/24 File-URL: https://www.printables.com/model/299445-lego-blaster-part-4360 Description: A model of LEGO part 4360, commonly used as either a camera or a gun. Terms of Use: http://creativecommons.org/licenses/by-nc-sa/4.0/ Image:2 points
-
1. Luis 2. TK-8687 3. TK-8687 4. Southern California Garrison Armor: Anovos Helmet: Anovos S-Trim: Trooperbay Blaster: Etsy Boots: TK Boots Belt: Anovos/Trooperbay Latex hand guards and rubber chemical gloves: Trooperbay Neck Seal: Anovos Holster: Trooperbay Lenses: Self-made, Amazon welders lens Dropbox: Anovos Undersuit: Trooperbay 501st Legion - Vader's Fist Media consent (photos)-Yes Edited for additional pics....1 point
-
Lego Blaster - MKI File-Name: Lego Blaster - Early Version Designer: ReProps Last Update: 13/09/2022 File-URL: https://www.thingiverse.com/thing:5510198/files Description: Here's my version of 1999 lego blaster. Scaled to fit a persons hand. Stud should fit on, but it may require sanding or glue. Be sure to post a make and check out my other models Terms of Use: https://creativecommons.org/licenses/by/4.0/ Image:1 point
-
I would highly recommend before making any cuts to have a read through the links I posted previously, we have just seen a person trim too much off their abdomen and kidney and are now either having to add extra material of find replacement pieces. For those of a skinnier nature like me I built to the average size and added foam behind my abdomen, which will hold it outwards and take up some slack when tightening your belt and things won't get as squashed. A few issues you may want to address first is the overlap of the backplate and kidney which will be pushing your posterior down and outwards, also the thighs hitting the posterior, there may need to be some trimming of those so you can actually walk. Strapping makes a BIG difference to how everything will sit.1 point
-
There were a few items on the CRL application which were not quite right but at that time we only had the one applicant and he had already made a lot of suggested adjustments, as well as some things where allowable for base level costume approval. Over time as we see now someone with an eye for detail will build the costume and find things not previously mentioned and hopefully the CRL for this costume will get an update, once we have updated photos to add hint hint It's all about references, CRL is a guide but screen references is what we ultimately look towards when making a costume. Great to see you are taking it to the next level of accuracy1 point
-
Hey Maria. I would suggest to first add the belt to your armor and then check again. A missing belt makes a big difference. Also in the last photo it seems like the strap between your butt plate and the cod piece is open. Each strap does a job so all of them should be closed, especially for fitting the armor. Keep us updated.1 point
-
Hi Luis, I'll be doing your review. In order to continue, I'll need you to add an additional photo and make a couple of fixes to your armor . 1- Please add a close photo of you Ab-back armor left side to see the rivets position . Something like bellow reference image. 2- Cod Rivet CRL L2: A split (bifurcated) or single cap rivet is present on the lower tab (cod area) of the abdomen armor. Rivet on must be brass or silver in color, approximately 5/16" (8mm) in diameter and is not painted. The rivet on your Cod armor looks to be with painted. Just a little dab of paint remover (non acetone) could do the job. Reference images CRL L2: D-ring mounted on the rear. For some reason , your blaster's D-ring is missing and will be needed for EIB approval. Reference Images Thank You!1 point
-
Any idea how long the maintenance or whatever is going on will take? I looked up at the 501st forum but haven't found anything regarding this topic, could someone tell me what's going on there? Knowing the crl is basically done but not being published due to unknown reasons kind of hurts as I would really like to do official troops in my captain after a lot of time and effort.1 point
-
File-Name: Aurebesh Alphabet Stencil Designer: Rogue9 Last Update: 27/05/24 File-URL: https://www.printables.com/model/893022-aurebesh-alphabet-stencil/files Description: Stencil your message to friends in Basic; the alphabet of Star Wars. 0.2mm layer height. Modify gcode to swap filaments at layer 6 if desired. No brim or mouse-ears required. I’d definitely turn ironing on for the top layer. Terms of Use: https://makerworld.com/en/user-agreement Images:1 point