
Leaderboard


Popular Content
Showing content with the highest reputation on 08/11/2023 in all areas
-
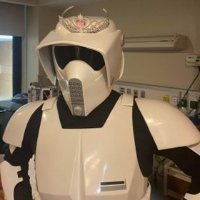
Done for the day! No big issues, and my very rudimentary painting rack did its job quite well! I completed the painting and clear coat for the thigh and lower leg armor. The pieces turned out great! I also did some touch-ups to the belt pieces, thermal detonator (did not get a photo), and my pistol. I have been so focused on my armor that I did not think about a weapon, so the painted-over Nerf gun is a stopgap until I buy a proper prop weapon. The Nerf gun will just be in a holster on my belt. My next paint session (ideally tomorrow) will consist of painting the arm armor (forearm, bicep, and shoulder), kneecap armor, and many smaller pieces (shoulder straps, hand armor, etc.). I may paint my boots tomorrow as well, but that may be put off to a third session as the other parts seem like a lot as it is.2 points
-
My blaster is wrapped in a towel and lays in the bottom front of the suitcase with armor resting against it so it doesn't move2 points
-
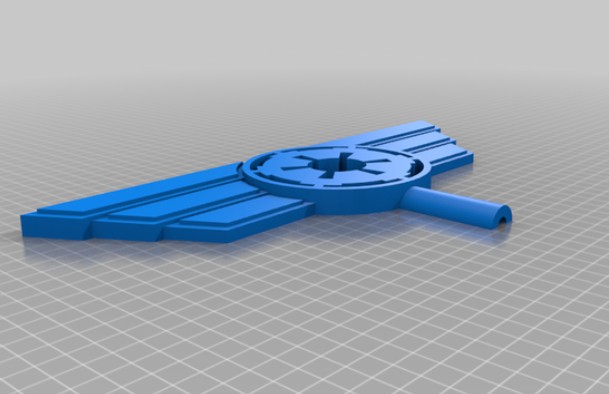
Imperial Flag Pole Topper File-Name: Galactic Empire Flag Pole Topper (Final) Designer: "superpunkduck" LeSage ID: 93086 Last Update: Oct 4 2022 File-URL: https://www.thingiverse.com/thing:5546260 Description: Posted on the legion forums, thought it could be handy for some. Designed to Put on the end of a flag pole for an Imperial Flag... Scale to whatever size you need... You need to print Two and glue them together... Should print flat on the bed... Venting has been provided to alleviate suction on resin printers. Best to mirror on the X axis for the second print because the geometry isnt perfect (im brand new at modeling) Paint however you see fit. Terms of Use: https://creativecommons.org/licenses/by/4.0/ Image: Version 2 IMPERIAL COG FLAG POLE File-Name: IMPERIAL COG FLAG POLE FINIAL Designer: "Zoingo Last Update: July 4 2022 File-URL: https://cults3d.com/en/3d-model/architecture/imperial-cog-flag-pole-finial Description: A simple decorative flag pole topper made to look like an Imperial Cog from Star Wars. The mount is intended to be used with ~.9in ID poles. Quick and easy to print, supports are required. Terms of Use: - Image:
 1 point
 -
Thanks y’all! So I measured and trimmed the right side to make it more even. That helped as well with readjusting and lining it up better with the middle cover strip of the shin. I’ve added the glue and clamps. As I’m writing this now, I’ve forgotten the tape for extra support I can add that later when I get home. I do have like 5 clamps on it so it’ll probably be fine. I also trimmed down and sanded the inner part of the thighs which helps significantly with reducing armor bite when I tried them on.1 point
-
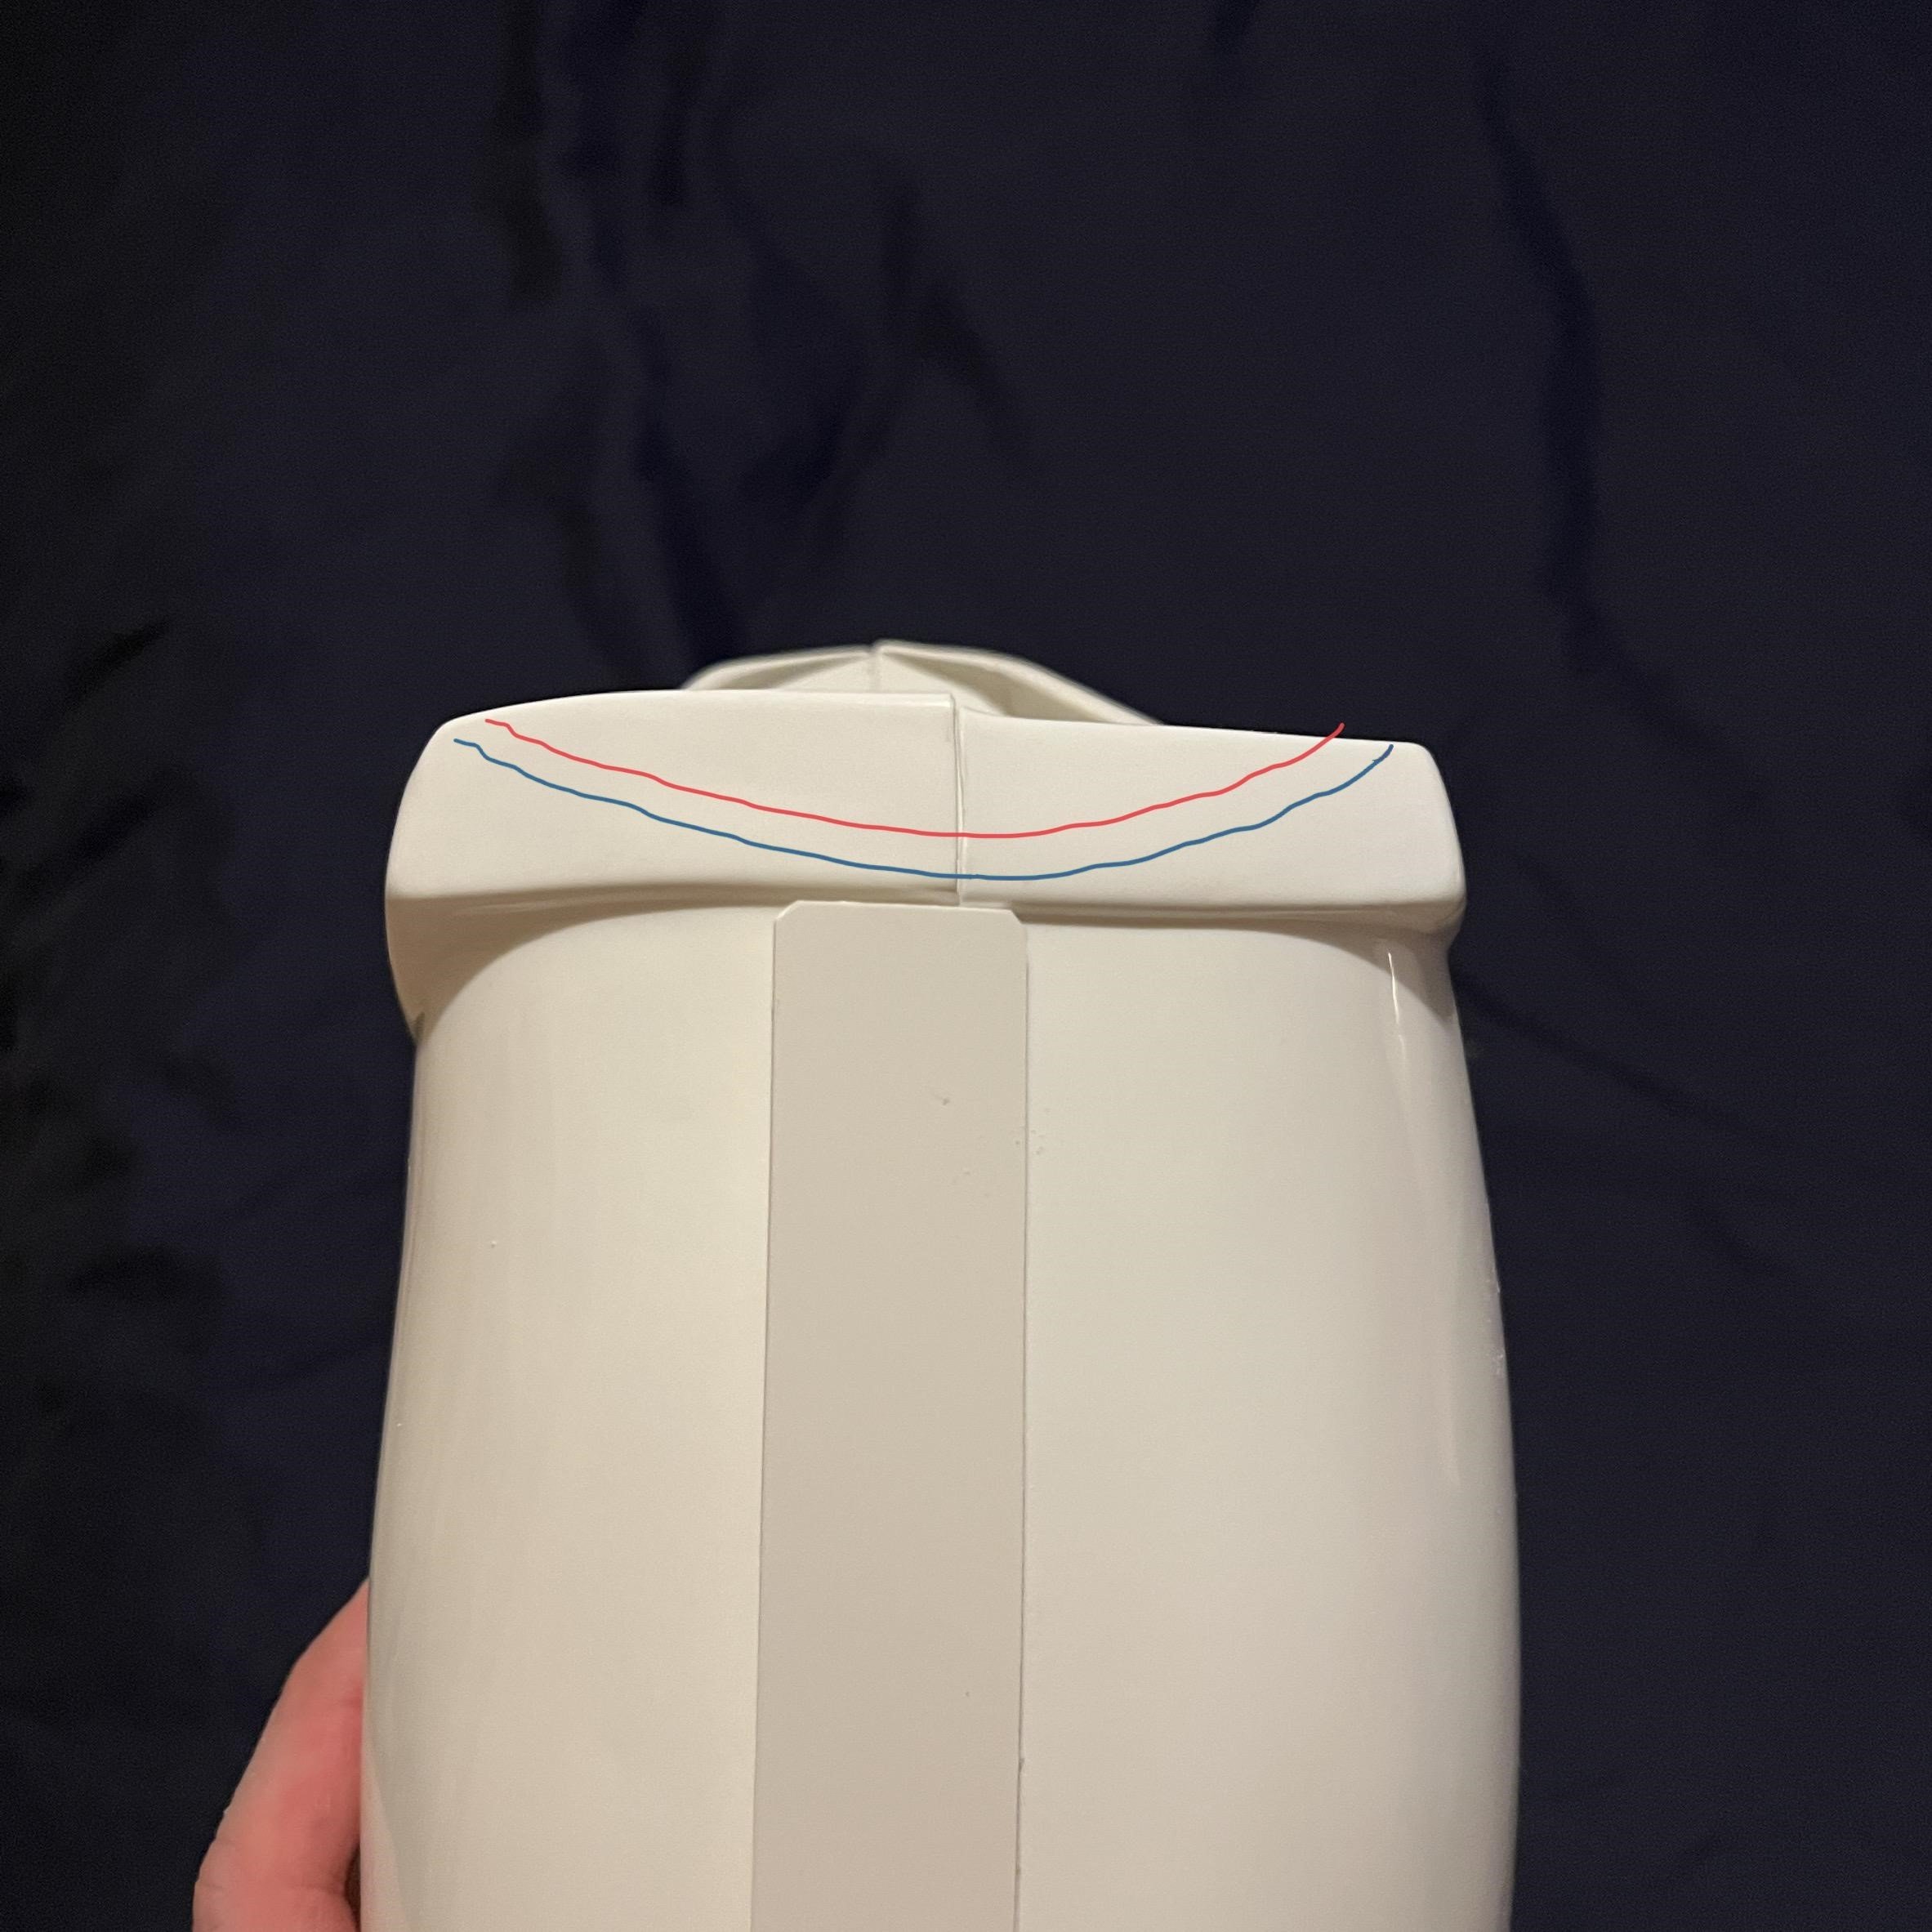
Some add a little heat so they can twist the sniper plate in line with the shin, you can see here the sniper plate is angled down You can also trim some of the inner corner
 1 point
 -
Bellow example is from an Anovos EIB approved submission As you can see , the left side looks ok but you could rise the right side a bit a trim the edge to match better.1 point
-
I wrap my E-11 in bubble wrap and put it in the bottom of my suitcase, with the magazine sticking out underneith the armor!1 point
-
Bugs were a big problem when I was painting the chest armor! I shouldn't have been surprised as I was in Oklahoma at the time, and the heat, humidity, and bugs really, really annoyed me. There's an imperfection in the paint on the shoulder strap of my chest armor, and it was because a bug decided to land on that part as the paint was drying. Removing the bug removed some paint...ugh... I'll be wearing a wig that is long enough that it should cover that imperfection, however!1 point
-
Many purchase extra items so they can do other versions, not a great deal of difference BUT helmet is not just the teeth, only 3 ear bumps and 2 screws. This is a great comparison https://drive.google.com/file/d/10tEVteIreh6AHMogW010cuH_Bf8TBfU6/view You could also go ESB with a few other different pieces Three costumes in one is obtainable1 point
-
Yeah…that’s when I gave up painting armor for the mandalorian. I didn’t want to build a full paint studio just for one armor. Sent from my iPad using Tapatalk1 point
-
Yep so long as people don’t whisper i hear fine too. Sent from my iPad using Tapatalk1 point
-
Just don’t go beyond the ridge, but yes its ok. Sent from my iPad using Tapatalk1 point
-
Those cuts will be fine as marked.1 point
-
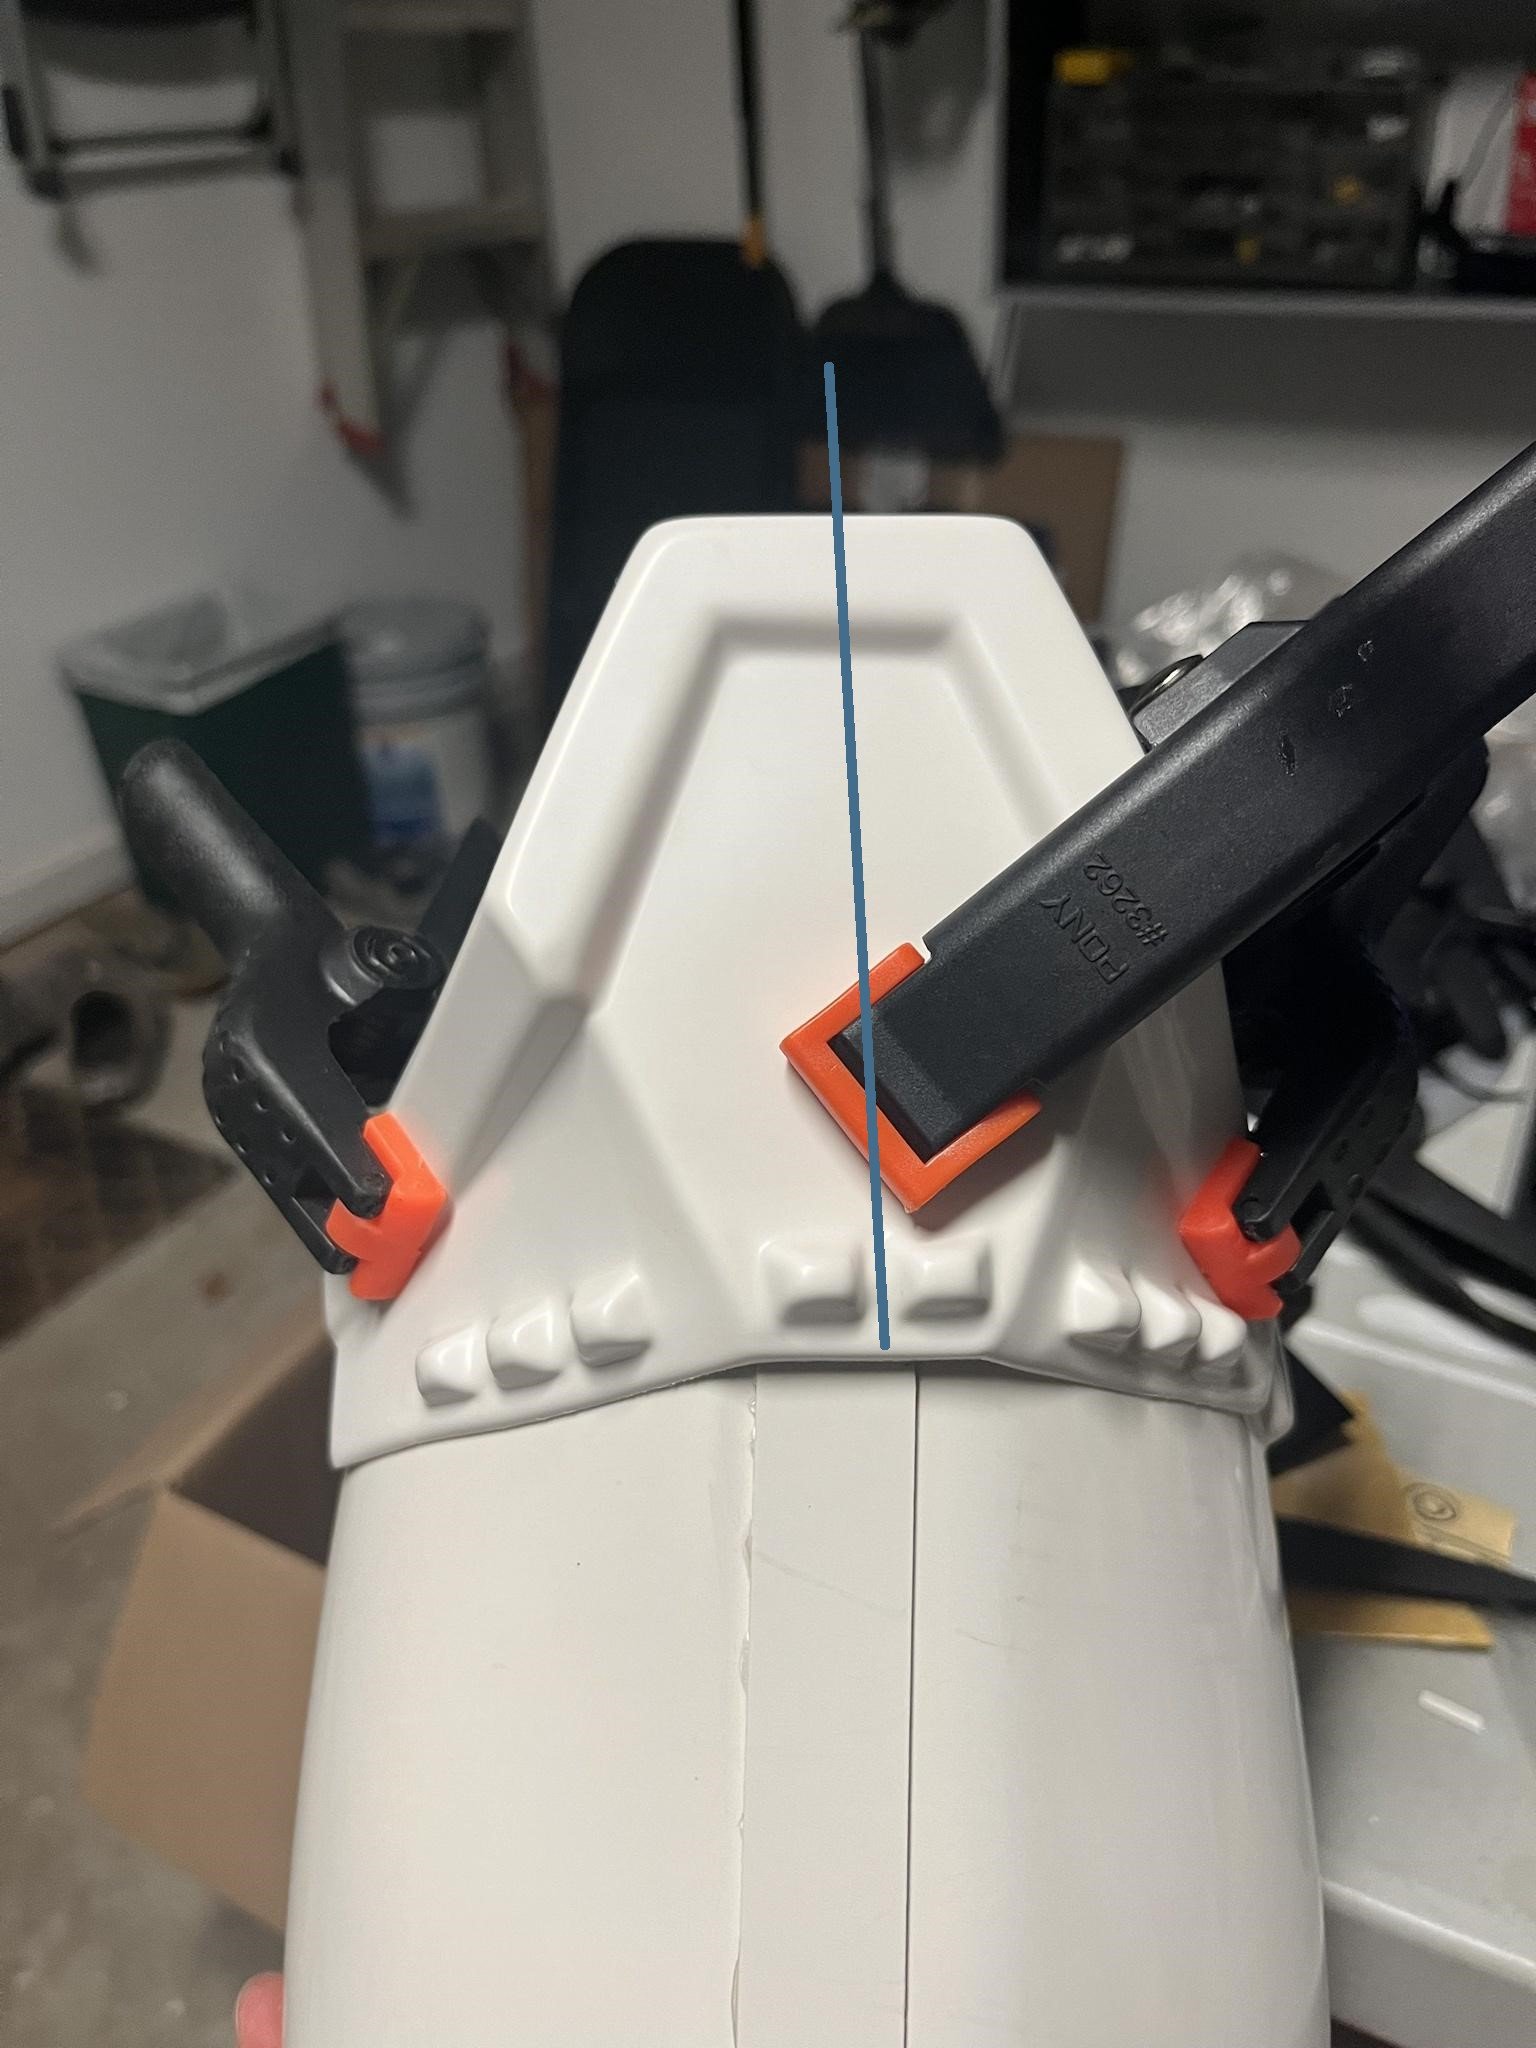
You don't have rivets on the sniper plate unless it's for ROTJ version, some GML's won't approve if you add rivets even at base level. I would glue in case you wish to sell the armor in the future. OPTIONAL Level two certification (if applicable): Sniper knee plate must be aligned with the ridges on the shin. Sniper knee plate must not have visible rivets or fasteners attaching it to the shin. E6000 glue, make sure you rough up both areas with sandpaper to help the glue grip. A combination of clamps and tape can help keep it in postion while the glue dries. NOTE: For a more screen accurate look, it is suggested that the top of the rear ridge of the sniper plate be aligned with the top ridge of the calf. Also note that the sides are angled rather than curved.1 point
-
Send a PM to @ukswrath to check on availability. He also has a sales thread here1 point
-
It's fine to add mobility cuts to the thighs and shins, references here1 point
-
Velcro can be used for Centurion You can go all the way down to the ridge on the trim line
 1 point
 -
I am sure the poor FedEx was like, "What is this crazy guy doing? Did he just squeal?"1 point
-
This was back in 2018 for what it's worth, also he posted a link to JRS, well not all staff here are members of JRS and don't have access. If Jason is serious perhaps he should repost his photos here not link to another detachment, then all staff can view then and the background to his work so we can make an informed decision. I wasn't the DL in 2018 otherwise I would have requested he do exactly that. There is always time to clear things up, and my door is always open.1 point
-
I wondered, OK those FX lids were very square, I mean way way off what is around now so my GF lid really did shine in contrast. Nice and asymmetrical with the "bowed" rear. Flat lenses by me in this foto. Came with bubble ones.
.thumb.jpg.ef6599c886ef9cf100666b1a0e31ebc3.jpg) 1 point
1 point


.jpg.ec4268702a4c1302393d52b7972187ba.jpg)