Leaderboard


Popular Content
Showing content with the highest reputation on 12/05/2022 in all areas
-
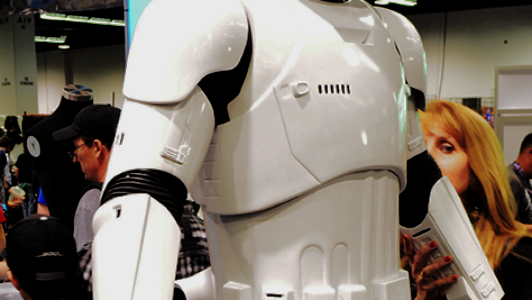
Greetings all We have just completed a major update to the Last Jedi Stormtrooper CRL, which included changes in some descriptions, typo era correction, replacement of some images including a new CRL model, so overall we now have a better representation of the differences in this costume vs the TFA version. This means some pieces that were previously shared across those two CRL's but were clearly different and make the TLJ costume stand apart, will no longer be accepted/approvable, across TFA and TLJl, this includes like for like changes with the TLJ Executioner CRL as well. The new TLJ CRL is dual labeled The Last Jedi / The Rise of Skywalker as in most cases they are identical save a new single carry only weapon, the Electro Prod. Most of those upgrades will only affect Centurion level. Only a few minor changes were made to basic level that are very simple and what members have been doing in their builds already. Items that have changed will take effect for anyone who has not yet started a build thread here on FISD. Any of those who currently have an active build thread will have a 3 month grace period to either continue building to the now grandfathered CRL, or may certainly build to the new latest version active as of today. You can certainly direct you GML to this announcement post or myself and our Deployment officers team if they have any questions. This is the same grace period we have always given for anyone currently building a costume where a major upgrade has taken place. Please Note, the grace is for all levels of approval, but you will find the lion share of changes are at Centurion levels. The Deployment office have a copy of the now grandfathered CRL, so please reach out to them if you require a copy. The new Version is now approved and live and can be found under the drop down menu on the "Pages" tab at the top of the forums. I would like to thank everyone who played a part in getting this CRL up to a standard befitting Centurion level and one that we are all very pleased with. With unquestioned loyalty TK11469 (Sly11)2 points
-
Congratulations Paul! Excellent work!1 point
-
Denuo Novo FOTK Assembly Instructions TLJ-FO-Armor-Kit-Instructions-08-16-22-sm.pdf1 point
-
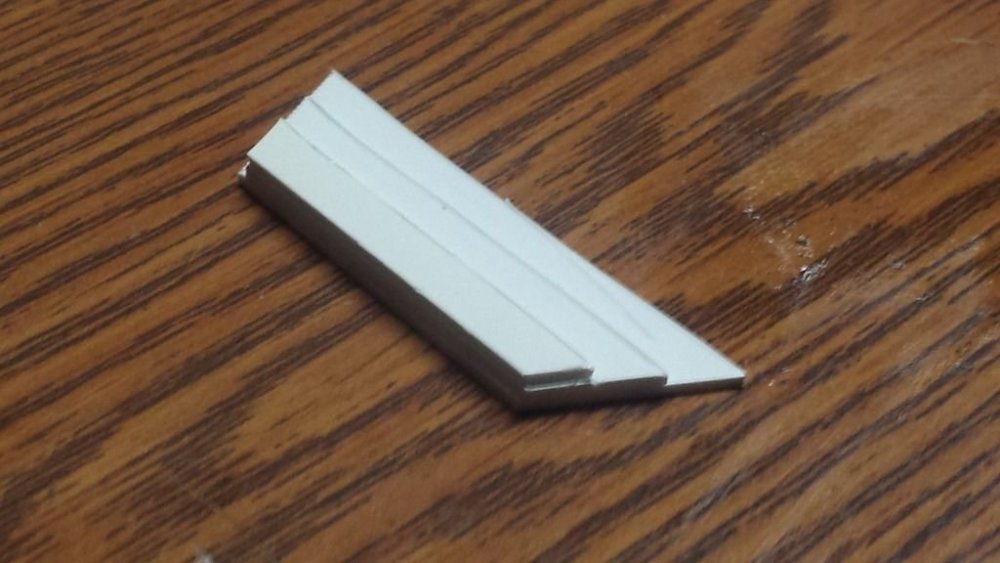
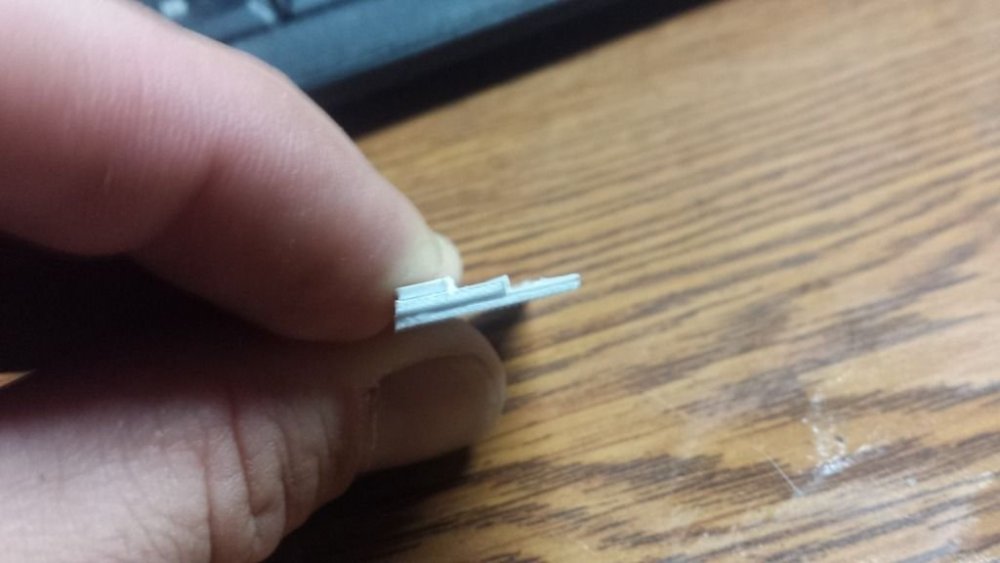
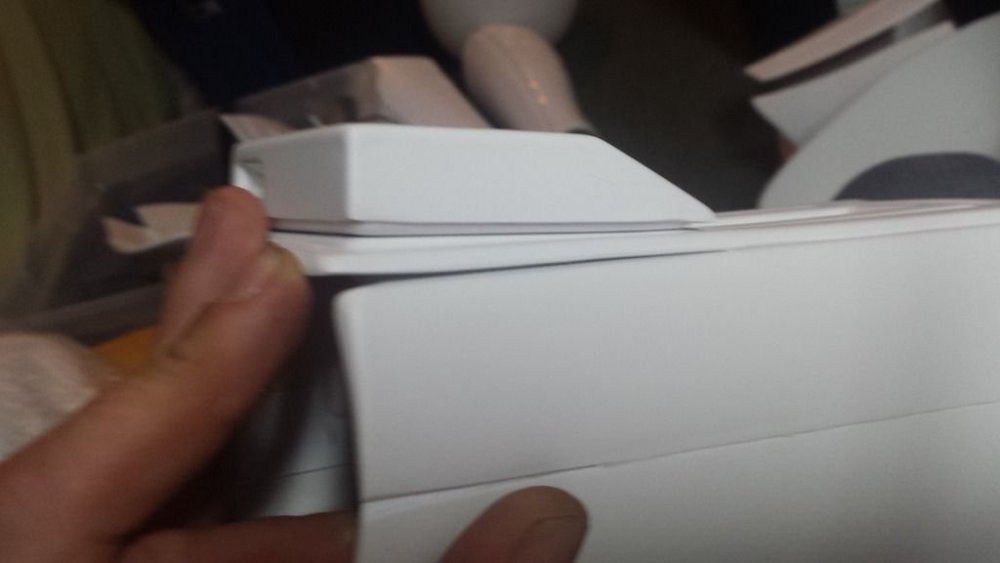
Here are a few things you can do to get your vacu-formed armor a little more accurate. 1. Cut the holes out of the chest, chest vent, shins, and biceps. Back them with a black cloth material. The material should have a brick pattern to it. Like as in a brick wall, staggered rectangular pattern. Something similar to this...only all black...and ...yeah 2. Use a sanding block on the ab boxes, left shin boxes, and forearm squares to sharpen the edges. We CA glued these on, but I like what other folks are doing using screws/bolts on the inside and drilling through the ab plate and securing with a nut. Any gaps between the boxes and ab can be closed up with either bondo, CA glue, or white caulk. 3. Cut the chest "wings" and reassemble using a strip of ABS or styrene on the back, realigning the two pieces to make a noticeable seam. Bondo the return edge on the top and bottom. Also, either sand out or use bondo to fill in the "shadow" seam line. It's subtle, but noticeable on most if not all chest plates...to the outside of where the seam actually is. 4. Biceps- Fit these as you normally would. If you need more plastic, add it during this step. Assemble using butt joints on the outside. Overlap the inside but use velcro to close it. Now, cut the seam line where the steps are, where the resin buckle gets glued. Back with ABS or styrene and realign the pieces making a nice straight seam. Leave approximately 1/8 of an inch gap. Cut out the little steps and toss that piece at your annoying cat. Replace that soft detail with some thin styrene or ABS or some modeling siding from a hobby shop. Cut to size and back the empty hole with ABS or styrene and glue in your newly made, shaper detail piece. 5. Use 3/8 of an inch neoprene foam under your floor mat belt. It should go Nylon webbing, neoprene, floor mat. EDIT [Daetrin]: using cordura nylon works well too... 6. For the two belt boxes..10H and 10K, use plain silicone rubber with a smoothe finish as the bottom of those boxes. Keep the ABS bottoms that came with you kit for trays to keep odds and ends in. With that rubber piece, 5/8" on the outer edges and 3/8" in the middle. You will have to cut a bend in the rubber so it matches the contour of your floor mat belt. If you don't, the ends of both boxes will flair out or stick out because they are flat. 7. If you want to be uber accurate, use velcro to close the inside of both thighs. 8. Cut two notches in the top of the yolk where the shoulder bell meets it. Use a chunk of steel or sturdy aluminum in between the notches sticking out toward the shoulder bell. Metal tab should be approximately 3/4" wide, 1/16" thick and protruding from the yolk about an inch. Use two 1 inch wide straps to connect the shoulder bell to the yolk. 9. Forearms: Only glue about 75% of the plate with the long greeblie. Leave the wrist opening unglued about 3 1/4 inches back. This will also help get your hand through without skinning up your hand. I appologize for the photos as most are taken with my phone. :-/


 1 point
 -
Decided to start on the helmet until I can get some feedback on the armor parts. Tonight I rough cut all the openings. I have decided to cut out the tears and back panel lines as well. I will back them with a black breathable fabric and hopefully it will improve ventilation. This weekend I will file the openings and make them uniform. Thanks for the interest.1 point