Leaderboard


Popular Content
Showing content with the highest reputation on 07/01/2022 in all areas
-
So getting back to it: The first thing I wanted to do is highlight @gmrhodes13's tip about using a black overspray to find low spots: I touched on this briefly, but in the automotive paint world, this is referred to as a guide coat. If you look around the internet, you'll find a lot of products that are specifically formulated for these type applications, but for costumes, I really don't think we need to go so far as to buy these specific coats. As Glen indicated, a very light mist of black works just fine. However, when I use a guide coat, I like to use sandable primer for ease of removal. Rustoleum's black seems to do the trick just fine, but really any kind will get the job done. Also, if you choose to use a regular paint instead of the sandable primer, it does have a way to find even the smallest low lying areas including pinholes. Since this is an automotive trick, you can imagine that it's generally used on larger semi-flat surfaces during the "blocking" phase. This is an excellent trick for gentle curving areas such as the chest, thighs, shoulder bells, helmet dome and things of that nature, but if you try it on items such as the back armor or objects that have more of an ornate design, there's just a few areas you're going to have difficulties getting into to sand out. Regardless, here's the steps I followed for the chest armor: First the tools. I went to Amazon and picked up a 3M Hookit Soft Interface Pad and an assortment of sanding discs ranging from 80-2000 grit. The benefit of using the interface pad is it allows you to apply light even pressure to the surface without pressing in with your fingertips. These are typically used with an orbital sander, but also afford similar benefits of a sanding sponge, but to me it seems a lot more versatile. To get started, I lightly ran the 400 grit over the filler primer just to flatten out the surface. As you can see from my picture, even doing this lightly, you still have to be careful of the edges. However, since this is still at the filler primer stage, I'm not as concerned as I would be if this were my base coat. I then "dusted" it with the sandable primer which resulted in this: Just looking at the first picture, it doesn't look like I did much more than just speckle the primer, but in reality, by holding the can back about 2.5 feet away from the surface, the entire chest "fogged" over with a light black film as seen in the second. I stuck with the 400 grit and lightly sanded the surface, again paying attention to applying light even pressure over the entire part and not pressing with my fingertips. In this picture of my first pass, you can see how I primarily stuck to the flat surfaces and avoided the edges which left the black resting in the low spots. However, after a few more passes, sanding in one direction, I was left with what appeared to be a very flat surface which was ready for primer sealer. I also performed this step on my arm pieces which revealed a lot more low spots than this chest. Additionally, since I reformed the resin bicep the night prior, after spraying it with filler primer, a few crack appeared that I didn't notice previously. I didn't take pictures of how I reformed the biceps, but since resin manipulation has come up in other posts this week, the process was pretty simple. Basically, I soaked the resin pieces in hot water for about two minutes, then held it in place until it cooled. Of course, this small open piece is easier than a helmet, but it's the same idea. Just take your time. Also, in the second picture, it looks like there's an enormous crack on the inside, but that's just how the bicep is shaped. For the cracks, I debated what the best way to fill them would be. I thought about using more resin, or wood filler, but ultimately, since they were relatively small, I opted for Spot and Glaze putty. I filled the cracks, resprayed them with filler primer, gave them a light sanding and was left with this: Here's a shot of the inside of the bicep. After taking this picture, it dawned on me that I forgot to fill those little cracks, so I'll take care of that tonight. Honestly it's not a big issue, but I know they're there. --EDIT-- I just went out there, sanded down the large crack, and sprayed it with filler primer. Totally smooth now. Ok. Sealer primer. I've said those words a few times, and even posted a picture to the FISD Facebook group, but haven't really talked about it too much. Primer sealer is simply a thin primer coat that's formulated to fill in any remaining scratches and seal porous surfaces as a final prep for your base coat. I haven't used it on any of my costumes previously, but started entertaining the idea when I decided to use an automotive 2k paint for my Deathtrooper and 2k clear on this costume. Essentially, if I'm going to spend that kind of money on paint, I want the surface as perfect as I can get it prior to laying down my base. So, after a round of filler primer, light 400 sanding, guide coat, light 600 sanding, cleaning and tack rag, I started sealing my parts right as it was getting dark. Don't forget to show some love to the inside of your armor. And of course, I muffed up the chest a little bit. Not a big error, but I made one mistake when I was applying the sealer. As I stated, this stuff does apply much smoother than most primers, especially filler or sandable primer which you can pretty much glob on. So, if you use it, you have to keep moving in a smooth even motion until the part is covered. The best way I heard this described was on a Paint Society Youtube video where Brian (the host) said "robots don't stop, so neither should you." Keep in mind that he's speaking about painting car panels, but his tips are priceless when it comes to just laying down paint regardless of it's source. For what we do, he's got plenty of videos of getting professional results from rattle cans, which is essentially the guide I'm following with this build. In this instance, I kind of stopped "mid stream" and my finger got in the way of the spray which kind of shot a "blob" right at the surface. It cleaned up perfectly fine with one pass of 600 grit. For anyone interested in a professional car painter using rattle cans and 2k clear, this is an outstanding video. He doesn't cover sealer primer in this particular video, but does in most of his others: So, since I'm not ready to hit my back and abdominal yet, I decided to go back to my bucket. So, quick note about this; I have called this a Remnant build, but I'm sensing a little uncertainty regarding the creation of a Remnant CRL. So, to cover all my bases and make the determination on Remnant vs. Anthology/ New Generation TK, I'm making multiple versions of the helmet. So here's the helmet in it's Saturday state. Back in October, I sprayed it with some white primer and thought it was ready for paint. However, I've learned a lot since then and knew I wouldn't be doing it any justice if I just threw white on here and called it good. Additionally, as I showed a few days ago, it was still littered with pinholes and cracks, so it wasn't even close to ready. So, I grabbed my glaze and spot putty, filled the cracks, sanded it all out and flattened the surface with the interface pad and some 400grit paper. Since I already sprayed the interior with truck bed liner, I didn't want to get overspray on the awesome surface it created. I masked off the inside of the helmet and realized how much I like the blue painter's tape inside the tube vents. I can see why they used this on set, but it's just not practical for extended use. Regardless, check this out: YEAH BUDDY! I posted this to the Facebook page a few nights ago and almost instantly had three people reach out asking what paint I used. This is the primer sealer almost immediately after I sprayed it. I think up to this point, I was liking what I was seeing with the sealer, but after I sprayed the helmet and found that I couldn't find any flaws in the surface, I was purely ecstatic. The other thing to note about the sealer is after spraying the arms, chest, a few accessories including the thermal detonator, and helmet, I'm only down one can, so I don't mind the slightly higher price tag of approximately $10 per can. Though it looked cool in that last picture, this is how it looks now that it's fully cured and ready for paint. So that pretty much covers all the armor updates, but last night I FINALLY started another project I've been flirting around with for a few months now. Thanks to @JasonG for loaning me his airsoft gun a while back and @trooper96's awesome Rogue One files, I was able to start building the accessories I needed for the rubber/ resin E-11B I've talked to a few of you about previously. This isn't a resin/ rubber molding tutorial or anything like that, but does show you the direction I'm traveling for the time being as well as an example of the accuracy of Bryan's E-11 parts. --Spoiler Alert-- His files are awesome. Here's a few of the parts loosely held together next to the airsoft gun minus it's barrel. Small Eagle Style And finally, a comparison of the airsoft magazine (top) and Bryan's magazine. I'll get back to work soon, but as always, thanks again for viewing.4 points
-
3 points
-
3 points
-
Here's a timeline I put together.2 points
-
As Mario said, a couple dabs of E6000 should do the trick on your brow trim above the eyes, while also giving you the flexibility of removal in the future. You may also be able to tighten up the gap between the cap (top) piece of the helmet and the faceplate in order to provide more tension for the trim to stay up. However, just keep in mind that any change in the alignment of the face and cap may result in changes to the ears and gaps around them.1 point
-
The references (left bellow) show that they are a bit straight in the center , you can use the Thermal Det ( Bellow right) ,of course. either way is not a blocker in any level Closer Image PD. ALSO NOTE THE RIVETS POSITION1 point
-
nice! I could suggest gen1 TK and Final Order trooper too1 point
-
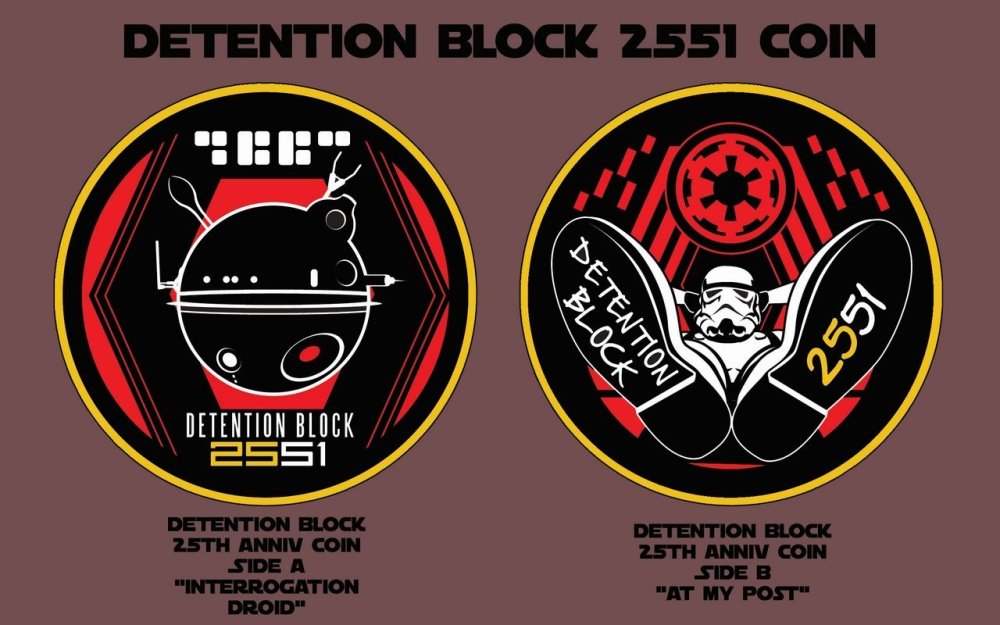
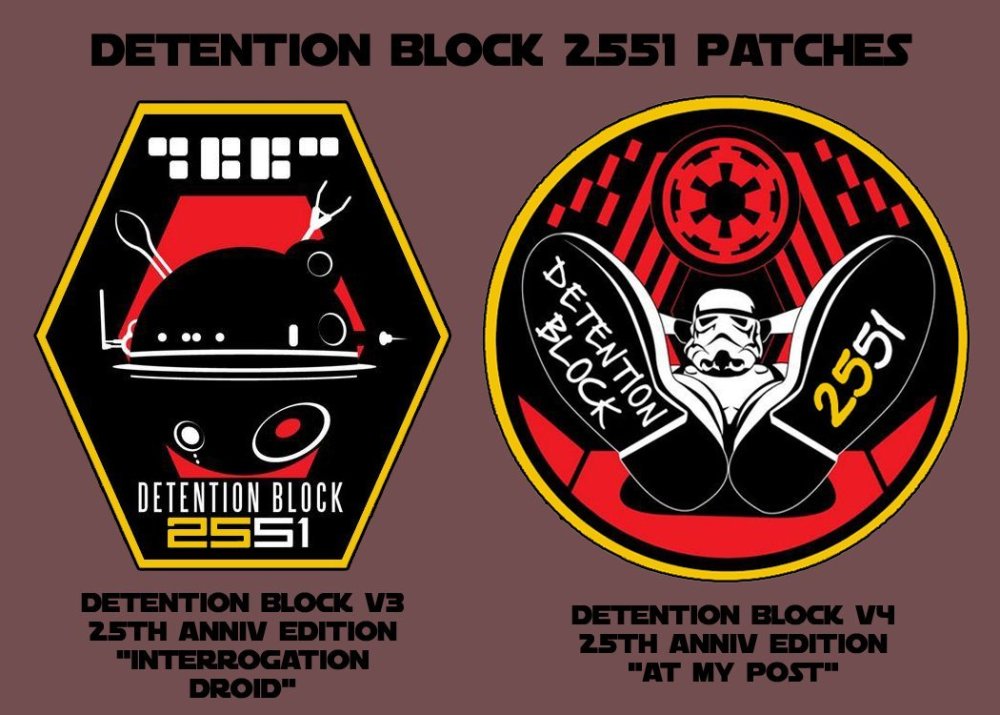
This was an old run. Albin posts new runs of patches on his Facebook accounts https://www.facebook.com/albin.johnson Currently there is a 25th anniversary patch and coin up for sale 25 years since the original website launched a Legion. Detention Block 2551 was where hapless stormtrooper TK-210 recounted his misadventures all while trying (and failing) to stay at his post. It was such a hit that fans from around the world sent in their Stormtrooper photos and it sparked the little club 501st Squad which exploded into the Legion.
 1 point
 -
Alright, 1 week down, many more to go! Current Weight: 246.5lbs Im down 8.5lbs at the end of my first week, which is quite a lot of weight, but as many of you know, that’s to be expected in the first week, I expect that to slow down pretty considerably. I’ve cut my caloric intake in half, keeping it below 1500 calories per day and I’ve kept up with jogging a mile every night. I’m gonna keep this going, while I know this kind of weight loss won’t be consistent every week, I’m going to allow it to motivate me to the end of another week. Progress Troopers, Progress!1 point