Leaderboard


Popular Content
Showing content with the highest reputation on 10/18/2021 in Posts
-
Hello my name is Sean I just celebrated my 5th year as an official member of the 501st Legion. I have an approved Darth Vader, Biker Scout, and Imperial Officer. I am looking into getting into a FOTK one of our new members in the Western Reaches squad is working on a Kylo and we have a First Order Officer as well. I have always loved the look of the First Order Stormtrooper and wanting to make the ROS/Last Jedi version. Any help would really be grateful.5 points
-
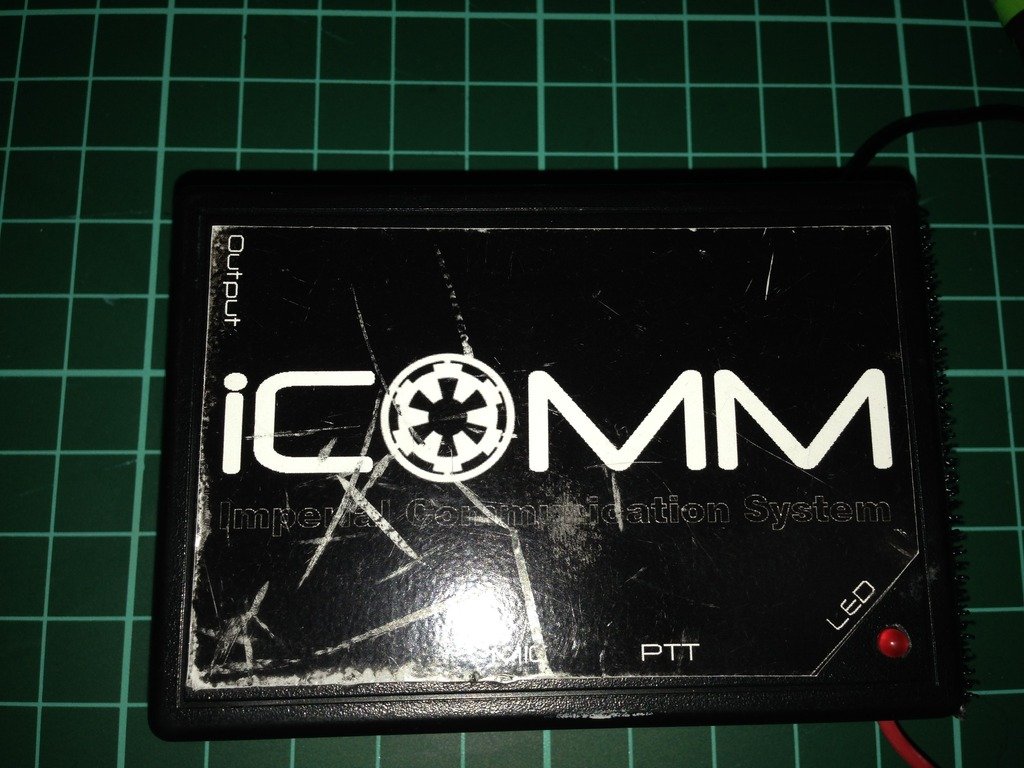
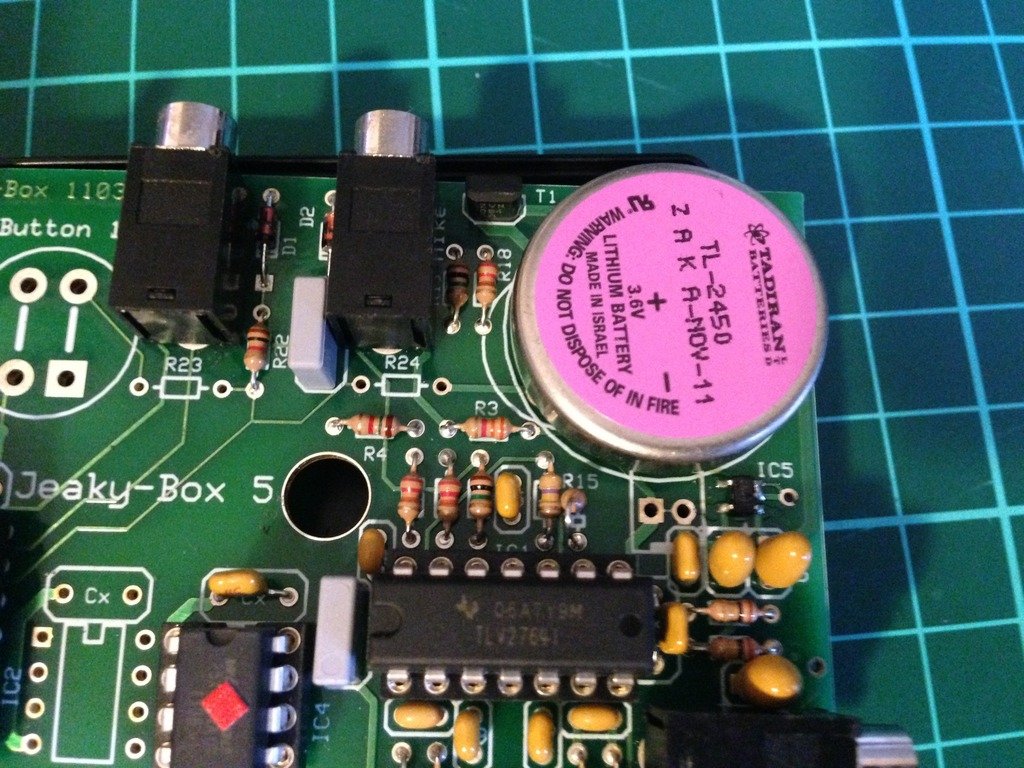
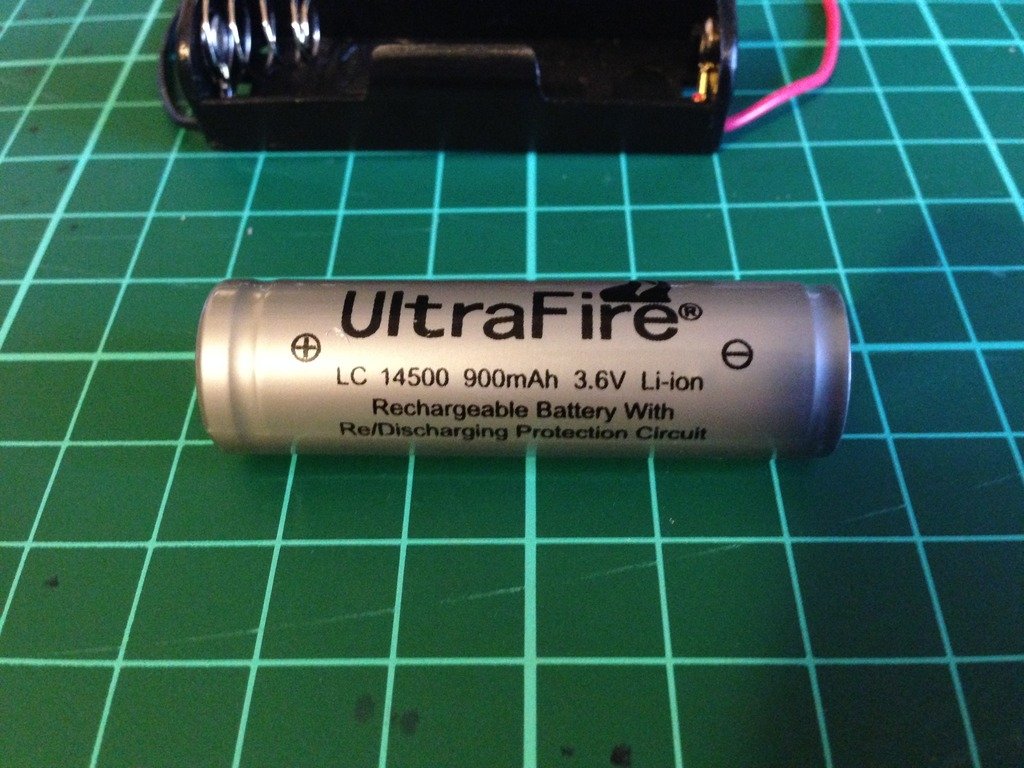
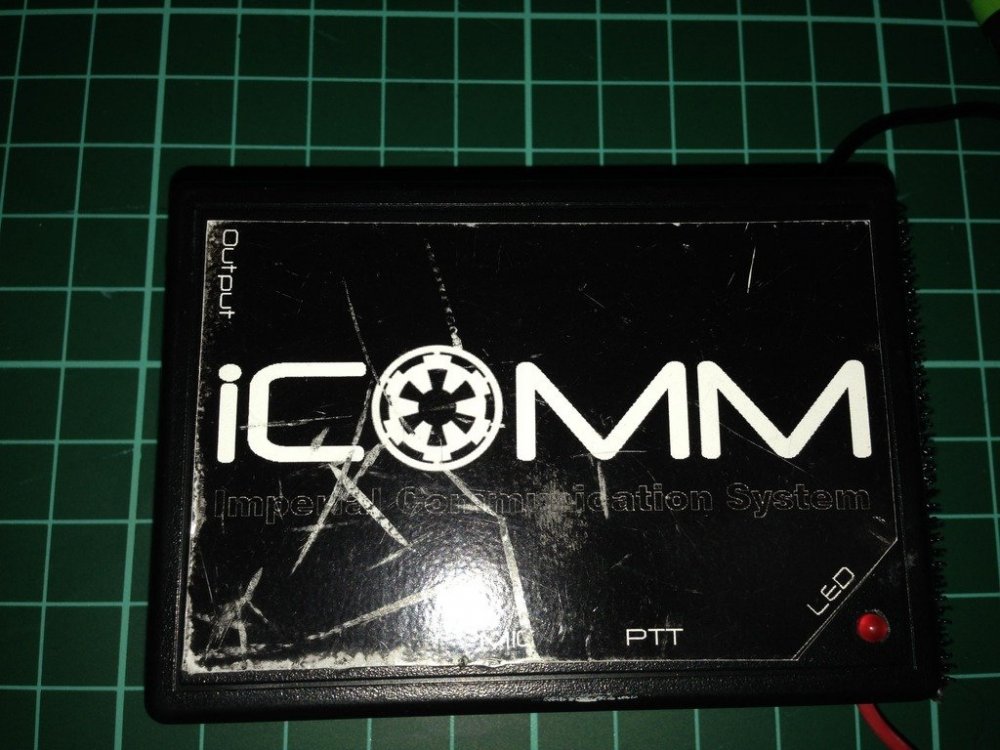
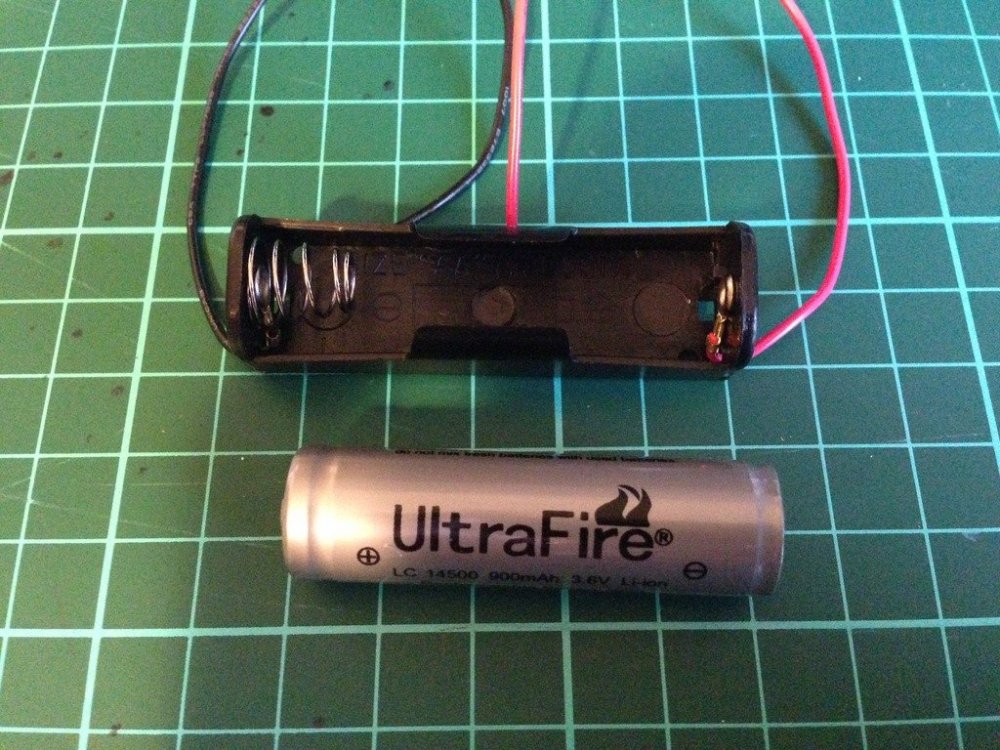
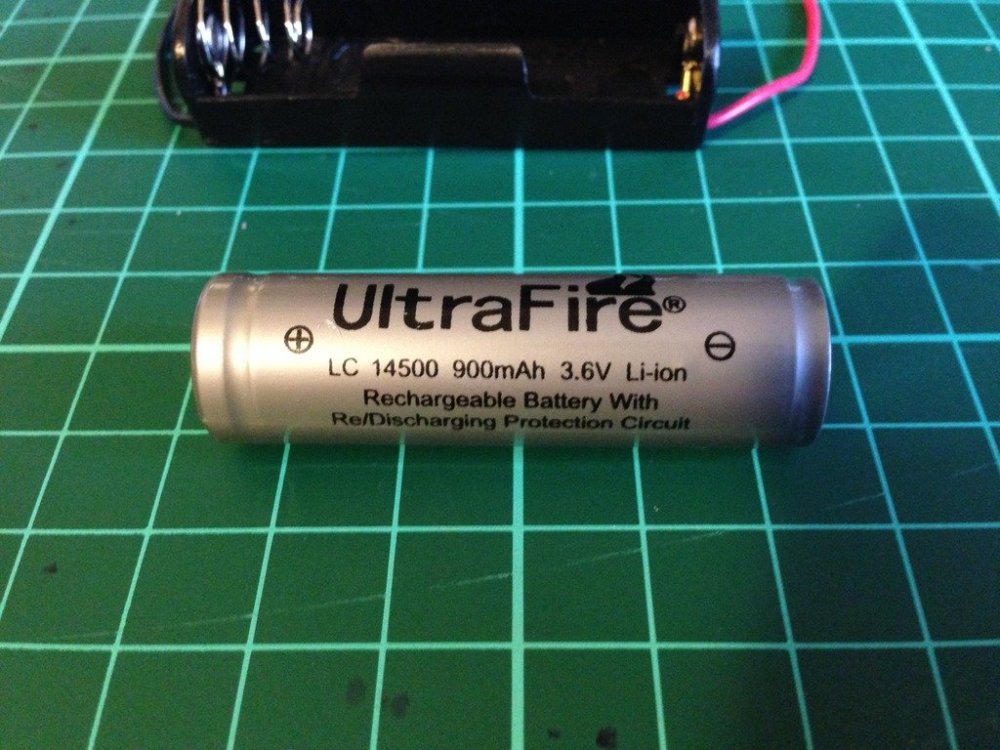
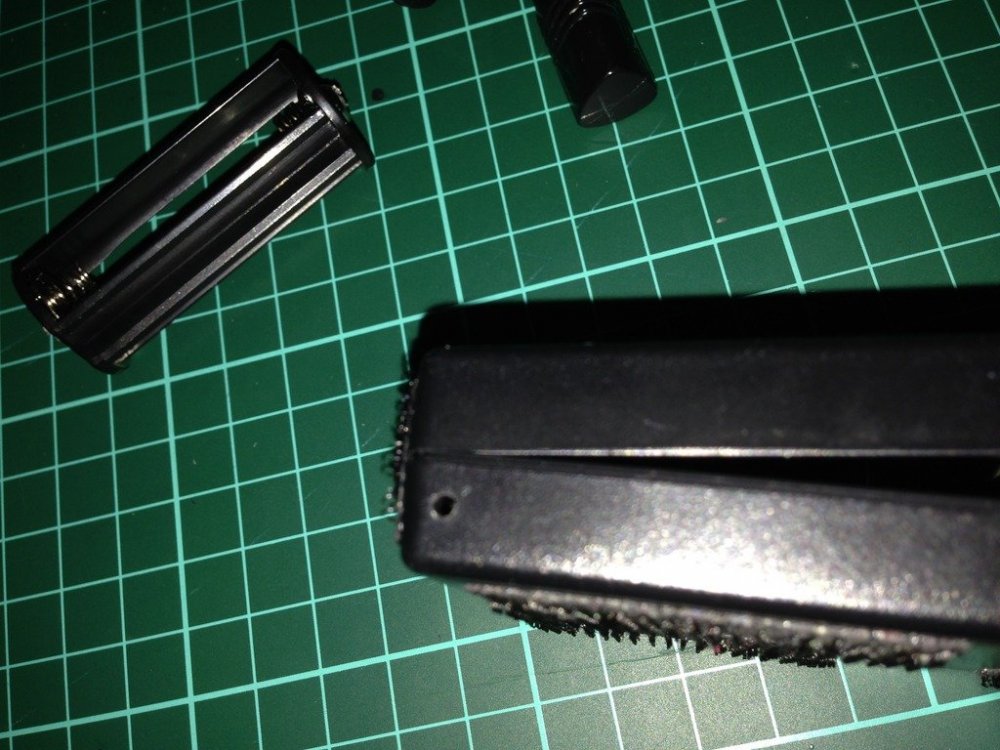
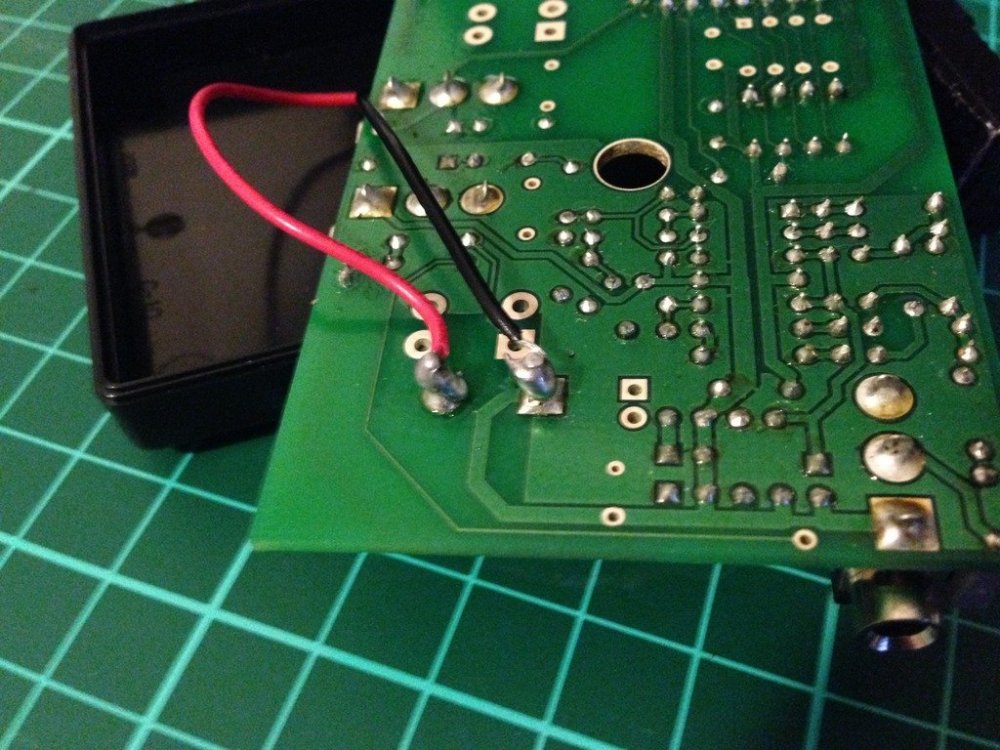
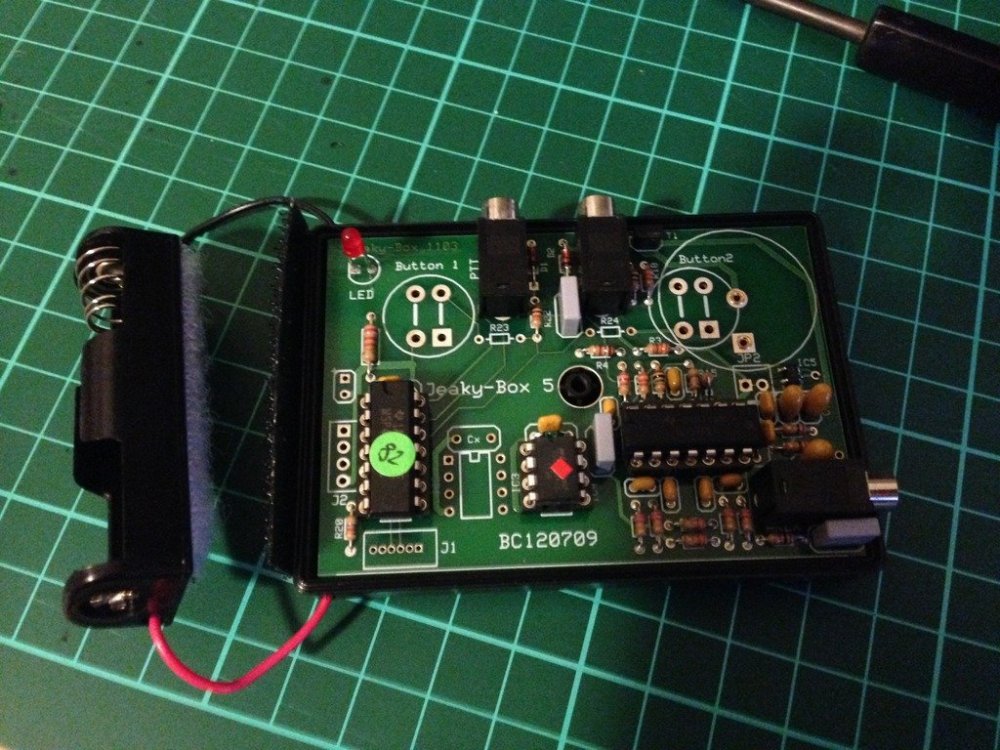
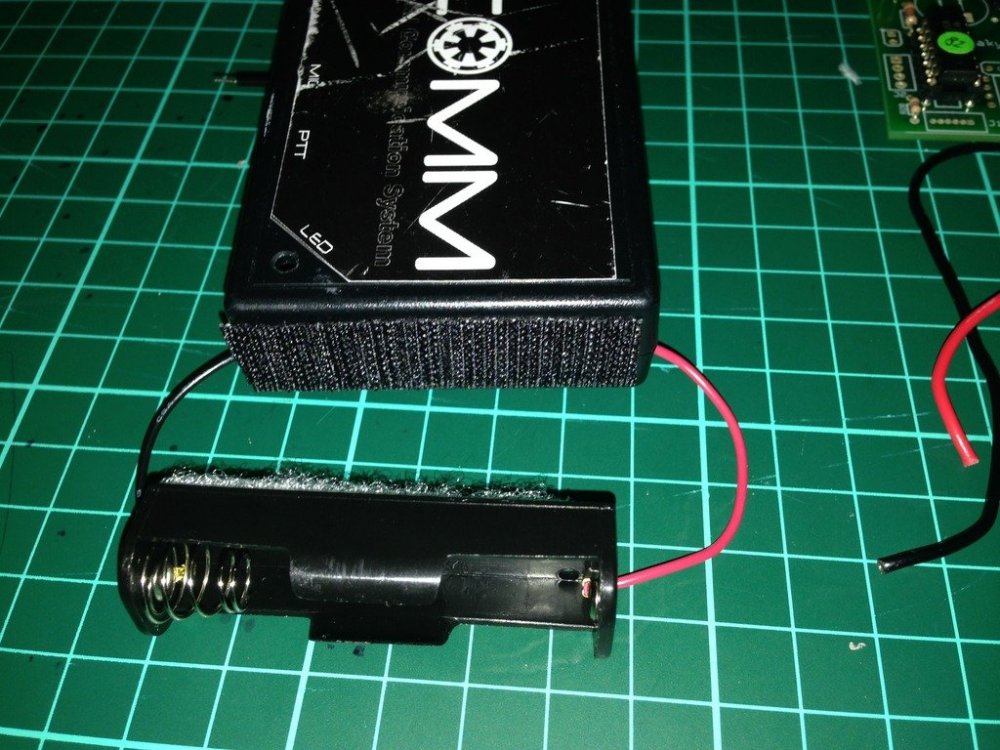
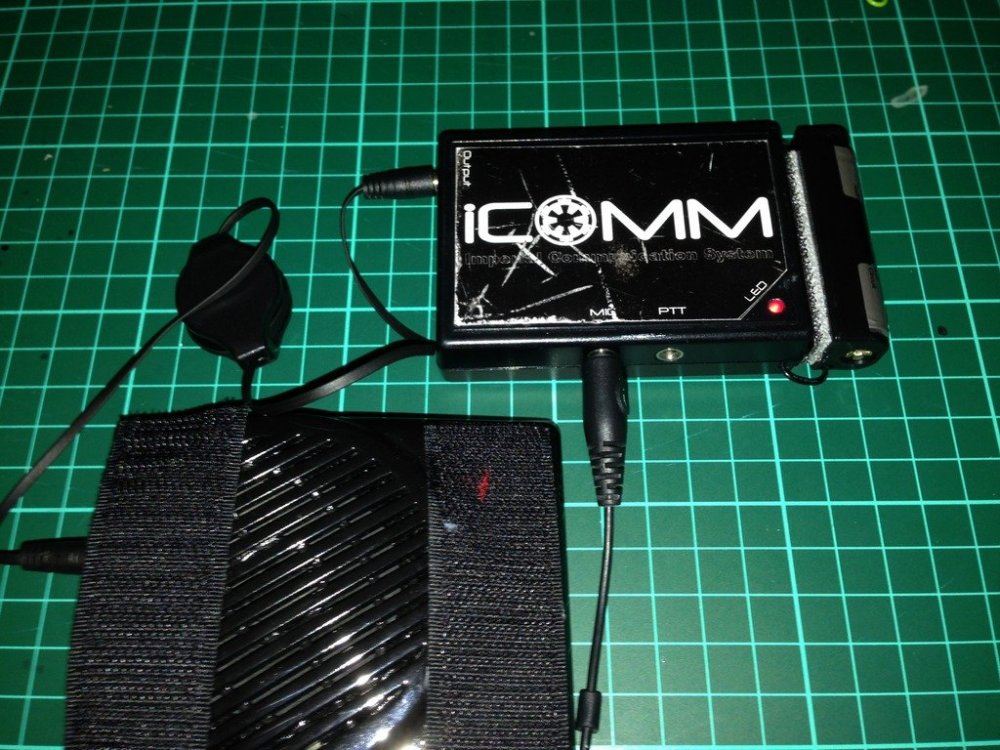
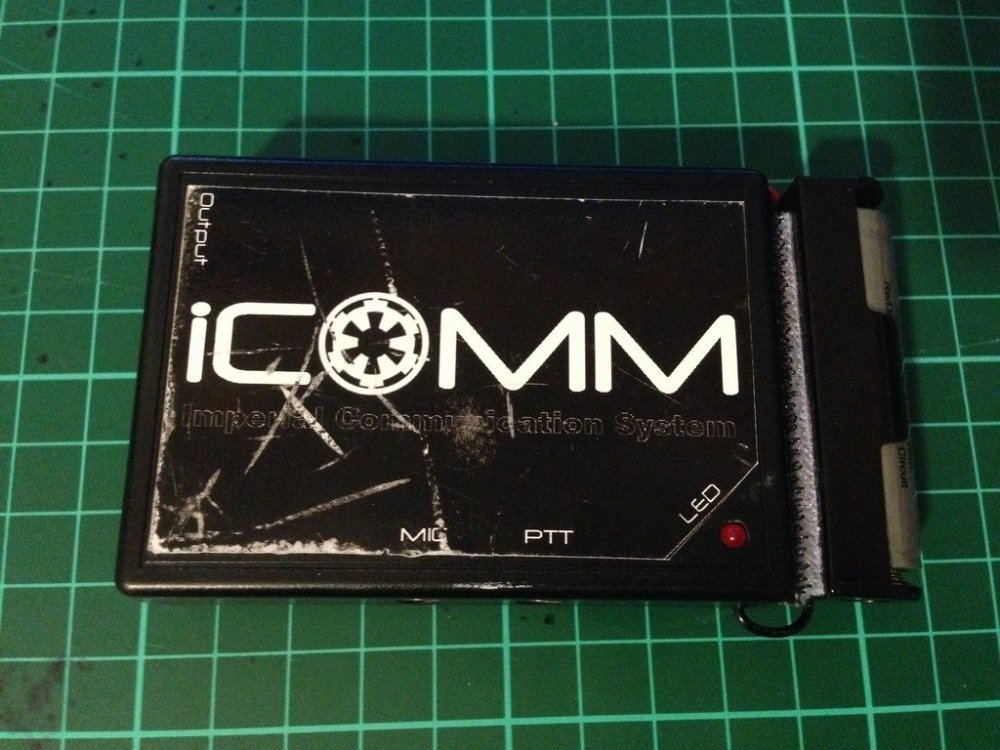
The humble iCOMM, works well while the internal battery is good, but after a year or so..........they stop working. How to tell, its the iCOMM battery. If the little red light no longer comes on and the static burst is not sounding, there is a good chance it is just a flat battery. Image has been scaled down 42% (600x450). Click this bar to view original image (1024x768). Click image to open in new window. Internal iCOMM battery Image has been scaled down 42% (600x450). Click this bar to view original image (1024x768). Click image to open in new window. Freight is expensive to get the very specific battery that is inside. Genuine replacement batt $5 US, freight, $25 US. Whattt!!! $30 US.... for a battery.....at least that's what I said. (approx $38.40 AUS) So I decided to do a little research, and come up with a reasonably simple and inexpensive mod, approx $12-$15 Aus. A simple AA battery holder and a rechargeable Lithium ion battery. Image has been scaled down 42% (600x450). Click this bar to view original image (1024x768). Click image to open in new window. Not just any kind of rechargeable battery can be used. The iCOMM is sensitive to voltage, so a 3.6 volt battery is required. The milliamp hour rating, or how much draw per hour on the battery, is only 560mAh, not bad for its small size, but I have replaced it with a 900mAh, so almost twice the capacity, and rechargeable. Approximate lifespan......Years and years. I chose to go with a battery with an internal protection circuit, as Li-ion batteries are finicky with charging. (have been known to EXPLODE). A digital battery charger, designed to suit 3.6-3.7 volts is perfect. Available on evilbay for as cheap as $5 shipped from China Image has been scaled down 42% (600x450). Click this bar to view original image (1024x768). Click image to open in new window. As I discovered during the research phase, the internal battery is easily removed. Image has been scaled down 42% (600x800). Click this bar to view original image (1024x1365). Click image to open in new window. First I added some adhesive Velcro to the back of the battery holder. Image has been scaled down 42% (600x450). Click this bar to view original image (1024x768). Click image to open in new window. Then I drilled a couple of small holes, one in either side of the bottom half of the iCOMM casing. Image has been scaled down 42% (600x450). Click this bar to view original image (1024x768). Click image to open in new window. Thread the red +, and black - ,wires through the holes of the casing.(From outside through to inside) When you flip the circuit board of the iCOMM over you can solder the wires to the corresponding posts. The outer most post is the positive (+) and the inner post the negative(-). Image has been scaled down 42% (600x450). Click this bar to view original image (1024x768). Click image to open in new window. Flip the circuit board back over and fit back into the case. Please note, you will actually have to fit the circuit board back into the top part of the case as it is the half that has all the plug holes and LED hole. Image has been scaled down 42% (600x450). Click this bar to view original image (1024x768). Click image to open in new window. Place the two halves together, put the screw back in, and add the opposite half of the adhesive Velcro to the end of the iCOMM. Feed the wires in through the holes to keep the excess out of the way. Image has been scaled down 42% (600x450). Click this bar to view original image (1024x768). Click image to open in new window. Tested for success, my iCOMM is again fully operational. Image has been scaled down 42% (600x450). Click this bar to view original image (1024x768). Click image to open in new window. As you can see, the overall size hasn't changed too much. iCOMM 8cm long, iCOMM with external battery adaption, 10cm long. The weight has increased by only 20 grams. Image has been scaled down 42% (600x450). Click this bar to view original image (1024x768). Click image to open in new window. Parts List and cost Battery Holder AA size $1.00 UltraFire Li-ion battery $6.00 (Protected circuit) Digital battery charger $5.00 miscellaneous bits $3.00 Battery holder from Jaycar, all other parts from ebay. Please note: These prices were in Australian $, so would be cheaper again in US$


 1 point
 -
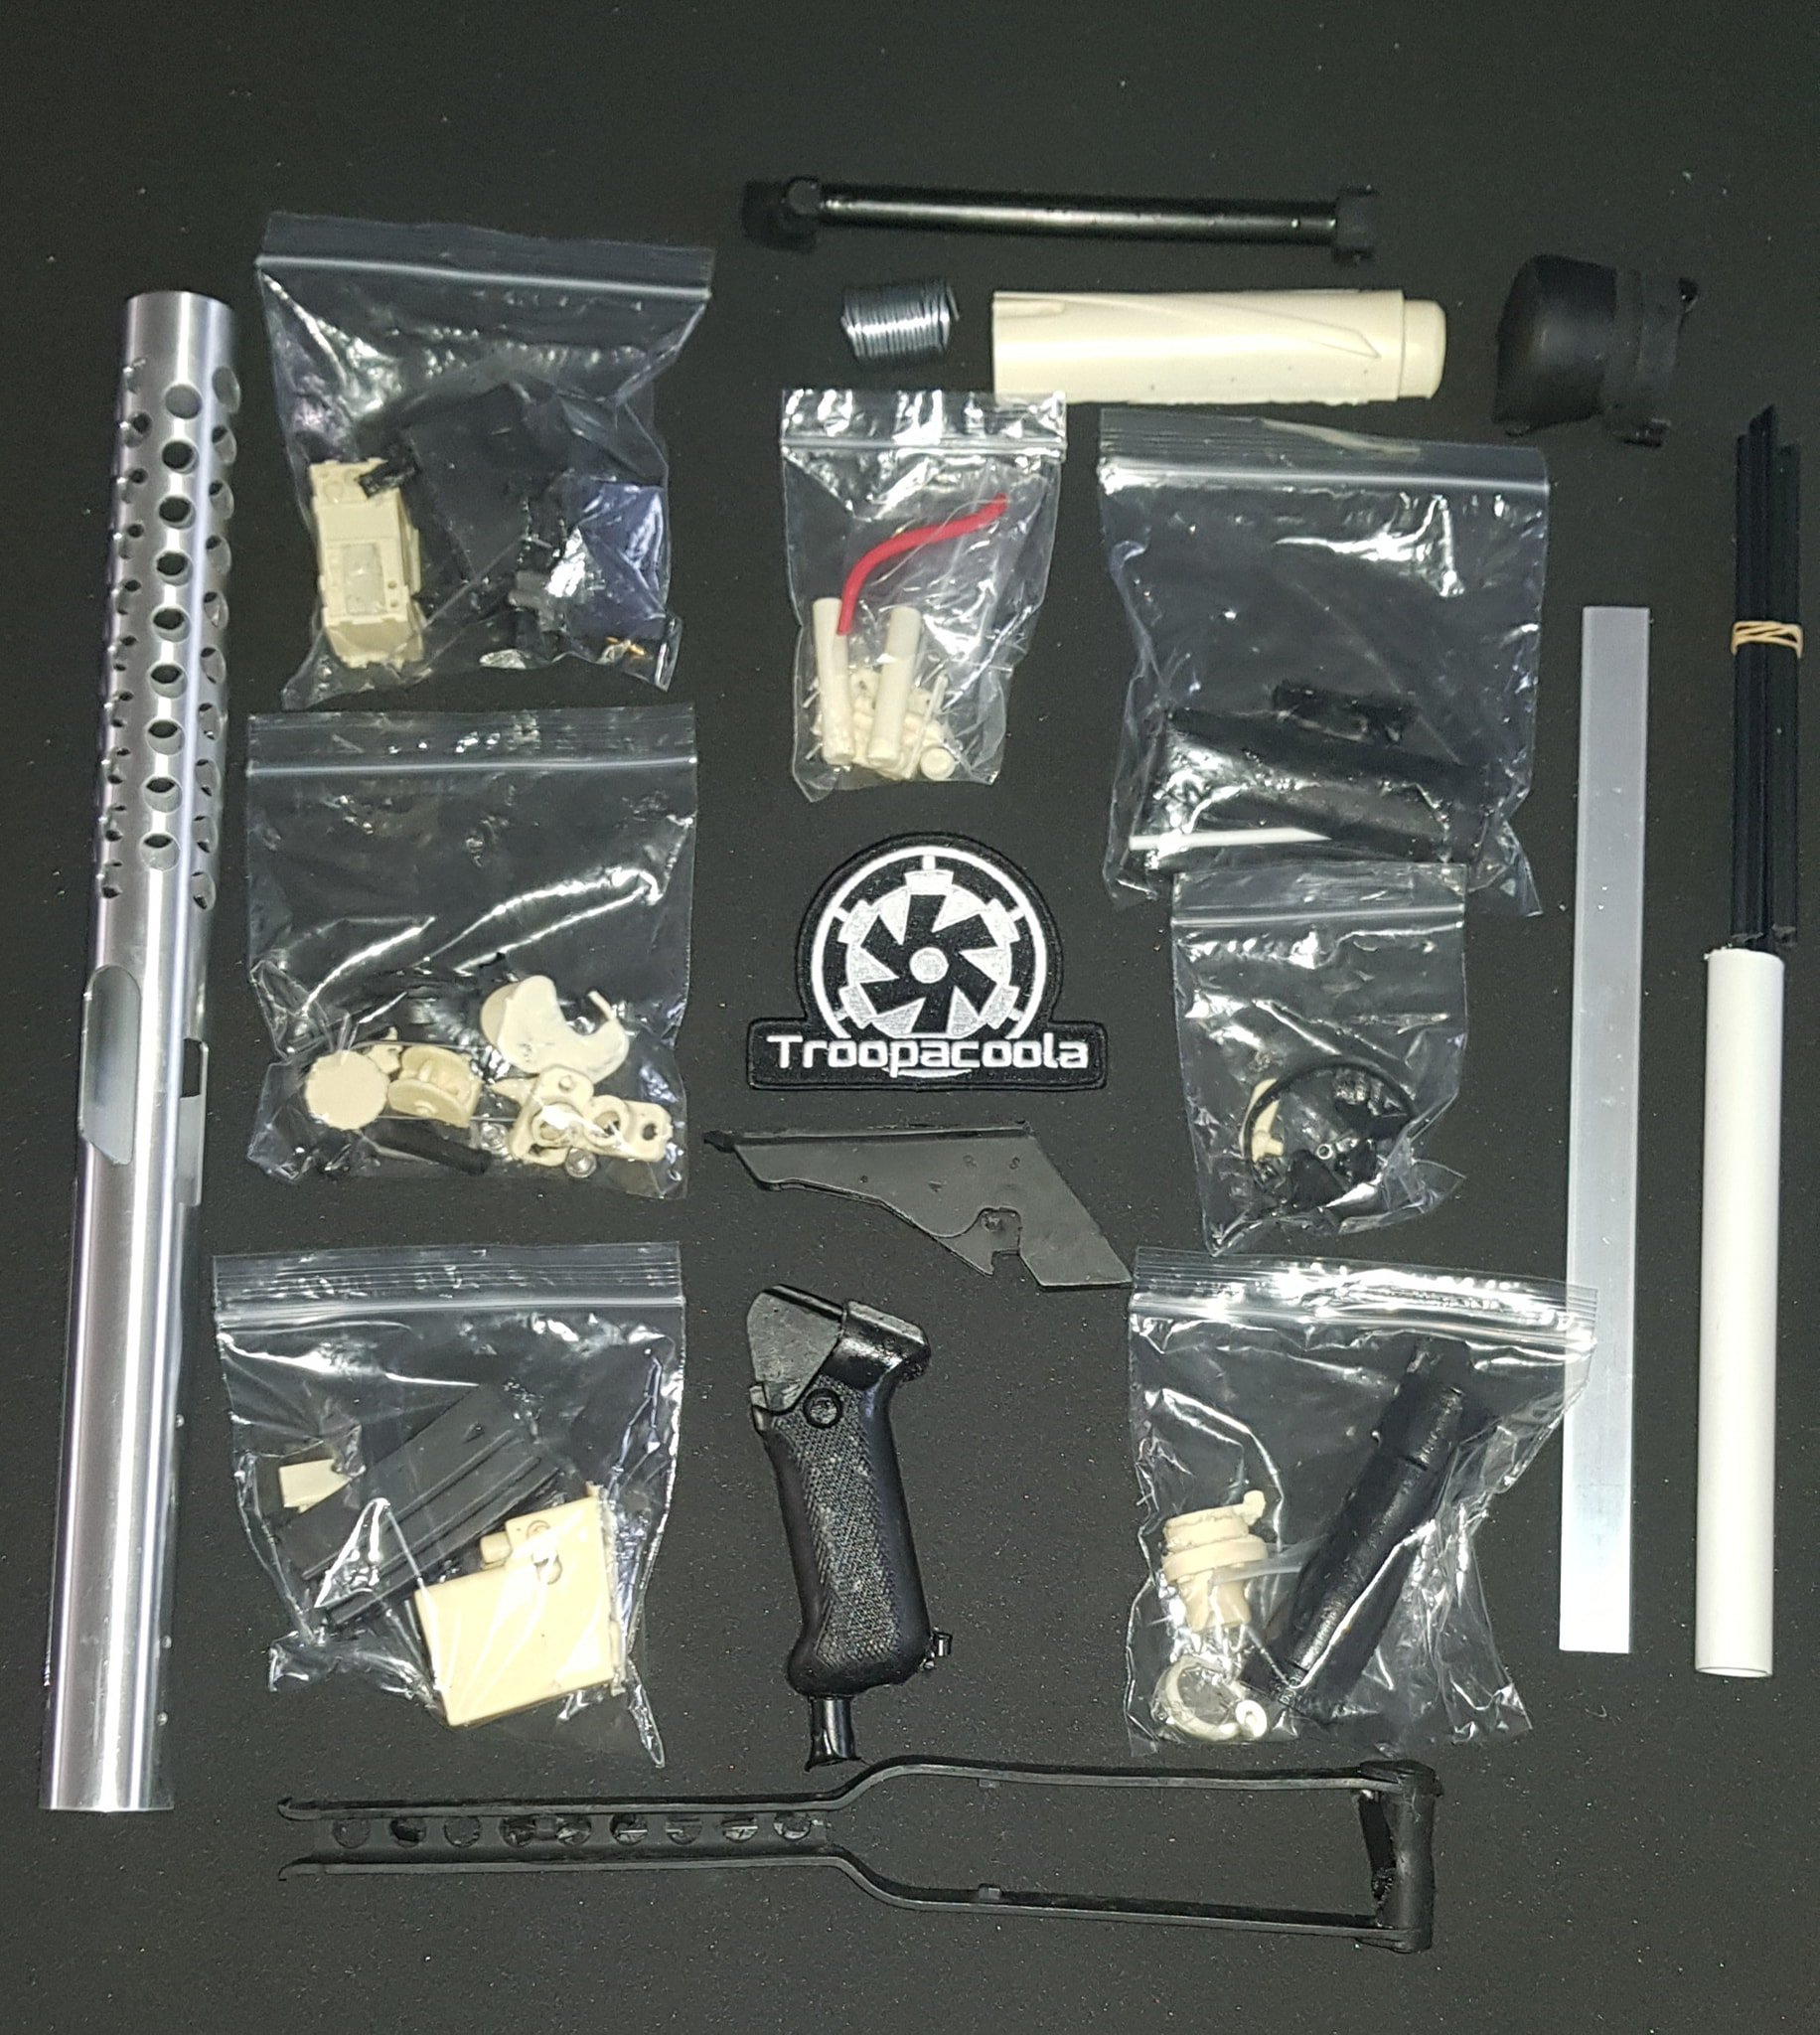
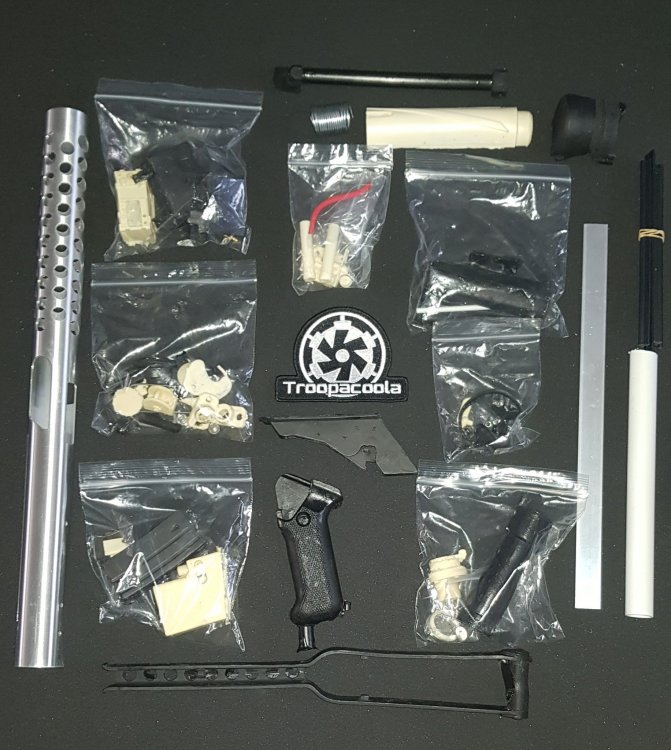
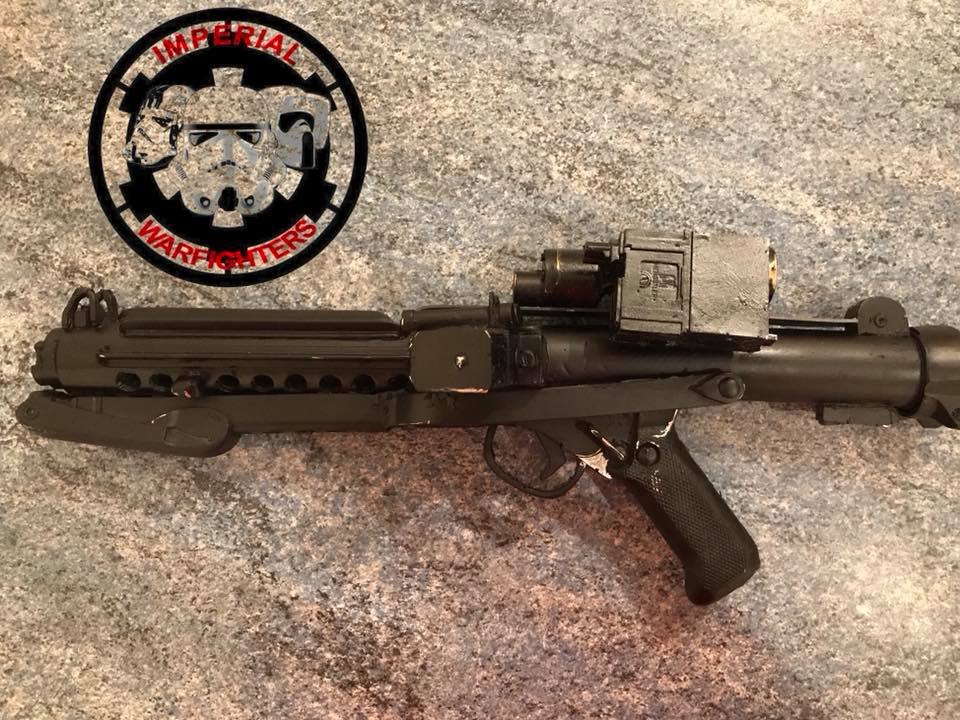
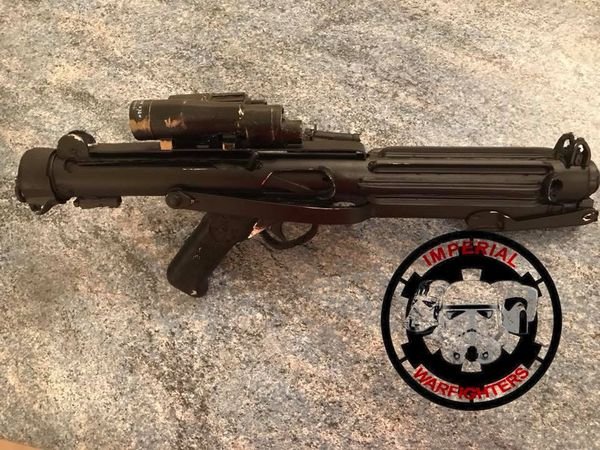
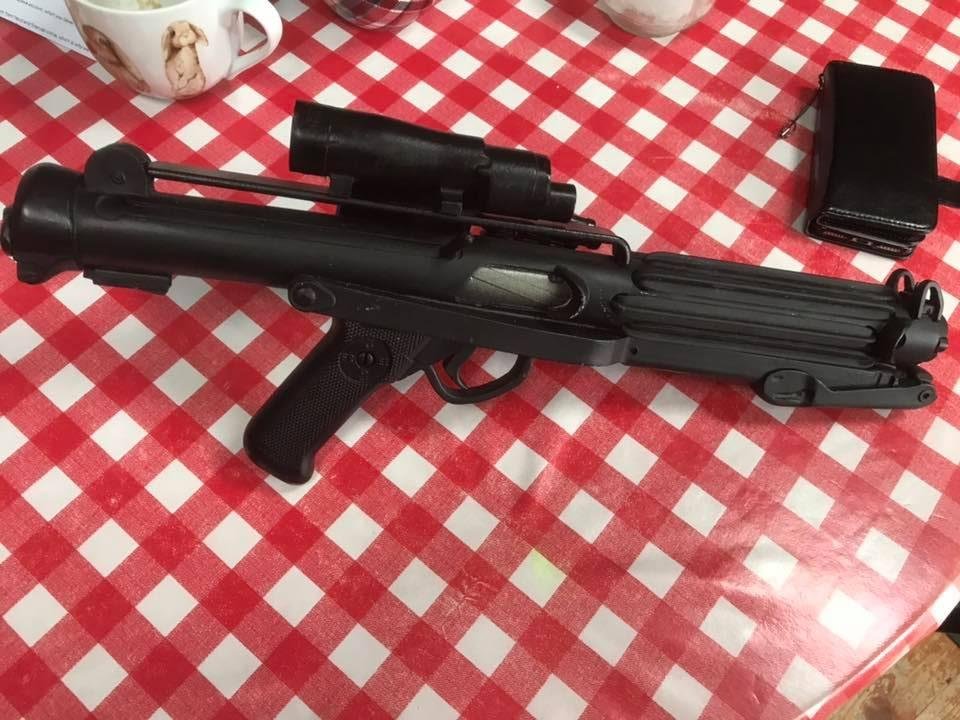
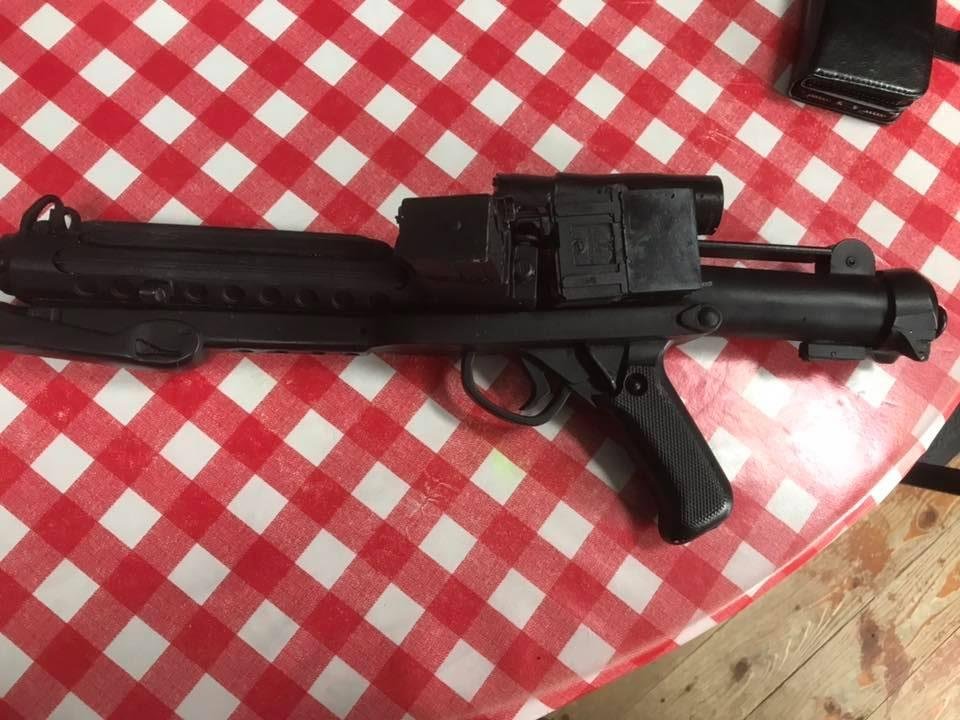
E-11 Suppliers Been a while since we've had an updated list, no doubt there are other suppliers so feel free to post any info Troopercoola https://www.facebook.com/Troopercoola JMC E-11 kit casted from sterling parts. Fieldmarshall - Aluminium http://www.warmachinepaintball.com/online-store-replicas/ http://blasterfactory.com/e-11-blaster-kits/ Praetorian Blasters / NPW Nola Propworks - Rubber NEW WEBSITE https://praetorianblasters.com/ SDS Rubber Imperial Warfighters - Rubber (NOT CURRENTLY TAKING ORDERS 20-6-2023) https://www.facebook.com/Imperial-Warfighters-280604068972001 RS Props - Rubber https://www.rspropmasters.com/store/sandtrooper/sandtrooper-blasters/blaster-e-11-new-hope/ Shear Tech - Rubber https://www.facebook.com/sheartech Praetorian Blasters - Rubber Etsy: https://www.etsy.com/uk/listing/1742840523/e-11-blaster-classic-version-rubber Imperial Supply Drop - Rubber https://www.whitearmor.net/forum/topic/52035-rubber-e11-blaster-run-x5/ FB: https://www.facebook.com/Imperial-supply-drop-112852407999265 Quest Designs - Resin https://www.questdesigncanada.com/ Imperial Arms - 3D Print https://www.etsy.com/ca/listing/702800849/e-11-max-edition-v4-star-wars-custom?variation0=1096533255 TK-14082’s - 3D Print https://www.whitearmor.net/forum/topic/51047-tk-14082s-3d-printed-e-11-kits-and-completed-blasters/ WILSON PRECISION 360 KITS - 3D print https://www.whitearmor.net/forum/topic/52766-v20-3d-printed-e-11-blasters-anh-wfree-shipping-3-kits-to-choose-from/
 1 point
 -
Weapons Locker General Weapons Discussion BlasTech E11 - ROTJ BlasTech E11 - Glen Page 2 complete - gmrhodes13 Page 1 complete - gmrhodes13 SECTION COMPLETE1 point
-
Looking good trooper1 point
-
Thanks Glen. I will check around and see if I can find one locally otherwise will try and order one.1 point
-
Welcome to FISD !! good luck with your project.1 point
-
Look like it could be rubber, or something similar, due to the flexibility of it. Here's a photo of my plastic solution and link to my post on the topic (you'll need to scroll towards the bottom of the long post).1 point
-
Hi Sean, welcome. Sent from my iPhone using Tapatalk1 point
-
Hi Sean, Welcome to FISD. Looking forward to seeing your build progress. All the best [emoji106]1 point
-
Just curious...what type of frown screen border is this? anyone know what its made from? Looks awesome....
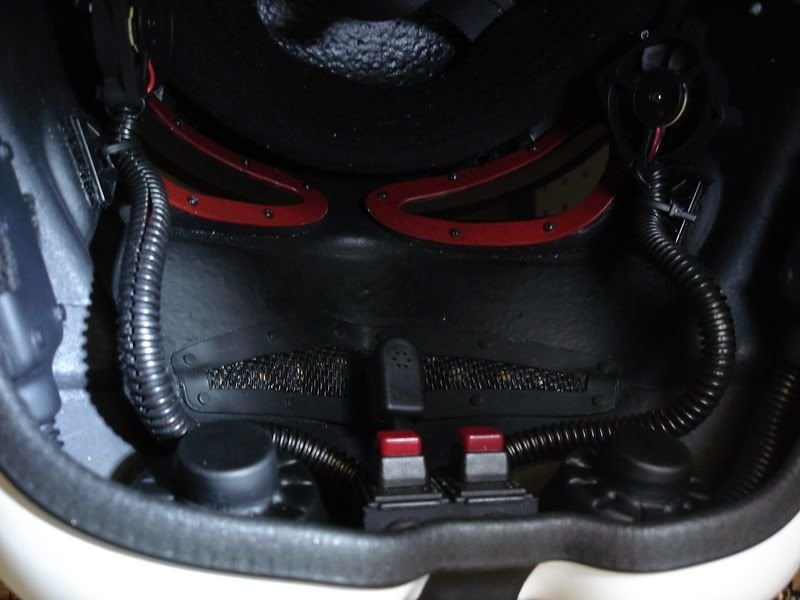 1 point
 -
Welcome to the FISD, Sean.1 point
-
Welcome to FISD Sean! We have loads and loads of resources and plenty of helpful members and staff to get you on your way to becoming a trooper in the first Order. Enjoy your new journey.1 point
-
Hello and welcome aboard, congrats on your 5th anniversary Lots of FOTK info in our First Order Battle Group https://www.whitearmor.net/forum/forum/219-quick-find-resources/ Good luck with the research1 point
-
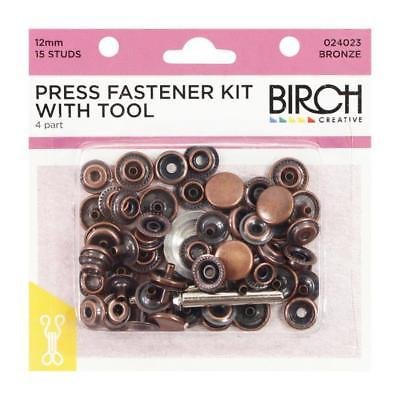
I find those snap setters don't work very well, the ideal tools which come in some kits of snaps I found is these (only image I could find) not sure if you can make it out but the tip has raised sections around the tip which help split the post (a bit like the Philips head screwdriver), not sure if you can find these tools locally When I used the screwdriver I did have to use a bolt to flatten the split post or they wouldn't fit properly into the other side
 1 point
 -
Not to worry, original bicep pieces did not have them either1 point
-
1 point
-
It’s not going to rival your collection, but I’m building a little horde of my own!1 point
-
Last year i made a full Stormtrooper suit including the helmet out of Eva Foam and it was not cheap when comparing it to an ABS suit. The materials and paint was around £400 and it took 3 months to build. My ABS suit cost as a kit around £600 , was half the work and took the same amount of time to build. The difference though is that my ABS suit is 501 cleared, movie accurate and will last many troops and just looks far far better when weighing up the difference. For me its a no brainier really.1 point
-
I'm glad to see this post. In spite of how old its origins are. I'm looking into armor kits, and the biggest issue I have is I am not the size of the average British actor that filled the roles in Star Wars. At 6'1", and 275 lbs (and trying to lose about 30-40 lbs for health reasons), even though I carry it fairly well, except for the spare tire that my ex-wife said I carry "too well", I was thinking finding armor in my size is going to be the biggest challenge. That being said, I'm glad I'm not the only one out there with this issue, and even more glad to see that there are at least a few places where "Big Boy" (or Girl) armor can be acquired.1 point