Leaderboard


Popular Content
Showing content with the highest reputation on 04/21/2018 in Posts
-
I literally only have to glue the second Ab button, the three belt buttons, sniper knee, elastic for bicep to forearm, paint Ab buttons and tube vents and finally shape shins so they close better in the back. I just might get approval on May 4th if the force is with me3 points
-
I have to state that in case anyone else is following this thread that's not shooting for the higher levels2 points
-
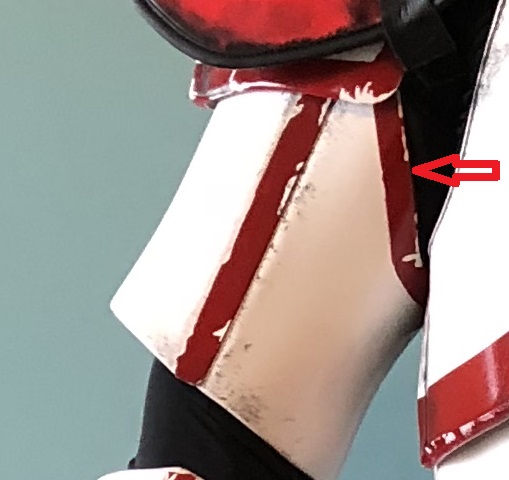
You should be able to get that plate smaller. I was able to get all of it off on mine. You want some of that ridge detail below the button plate on the Ab to also be visible. My WTF buttons on the left, my RS buttons on the right. The WTF buttons are quite a bit larger than the RS, but can still work. I could still probably take even more off the sides of my WTF button plate, actually.2 points
-
Hi Jeff, Ab plate looks a little smaller than the previous pics. Might be the lighting but it still seems to have the curved return edge. Might be worth checking with Tony (@ukswrath) if that or the rounded corners will affect any higher levels of clearance. :-) Sent from my iPhone using Tapatalk2 points
-
Walt redid the TD end caps a while back to fit on the pipe easily, but I wonder if there is some pile of old end caps lying in the shop. My kit came with one new (bigger) cap and one small cap. I was able to make the smaller one fit with the heat gun.2 points
-
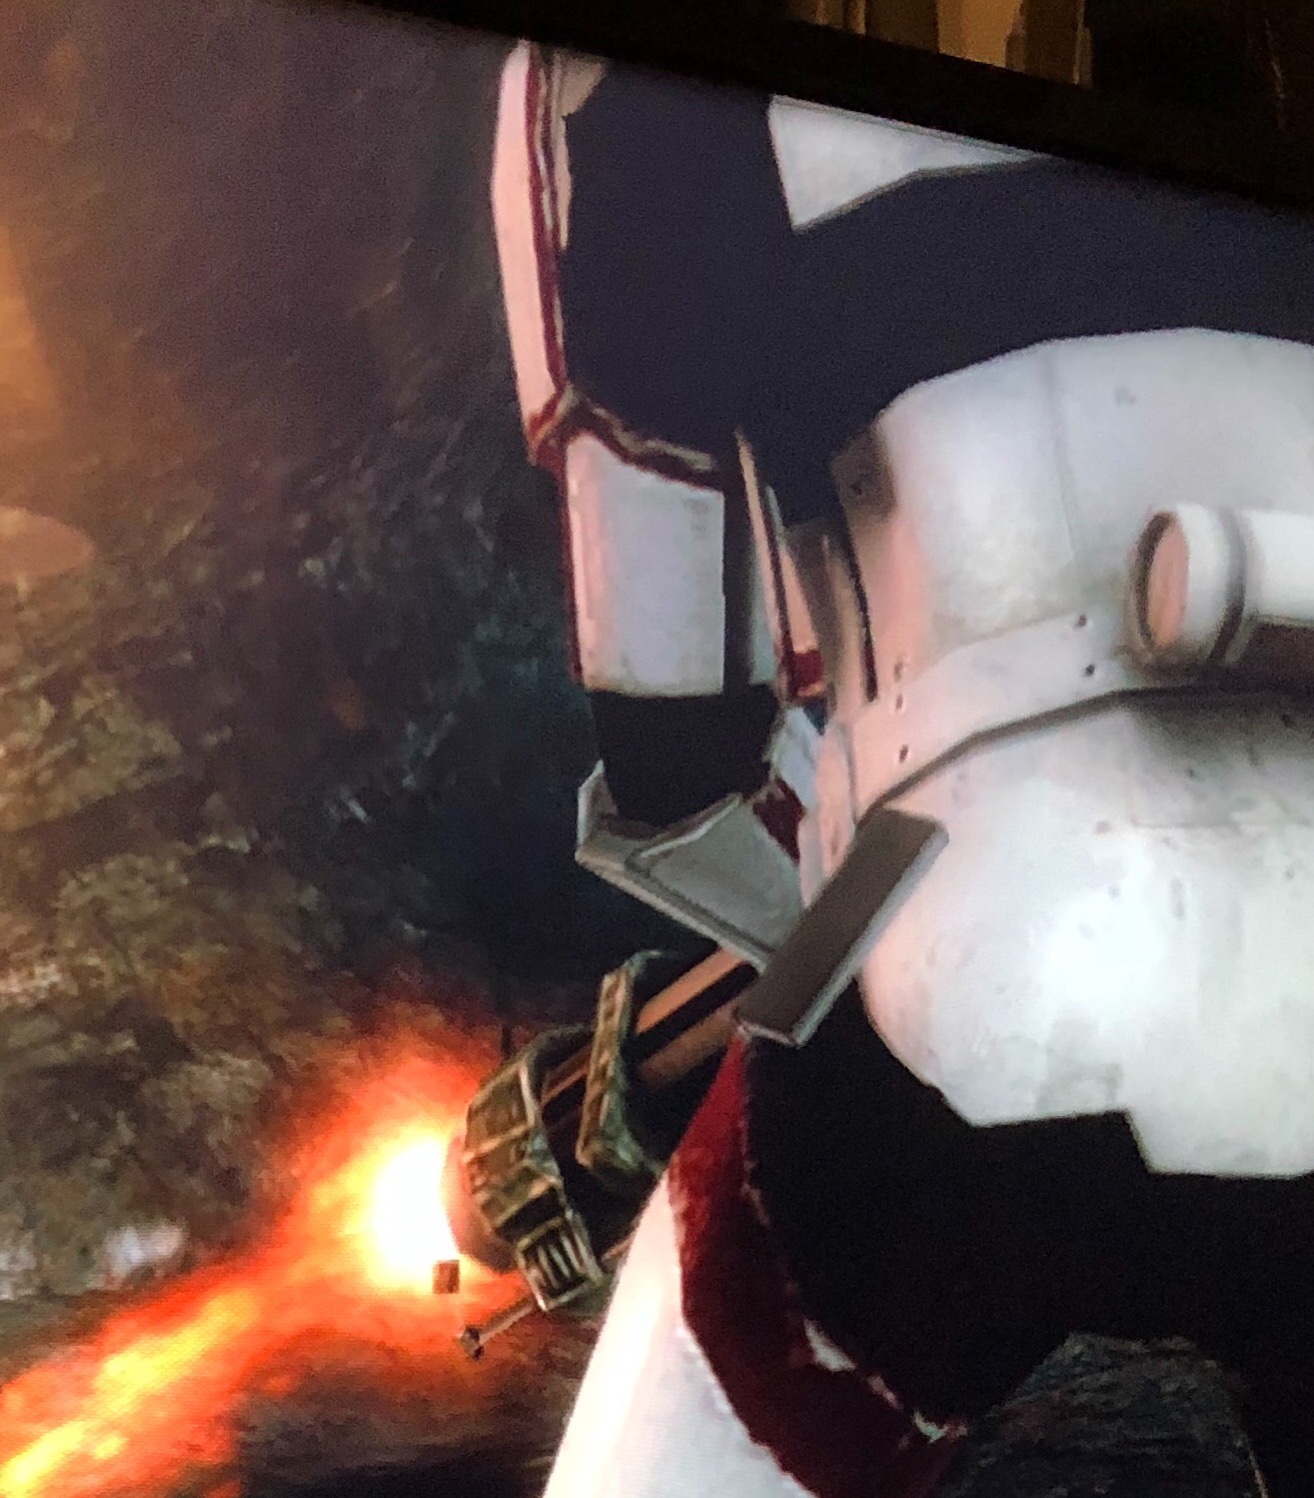
I received submission photos for approval for an Incinerator Trooper. He had a red stripe around the top of his bicep. Applicant CRL I called him on it, and he turned around and provided these screen grabs from the game. Based on these photos, I think perhaps this is enough evidence to update the CRL? -Pete
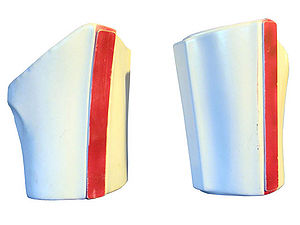
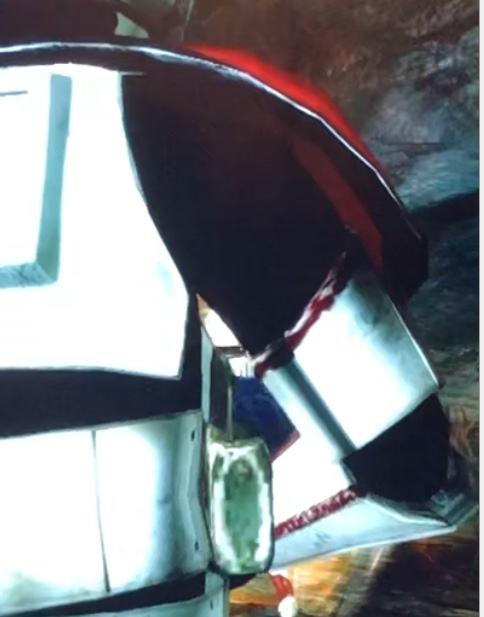
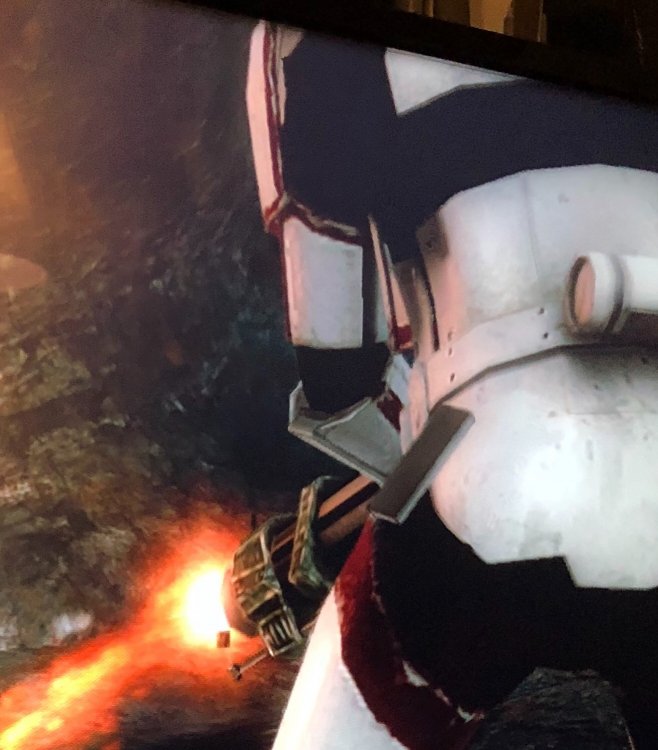
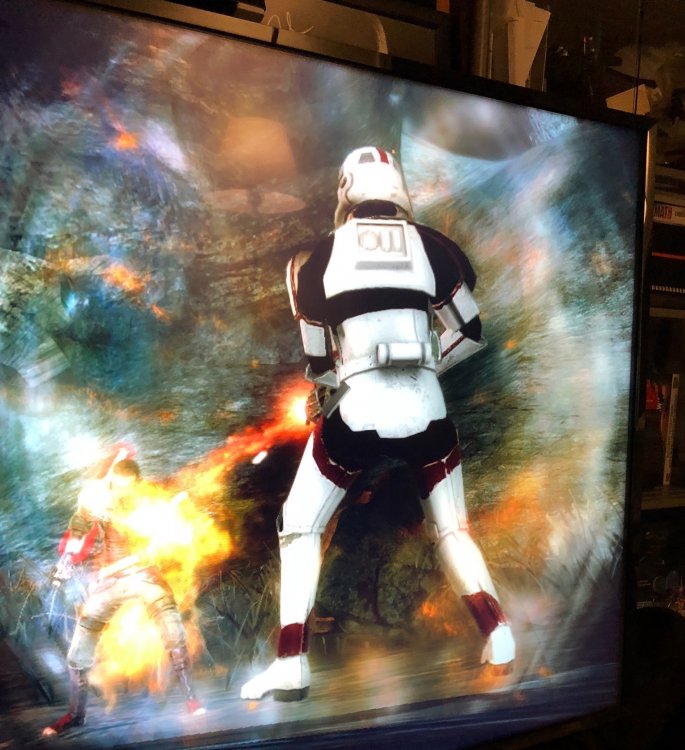 2 points
 -
It's time to get my own build thread started! Kicked off the weekend in the best way ever today - picked up my BBB at the post office after getting off work. Cheated a little bit and got the helmed built by Troopermaster - It's my first time doing this, so I figured getting the armor together and fitted to my body would be more than enough challenge this time. Also, his helmets are just gorgeous. Edit: For those that end up reading this, perhaps I should add in some details about myself. Female Height: 5'5/167cm Weight: 132/60kg TK boots from Imperial Boots arrived on Tuesday, so I've already spent the majority of this week on cloud nine. Don't really have much to add right now. Just spending some time unpacking everything and taking it all in, and starting some minor trimming just to have done something and get a good feel of the abs before I dig into anything major. Let's do this!1 point
-
And done!1 point
-
Found some time to work on my helmet again today... happy stormtrooper day (TK 4-21). I had no idea that was a thing until today. Anyway. I think I finished my paint blemishes and I fine tuned the shape of the brow some more. I still have to finish shaping the ears and cut some length off the brow. I found this on someone’s SWAT application - used it as a partial check list Here are mine. The lighting isn’t great and you can’t really even see the large run on the top, but weathering should bring out some detail. Sent from my iPhone using Tapatalk1 point
-
Really nice job on that armor, Justin! See you at Centurion soon, brother.1 point
-
1 point
-
Thank you for the kind offer, @TheSwede , but I already figured out a solution. I put the five phillips screws on the butt brackets and closed them, and the closure is so thin that you can't even see the difference between the screws!1 point
-
Fiddling away and try to saver the moment of building Painted the screws and side rivets Cut some coverstrips for the legs, already know how wide they need to be and in my case they are around 21-22 depending on how accurate I measure And by having them I could start cutting the front of the thighs as I´m using the strips as a guide on how much to trim and I marked them so I know which goes were...here they are and that`s a wrap for today1 point
-
This build is anything but basic1 point
-
Okay, here we go... Very very close to done. This was a very quick build-time...going for maximum effect with minimal time and effort. Got it done in about 3 weeks, even out of town for business for some of that. I went a bit more minimal on weathering (wanted the look of a newish gun). Every mod I did do was with items sourced or made myself. I think this will be a good trooping gun and I'm not as afraid to break something if something goes horribly wrong. Thanks to Dan/Cable-guy for the Hengslter counter image. It's perfect! The one mod that I have left to do is the reset button. I'll do that in the next couple of days. Just did brass weathering on the brass parts, of course, but the screw in the Hengstler top cap is also brass, so a little weathering highlight on that sucker for realism. I didn't do the solder pins. Not all E11's have them, and I don't want those sharp pokey bits on my trooping gun. I used Rustoleum primer, flat black and gloss black. I didn't go for any texture, because I want to be completely true to the 60's Sterlings that were used. Also, I dry brush weathered, because I definitely like the look and control of that method the best and I'm thinking the overall paint finish may ultimately prove more durable. The Rustoleum flat black isn't quite perfect (as satin would have been), but I will be rubbing a light coat of bees wax on all the flat black bits. I've tested this and it creates a perfect satin paint over metal look, creates good depth and realism and just makes the detail pop a bit more. I'll do that when the weathering highlights are cured. Getting the lenses in is tricky, as others have noted. One of the more critical moments of the build. I went with E6000, placed in the cavity, right at the point that the lens would stop. I used a tweezer type of tool, positioned it best I could over the cavity, and quickly pushed the lens down with my finger into position. Worked well. I put the reticle right behind the lens, held in place by 2 tiny fragments of scotch tape...so that it's not visible at all. In stead of paying $50 for a pack of printable overhead sheets, I just had a single transparent page printed through Staples Copy and Print with the reticules on them. Cost me 3 bucks. Can't wait for my first troop! I'll put in my EIB and Centurion apps pretty soon too...I want them to be with leather boots though, so I'm waiting on my Imperial Boots order to arrive!1 point
-
Gotcha perhaps a little longer elastic for the crotch and stronger elastic (double up) in the center will keep that butt in place1 point
-
Alright gents! @Neb Sgird and @TheSwede Here are some updated pictures. Have to hold the thighs because they tend to angle inward right now. I'll fix that eventually with some high density foam on the interior of the outer side to help pull them outward. Not gonna lie, it is an amazing feeling to see myself finally wearing the armor this close to completion. Definitely renews my drive to get this done!1 point
-
Just unscrew one that you have and take it with you to the store for a match1 point
-
Nice! I have a TrooperBay belt in the picture. I just need to install the poppers, which I picked up from Jo-Ann's fabric store.1 point
-
Thanks Tony/Andrew for taking the time to review my application and for my approval! Also thanks to everyone for the nice comments [emoji106] Sent from my iPhone using Tapatalk1 point
-
Yea we're going to same two distributors for years same kits -TG Sent from my SM-G950U using Tapatalk1 point
-
Troopers helping Troopers1 point
-
No need to rush, as you say. To clarify what @gmrhodes13 means, painters tape can help you keep your lines straight, and, when clamping, can keep the clamps/magnets from scratching up your armor. Good tip.1 point
-
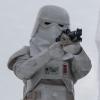
So after all the Mimban troopers and Mud troopers we finally have an image of a TK from the Solo movie. Looks like it is exactly the same as Rogue One, which makes sense. If that does prove to be the case should the Rogue One TK crl be renamed to something not specific to one movie?
 1 point
 -
And now the brackets on the rear pieces are done, time to call it a night1 point
-
My OCD is telling me to have you remove more of the lower return edge. But it's up to you, it has absolutely no bearing on any approvals.1 point