gmrhodes13
-
Posts
31,206 -
Joined
-
Last visited
-
Days Won
1,069
Content Type
Profiles
Forums
Gallery
Articles
Everything posted by gmrhodes13
-
Hello and welcome aboard, here's my way of getting straight lines: First I like to mark trim lines with a pencil, easy to rub off again. Being ATA it is a little thicker ABS than most other armor so I like to use a rotary tool with a cutting disk to roughly trim. Time for the first cut For those pieces having cover strips added, arms/biceps 15mm, thighs/shin fronts 20mm and backs 25mm, divide by 2 and you have how far you need to trim from the outside ridge. Here is the first thigh so 1/2 of 20mm is 10mm, so measure from the curve section ends on the top of the ridge by 10mm. I like to use a steel ruler and clamps to get a nice straight line. As this is a build for Jerry I'm going to leave some extra material on the backs of pieces for a test fitting, I prefer to have the fronts a standard size and adjust the rears if needed, you can always trim off but it's hard to add on . I like to use a sanding drum attachment to get excess ABS off. Also go around all the edges with some fine sandpaper to get rid of any sharp edges, you don't want "armor bites" Then to get those lines really straight a long sanding block. Normally I would trim everything in one go but due to some issues with my hands I find it's easier to take a break from trimming and do some assembly. On to assembling the thighs, I use some painters tape and clamps to fit the pieces together to make sure they align well top and bottom. Then tape across the centres to pull them together. You can then lay a piece of tape down the length of the inside of the thigh. Pull off the outside tape and make sure you rough up the pieces with some sandpaper where the cover strips will fit. Time to make some cover strips. I like to use one long ruler and another to measure widths, mark with a pencil, then score down 3 or 4 times, you can then snap the piece off. Lay the cover strip on top of thigh and mark then trim length and round the corners to take away the sharp edge. When you are happy you can then add some E6000 glue down the middle of the cover strip, spread with some scrap ABS and with clamps and magnets apply to thigh. I also like to use painters tape on any sections that don't pull down quite enough. As I said earlier I won't be gluing the backs until we have had a trial fit. Not going to bore you will assembling every single piece, besides when I'm on a roll I tend to forget to take photos Continue with the other thigh, then shins, biceps and then forearms. Just make sure you have the correct width cuts and matching cover strips.
-

TK ANH Stunt by CloseTheBlastDoor
gmrhodes13 replied to CloseTheBlastDoor's topic in ANH Build Threads
I would dare say for basic approval (depending on your GML) you would be ok as you are, we try to give feedback that covers the higher levels and hope the member does apply for EIB or Centurion after their approval so it's entirely your choice -
TK ANH Stunt by CloseTheBlastDoor
gmrhodes13 replied to CloseTheBlastDoor's topic in ANH Build Threads
You may notice the side of the belt is pretty much straight at this stage, because of the angle of the kidney the belt can ride up when worn, this may change the height of the belt at the front but you won't know until you are fully kitted up. References below. Notes: The bottom of the canvas belt should ideally sit above the bottom of the kidney plate and not overlap the kidney/posterior plate connection. With the front of the belt you could have come up just a touch, for higher level approval: The top of the ABS belt shall sit at or just above the bottom of the central and vertical ab button panels. A slight overlap is suggested, but not required. You will also need to trim your smaller ab plate Also when painting Note: For Level 3 the paint does not extend to the bottom of the actual raised button.
-
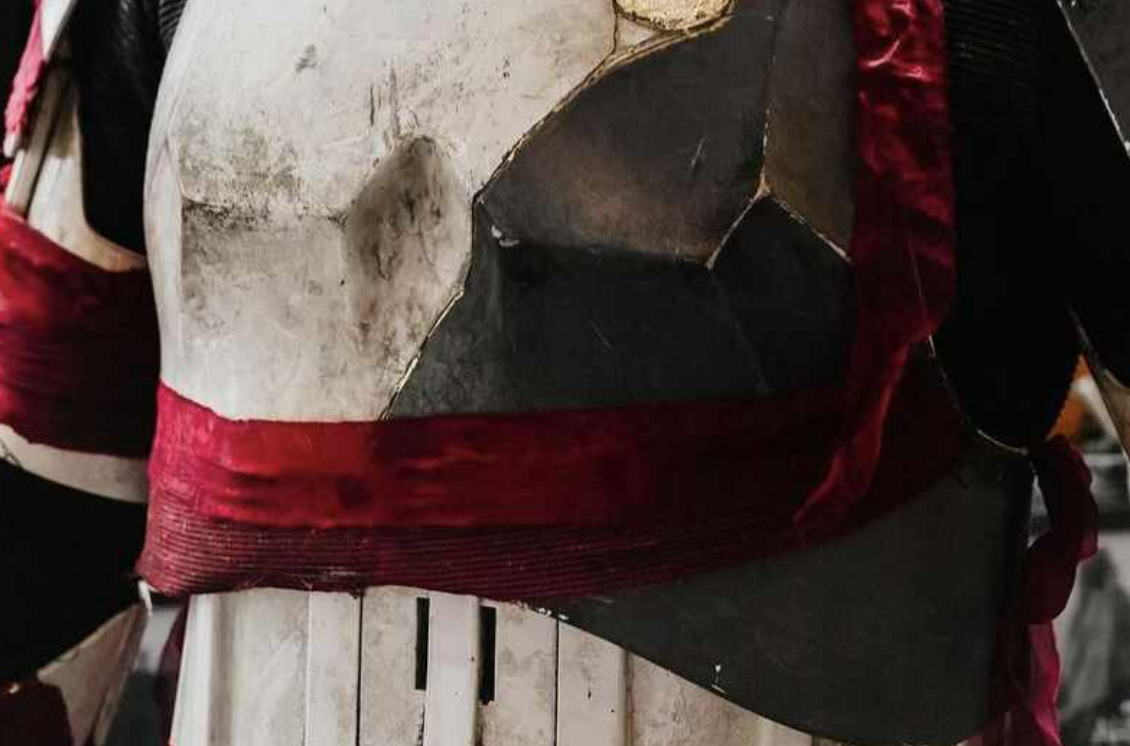
There are some with grey on the handplates, plenty with dremel lines, gold and some with wraps

-
Most of us use a free online image host, like IMGUR, upload your images there then copy and past the links to them into your post
-
9yrs in the closet...no Tom Cruise jokes thank you.
gmrhodes13 replied to StormTroopa's topic in ANH Build Threads
A couple of threads which may be of help -
Captain Enoch Voice Changer!
gmrhodes13 replied to Itssobreezy's topic in Electronics for Helmets / Blasters
There are a lot of voice modulators on Aliexpress from roughly $10 upwards, I've used a few of the kids megaphones in the past (had to gut them) (not this particular one, had more functions), one for a Bouchh and one for a Kylo, they are quite distorted which did work well, in conjunction with a personal amplifier, could be a cheap alternative to some of the more expensive units. Unfortunately they no longer have the one I had so I can't say how these will work, it may be trial and error unless someone comes up with an actual kit. -
Looking forward to seeing some photos soon Great how to add external image hosting
-
TK-13836 Requesting ESB EIB Status (RS) (1077)
gmrhodes13 replied to thisistheray's topic in Request Expert Infantry Status
Great to see your application here Ray, you may need to add a couple more images: Armor Details 12. ___ Close-up of ab/kidney rivets 13. ___ "Han" snap Updated checklist is here God luck with approval -
9yrs in the closet...no Tom Cruise jokes thank you.
gmrhodes13 replied to StormTroopa's topic in ANH Build Threads
Really depends on what size it is and how it looks on you, photos my help but you really want to try with your chest on. How to add images using external image host Original suits did have a slight curve to them, this gave a nice fit and little gap between them and the chest -
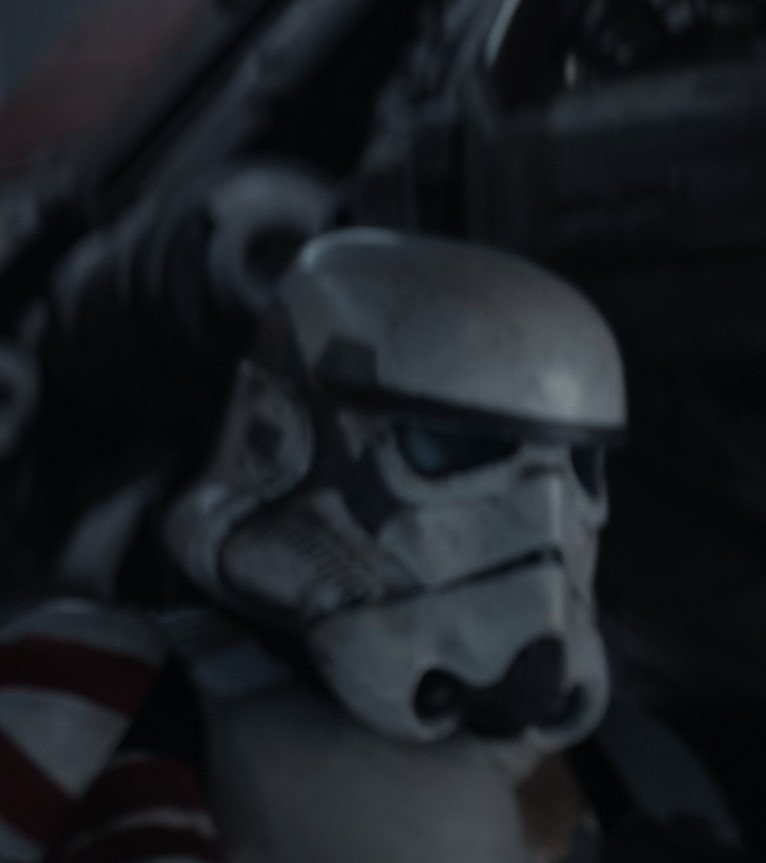
There's quite a few with grey patches. Albeit this is no doubt a computer generated image there are plenty here Many identical

-
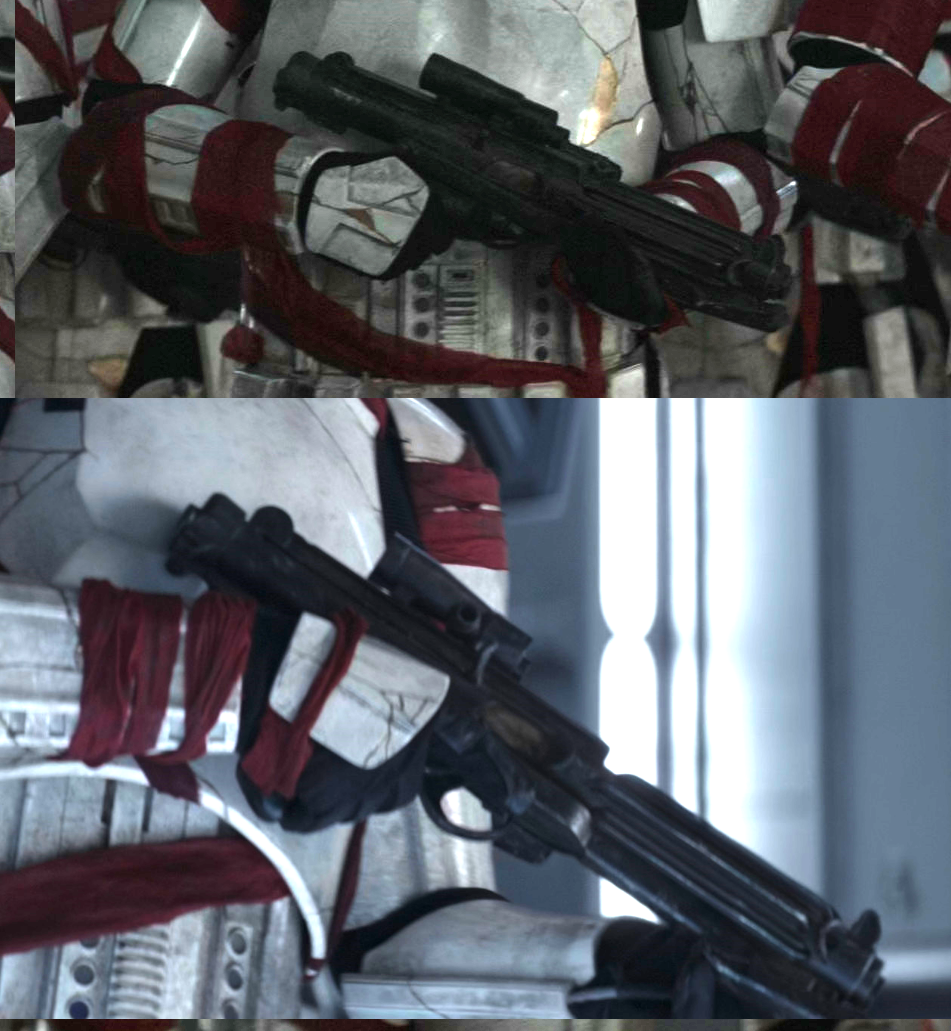
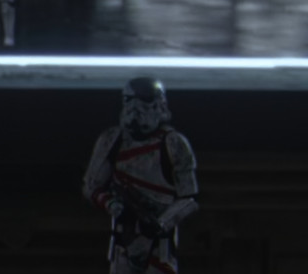
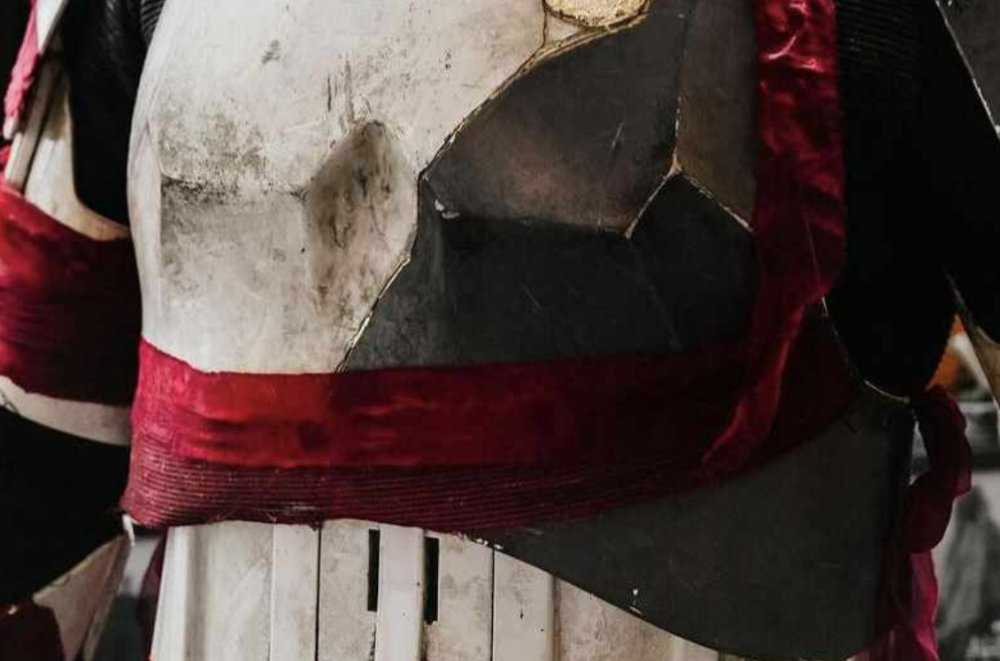
Interesting wrap, appears to be ribbed
-
Hello and welcomed aboard, follow the screen references, figures and promo images are a secondary source and not always correct. Standee has some gold And promo image They may have even dressed with the forearms on the wrong sides for those images. Hot toys 1/6th is correct


-
Mobility Cuts UK
gmrhodes13 replied to Generalsneers's topic in TK Pre-Approval Questions & Discussion
Yes you can trim the tops of your thighs, you can make a return edge with a heating iron, or just leave them trimmed with no return edge. Note not much of a gap on the troopers below, but they aren't out there trooping -
Should find some links in this thread https://www.whitearmor.net/forum/topic/49412-all-in-one-tk-anh-stunt-index-of-resources-by-maskedvengeance/
-
I purchase them from Aliexpress, pretty cheap
-
These are what I prefer using, cuts down on heat
-
TK ANH Stunt by CloseTheBlastDoor
gmrhodes13 replied to CloseTheBlastDoor's topic in ANH Build Threads
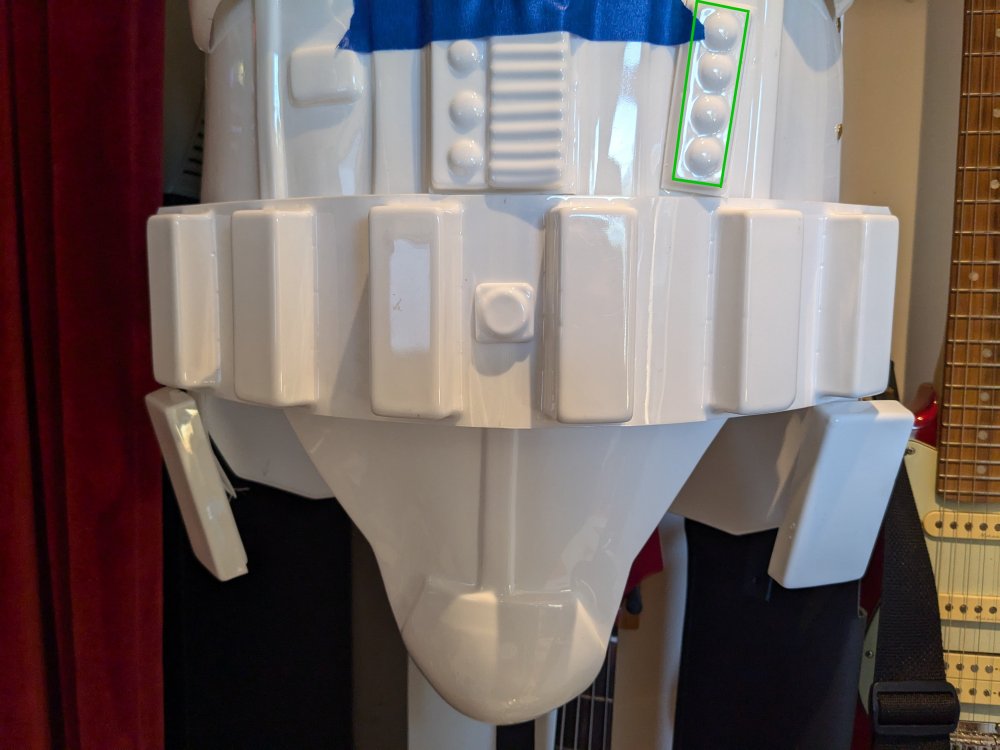
You need to leave this lip, DO NOT CUT, for higher level approvals Although not specifically listed in the CRL, the following item (underlined below) is often overlooked by during the build/painting process, and while not required at any level can be recommendations to improve the overall look of the armor. AB button plates should ideally be squared at the corners and be trimmed to where the actual plate is inside the ridge area it is mounted to as seen below. Note: For Level 3 the paint does not extend to the bottom of the actual raised button. -
Congratulations trooper
-
9yrs in the closet...no Tom Cruise jokes thank you.
gmrhodes13 replied to StormTroopa's topic in ANH Build Threads
Reference I don't remove all of the rear area of the forearms, I leave some as I have very thin arms, I would trim to suit your arms. Correct with coverstrip trim lines. Reference -
Nice clean build, you have to be happy with that
-
TK ANH Stunt by CloseTheBlastDoor
gmrhodes13 replied to CloseTheBlastDoor's topic in ANH Build Threads
See how it looks once worn and how much (if any) belt overlap you have showing past the detonator, normally any overlap is removed so you may need to trim the velcro. -
TK ANH Stunt by CloseTheBlastDoor
gmrhodes13 replied to CloseTheBlastDoor's topic in ANH Build Threads
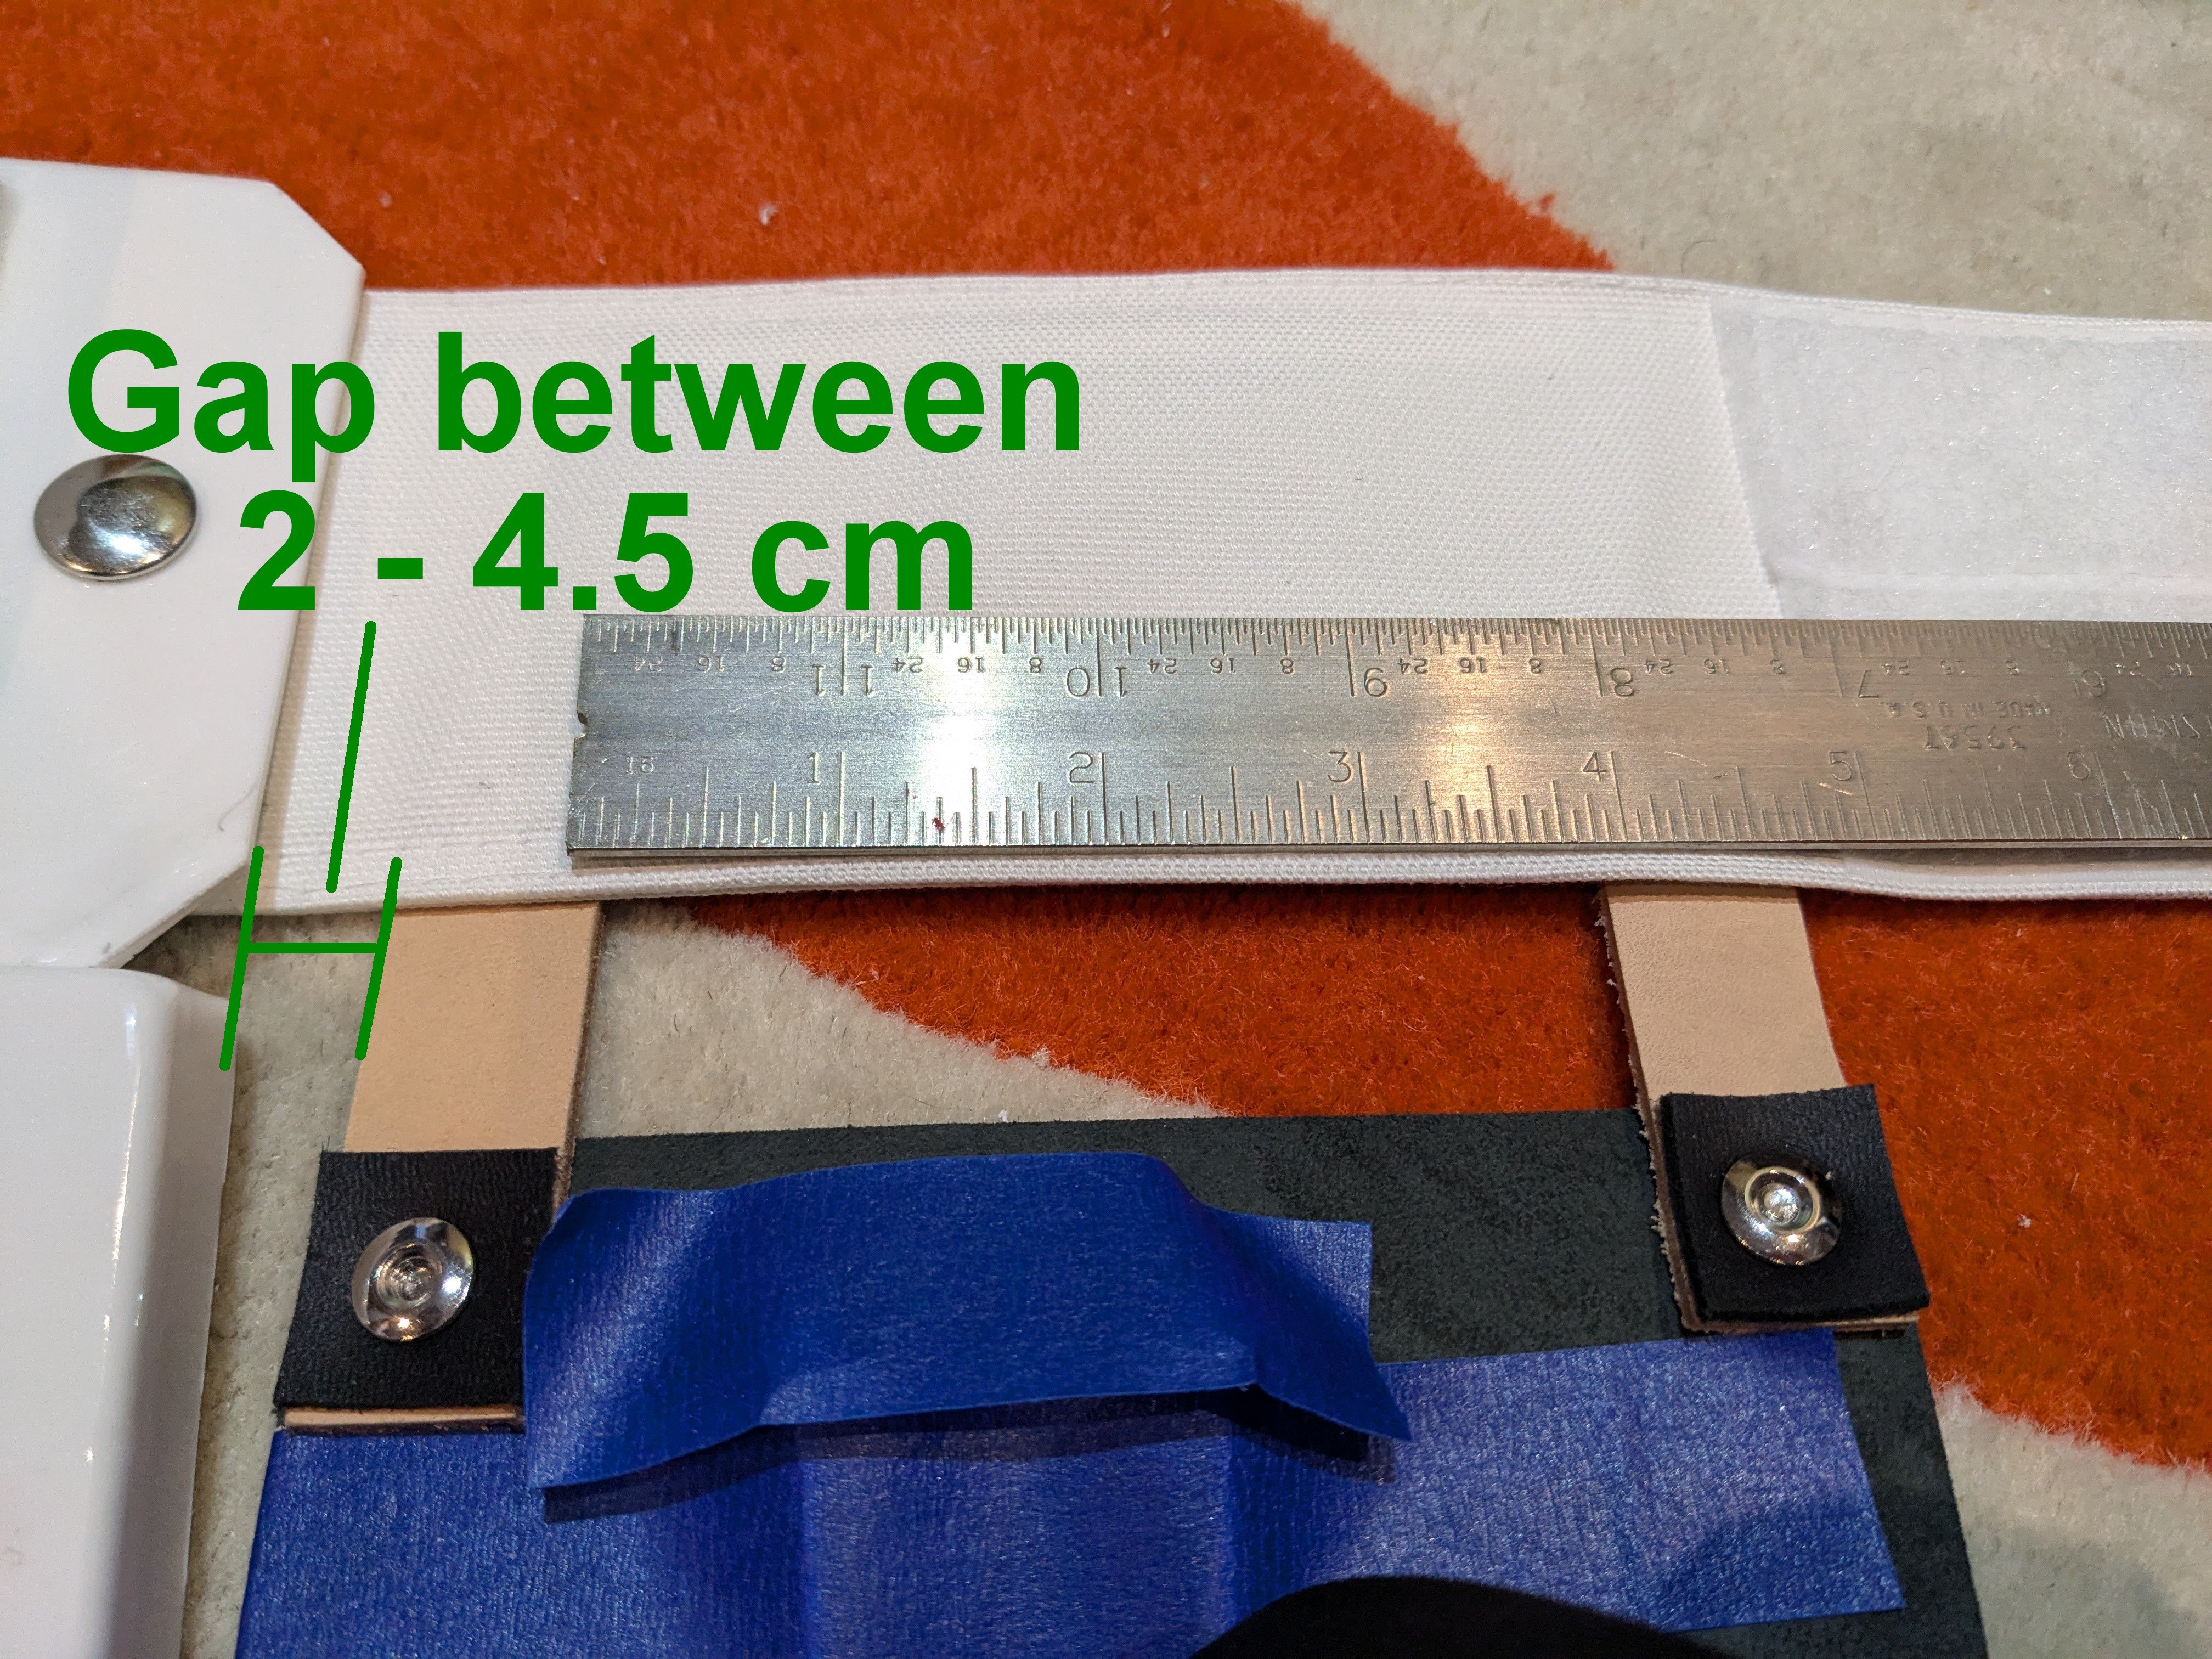
Yes a couple of dabs of E6000 is all you need to keep the drop box elastic in place. 4 1/2" is just an approximate size you should have no issues with 4" between the straps. Make sure you position the front holster strap between 2cm - 4.5cm away from the plastic belt end.
-
Bob's ROTK 850 Armor Works Build Thread
gmrhodes13 replied to Teach-'s topic in Rogue One Build Threads
Looking good -
I've used padded insoles in the past to take up a little slack, what has worked well for a really loose pair is the foam mats, usually find these in stores in kids or exercise sections, I find they are a lot thicker and firmer, I had a piece in the base and cut a rectangle to place around the inside of the heel. You could also try adding some in the toe area or even over the top of the foot.