Leaderboard

Popular Content
Showing content with the highest reputation on 06/29/2026 in all areas
-
There hasn’t been much physical progress on the armor itself, but I did hit a milestone I’ve been working toward for the last couple of months: phase 1 of the modeling is officially complete. That means every major component I personally set out to redesign now, well, exists. I've tweaked the chest plate, re-modeled the back insert (as I showed last week), and finally modeled the posterior armor as well as the belts and their ammo boxes. From here, the process formally shifts from modeling... to seeing if all of the parts actually work as intended. The next phase is going back through each piece, test printing everything at full scale, making adjustments for durability and printability where needed, and finalize some additional features to make assembly and strapping a bit easier. So… to keep this update relatively brief, here are a few renders to hold everyone over until the printers inevitably tell me what I did wrong. At this point, I still fully intend to revisit the remaining pieces—arms, shins, hand guards, and the abdomen are all on the list—but they aren’t an immediate priority anymore. Right now, it’s officially “go mode.” My focus is getting everything printed, finished, painted, and assembled so I can finally complete my armor and submit for approval (seeing as I've yet to do that). One other fun development this week: I managed to pick up a resin printer during Prime Day. Naturally, I immediately started reprinting some of the smaller, more detailed components. I have to admit… I get the hype now. (Printed in Elegoo ABS-Like 3.0+) Alright… I've put off sanding for long enough this time. Time to get back to making plastic dust.5 points
-
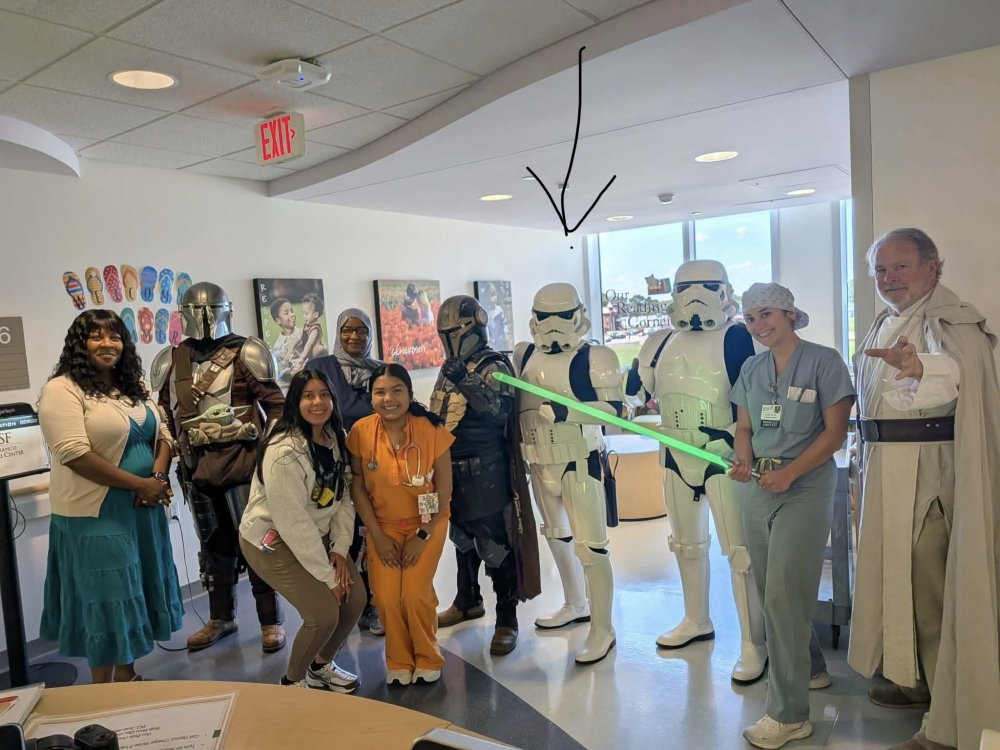
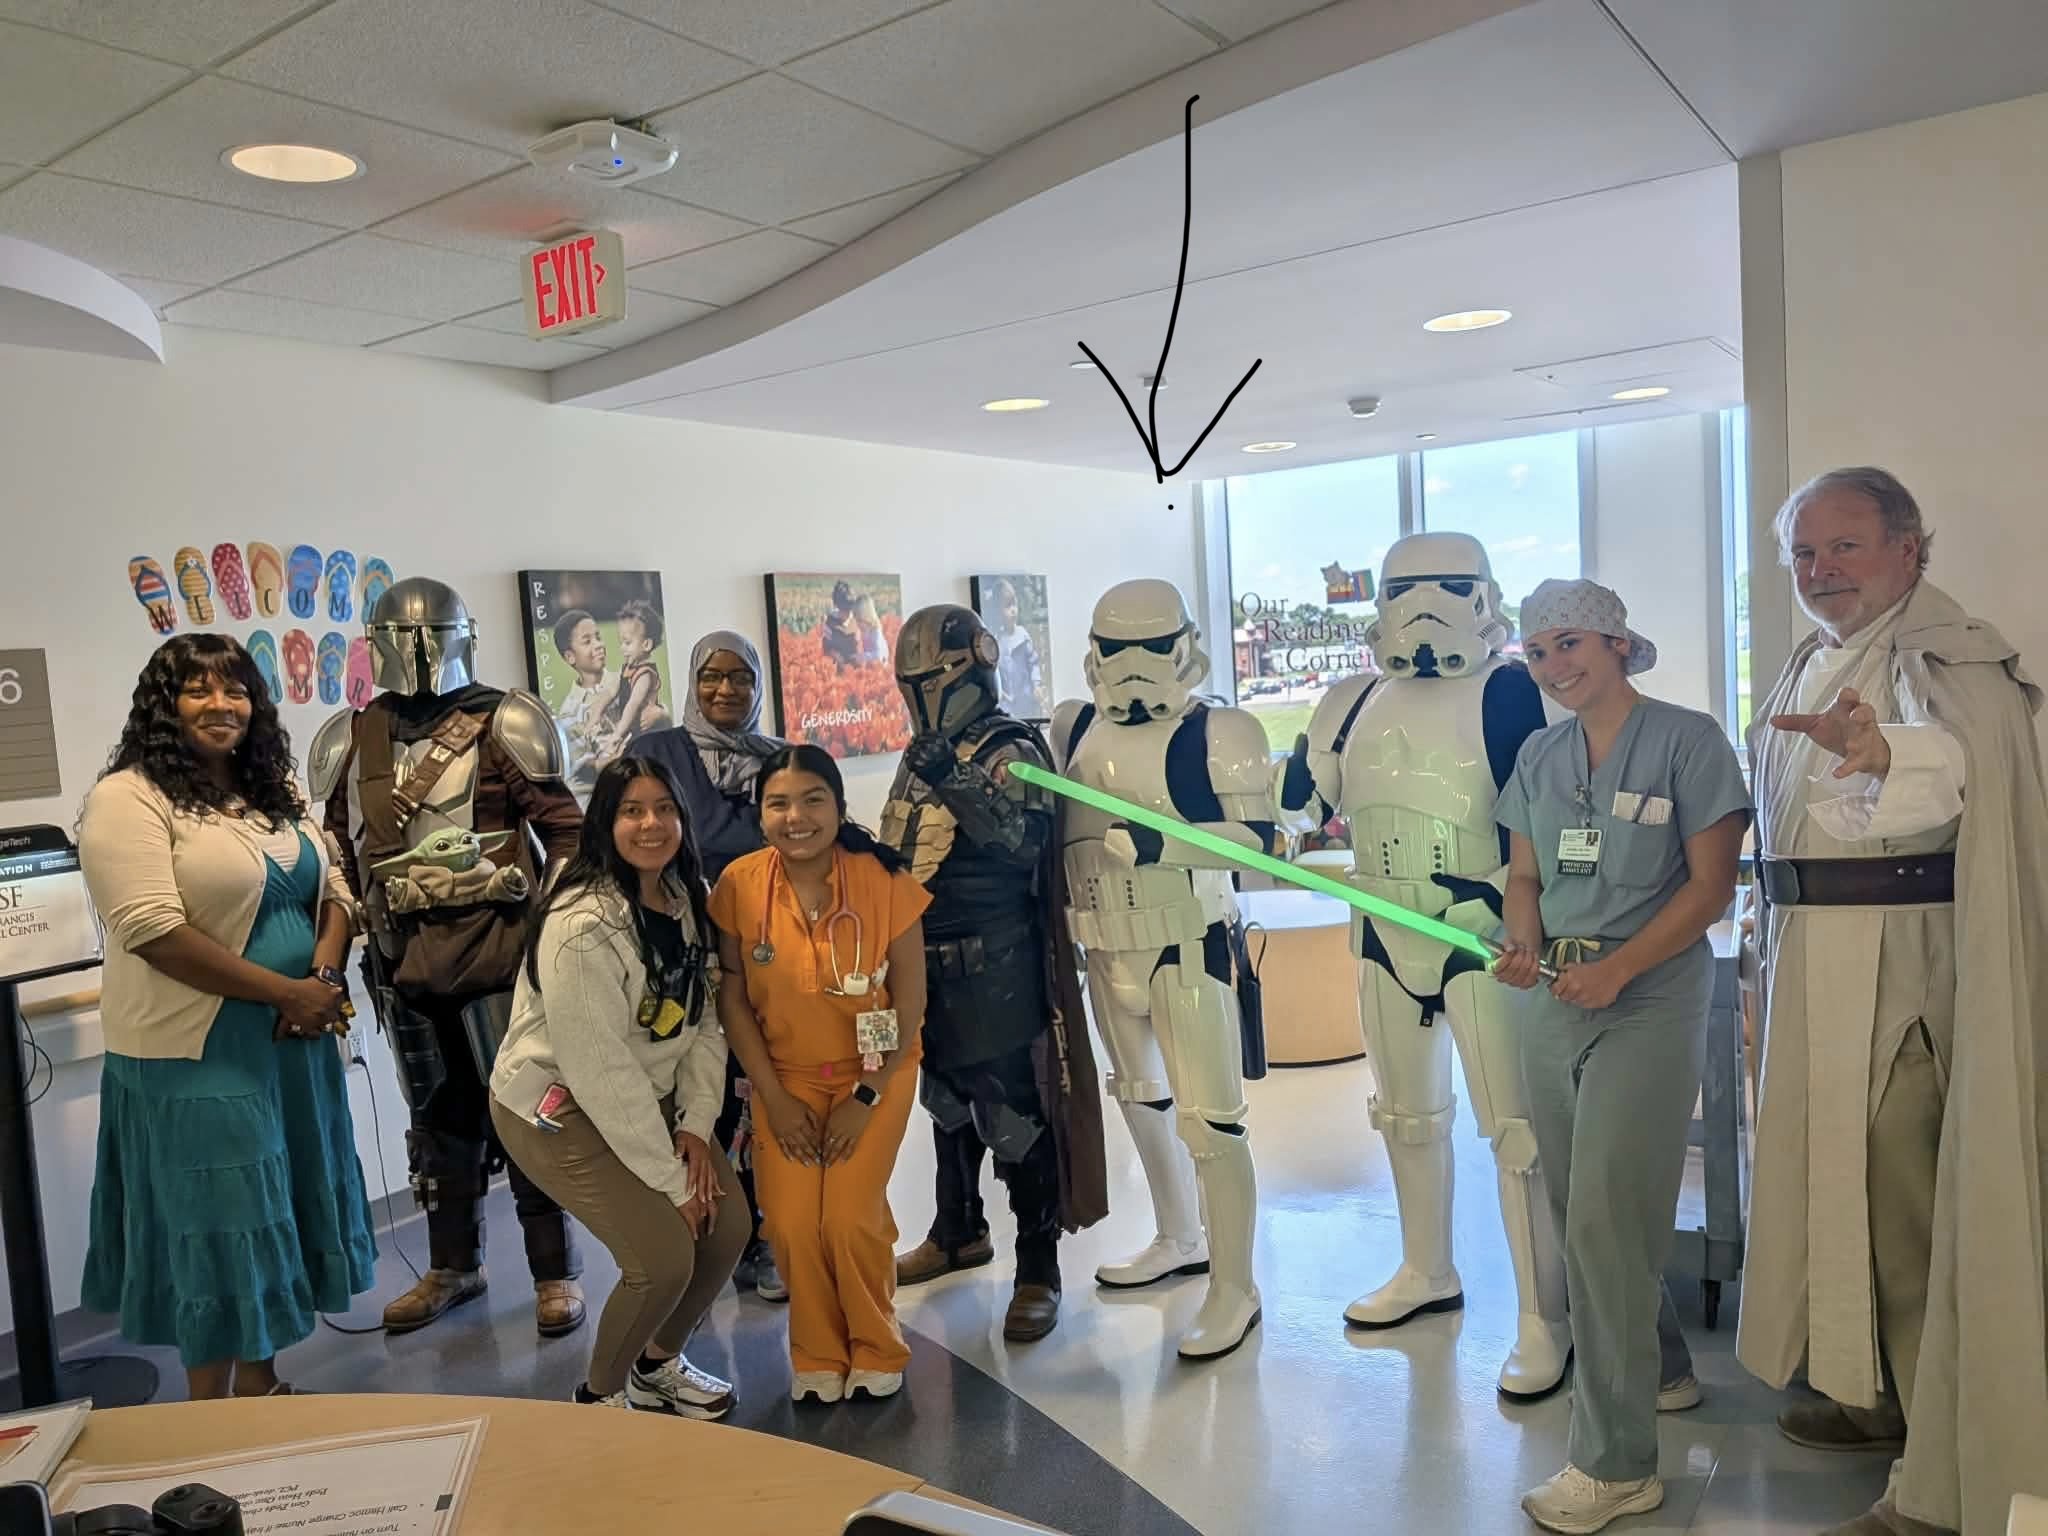
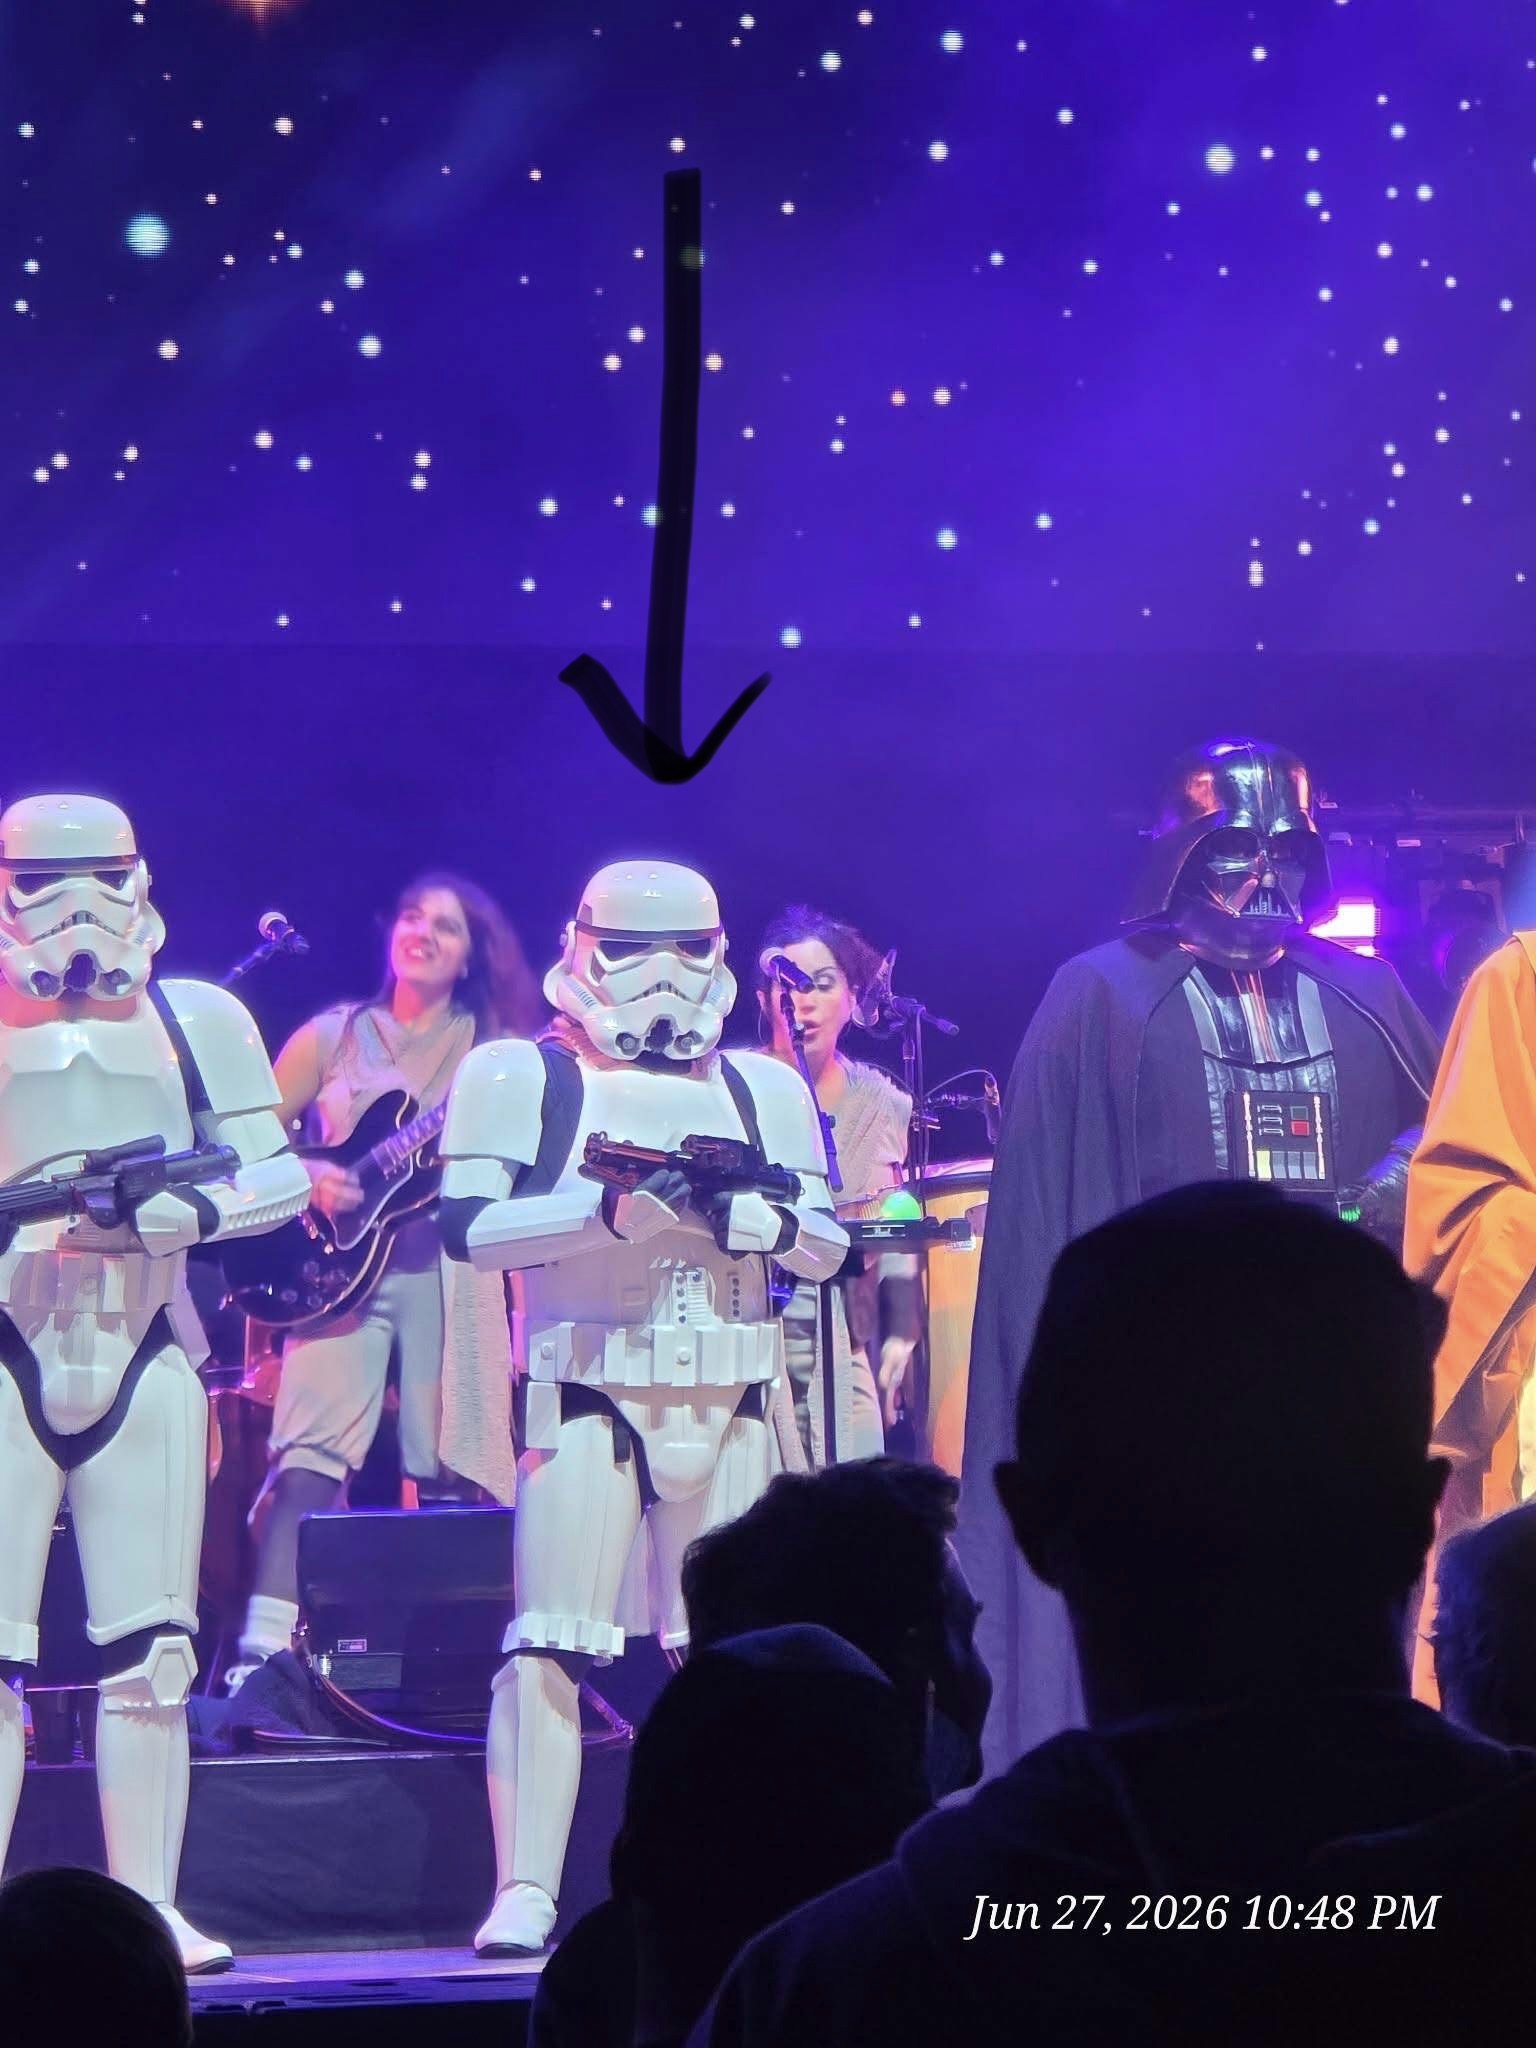
First troop was with Midwest Garrison 332 Blurrg Squad to visit OSF children’s hospital - the very opportunity I joined 501st to participate in! Second chance was on stage with Weird Al Jankovic at United Center in Chicago infront of an audience of 20,000 - quite the start to my 501st experience! I worked SWCC crew in 2019 and got to attend the 501st ball - from then on was my goal to join.
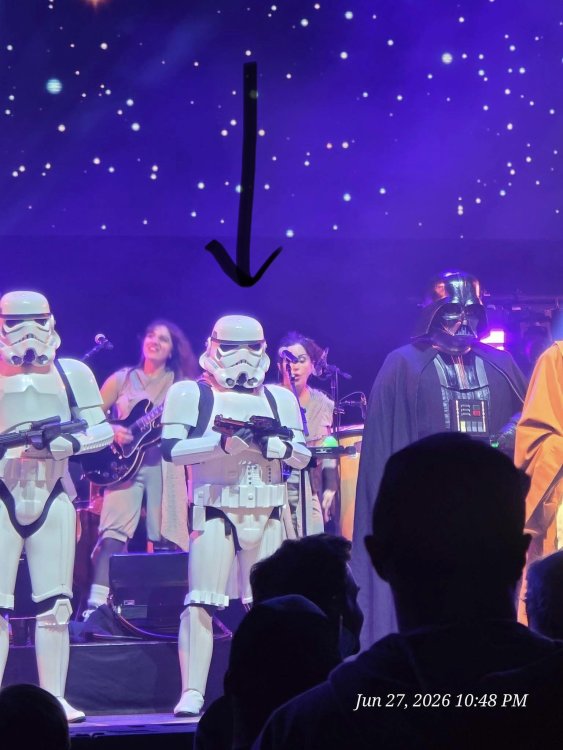 4 points
 -
Thanks, since the was a half-scale helmet the tube stripes didn't come out as good, but for the full scale helmet they came out much better to the point that I don't even think I'll need to add that much putty. I printed out a buck for the lenses, and I looked at the tutorial you mentioned in the thread, but at the moment I don't have that much space in my workstation so I think I'll stick with my makeshift mold for now. I'll work on the connector pins, or just take a couple off as I did with the face and back to make it easier and only keep the main ones. For the mesh, I think yours is very similar to the one I use, and it looks alright for half-scale, but much better when I tried it for a full aerator, same with the teeth. Speaking of the teeth, for this helmet I painted them the same satin grey, as they can be either dark grey or black, and I'm wondering which is more accurate. I have some charcoal grey, which is the grey that the clones use, as a darker option but if there isn't a more accurate choice I think I'll just stick with black for next time. I know I said I'm going to do a clone next, but at this point I really don't know. I need to first get past some health complications because they're making other people mad, but once or while I get through that, I'll work on whatever I feel like.2 points
-
Chiming in here, and I completely agree with @bTonyd! Greg's mods are fantastic, but they definitely keep you on your toes and require a few test fits to get everything sitting just right. You’ve already done an amazing job addressing most of it, but I wanted to share a few friendly tips from my own experience that might help: Lenses If you haven't tried it yet, E6000 is an absolute lifesaver for this instead of hot glue! It’s super budget-friendly (around $6–$7 a tube) and you can easily grab it at Walmart, Home Depot, or Michaels. It's officially my go-to strategy for my builds now. Just a quick heads-up: it does have a pretty strong scent that likes to hang around for a bit, so definitely vent the room, and your helmet! The Tube Stripes These little guys are notoriously tricky on any FDM-printed helmet, so don't sweat it—we all struggle with them! My favorite trick is to generously backfill the cavities with spot putty. It’s always easier to sand away excess putty now than it is to try and add more after your base coat is down. Also, if you can get your hands on some small hand files, they work wonders for dialing in those crisp, sharp edges much better than wadded-up sandpaper. I've been using these: https://a.co/d/0bRt1Qrc The Gaps The best advice here is just to take your time and test fit often. Materials like PETG can warp just a tiny bit, and it’s surprisingly easy to accidentally over-sand a spot. For the trim: Try filling the area with some filler and gently scraping it back until it sits perfectly flush. It worked beautifully on my dome-to-back lip, which seems to be your same issue! For the ears: You absolutely hit the nail on the head here. Those alignment studs Greg designed are brilliant, but they don't quite leave room for layers of paint. Taping them off to keep the plastic bare is the right move for a perfect fit and a strong glue bond. (Or, you can just lightly scuff the paint off the studs with high-grit sandpaper afterward). Honestly, your build is coming along beautifully! For what it's worth, I used this mesh (https://a.co/d/04NzSWRj) for my own teeth and mic tips. While the scale is a tiny bit closer to the teeth than the mics, it is such a minor detail that I’m sure you’ll sail right through basic approval (and probably even higher tiers) without a hitch. I'm actually chatting with someone now about a tighter weave for the mics, but we haven't found anything definitive yet. You are making massive strides with this project. Like Tony said, keep your head up—you've got this!2 points
-
First, to answer Tony's question, the way I did my abdomen the first time was by using an acrylic paint (which wasn't even close to the right color looking back at it now), and for Akira's armor the abdomen details that hold the circles are separated from the main body. If I were to design the abdomen, I would do what he did by separating the abdomen details, but I would have the circle details separated and be able to be painted and glued behind the circle openings, similar to how the tube stripes for the helmet work for the updated helmet, which I will circle back to later in this post. I finished a prototype of the helmet, and I say prototype because the helmet sadly doesn't fit, but it also isn't as good as I want it to be, and I'll give it about a 7/10 for what I could have done with my skills and materials. I'm decently happy with the helmet, but there are three main issues that I'm going to point out on this post that I want to improve for my next helmet attempt. #1: The lenses I used the flat lenses from my second lens option I mentioned earlier, but the main issue I encountered with these is that I could not get them to stick to the inside of the helmet at all. I printed a visor buck and am going to try to see if a visor conformed to the helmet will work better, and if not that I might be having some more issues to worry about in the future. Since there was almost nothing for the visor to hold to, I tried super glue originally but then decided that hot glue might be the way to go, but I made one noticeable mistake. As you can see in the photo, some of the hot glue seeped underneath the visor and is visible on the outside of the helmet at most angles, and while it isn't that bad as long as you don't look at it, but it still bothers me to look at. #2: The tube stripes The way I printed the helmet resulted in some jagged edges on the tube stripes that gave me some difficulty sanding down, so while they do look fine from about 5 feet away, if you look at them up close or from the side, they become very noticeable and it's something I want to work on for my next helmet, which did come out with better lines this time. The blue backer underneath the cutouts came out completely fine and I'm pretty happy with the color choice as it's not too light. #3: The gaps The gaps between the dome and the base, along with some slight gaps between the ears and the sides (which I don't know the right distance) are a detail that I noticed after assembling my helmet. I painted all the parts individually and put them all together afterwards, but some gaps were just too big and I want to be able to align these better, especially the ears. Since I paint over the connection pieces on the ears, I think it makes some not fully push in which causes that gap because it didn't have the problem when test-fitting after I printed them, but at least I know now how to solve this. I added some more things that were required, such as a grey mesh backing behind the teeth, mesh in the aerators which was difficult and I don't think it's the right mesh, and in certain lights the helmet really does have an orange peel texture as didn't wet sand the clear coat as to not risk accidentally sanding the white paint as I'm not weathering this and want as little marks as I could. Here's another photo of the helmet with scale to my hand (maybe it'll fit without my glasses?). I'm going to take a small break from the stormtrooper project in order to practice on a different helmet, but hopefully I should be done with it rather quickly and I can get to working on the main helmet, as I'm starting to create a checklist of what I need to get done and how hard it should be, which really helped manage my time during my last build.2 points
-
Much appreciated for the info. I will try to add some things here as well: 1) Tube stripes: i have the exact same issue on the helmet and want to add some Miliput and sand a bit but not too aggressively. I want to be as clean as possible with those stripes. I don't want to proceed with white at all, only filler primer until im satisfied with them. 2) Gaps: i'm not entirely sure but some gaps are acceptable on helmet. I have a lot of gaps on TKModder's helmet as well but 90% of them, they seem like they should be there. Not entirely sure which ones though. Somebody with experience can confirm here. 3) Lenses: still struggling to buy some, can't help you here yet but i will be careful as well on messing them up. Maybe give E6000 a chance in the future. Hot glue is amazing too. Cheers and don't give up!1 point
-
Sly reported this issue too, havent had this before. May have been a crash during export, looking into it now. WIll have fixed shortly1 point
-
Thanks Glen1 point
-
I'm printing all the larger parts (Barrel) on the FDM printer and all the smaller more detail parts on my resin printer. You need to sand the heck out of the FDM parts with 80 grit then 220 grit. Once there, I use liquid resin and cure with a light to fill in any bad areas then use a spray filler primer and sand again with 220. Keep spraying with primer/filler and sand until the parts are smooth. Then final paint.1 point
-
I have updated all of the forum supporter badges to date. You should be able to see it on the left side of the forum under your name. Unfortunately this doesn't show on tapatalk, you need to use the website. It was great to see how many are first time supporters, as well as a lot of returning supporters. A couple of troopers have been very generous and I thank you for your very kind gestures. No matter the donation though, it's thank to you all we can keep the site alive.1 point
-
Are you looking via mobile, if so change to Desktop site, you need full screen version to see it, doesn't work in condensed mobile.1 point
-
Hello and welcome aboard, you may find this thread helpful1 point
-
Several people have expressed interest in vacuum forming lenses for their Nico Henderson ROTK helmet. If you printed out the helmet, then making and dyeing the lenses is fairly simple. You will need the following: Vacuum Forming Machine- this seems to be the main problem for most people but for lenses you do not need a 24” x 24” machine or a $1,000.00 investment. Punished Props has a ton of videos on YouTube and in this your tube video they will show you how to make a cheap and small machine for less than $50.00. https://www.youtube.com/watch?v=Gx66mS7U2vY Once you have made a Vacuum Forming Machine, you will need a cheap toaster oven like this one: https://www.walmart.com/ip/Mainstays-4-Slice-Black-Toaster-Oven-with-Dishwasher-Safe-Rack-Pan-3-Piece/110482692 You will need a cheap electrical hot plate single burner stove like this one. https://www.walmart.com/ip/Mainstays-Single-Burner-with-Adjustable-Temperature-Control/812501747 You will need an all metal (6 or more quart) stock pot like this one. https://www.walmart.com/ip/Imusa-6-Quart-Blue-Enamel-Stock-Pot-with-Matching-Lid/32802656 You need bailing wire or a few wire clothing hangers and something to cut the wire with. You will need a pack of Jacquard iDye Poly Fabric Dye in Green. Most craft stores have this brand but if you cannot find it in the color you need, you can also use Rit DyeMore liquid in Peacock Green. Make sure its “DyeMore” not the regular Rit Dye liquid. Next, you will need some .04” thick clear PETG plastic sheet. Do not use acrylic, because of the moisture in acrylic, it will have bubbles in it and will be hard to see through. For the PETG, you can get these sheets on Amazon in various sizes, just make sure you get a size that can be cut down to fit your vacuum former. A pack of 10 sheets 12” x12” should cost you $25.00 ish, but if you want a larger supply, its cheaper to buy a full-sized sheet from a plastic supplier. In Metro Atlanta, one supplier is Calsak Plastics. A sheet of 0.04” x 48” x 96” cost me $40.00 ish, and this gives me eight 24” x 24” sheets for my vacuum former. Lastly, you will need: Cooking Thermometer like this one: Or you could use a digital one, but you will need to take repeated temperatures. https://www.walmart.com/ip/ProAccurate-Cooking-Thermometer/22843133 Nitrate gloves Xacto Knife and/ or Box cutter Plastic bucket about the same size as the pot Metal straight edge ruler or yard stick Wooden paint stirring stick Drill bits (1/8”) and a drill/ cordless drill 150 grit and 220 grit sandpaper Filler putty, I used plastic wood filler this stuff: https://www.homedepot.com/p/DAP-Plastic-Wood-X-8-oz-All-Purpose-Wood-Filler-00541/206667345 Primer spray paint A release agent such as Smooth-On Ease Release 200 spray or in a pinch you could try an aerosol cooking spray The Nico Henderson helmet files comes with an eye buck file. If I remember correctly, the files only included one eye so you will need to copy and mirror the stl file. I printed these out in PETG with 25% infill and 4 parameters at 0.10 mm Detail. Next, I wet sanded the bucks with 150 grit then 220 grit then I applied a layer of plastic wood filler. In this pic you can see the two sets of eye bucks along with two bucks for my Shoretrooper. Once cured, I lightly dry sanded the bucks with 220 grit. Next, I applied two normal and one final heavy coat of primer (10 minutes between each coat) and let them dry for 3 days. Next, I cut my PETG to size using a straight edge and a box cutter. The PETG comes with a thin plastic cover on both sides of the PETG. Leave this protective cover on during the heating and forming. Only remove it once the lenses are done and ready to be dyed. Next, I laid out my bucks on the Vacuum Former. First pull, the TK lenses came out great but the Shoretrooper lenses not so much. See the webbing between the two Shoretrooper lenses, it comes up into the lens area. I rearranged the bucks. The second pull was successful. Next, I cut out the lenses making sure to not crack them. I also leave some PETG tabs on the lenses, so I hang them. Use the drill and a small bit (1/8”) to drill out holes on the tabs to hang the lenses. Cut up some bailing wire to make a hanger, once you are satisfied, remove the plastic protective cover on both sides of the lenses. When you hang the lenses, make sure they do not touch the bottom of the pot and they stay submerged. Next, I filled the pot and the bucket with enough cold water to cover the lenses. With the lenses out of the water, place it on the burner and bring it to a boil then add the dye and stir till everything is dissolved. Turn the burner off and let the water cool to 130° F. Turn the burner back on to its lowest setting. You want a steady temperature between 130° and 140°. DO NOT GO OVER 150°. The PETG will deform and ruin your lens if you go over 150°. Once you have a steady 135° ish temp, ENSURE you have removed the protective plastic from both sides of the lenses then place the bucks mounted to the bailing wire hanger inside the dye bath for 5 minutes. NOTE- leave the lenses on the hangers throughout the dyeing process. Remove the lenses from the dye bath and rinse in the bucket of cold water, the tint should be light. Again, place the lenses inside the dye bath this time for 10 minutes, then remove and rinse. Lastly, place the lenses inside the dye bath for another 10 minutes, then remove and rinse. This should be dark enough for the TK. Remember the inside of your helmet will be dark, so the lenses do not need to be too dark. If you want them darker, just keep dyeing and rinsing for 10 minutes at a time until you get the desired darkness. Once you are done with the dyeing, remove the lenses from the hanger and use dish soap to wash the lenses. Be careful not to scratch them. Cut them to fit your helmet and install them.1 point
.thumb.JPEG.090a51d263498dd94183c8dca58c9ff4.JPEG)

.thumb.png.69856e02550a2e6d07e44a2b1bda020c.png)