Leaderboard


Popular Content
Showing content with the highest reputation on 07/01/2018 in all areas
-
Have trim done on shins, ab plate, and butt-plate. Will post some pics tomorrow. Using a combo of scissors and utility knife score and snap, which seems to be working well so far. Will need to do some smoothing out with dremel once the initial trimming is done. I also have a pair of boots from imperial boots, and a blaster kit from doopy-doo. Just need to get everything together now. My goal is to be ready for Fan Expo in Toronto at the end of August.2 points
-
Hello all! I received my TK ID a couple weeks ago but totally forgot to post here until now. Thanks for the reminder @Twosolitudes. If Only You Knew: - No matter how much you budget to spend, make sure you add some additional cushion. While there are ways to save money, this project adds up! - Be patient. With everything. I started out rushing and made some sloppy/careless mistakes. Research EVERYTHING, multiple times. If in doubt, ask and wait for an answer. Oops!: - I goofed up big time on my thighs (see above about being patient) and created far more work for myself than was necessary. However, I was able to salvage them through the help and feedback of others. See my build thread for details: Shout Outs: - Thank you to Frank75139, Neb Sgird, ABS80, lucnak, wook1138, TheSwede, gmrhodes13, justjoseph63, GilFran007, and Twosolitudes. I'm looking forward to many troops to come. My first official troop looks like it will be August 4th at a benefit for a little boy recently diagnosed with cancer. I'm stoked that it will be for such a great cause! My church is also having a Dave and Busters themed game night on August 3rd that I plan to make an appearance at. I figure it will be a good way to troubleshoot and feel out an event/working a crowd before I do anything official.1 point
-
Job well done. This looks good to me.1 point
-
Decided to paint the buttons prior to glueing. Not sure yet whether it is a logical thing, but I did it anyway Realized I have no elasticband for the dropboxes, so sending the wife out tomorrow to get me some. that way I can finish the belt as well.1 point
-
OK sounds good, thanks again for the help!1 point
-
Dude, thanks for the reminder! I totally forgot to do that haha. And yes, it's a rendition of my birth date: 10/09/87.1 point
-
Copy that, I'd seen both 20 and 12 Sent from my HTC One M9 using Tapatalk1 point
-
Yep. TK 87109. Sent from my iPhone using Tapatalk1 point
-
For the right snap, I went around 20mm from the top and from the side. Sent from my LG-M470 using Tapatalk1 point
-
Yeah, canon width for the arms cover strips is 15mm. However, if you need to go a few milimeters wider for some reason (for example, if your hand can't fit through your forearm at 15mm), that's not a problem at all. So you can go a bit more than 15mm if you need - just keep it uniform throughout the armor. And for the cover strips corners, most armors used in the movie had theor corners lightly rounded. That's how I did mine. Sent from my LG-M470 using Tapatalk1 point
-
Started working on the belt this morning. Punched the holes in the canvas belt, drilled the holes in the holes in the ABS. Stuck them together with chicago screws: Drew the outlines for the square-round buttons on the belt Drew the 45 degree angles on the ammo parts to cut that off as well: Considering now what I want to do, fasten them with the screw-side on the canvas side or on the outside. Canvas side has the advantage that it is easier to tighten the belt in the end. A little drop of glue on the other side will then ensure that always stays in place on the ABS side underneath the squares. Also going to have a look how to properly tighten the dropboxes. I have cut them out, still want to sand the edges a bit cleaner, but they are basically ready: and they fit perfectly and snug:1 point
-
Woop woop. Looks awesome. Isn’t that feeling when you first suit up amazing!? Can’t wait to call you an official brother at arms soon!1 point
-
Alright, so. First order of business was to get a feel for cutting and trimming the plastic. So I figured that the best place to start was the ab plate buttons. easy, small pieces that are pretty hard to mess up. What really surprised me was that the buttons came painted fresh out of the box. Thanks Rob and Simon! Plan on piecing together the thermal detonator next...1 point
-
Ok, I don't have the torso assembled yet so it's quite possible the bells could come down further. I'll keep that in mind. Thanks!!1 point
-
If you install the 2" elastic in the correct location and you have roughly 1/2" or smaller gap between the forearm and bicep you shouldn't have any bunching issues. Here's an Anovos kit I just finished, note the elastic.
 1 point
 -
Great progress Daniel!1 point
-
Got my D rings for my E11 at Ace!1 point
-
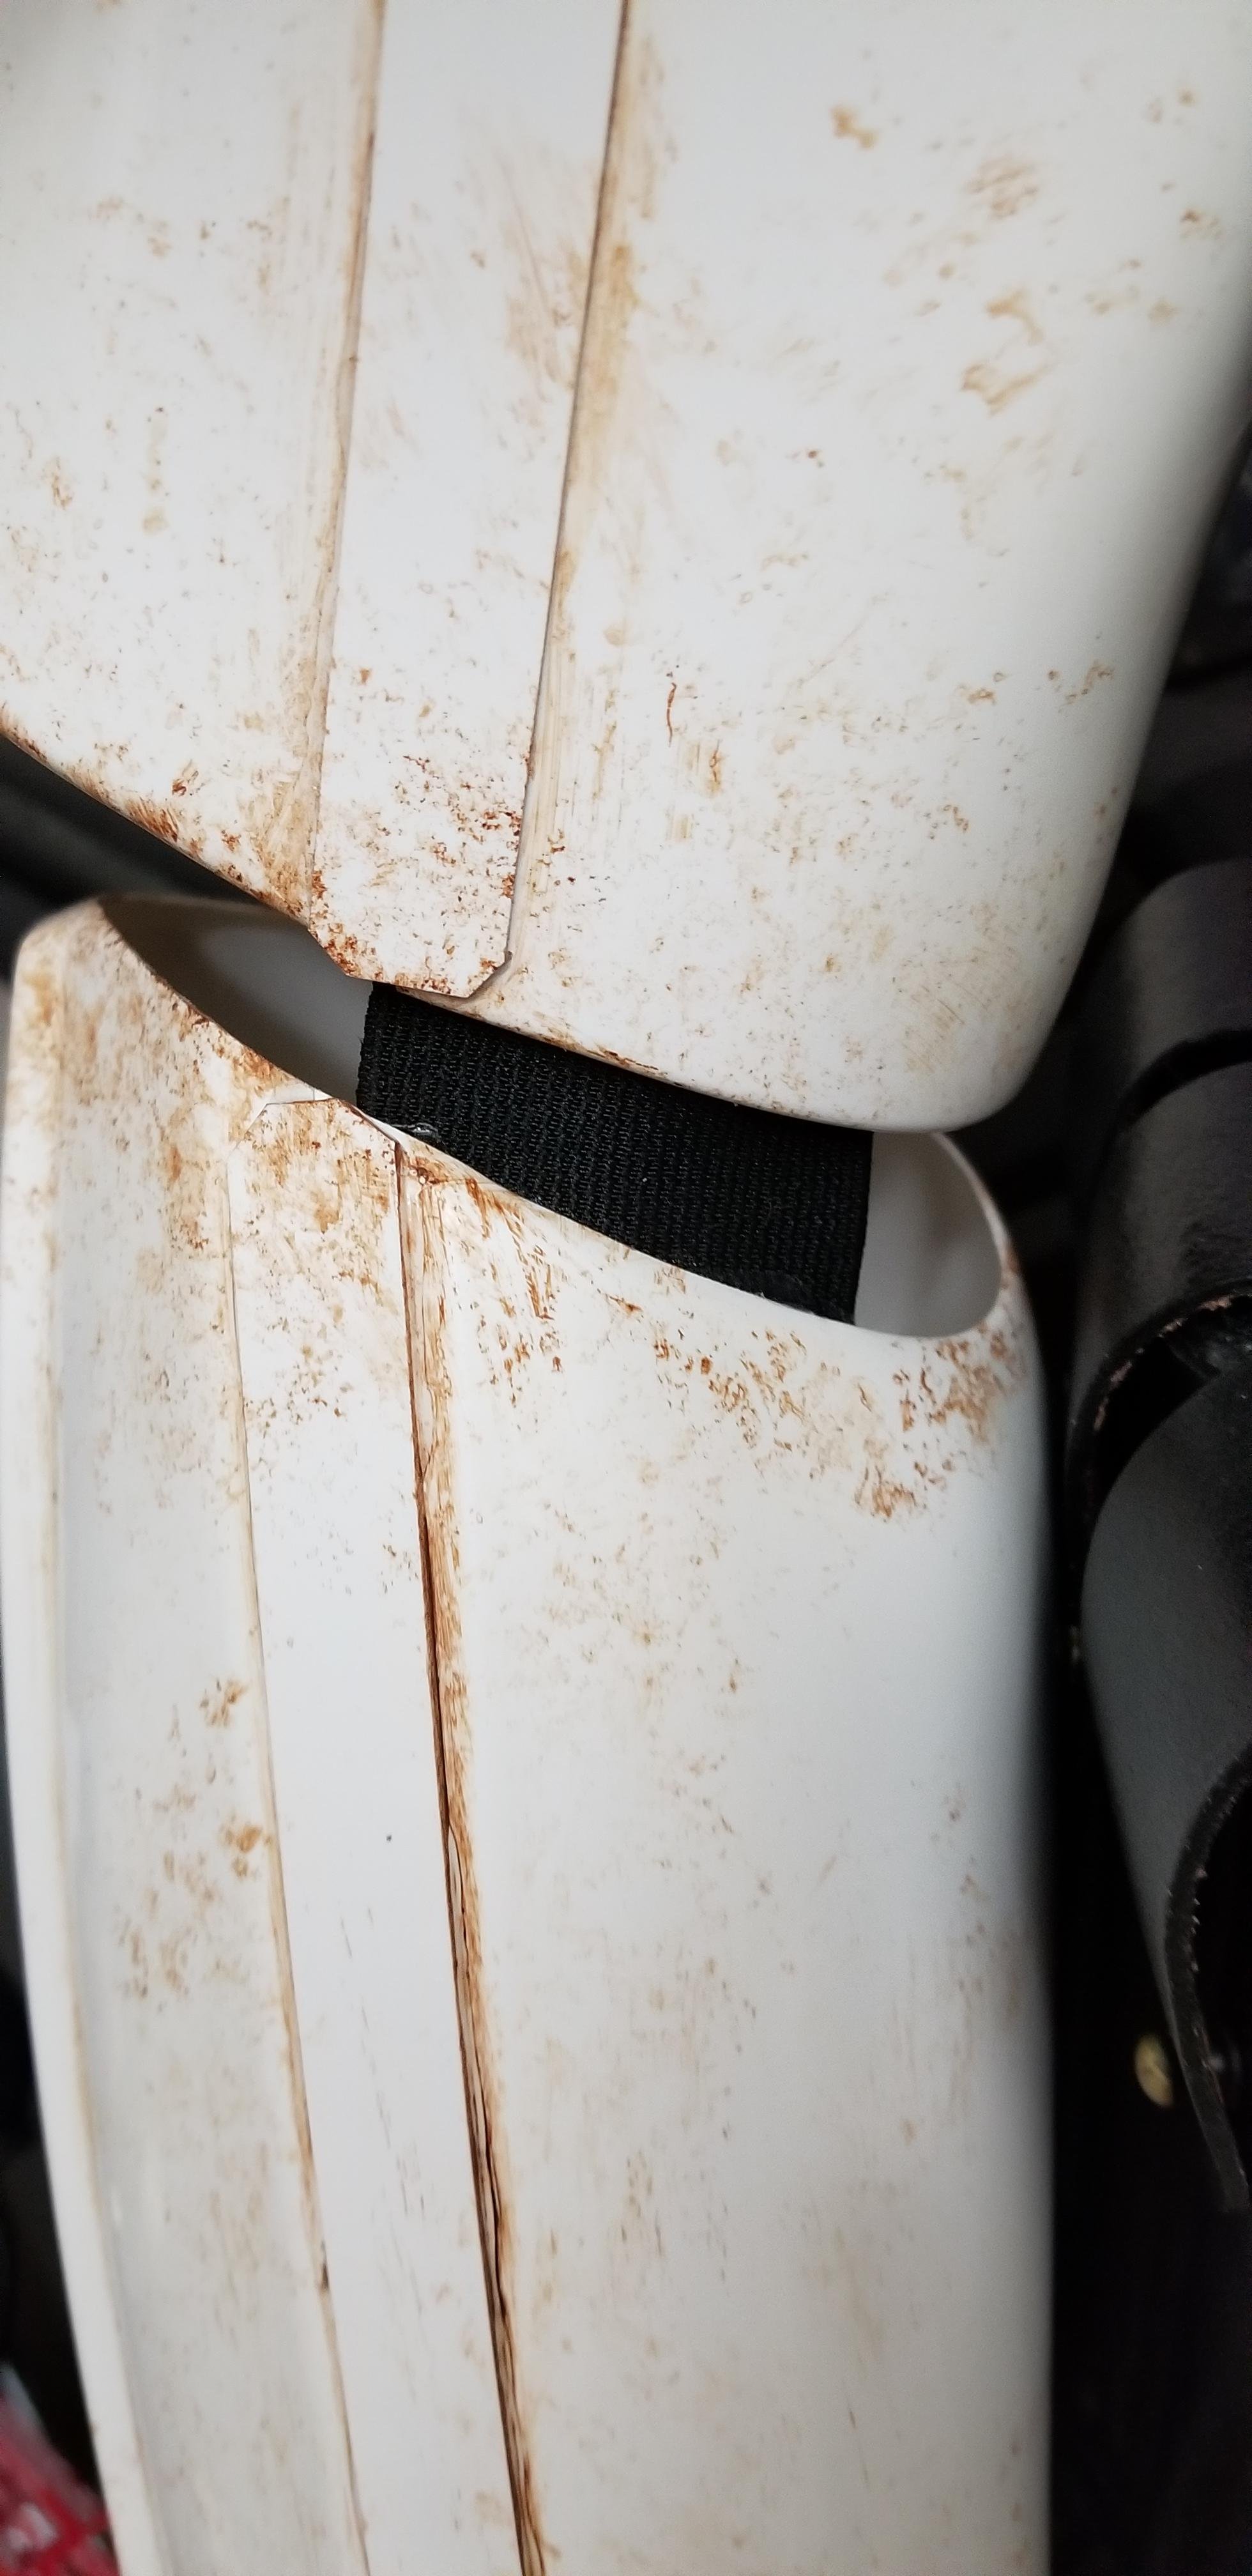
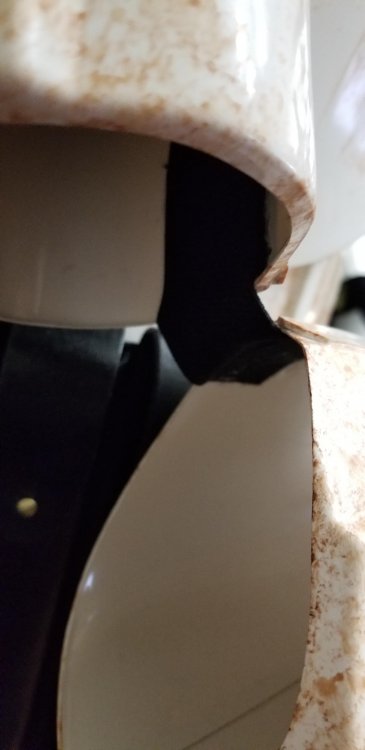
So my build hasn't progressed as fast as i'd want to, but i've been taking my time getting to know ABS and how it behaves. Continued trimming, quickly realized even though score and snap is scarier, it is way faster and requires less cleanup. Left ATA bicep all wonky as heck. After completely removing the lower return edge and some more at the top it fit nicely. Still going to give this one a hot water bath to make it fit even better. Right now it is very tight, if I flex it moves/shifts, hope it'll be better after the bath. Right side did fit well without such "drastic" measures. One thing that I figured out is that i'm not really 79kg/175lbs, i'm 83kg/183lbs So the ab/kidney didn't fit as well as I had hoped. This pic was with me pushing my stomach all the way out. If I really really sucked it in they'd touch eachother but that's not doable so i'm gonna have to shim this. Arms are trimmed and fitted. Shins are trimmed but not fitted yet. This pile took a long time but it makes me happy nonetheless Also ordered rivets, screws, and handguards from Joseph. Big thanks for that man1 point
-
If you`re not able to go any smaller at all this might be a hard fix as using strips to cover all of that won`t look good either and with using CA glue there is a risk of damaging the pieces when tying to pry of the strips so might be worth checking with your GML if it`s needed first. If trying to fix this I would try something like this….going a bit bigger with the strip and moving it to the right and one can go further than illustrated to even out the gaps at the bottom, see "hollow arrow" but that would make the seam look of, see "full arrow"....Another option would be to cut the flat surface and shim but that would be alot of work so the bottom line is to check with GML first1 point
-
Lookibng good, keep up the good work!1 point
-
Sorry man, got tied up with work and some troops I have another event this morning so I'll pop back in later with some photos but quick answer: 1) Shoulder strap placement - I don't think there is an exact "measurement" but I tried to place them in a spot that simply looked good. Not to far up, but also leaving enough room so that they extend over the back evenly. I imagine because each person's physical build is different where they sit might vary slightly, but I think it was about 5 bumps up on the hard plastic strap - meaning if you count the bumps from the bottom, the end of the chest armor (top) was between the 5th and 6th bump. I'll throw in a photo later 2) I trimmed pretty much all the way to the bumps on all sides. 3) Back plate was definitely wider, I ended up tapering them to 2" - I found the center then marked out the measurement then slowly cut away and dremeled until it was even. 4) I think about an inch or so between the chest and back plate. Enough to see the difference but not a ton.1 point