RogueTrooper
-
Posts
4,222 -
Joined
-
Last visited
Content Type
Profiles
Forums
Gallery
Articles
Everything posted by RogueTrooper
-
To clean, or not too clean?
RogueTrooper replied to firebladejedi's topic in Hard Armor (General Discussion)
My vote is: NOT TOO CLEAN!!! If you look at the TK's on Tantive IV they had the grunge wearthered look going on.... George said he wanted a used lived in look to the SW Universe were everything didn't look fresh out of the box new and perfect. -
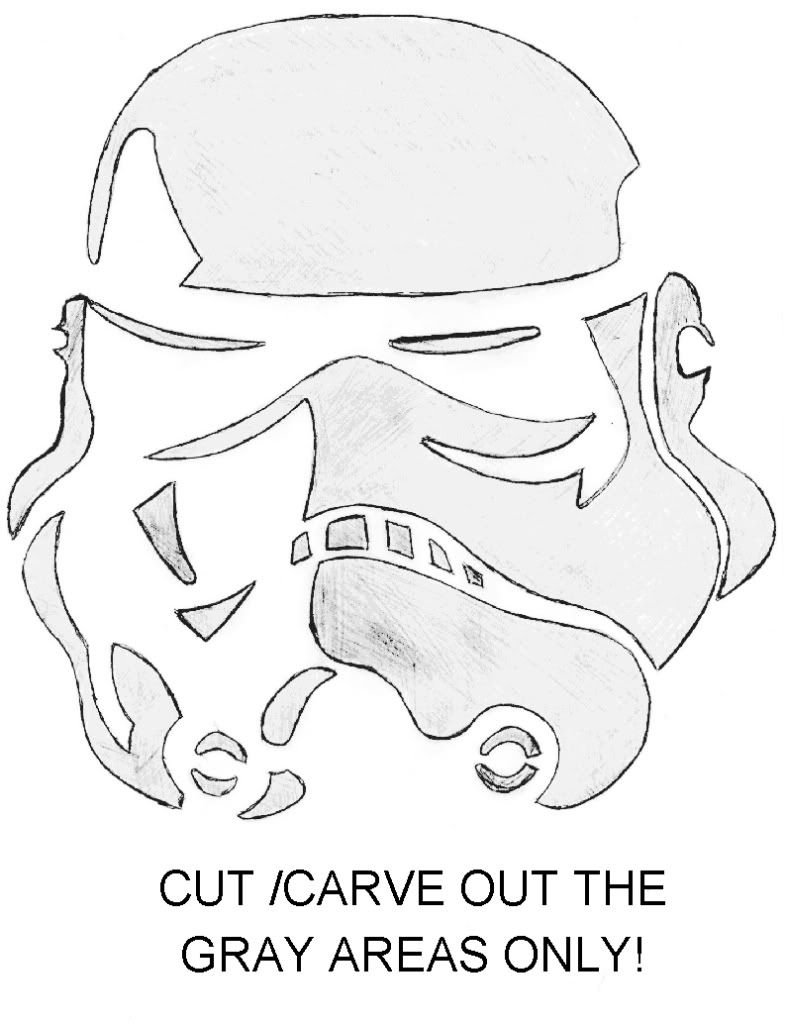
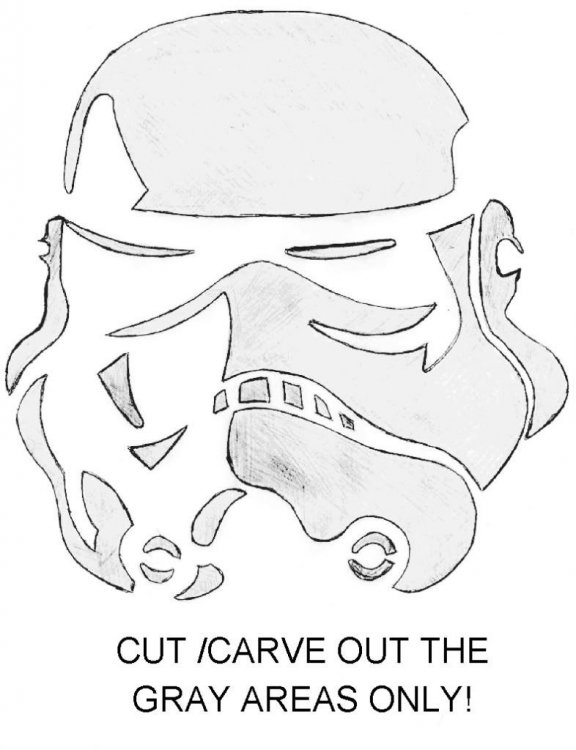
Here is a TK stencil for ya!!!! * For starters you need to make sure you have the right equipment to carve with. A lot of grocery stores will have pumpkin carving kits around Halloween, the most common are the Pumpkin Masters™ sets. These usually include a drill tool, poker, a safety saw, a detail saw and a scoop. The safety saw is often included for young children, but with Pumpkin Crazy stencils, we'll want to be using the detailed saw. * After most of the innards have been removed, start to scrape the inside walls. The smoother the walls the better the results will be later so try and get them as even as possible. You can also affect the strength of the carving by the thickness of the walls, so a pumpkin will be easier to carve if the walls are thin, but might not last as long for your display. * Now you've prepared the pumpkin for carving you'll need to transfer the printed pattern onto your pumpkin. Cut out the general shape of the design as well as small snips inside, away from any of the gray areas. These small snips will alow the pattern to wrap around the pumpkin more easily. * Once you've cut out the whole pattern into a more manageable shape, tape it down onto your pumpkin and try and make sure its on as smooth as possible. * Using the poking tool, start to a very impolite person the black outline of the pattern onto the pumpkin.You will be removing/carving out ONLY the GRAY AREAS . Some of the more recent Pumpkin Masters™ carving kits include a poking wheel that alow you to poke long lines and gradual curves more easily. After you've finished poking through the whole pattern, remove it from the pumpkin but keep it for reference. * Following the dots you have created with the poker, use the detail saw to cut out the smaller, central peices of your carving. By working from the inside to the outer edges and starting with the smaller sections, the carving should maintain its rigidity. Remember to hold the saw like a pencil while sawing and try not to twist it, If you need to turn a corner, remove the saw and reinsert it at the right angle. * The carving should really be shaping up now and you should start to see the features of your chosen design emerging. After you've finished on the smaller and central parts, move on to the outer sections with caution, these and the larger sections are more likely to cause instability. * After you've finished carving out all the pieces, look to see if there are any areas that could be neatened up. A scaple or X -Acto knife can be used to trim the edges, but kids you'll need to get an adult to help with this. But your carving won't really come into its own until its lit!!!!
-
Where can I watch Heart of an Empire?
RogueTrooper replied to Topgun's topic in Assembly, Mods, and Painting
NETFLIX: ----- -
When I was looking for Armor I ran across A few places to get AP Armor. I sent you a PM . hope it helps!!!!!!!!!!!!! RogueTrooper
-
Hey again...I also found some more how to links to help you with your FX KIT BUILD. here is two online tutorials . ----- Hope they help you....... RogueTrooper
-
Hey DEDEDEJr, If you can post some pics of the parts of that you cannot identify, will try to help you with it... Also try this YouTube Video, that is by a guy Dave Star Wars " White Armor " Project A step by step process of assembling a FX armor kit with special guest R2! ... Here is the link: This is the first part to the his how to. RogueTrooper
-
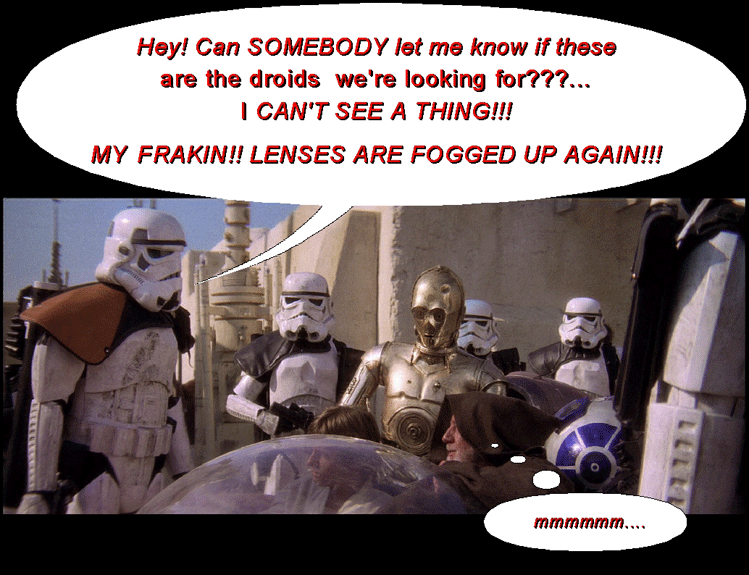
The simplest way for not fogging up the lenses is.............................................................................. ...............................................................................NOT TO BREATHE!!!! Just kidding!!!! This is not the answer you are looking for... now move along.... Try anti-fog bikers spray it works great for me.
-
Dan Laws new ESB Stormtrooper Helmet
RogueTrooper replied to firebladejedi's topic in Build Threads Requireing Maintenance
I found in the "Armor History" that there was a BIG! JERRY SPRINGER moment at the time over some molds. Gino and Dave vs. TE over who owned them. In the heat of the moment it was stated that several key details were removed from the faceplate and several areas modified as well. I am guessing that the oval detail in the tear traps maybe one of the Key details that Dan reintroduced back into his molds. With Gino/Dave/TE, does anyone know what the other modified/removed areas were of their faceplate? And has D. Laws incorporated all the missing elements into his Helmet??? BTW Thanks for the info my Bros!!! RogueTrooper -
Dan Laws new ESB Stormtrooper Helmet
RogueTrooper replied to firebladejedi's topic in Build Threads Requireing Maintenance
Hi firebladejedi Awesome looking Helmets You Got there!!!! Can you or anyone tell me why DL's Helmet has large oval dimple in the cheek traps? I have never seen this before. Cheers, RogueTrooper My Creed is - Shoot first, if there is anyone left alive ..... then you ask questions ....... -
ROTJ Suit by TE. progress as of Oct 2009.
RogueTrooper replied to Trooper Q2's topic in Build Threads Requireing Maintenance
Sweeeet ROTJ Armor!!!!!!!! Do you have any side and back pics of it ????? RogueTrooper My Creed is - Shoot first, if there is anyone left alive ..... then you ask questions ....... -
My TM build![*TM]
RogueTrooper replied to Slaveprobe's topic in Build Threads Requireing Maintenance
EXCELLENT!!! BUILD!!! Slaveprobe Question, how well does the magnets work? As the glue sets, do they hold the parts together very tight? Can't wait to see more of your build ............................... TM U do OUTSTANDING WORK!!! RogueTrooper My Creed is - Shoot first, if there is anyone left alive ..... then you ask questions ....... -
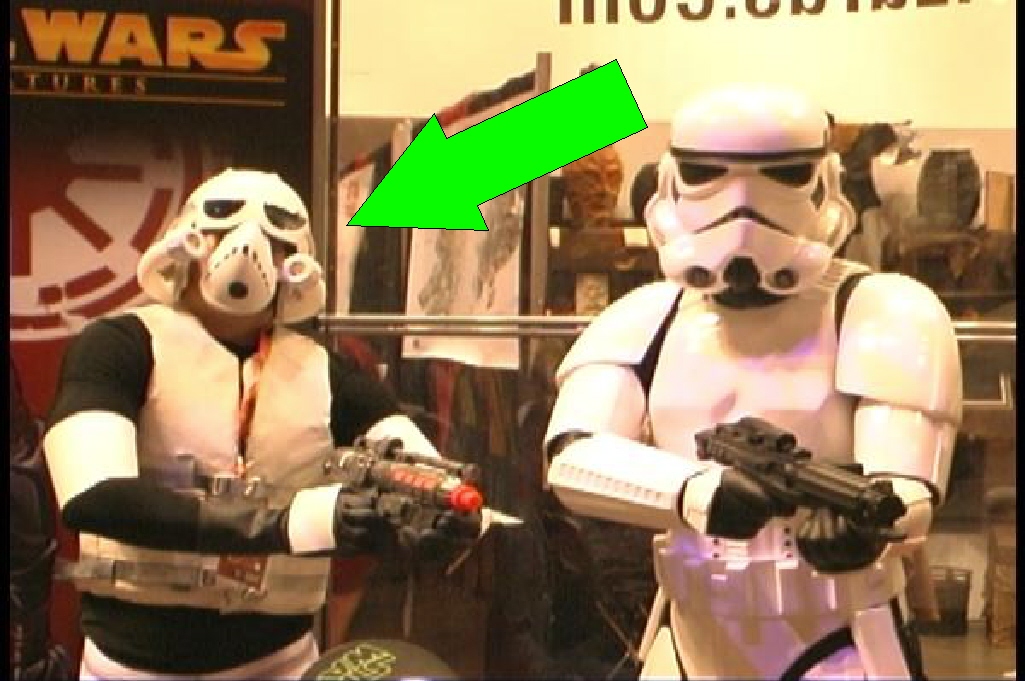
I think the guy on the left has a better handle on being accurate with his armor than Rubies... What da ya think?? As Obi would say..... This is not the armor you are looking for.... Now move along..... RogueTrooper My Creed is - Shoot first, if there is anyone left alive ..... then you ask questions