Leaderboard


Popular Content
Showing content with the highest reputation on 02/13/2026 in all areas
-
Okay, mini update because I’m equal parts anxious and excited. I ultimately pulled the trigger on Mr. Paul’s files, and for anyone who’s been on the fence… they’re absolutely worth it. Even just loading them into the slicer, the difference in detail alone made them look promising. But it wasn’t until I printed the new abdomen and compared it side-by-side with Akira’s version that I realized just how inaccurate the original was. Don't mind the painters tape that's stuck to the super glue... [The glue dried on this piece as I was setting it, but shouldn't be too hard to smooth out] Because of my printer’s build volume, I had to split the abdomen into six pieces, which is definitely not ideal—but it ended up working out better than expected (thanks Gorilla glue!). For sizing reference, I’m roughly a 34–36” waist, with 36” being the upper limit for Mr. Paul’s files. Everything actually fits as intended. The back has quite a bit of give, and for the sake of test photos I let it sit fully open. In that position, the gap measures about 7”, but when I draw the sides together it closes to roughly 5”, which is also noticeably more comfortable. So structurally, the scaling seems to be right where it should be (and I could afford to lose 10 pounds). I also switched filament for this print. Up until now I’ve been using SUNLU High Speed PETG, but after some digging (YouTube rabbit holes, of course), I found it’s more prone to stringing and layer separation—the exact issues I’d been fighting. For this run I switched to standard SUNLU PETG in white, and honestly it’s been printing beautifully. At this point it’s performing just as well as—possibly even better than—the SUNLU PLA+ I’ve used on other projects. Naturally, this has made me briefly consider reprinting the entire suit (which is… unlikely), purely for the improvement in post-processing. At the very least, though, all the upcoming MPSB replacement parts should be much easier to finish. Anyway, this is meant to be a quick update, so I’ll let the photos do the rest of the talking. Tomorrow we primer the helmet. Either it looks incredible, or I discover new sanding techniques. Like Anakin, I hate sand[ing]. Left — Nico’s original files (cheeks cut out with a Dremel), scaled to 90% Right — Greg’s updated files, scaled to 100% — night and day difference.3 points
-
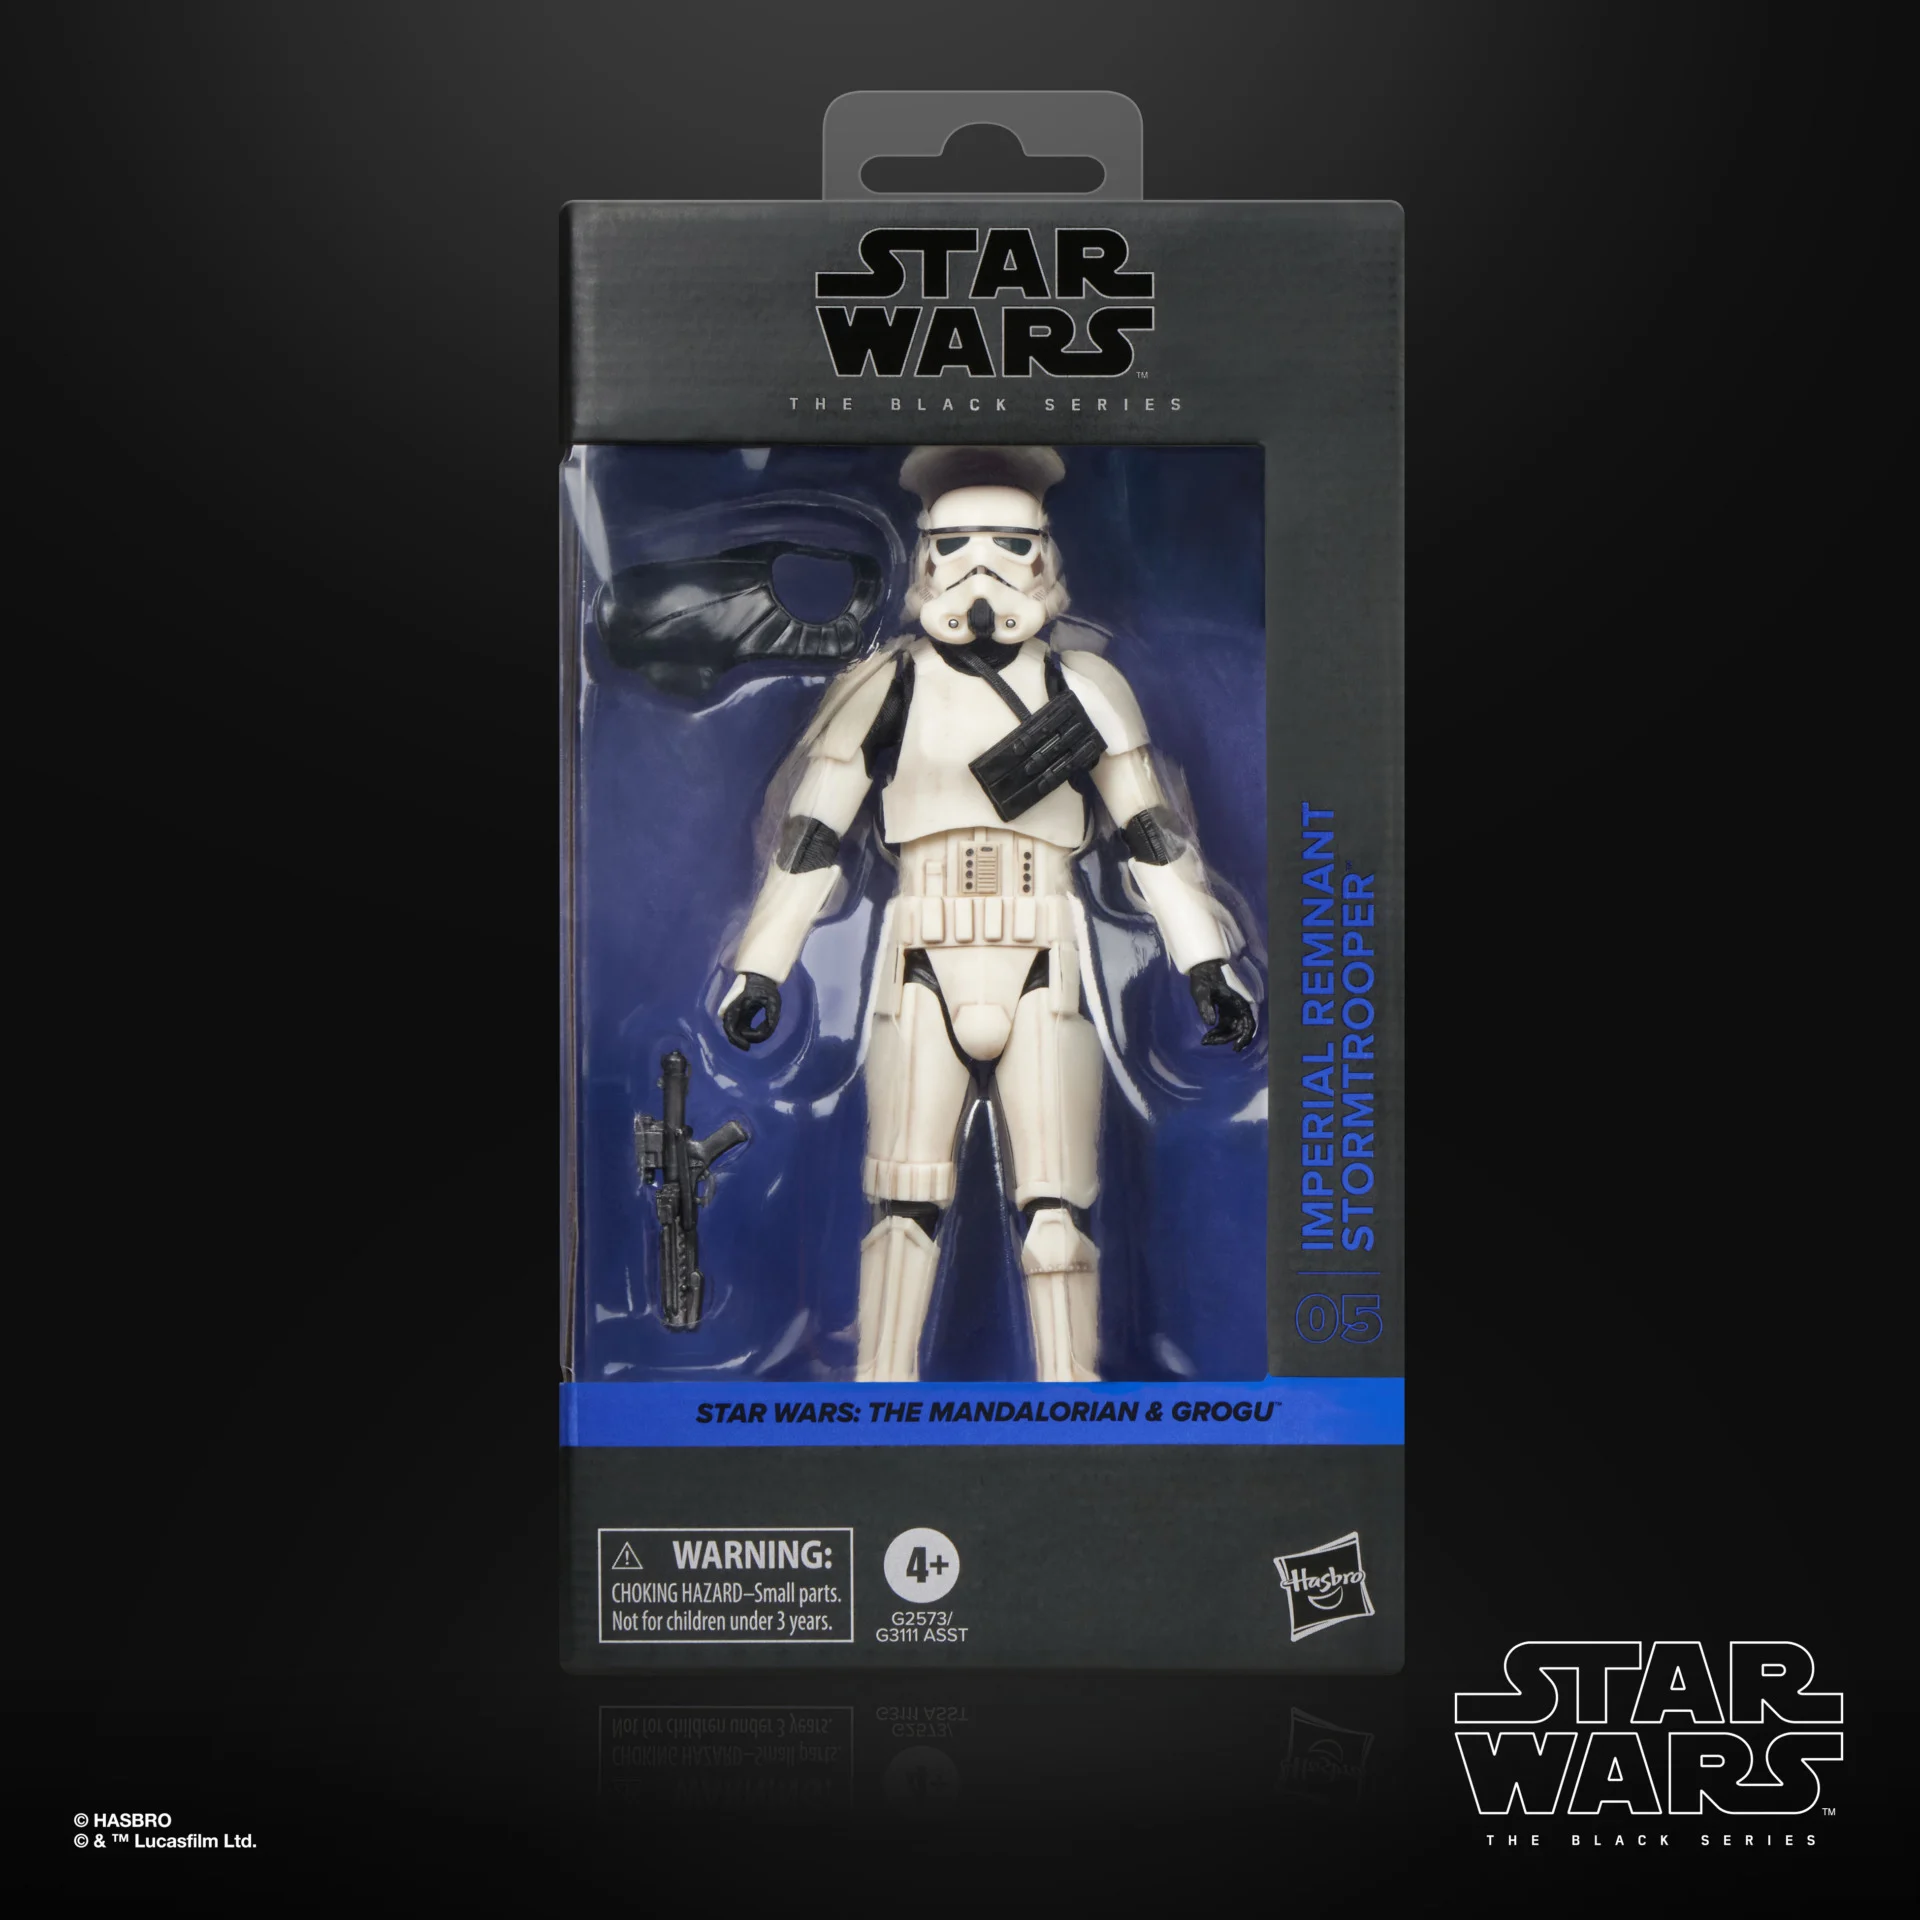
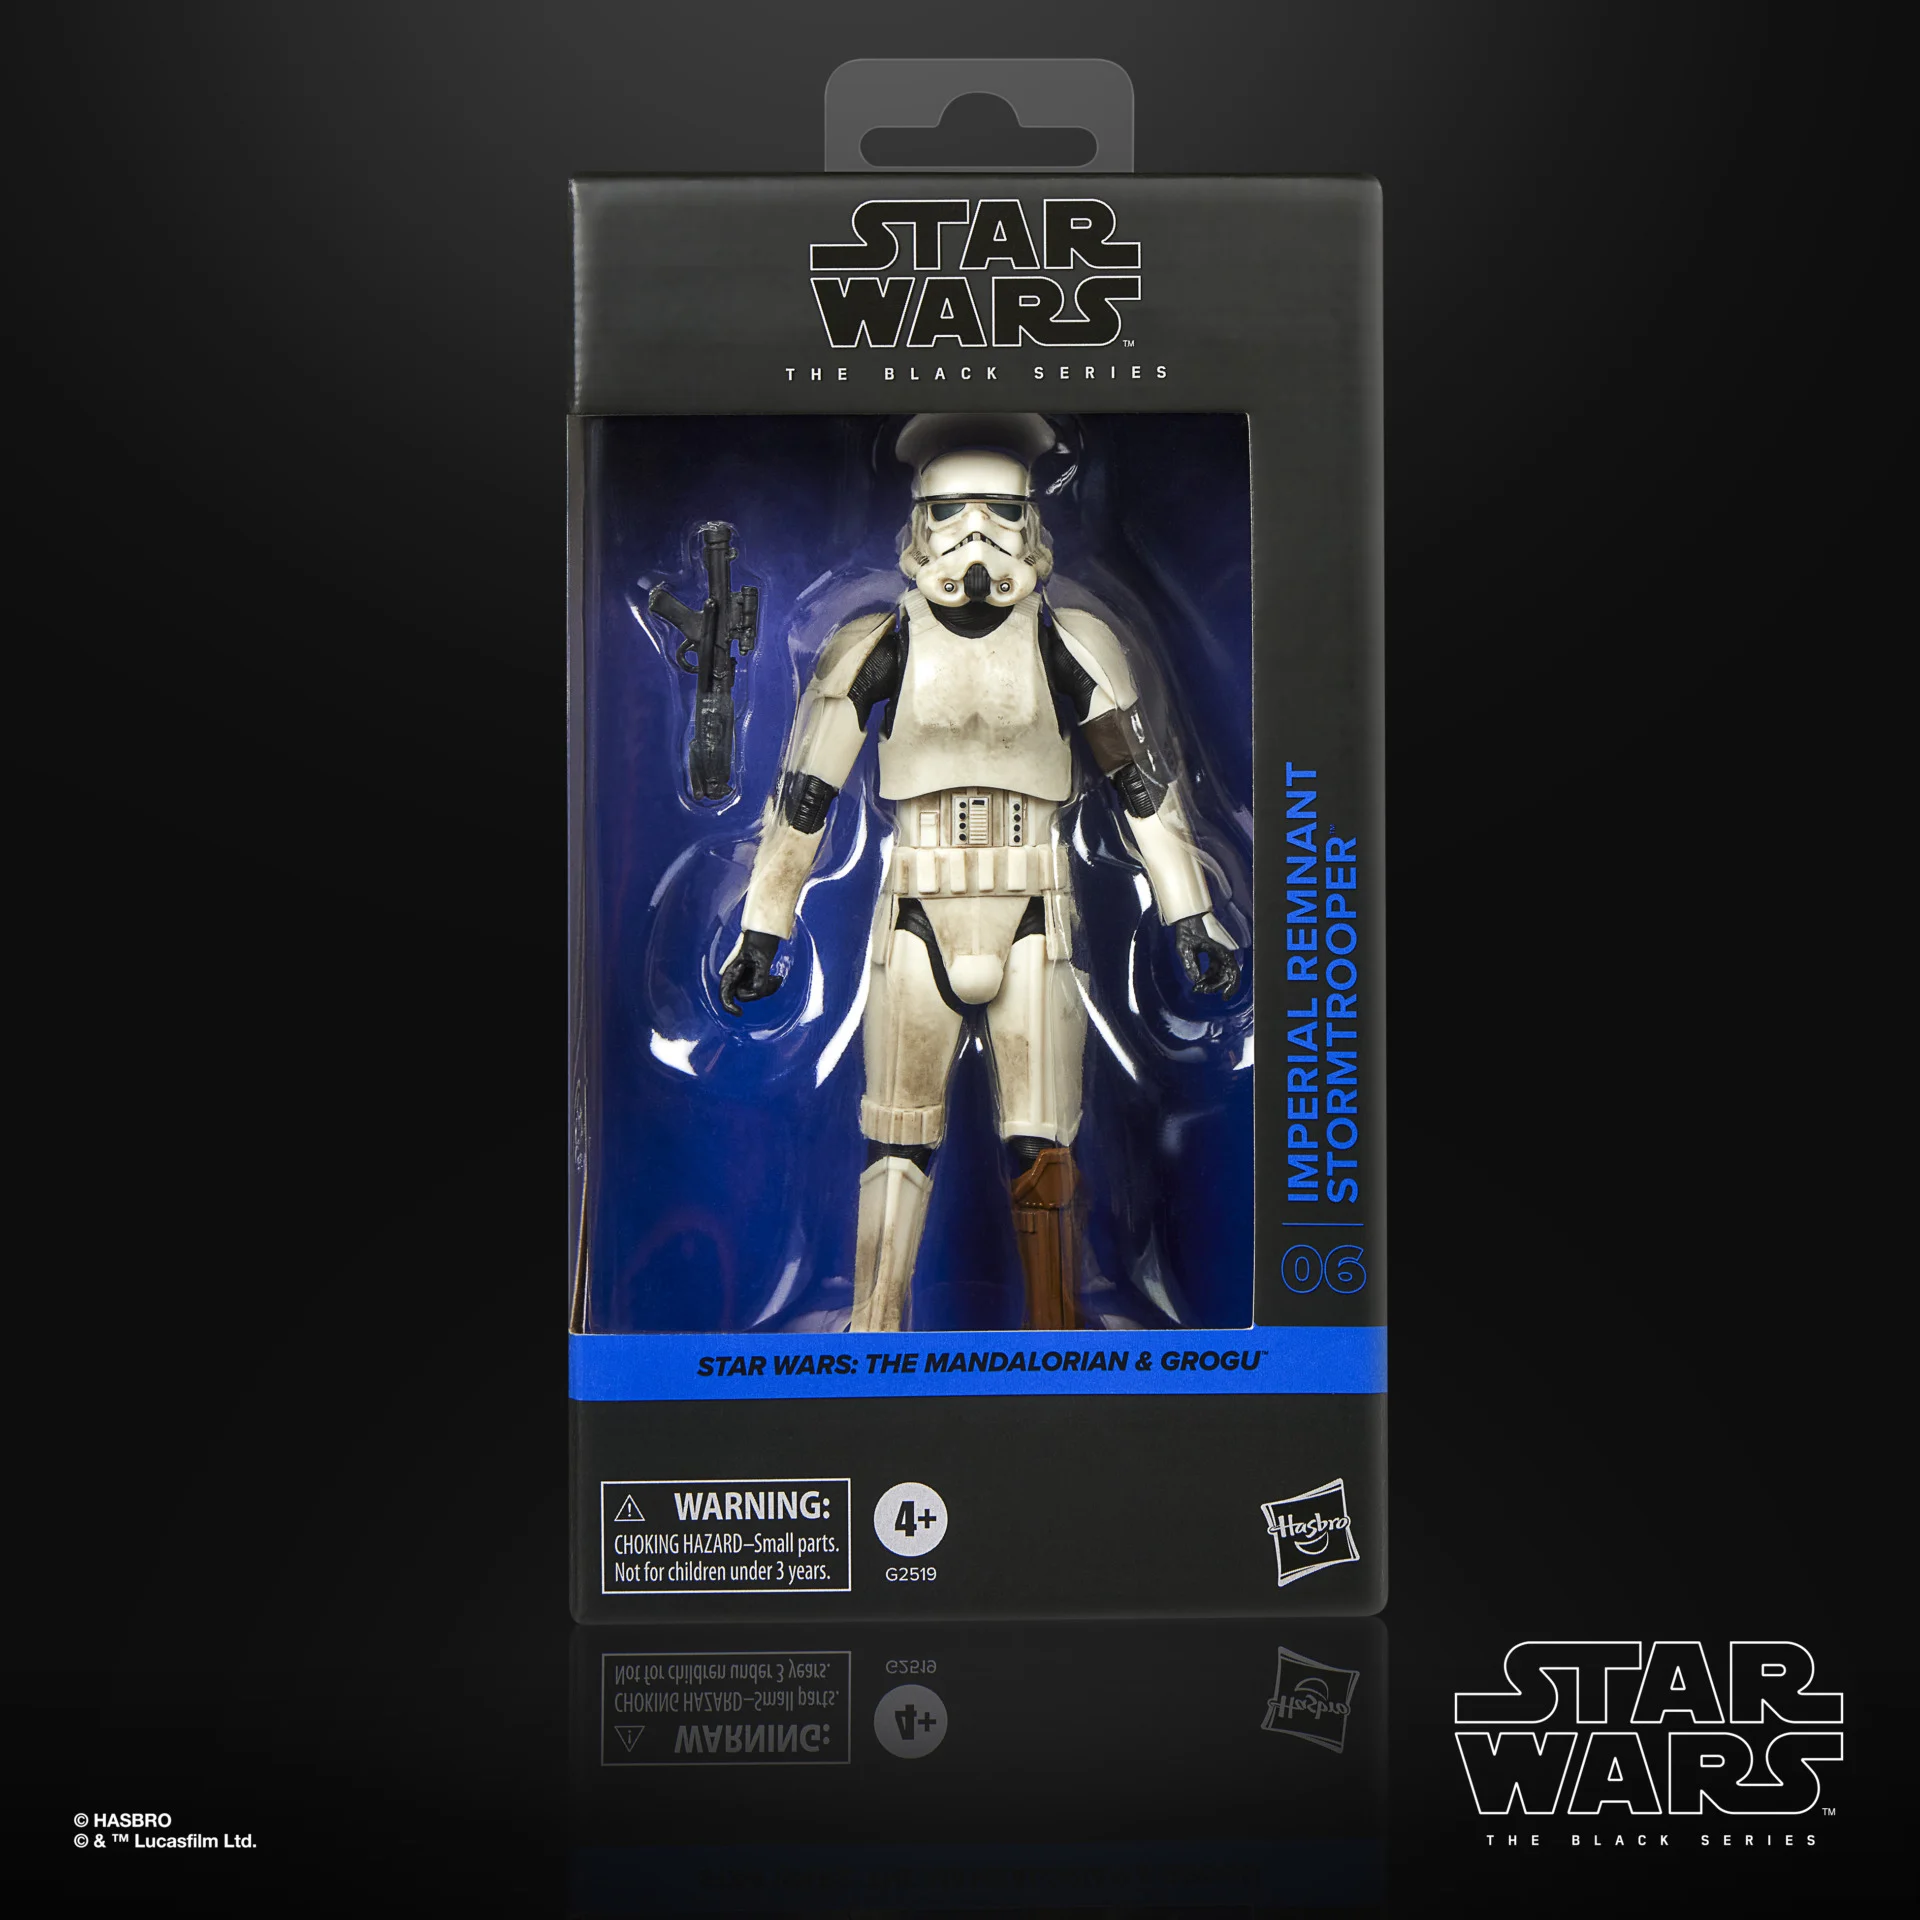
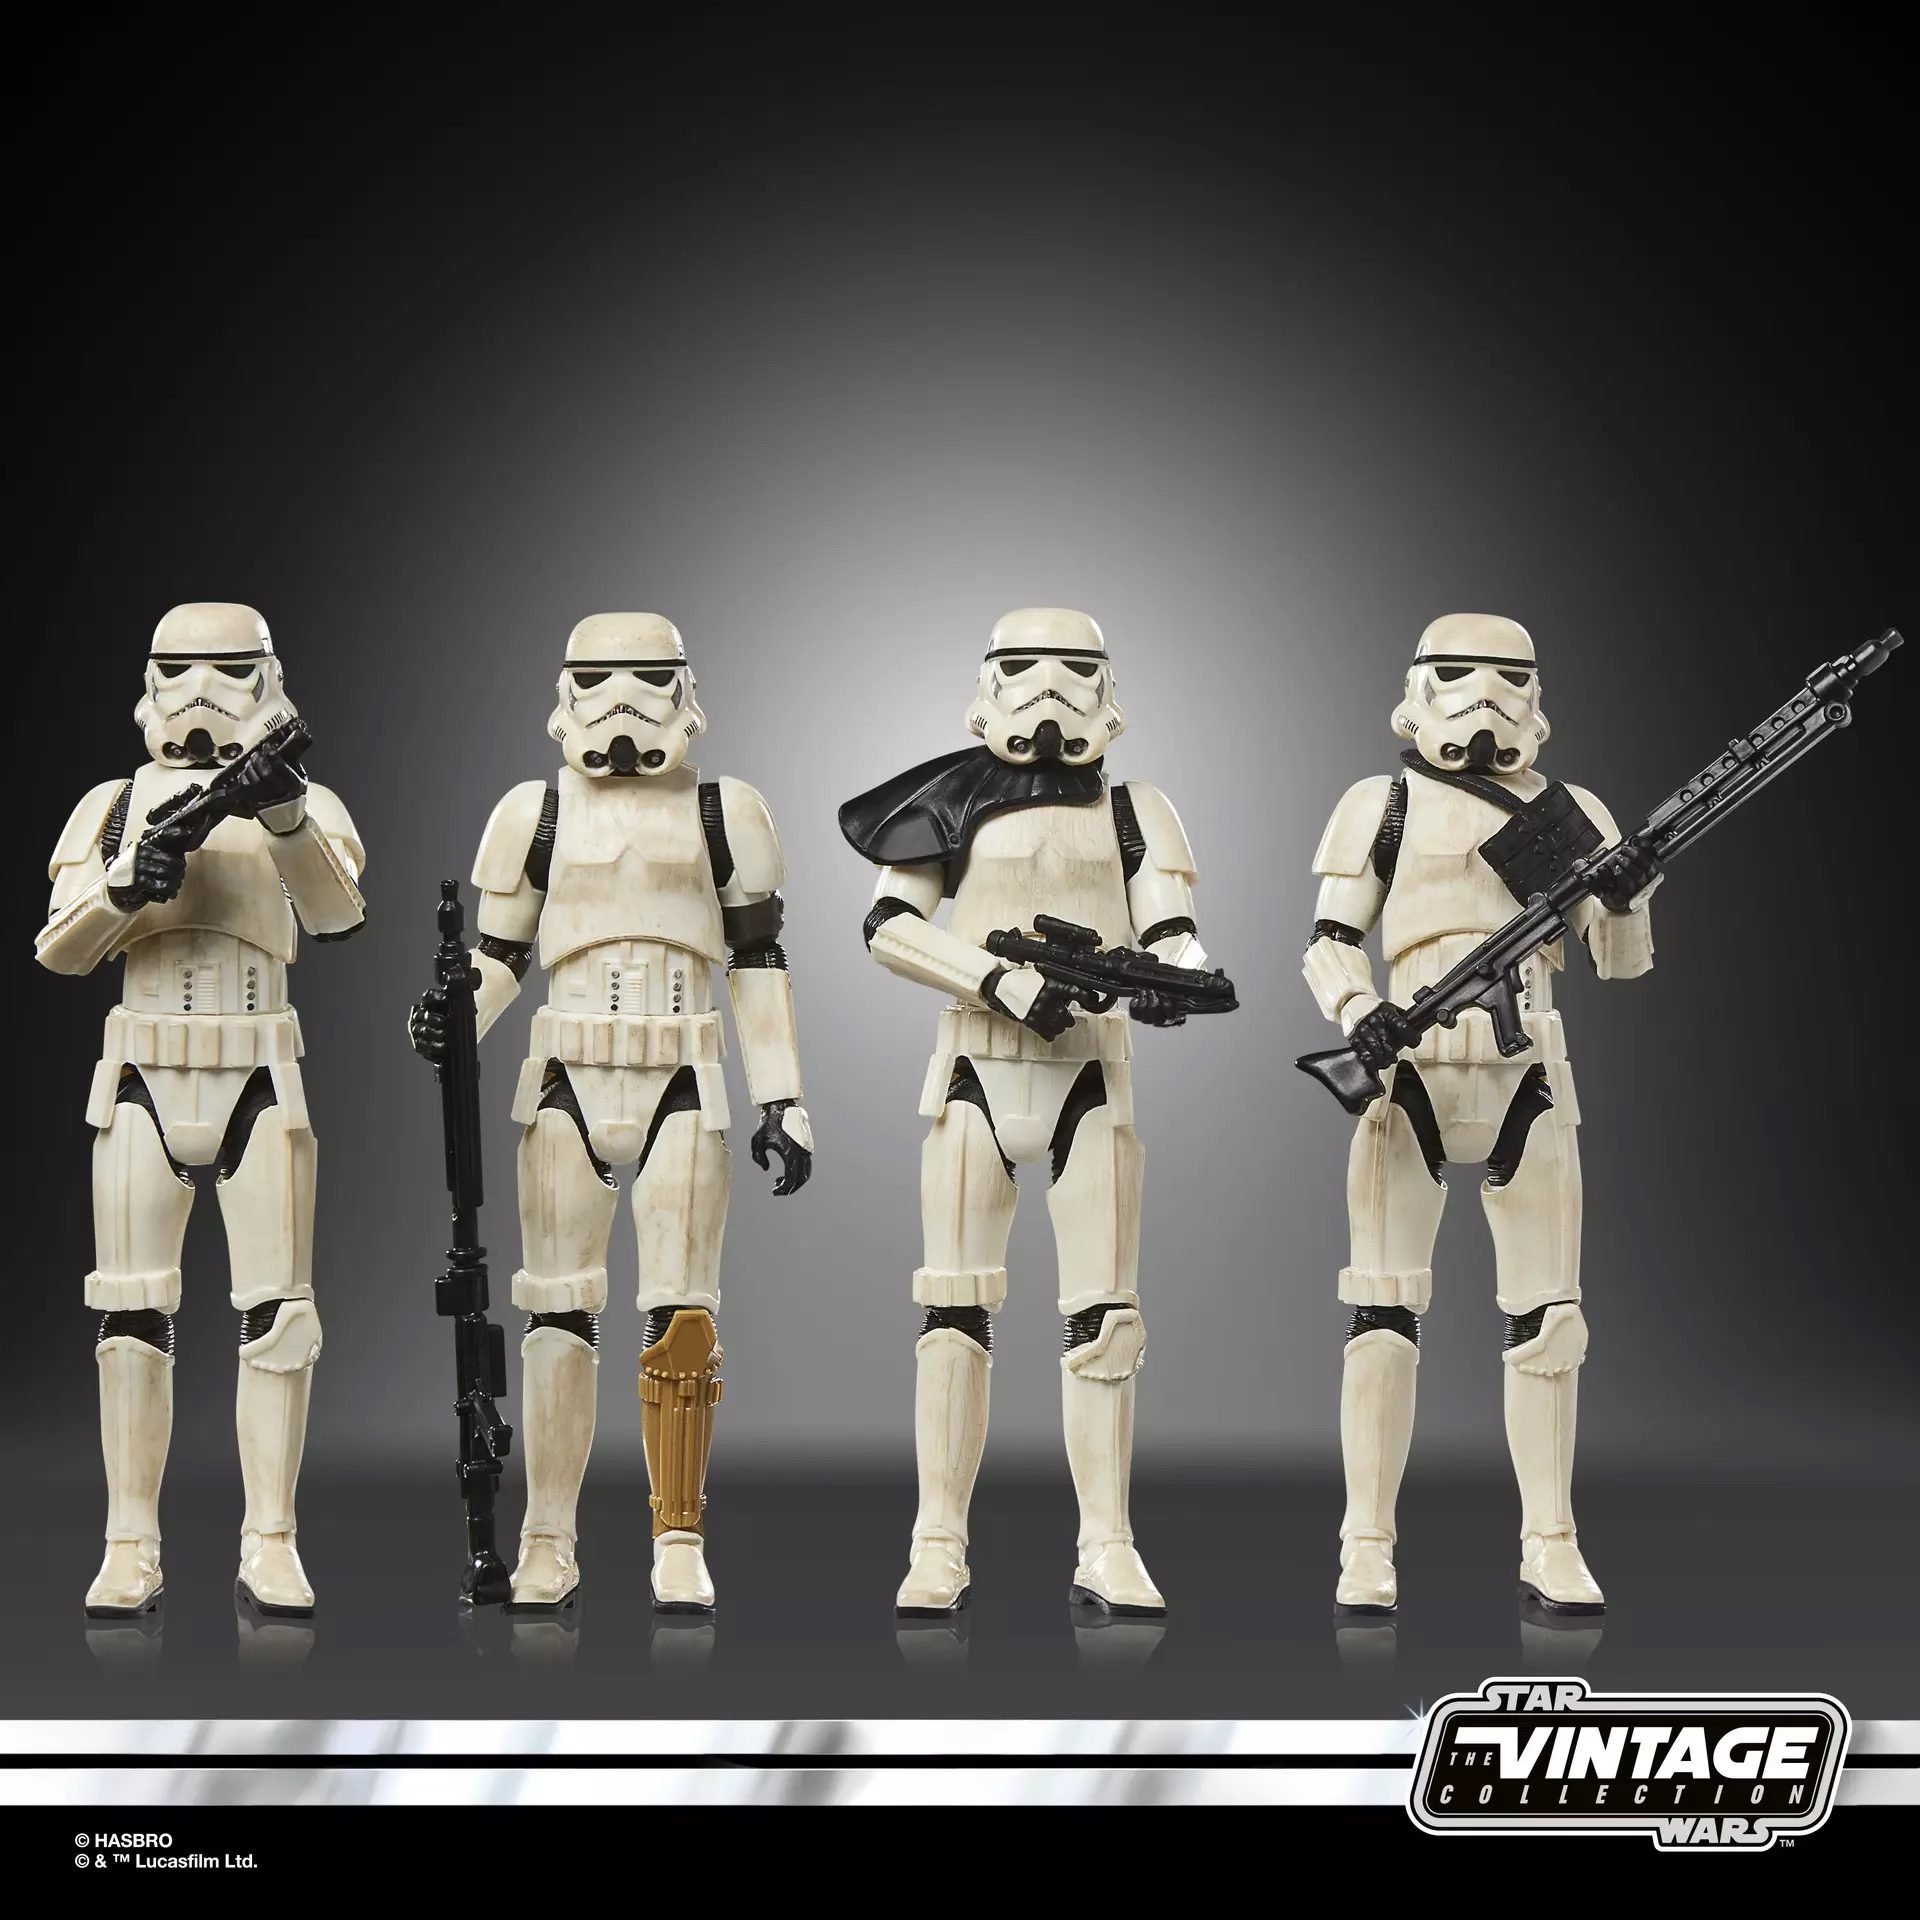
Black Series Imperial Remnant Troopers Interesting shin


 2 points
 -
2 points
-
Please join me in congratulating Chris Pearson themaninthesuitcase as our amazing Detachment Leader for 2026! Chris will continue on leading the best detachment within the legion. He has been an absolute rock star when it comes to leading the FISD. We look forward to having another fun and successful year under your leadership!1 point
-
That’s what I was thinking.1 point
-
I just saw this and shared it with some friends. It looks like they raided a Sandtrooper locker. But, yeah that shin is interesting. Sent from my SM-S938U using Tapatalk1 point
-
The most tedious part of 3D printing, sanding1 point
-
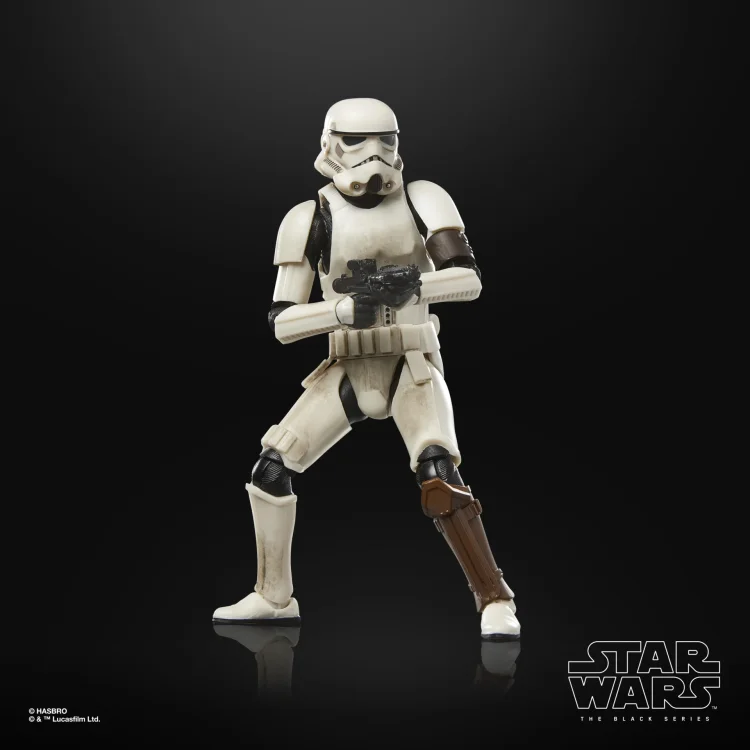
Would it really be a build thread without an overload of bucket photos? This seems to be the part most builders end up spending the bulk of their time on—and honestly, it’s easy to understand why. The helmet is one of the most daunting steps in the entire process, especially since it’s the piece that both die-hard fans and casual moviegoers instantly recognize (second only to Vader, probably). Because of that, I’ve been very intentional about not skimping on the details here. As mentioned earlier, I’m in this for the long haul. While Level Two is the realistic goal, I’m building everything with Centurion in the back of my mind. Even if I never make it that far—whether due to time, finances, or sanity—it’s been a helpful benchmark to keep me focused on accuracy. Alright, enough of the sappy stuff. Here are the photos. Today, unfortunately, is sanding day: As if sanding itself wasn’t punishment enough, some early printing mistakes decided to come back and haunt me. In the photo above (left, beside the cheek), you can see a bit of waviness in the rear of the helmet print—something I highlighted more clearly here: I’m about 90% confident this is moisture-related, so I’ve gone ahead and ordered a filament drying system before I start reprinting armor pieces. Whatever the cause, it’s been absolutely miserable to sand. It was actually worse before this stage, but you can still see areas where I attempted to smooth heavy ridges with a soldering iron (a bold choice, in hindsight), along with spots that looked like they were on the verge of delaminating. Again, I can’t say with total certainty what caused it, but moisture is currently the leading suspect. After pushing through that, I managed to sand everything down as best as my patience would allow. To help, I printed a simple sanding block using some leftover PLA from another project: Easily the most frustrating part of the helmet so far has been the tube stripes. My supports did me absolutely no favors here, so cleanup was… not ideal. I spent about 20 minutes with a file trying to smooth things out, and while it’s far from perfect, I’m confident that spot putty later will take care of the rest. And yes—remember that comment about building with Centurion in mind? Against my better judgment, I went ahead and “welded” in some spare PETG on the right eye per the CRL. I referenced several other build threads before committing, and I think I landed somewhere safely between “not a crazy bump” and “respectably noticeable.” I’ll be honest: this isn’t my favorite detail. I’m a fan of sharp, clean, consistent edges. That said, I don’t think it looks bad—and I’m happy to pay a little homage to the original prop makers here. My only lingering concern is whether I undersized it, but for now, I’m cautiously optimistic. Finally, the worst part yet: spot putty. Enough said. That’s all I’ve got for today’s update. With any luck, the next few days will involve a couple coats of primer, more block sanding, and repeating that process until the helmet is smooth and ready for paint. I’m not exactly looking forward to painting all the bits, bobs, and greebles—but compared to this stage, that part should be more relaxing (potentially a choice word). The only wildcard is the weather, which has been about as predictable as Kylo Ren’s attitude. That said, despite what the local weatherman keeps claiming, it’s finally warming up this week… and this is where things usually start to come together.1 point