Leaderboard
.thumb.jpg.6d328112c293e966a129e9e62a88b910.jpg)


Popular Content
Showing content with the highest reputation on 03/08/2022 in Posts
-
Woooo! This is awesome! Thank you to everyone for all your help, couldn’t have done it without all your insight. Can’t wait for my next troop Sent from my iPhone using Tapatalk2 points
-
Hi Ben, and thank you for your Centurion application! CRL and CENTURION Application Requirements: All required photos have been submitted, and on behalf of the entire D.O. staff we are pleased to welcome you to the rank of CENTURION. Congratulations! Other-Armor Fit/Assembly; In this area we review observations made by your fellow troopers and the DO team. Some observations may lead to suggestions to improve the overall look of your armor. Note that we consider both text (CRL) and pictures (screen caps/reference images) when reviewing submissions. Ben, we are pleased to welcome you to the ranks!!! Fantastic job, congratulations!!!2 points
-
Hi, everyone. Here's my Asahi Airsoft Sterling E-11 conversion build. Not being able to find an Asahi conversion build anywhere, I figured I might as well dive in and try it for myself. Asahi Sterling was originally sold here in Japan in 1985. The company has since gone out of business but their Sterlings still pop up in auctions every now and then. The Asahi may not necessarily be an accurate Sterling by today's standards but with a lot of metal parts along with the slim simple and robust design, I fell in love with it. I hope someone might find this interesting and share their builds or perhaps motivate them to re-visit this airsoft collecting dust in the attic. Main aspects of this build were; 1. No need for airsoft capability. Airsoft inner components were gutted out. 2. Installation of Tramp's Blast-FX instead 3. Replaced the entire metal/ABS hybrid receiver with an aluminum pipe. Original rear portion of the receiver which contains the airsoft mechanisms is of a heavy duty ABS plastic. Even after gutting out the airsoft components there's was no sufficient space for the Blast-FX speaker which I wanted to install. FYI, the front receiver (outer barrel) is of the nice metal material. So I opted to replace the entire receive with a aluminum pipe. Correct Sterliing outer diameter may be 38.1mm but decided to stick with the 35mm diameter which the Asahi is. This was to enable re-using of the original muzzle, front and rear metal sights and rear end cap not to mention keeping the Asahi's original slim design. 4. Bulldog props M38 Scope 5. Others T-tracks, Henglster counter, magazine, end cap clip, rails etc. were eyeballed and DIY's with material found from a local hardware store. So much for the boring explanations, here are the photo's of the build. I hope these may be of some interest to you guys. So this is what the Asahi Sterling looks like. Outer barrel, working stock, front & rear sights, trigger and trigger guard, magazine release button is made of metal. Muzzle needs some working with putty but it looks like a Sterling. Muzzle bolt will be replaced with one from a hardware store. A size comparison with the Disney E-11 Blaster I built earlier. Disney on the right, Asahi on the left. Very similar in size. Here's the original 1985 box it came in for the record. And here's the Asahi taken apart. See that the receiver is of a two(2) part construction, front is metal and rear is ABS. Tramp's Blast-FX1 point
-
Hello all! My BBB day has arrived, and I’m looking through all the pieces. I’ll post pictures as soon as I figure out how Imgur works.1 point
-
Congratulations Centurion!!!1 point
-
Congratulations!1 point
-
1 point
-
Congratulations Trooper, welcome to Centurion!! well done !1 point
-
Congratulations and welcome to the Centurion ranks trooper1 point
-
Congratulations and welcome to the Centurion ranks trooper1 point
-
Hi Nicholas, and thank you for your Centurion application! CRL and CENTURION Application Requirements: All required photos have been submitted, and on behalf of the entire D.O. staff we are pleased to welcome you to the rank of CENTURION. Congratulations! Other-Armor Fit/Assembly; In this area we review observations made by your fellow troopers and the DO team. Some observations may lead to suggestions to improve the overall look of your armor. Note that we consider both text (CRL) and pictures (screen caps/reference images) when reviewing submissions. First of all, We appreciate your patience, brother. And that's all sir. Great job on those fixes. Congratulations.1 point
-
Congratulations Trooper, Welcome to Centurion ranks !!1 point
-
Thank you. I was surprised myself that I was able to come this far with just manual drilling and a metal file. I couldn’t have done it without the E-11 Reference file and all the information on this FIST site.1 point
-
Here's a little more of the Sterling with the replaced receiver. The metal stock is a working one which clicks into the rear end cap. Metal parts are : front & rear sight, stock, trigger & trigger guard, magazine release button Muzzle, magazine well, end cap and grip is of ABS material.1 point
-
Here's the aluminum pipe (35mm diameter) to replace the metal/ABS hybrid receiver. To drill the outer barrel holes, I first made a paper stencil by wrapping and pressing a piece of paper to the Asahi barrel and outlining the hole position with a pencil. Then pasted the paper stencil to the new aluminum pipe and started drilling. Started with a small drill and eventually enlarging the hole and finally with a rotary tool. This is where the grip is inserted into the receiver. Made a slight incision with a cutter for the straight line and then drilled out opening with a drill. Final shape of the opening was simply cleaned and adjusted with a metal file. Aluminum receiver completed. The magazine well was connected to the receiver at a right angle so the base was sliced with a rotary tool so that it would connect at an slight angle. is And this is how the new aluminum receiver fits with the original Asahi parts.1 point
-
Just checking to see how it's going buddy! Did you ever get your ANH Stunt TK in from RS? Took me 4 months to get my ESB TK from the time I ordered mine from RS, but 100% worth it!1 point
-
Left forearm return edge fixed Left upper corner of belt fixed1 point
-
Foam inside the belt boxes is a great idea, always amazes me with all the builds you see that someone has a new spin on assembling a part, coming along great.1 point
-
1 point
-
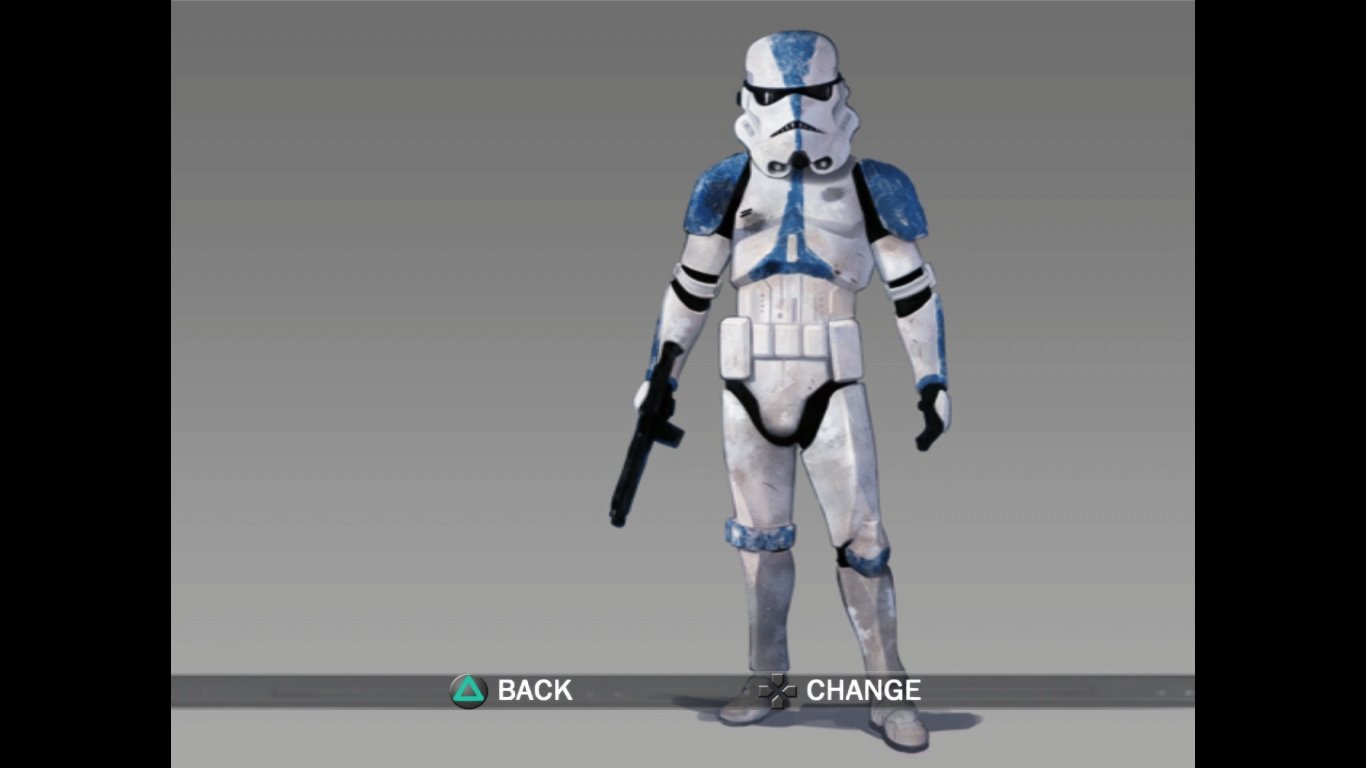
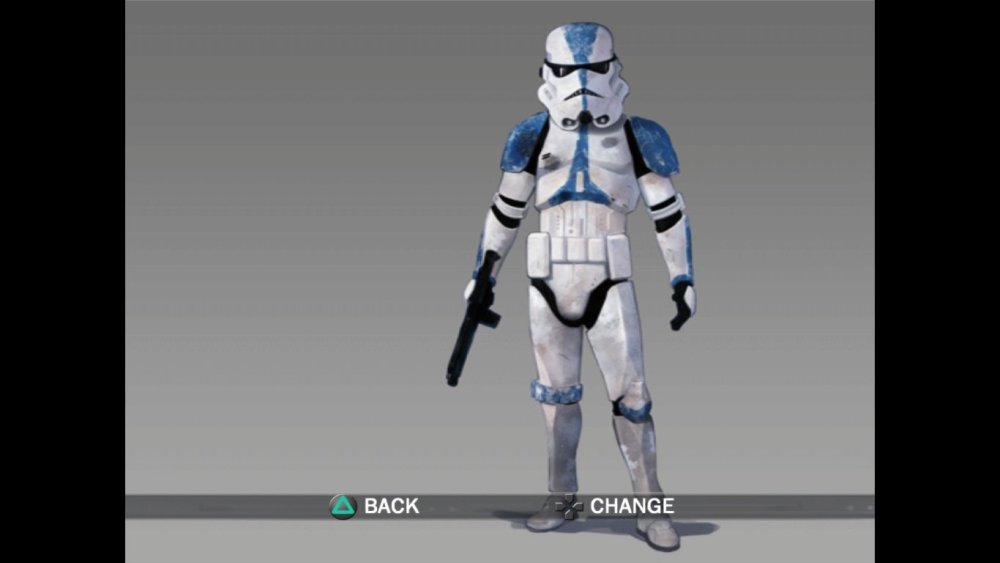
The shoulder pad is similar to that of the stormtrooper but without reliefs and with a cut in the lower part of it.
 1 point
 -
And some final pics for this thread. Until I can build my blaster rack, I needed a way to display the DLT. I bought some padded tool U shaped hooks from hardware store, drilled them into conveniently spaced wall studs, and hung the DLT. I now am sourcing a good case for it so I can bring it to troops without raising eye brows in hotel lobbies...1 point
-
Welcome to the FISD! Hope to welcome you to the CCG soon.1 point


.thumb.jpg.2b17f3f414db0884f3c65bbc26f9b5f1.jpg)