


StrmTRPR85
-
Posts
698 -
Joined
-
Last visited
-
Days Won
2
Content Type
Profiles
Forums
Gallery
Articles
Media Demo
Posts posted by StrmTRPR85
-
-
1 minute ago, magni said:
I would lose all the return edge. Especially on top. Not seen under bell anyway. Ideally all coverstrips on arms are 15mm. In your case that'ss not gonna work and you've already done forarms. I would go with a 20mm coverstrip on front but trim butt joint for 22mm. Leaving 11mm on each side. Giving 1mm to ridge. The 2mm doesn't sound like much but will help with room in bicep. Make the back coverstrip as small as you can leaving enough room to slide on and a whisker for comfort.
The best advice I can give ya
^This^
Also are you trying on with your undersuit on? It appears you are but wanted to confirm.
-
Hello and welcome! I did my WTF TK and have had a lot of fun with it while learning alot.
Do you need those ridges on the biceps? What does your forearms look like?
If you can go without those ridges it would look sharp but if you need them do to larger arm size we can work with it. It may be a trim in the front and let the back be larger type deal.
-
Now time to make abs paste, and smooth it out!
-
Did you test fit with all that return edge? I would remove more of that edge for comfort than test fit again.
-
 1
1
-
-
4 minutes ago, TK 71627 said:
Did u put acetone on your finger to bring out the shine ?
Sent from my iPhone using TapatalkWhen I was done I did
-
1
-
-
Start small and work up. I did 150 and kept increasing to 2000 adding some water to the sandpaper
-
2 hours ago, TK 71627 said:
Omg
 !!!!!!!
I am so SORRY, ‘85 !!!!
I NEVER REALIZED this was your build thread


 ....
....
I NEVER meant to INVADE your thread ...
Idk how to apologize, this is SO EMBARRASSING !!!!
Please FORGIVE ME
Sent from my iPhone using TapatalkYour fine trooper!
 Your a true TK as in we always miss
I thought we had almost similar titles so I thought I'd double check. No harm no foul.
Still jealous over that liner in your tote....I just have my kit go in with blankets covering the sides
-
2
-
-
17 minutes ago, TK 71627 said:
Frown/Teeth AFTER...


Sent from my iPhone using TapatalkGood job cleaning those teeth up. Just a curious question do you mean to post in this build thread or do you mean to add to yours?
It doesn't bother me one bit if you want to add to mine
")
-
1
-
-
Happy Happy Joy Joy its BBB day!
-
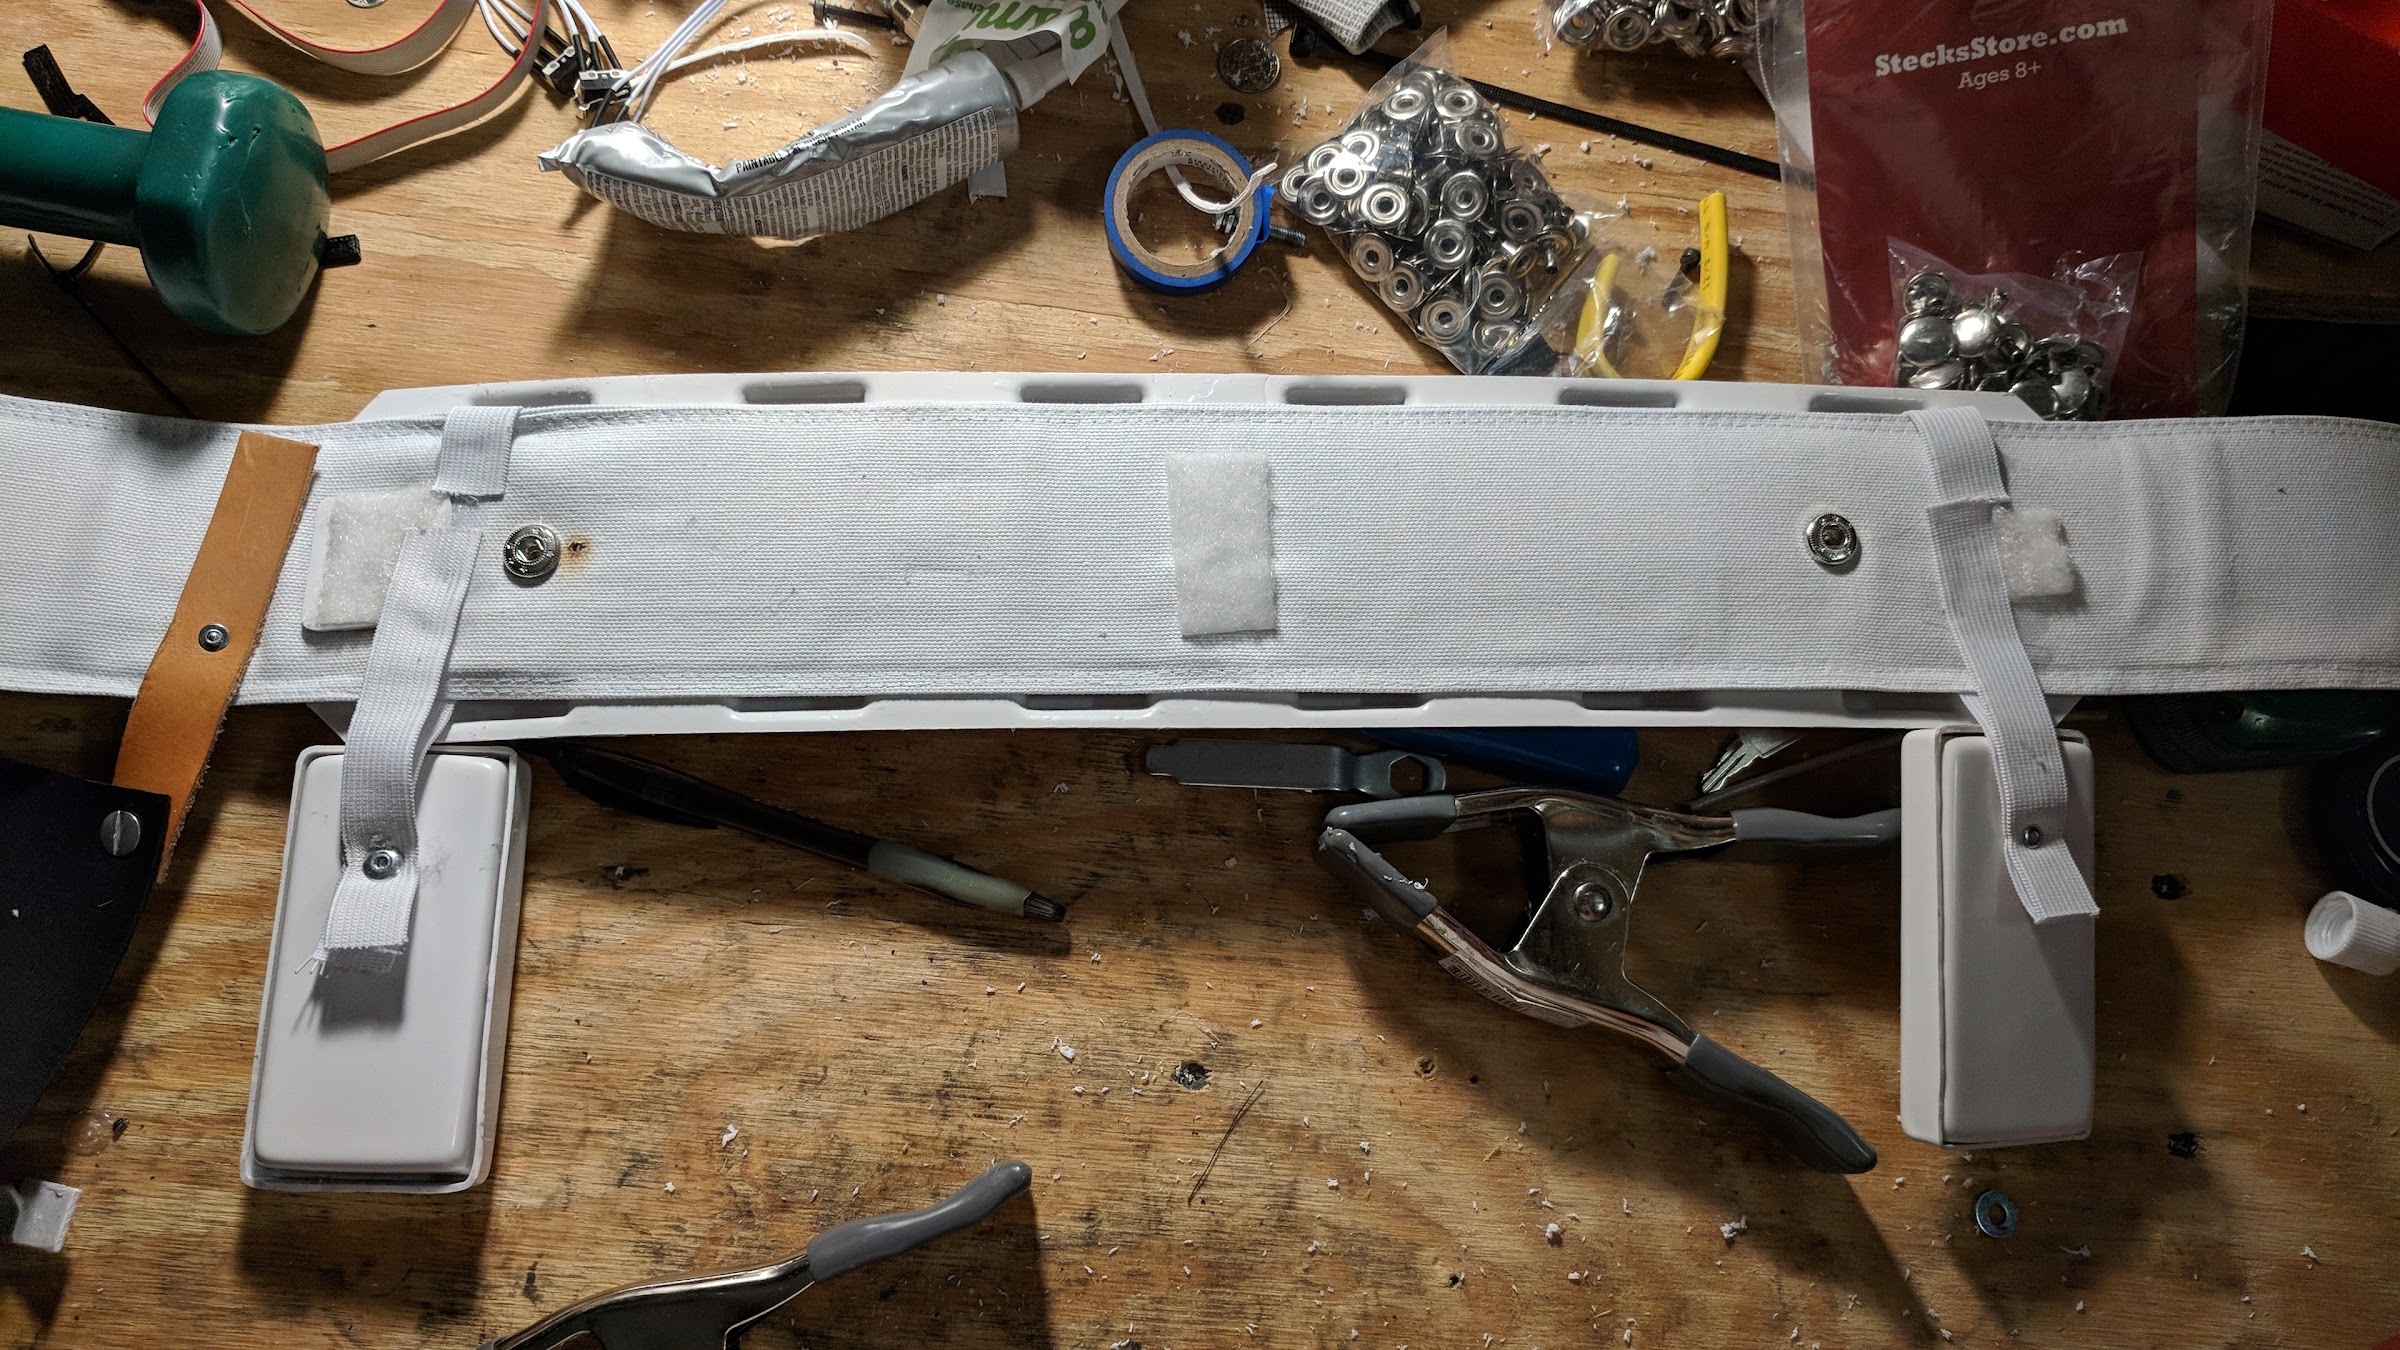
Fixed the ammo boxes on the belt for my centurion approval.
I cut the old straps to allow me to move the boxes to align with the ends and glue in place
Cutting the old straps:
Moved the box to the end and aligned with the end of the belt.
Repeated for other side than added E6000 and allowed to dry:
and here is the view from the front
Now all to clean some excess E6000 from the belt buttons next!
-
@TK 71627 you beat me to lining mine! I was thinking of using snaps as well.
-
1
-
-
4 hours ago, TK 71627 said:
I place 3 snaps on the sides & 6 on the longer sides= 18 total snaps (36 total counting male and females)

I was going to use Velcro to attach the sides.... but snaps are more secure.
You must have a detachable lined on your bin, for EASY ACCESS to snap off and WASH FELT , you don’t want to store your armor and FORGET to unload and ending up smelling like gym shorts & sweat

Sent from my iPhone using TapatalkGood work! I like the interior job and the snaps
-
1
-
-
I used in no particular order
Lexan scissors until the handle broke than I used tin snips
Utility knife for straight cuts using a metal yard stick as a guide
Dremel with sanding wheel for smoothing things out.
-
1
-
-
Would it be easier to remove from the top of the bicep as the bell will over this area?
-
1
-
-
45 minutes ago, bleedn21 said:
What is the best way to post pictures in this forum? I tried embedding from Imgur, but it didn't work, and now I feel old.
I like to use Google photos
-
Below is a link for a chemical compatibility chart. Need to know if something is safe on your ABS? Use the chemical compatibility chart!
https://www.coleparmer.com/chemical-resistance
This will help anyone know what to chemical/solvent is safe to use on there armor. Simply select what the chemical is and the material is and click "view compatibility"
It will populate an alphabetical code from A to E and a chart to the side stating the chemical effect of the chemical/solvent on the material of your choosing.
-
4
-
-
1 hour ago, TK 71627 said:..... so is it even WORTH IT, to even use it ???
My TK is my pride and joy.... I don’t want to mess up the bucket...
Sent from my iPhone using TapatalkIts just something I wanted to call out that it can damage it if you use too much and if you leave it on.
Chemistry Major Incoming:
ABS is prone to being attacked by polar solvents (acetone)
From the web:
Acetone acts as a polar protic solvent that can generally solvate a wide variety of polymers. Both of these solvents can make a dilute ABS solution
meaning it dissolves your ABS
Mineral Spirts or Stoddard Solvent can do the same but is a poor protic solvent. IF you let mineral spirts/Stoddard Solvent sit on ABS and left overnight you would see a blemish/scarring.
In the short it is safe to use to clean paint, just wipe clean with a wet rag when done to remove any excess.
If you want to know "will X dissolve Y" use the following site from Cole Parmer
https://www.coleparmer.com/chemical-resistance
Select your chemical you are using in section 1, than select your material section 2 and let the magic of the internet do the work for you.
-
2
-
-
Welcome! Looking forward to seeing not one but two additions to Centurion level!
-
I am quite impressed by the Stormin Norman
 Really great work on that!
You have yourself a great kit in the Anovos (now that you finally got it)!
Make sure to post lots of pictures and ask lots of questions! We are all here to help!
Since your so handy as seen with Stormin Norman your going Centurion right?
-
1 minute ago, TK 71627 said:
Is this what u used to clean ur teeth ?

Sent from my iPhone using TapatalkThats what I used. It definitly helped to soften the paint and make it easy to scrap off and than anything left over came off very easy with a cotton swab and mineral spirits.
One thing to note that mineral spirits CAN dissolve ABS it just works much much slower than acetone.
-
That is a great idea! It will definitely help with approvals and give a clearer idea what should be submitted.
-
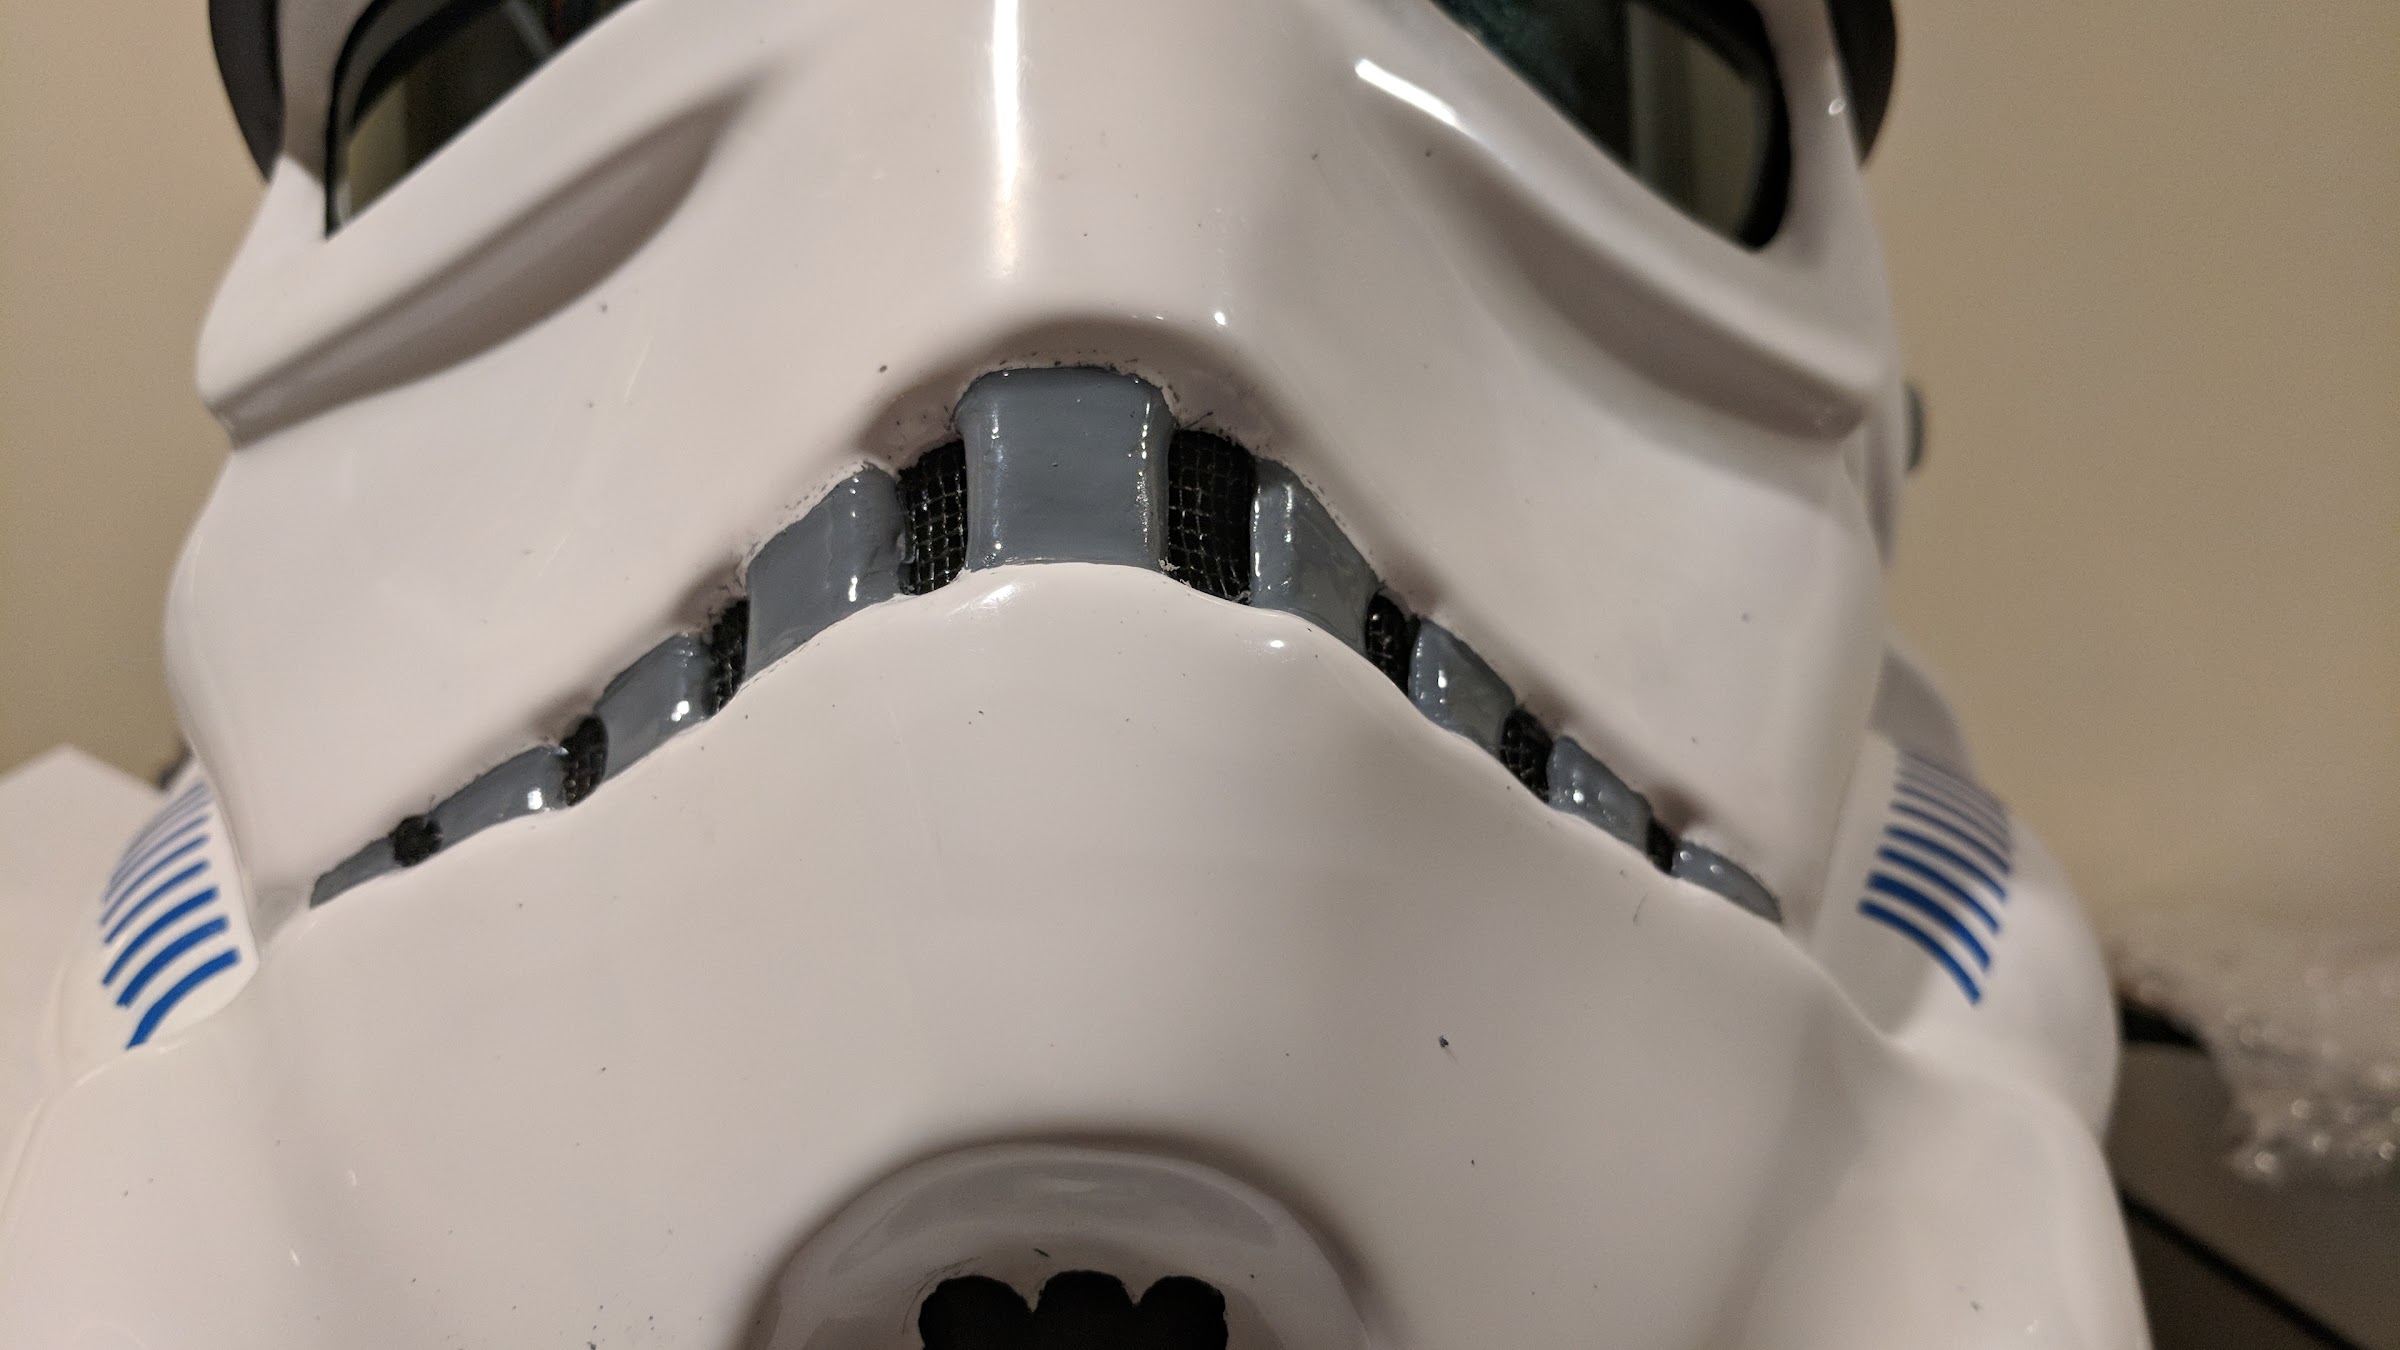
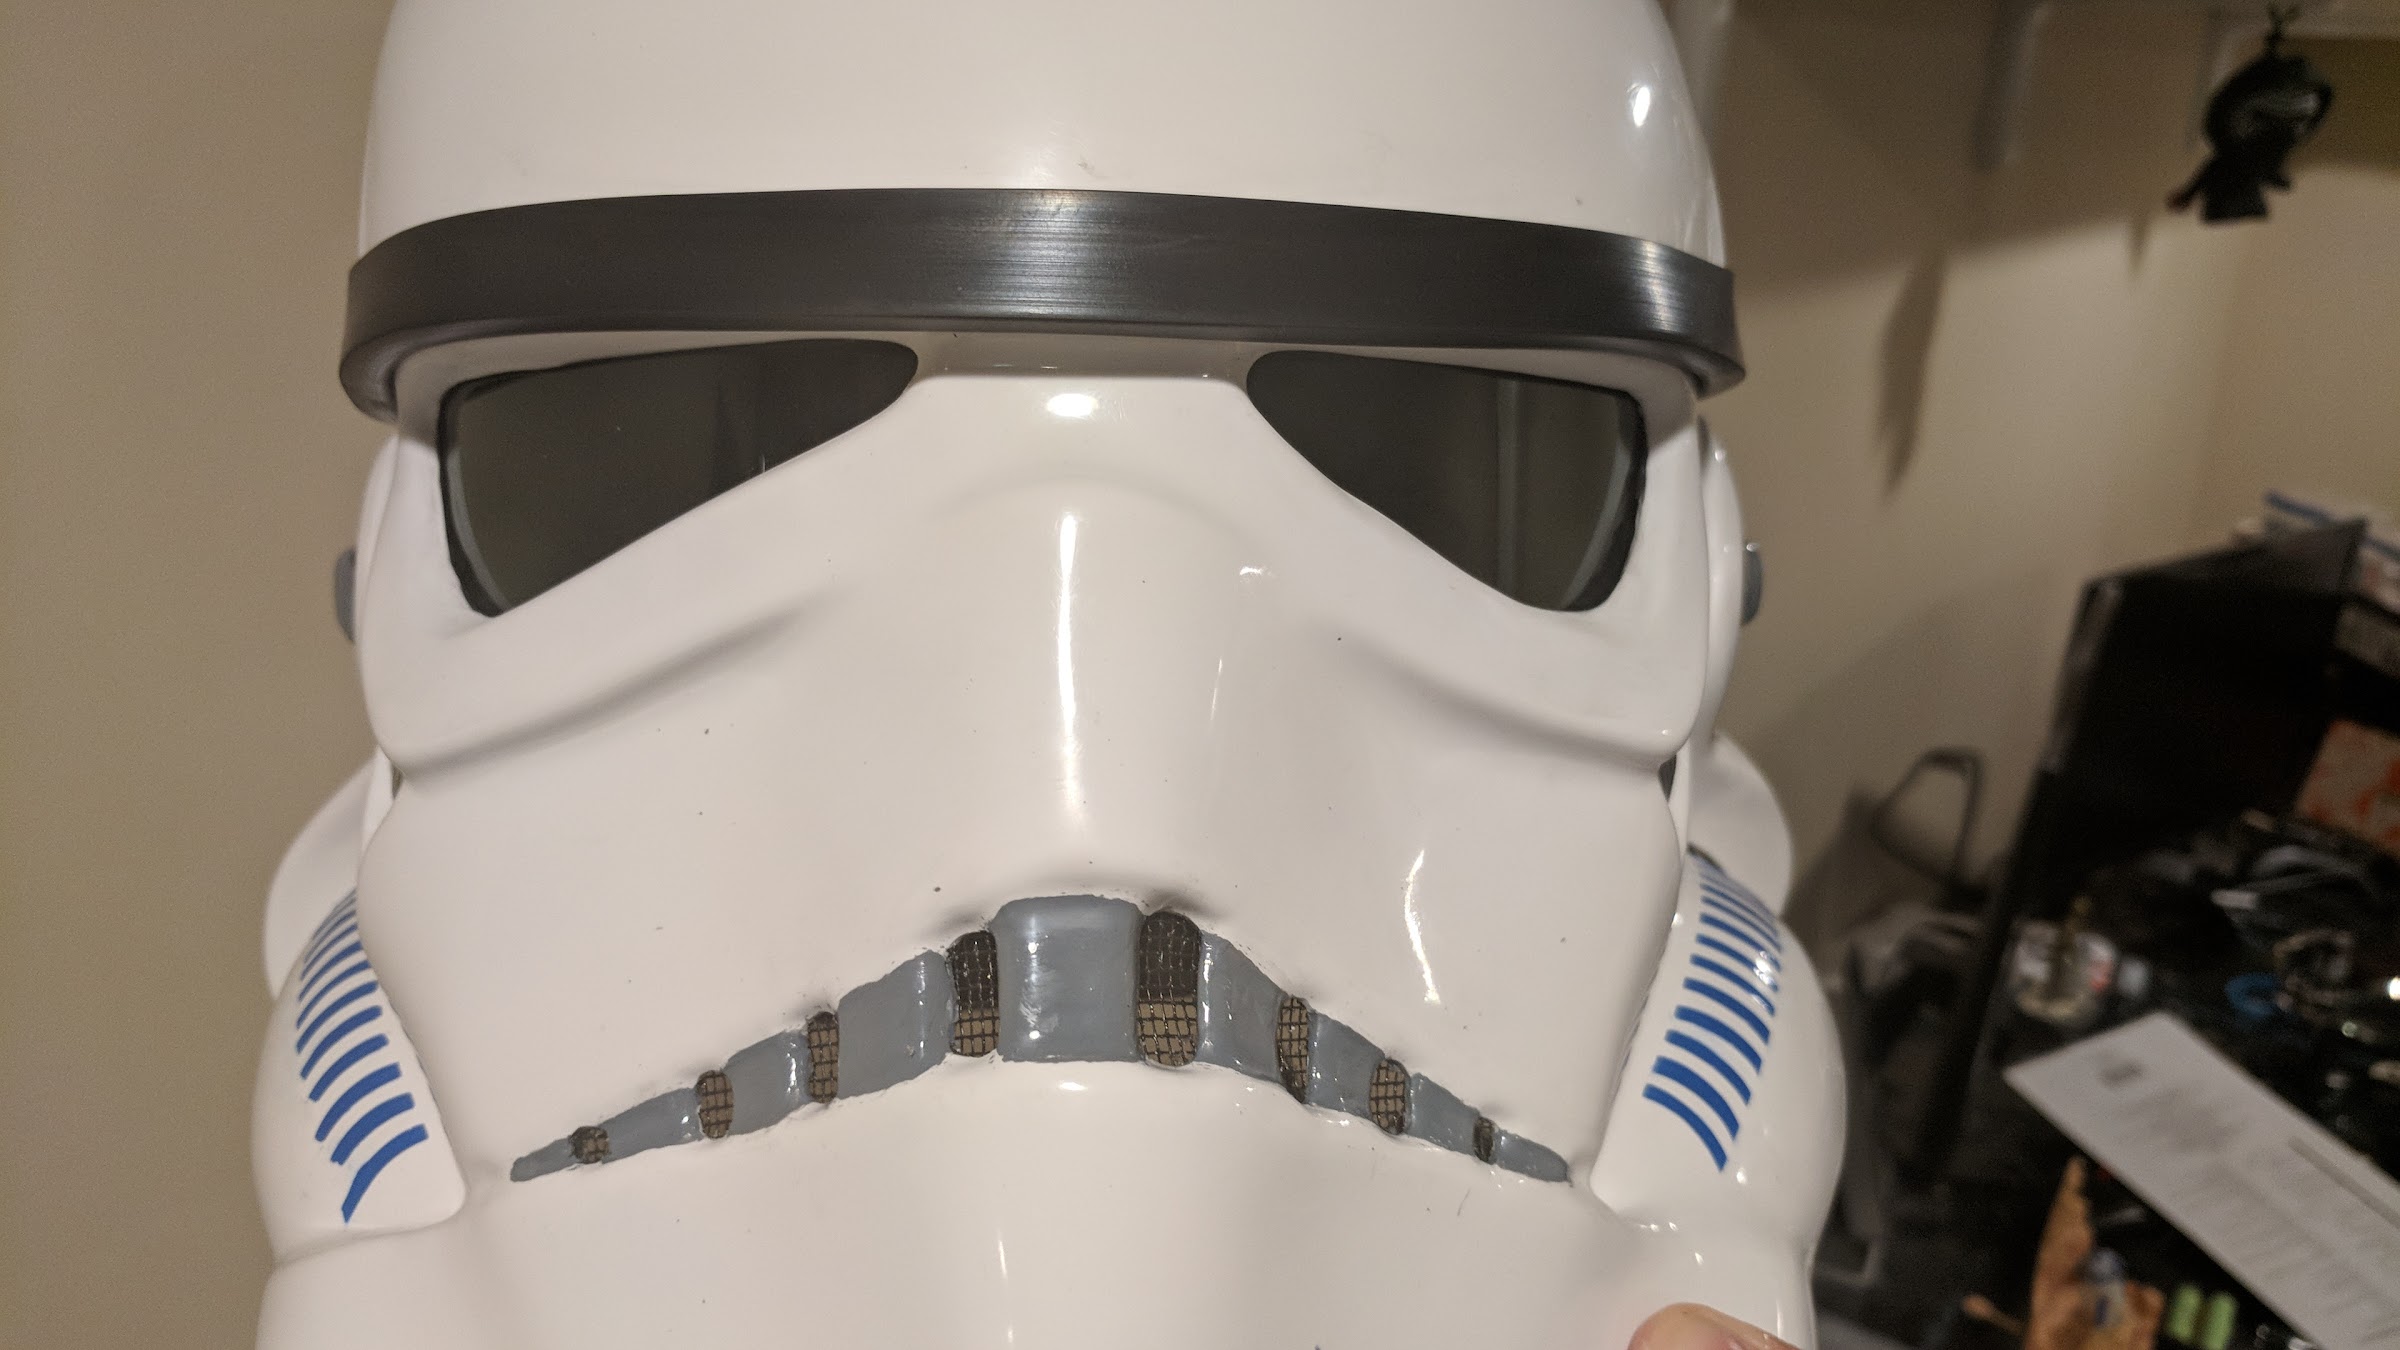
Extending the paint on my left tear is another request before centurion submission.
This was just a matter of painting over the black lines to extend the grey, allowing to dry and than repainting the black lines, and extending the "vents" to make the just a tad taller.
Before:
Extending the gray:
Adding black lines:
I need to touch up the black lines just a pinch. This is an easy hit with a toothpick and clean up paint with a touch of gray.
-
1
-
-
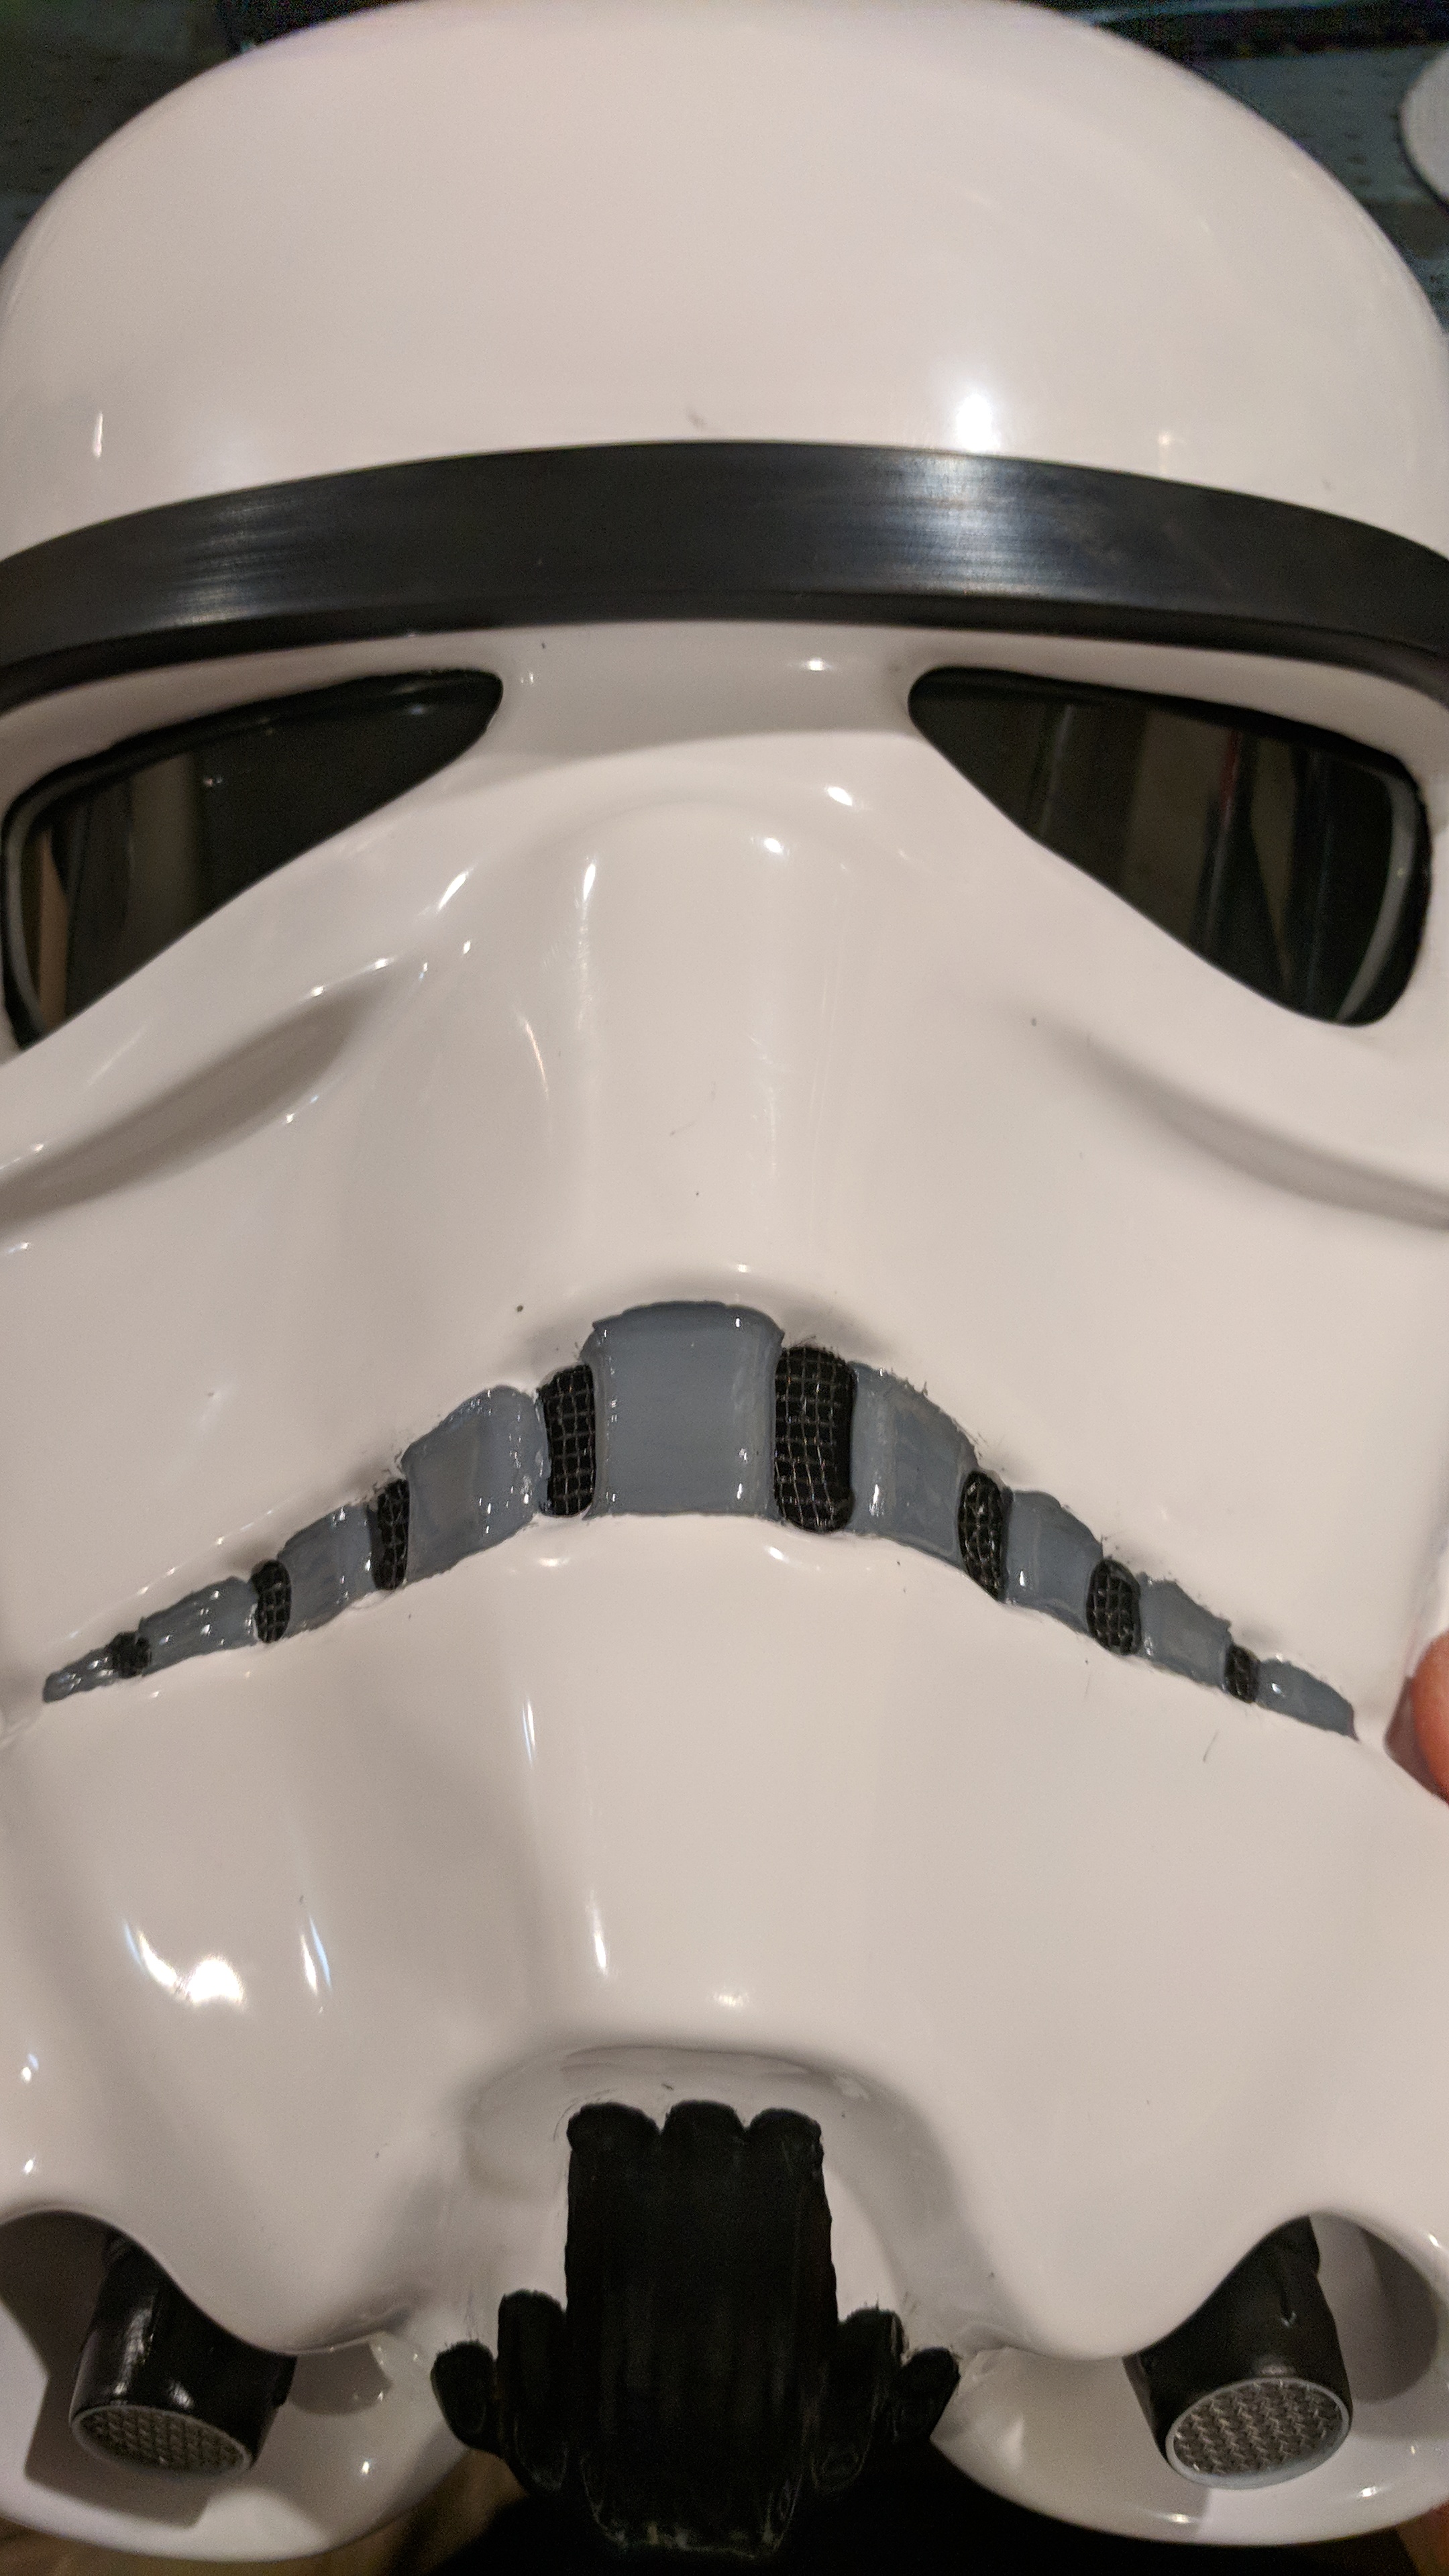
Alright easy fixes incoming!
needed to remove some extra paint that was on the top of the teeth.
To do this used some mineral spirits and a cotton swab.
Rubbed the cotton swab along the top of the teeth, than I took a small flat heat screwdriver and carefully scrapped away the excess paint. Than I took another mineral spirit cotton swab and removed anything that scrapping did not get.
Before:
During:
Final:
-
18 hours ago, TheSwede said:
Congratulations on beeing Expert Infantry
16 hours ago, gmrhodes13 said:Congratulations trooper
15 hours ago, magni said:Congratulations Jeff!

Welcome to the higher Ranks!
2 hours ago, TK-40996 said:Congratulations on achieving EIB !!
Welcome to the ranks !
9 minutes ago, ukswrath said:Congratulation Jeff, nice work

Thank you all!
-
1
-


Pam's WTF ANH Build
in ANH Build Threads
Posted
You can do it!