

StrmTRPR85
-
Posts
698 -
Joined
-
Last visited
-
Days Won
2
Content Type
Profiles
Forums
Gallery
Articles
Media Demo
Posts posted by StrmTRPR85
-
-
1. Jeffrey
2. Aurand
3. 501st ID: TK-22706
4. Paper size: Letter
5. Joseph
-
8 minutes ago, Erice3339 said:
As was mentioned by another user, I couldn’t find anything in the CRL’s about the curved teeth edges
The paint will be more of the issue than shape. It's up to you how you like it. I went with the twinkee teeth as that's what I liked.
-
Some like the twinkee teeth look and others go with more of a sharp look. Go with what you want to do. Either is acceptable
-
Woo hoo made it!
Tear Paint:
2 hours ago, justjoseph63 said:The paint job on your left tear is a bit small. It should fill in the indentation more, just as the one on your right does.
Reference image


I see that now looking more closely at the helmet in front of me. I thought I freehanded up to the top "ridge". Easy fix
")
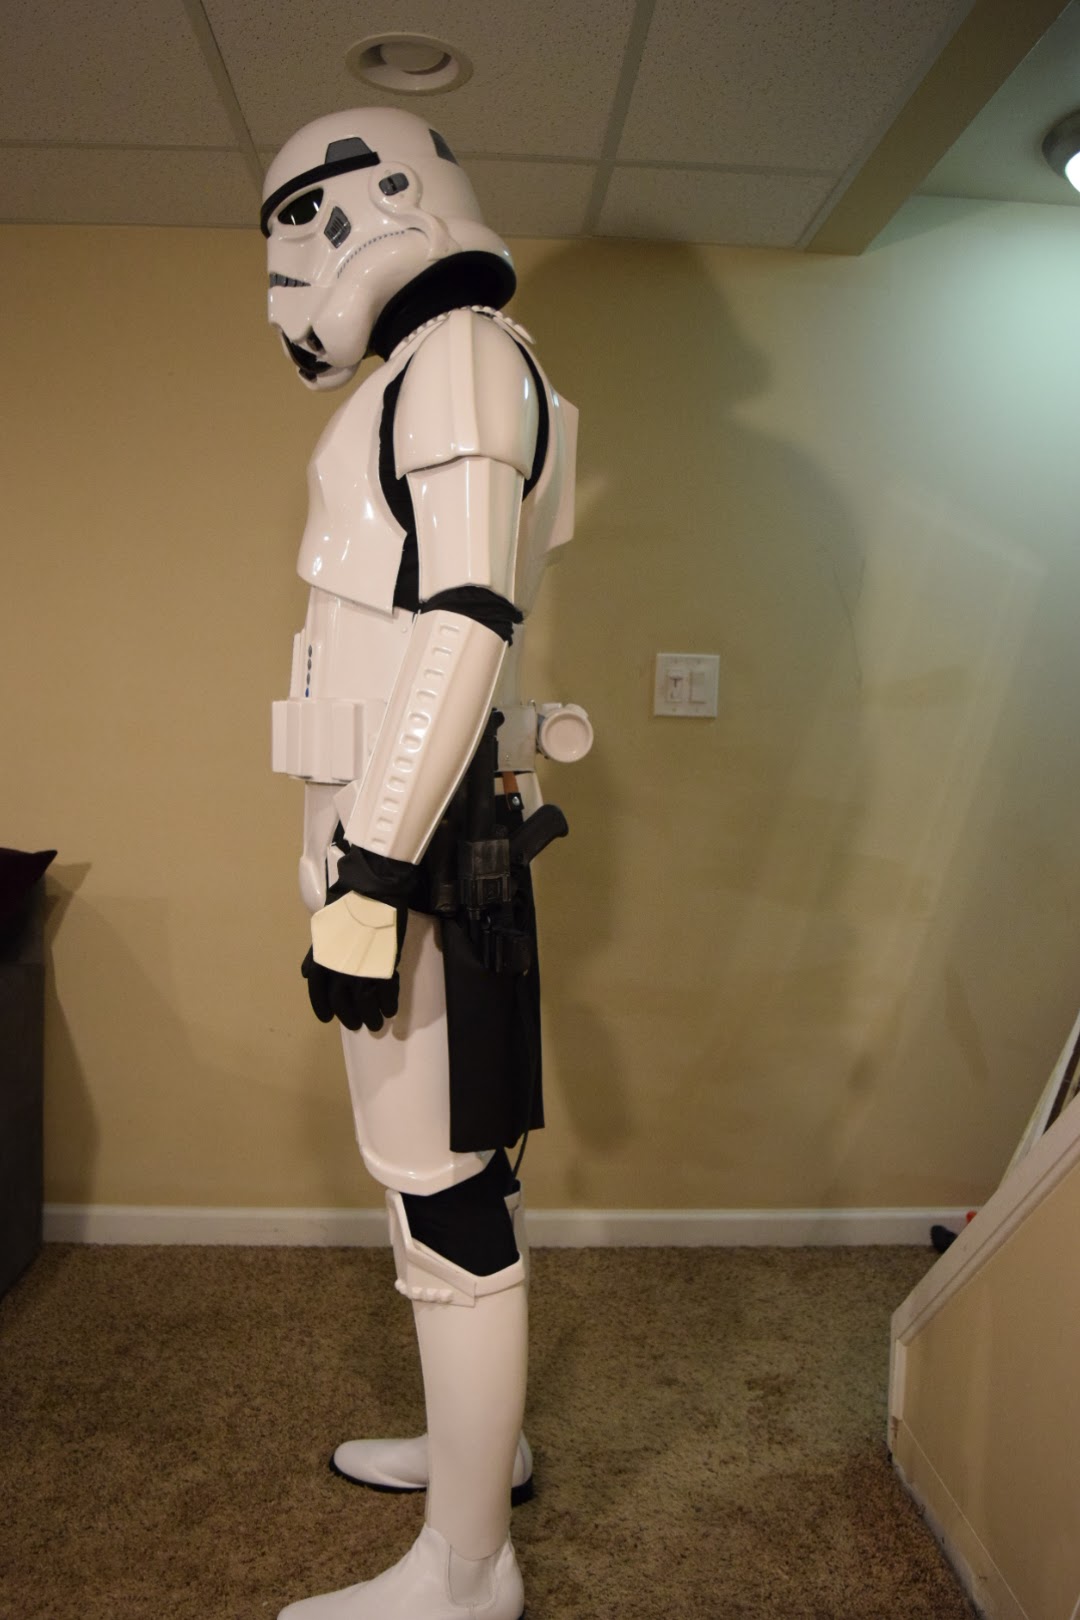
Handguards:
2 hours ago, justjoseph63 said:Your latex hand guards have turned yellow due to sun exposure (it happens). In the films, they put a coat of white paint on them so that they would match the armor, which is my recommendation to give you a sharper appearance.
I got plenty of white latex paint left by the previous home owners so heres another easy fix and plus painting them is screen accurate!
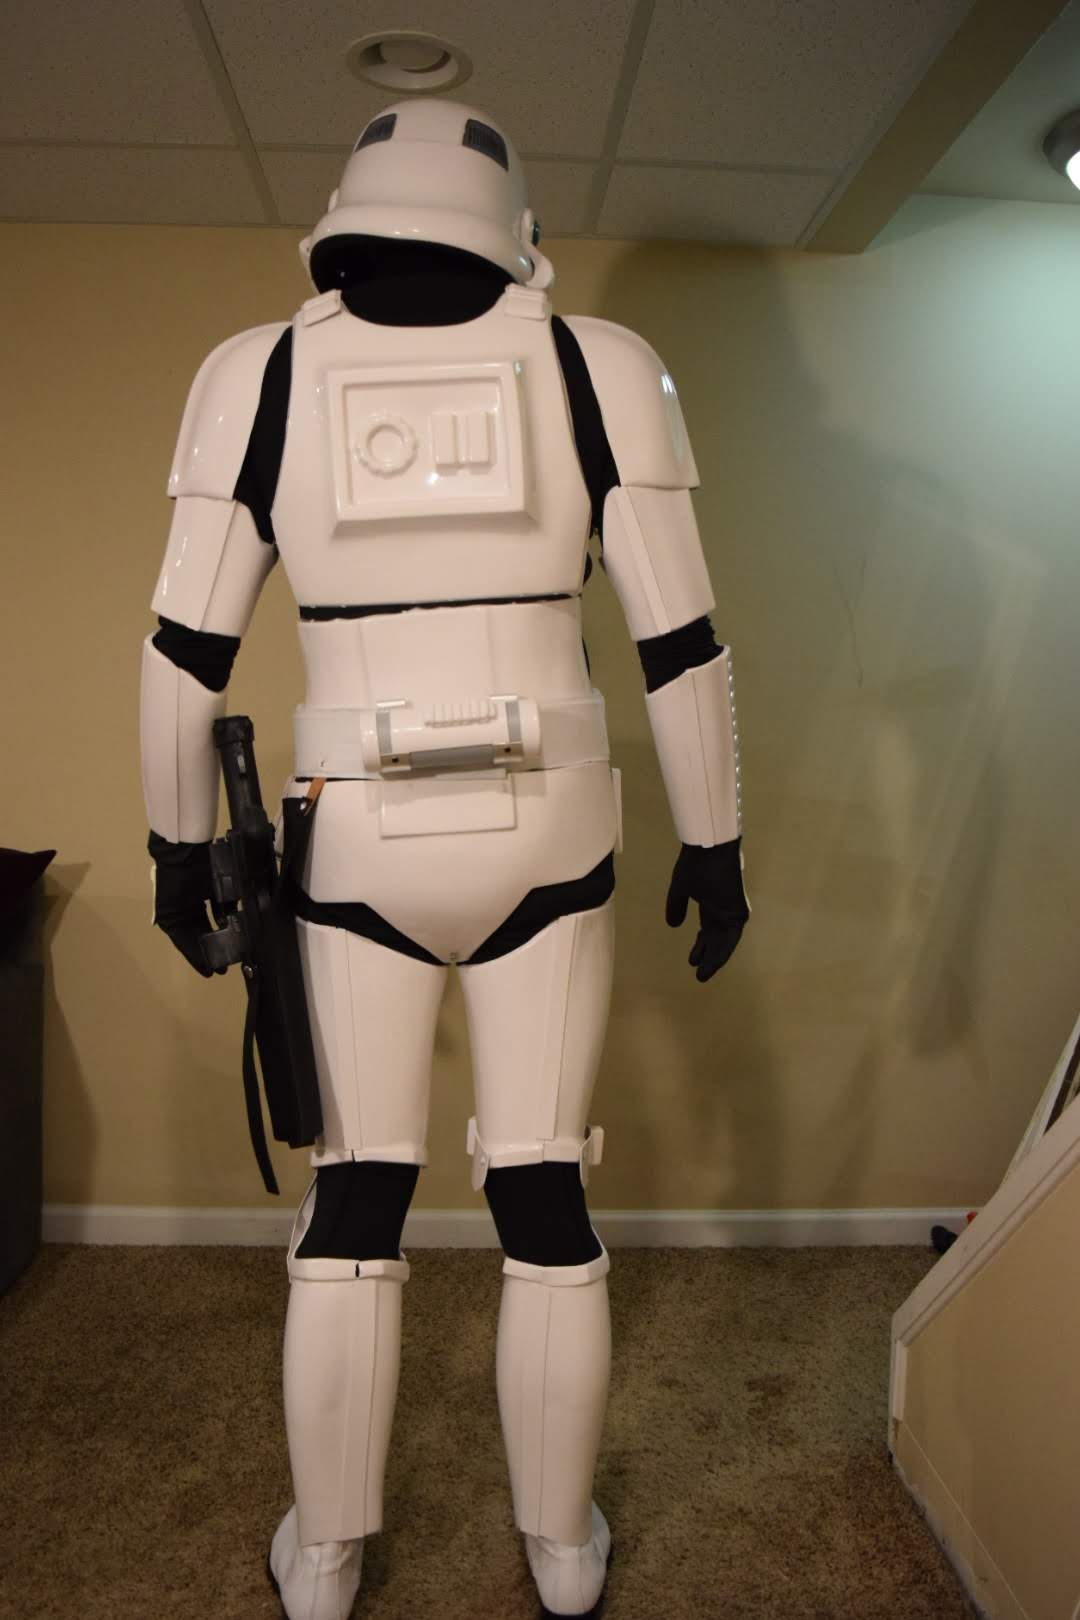
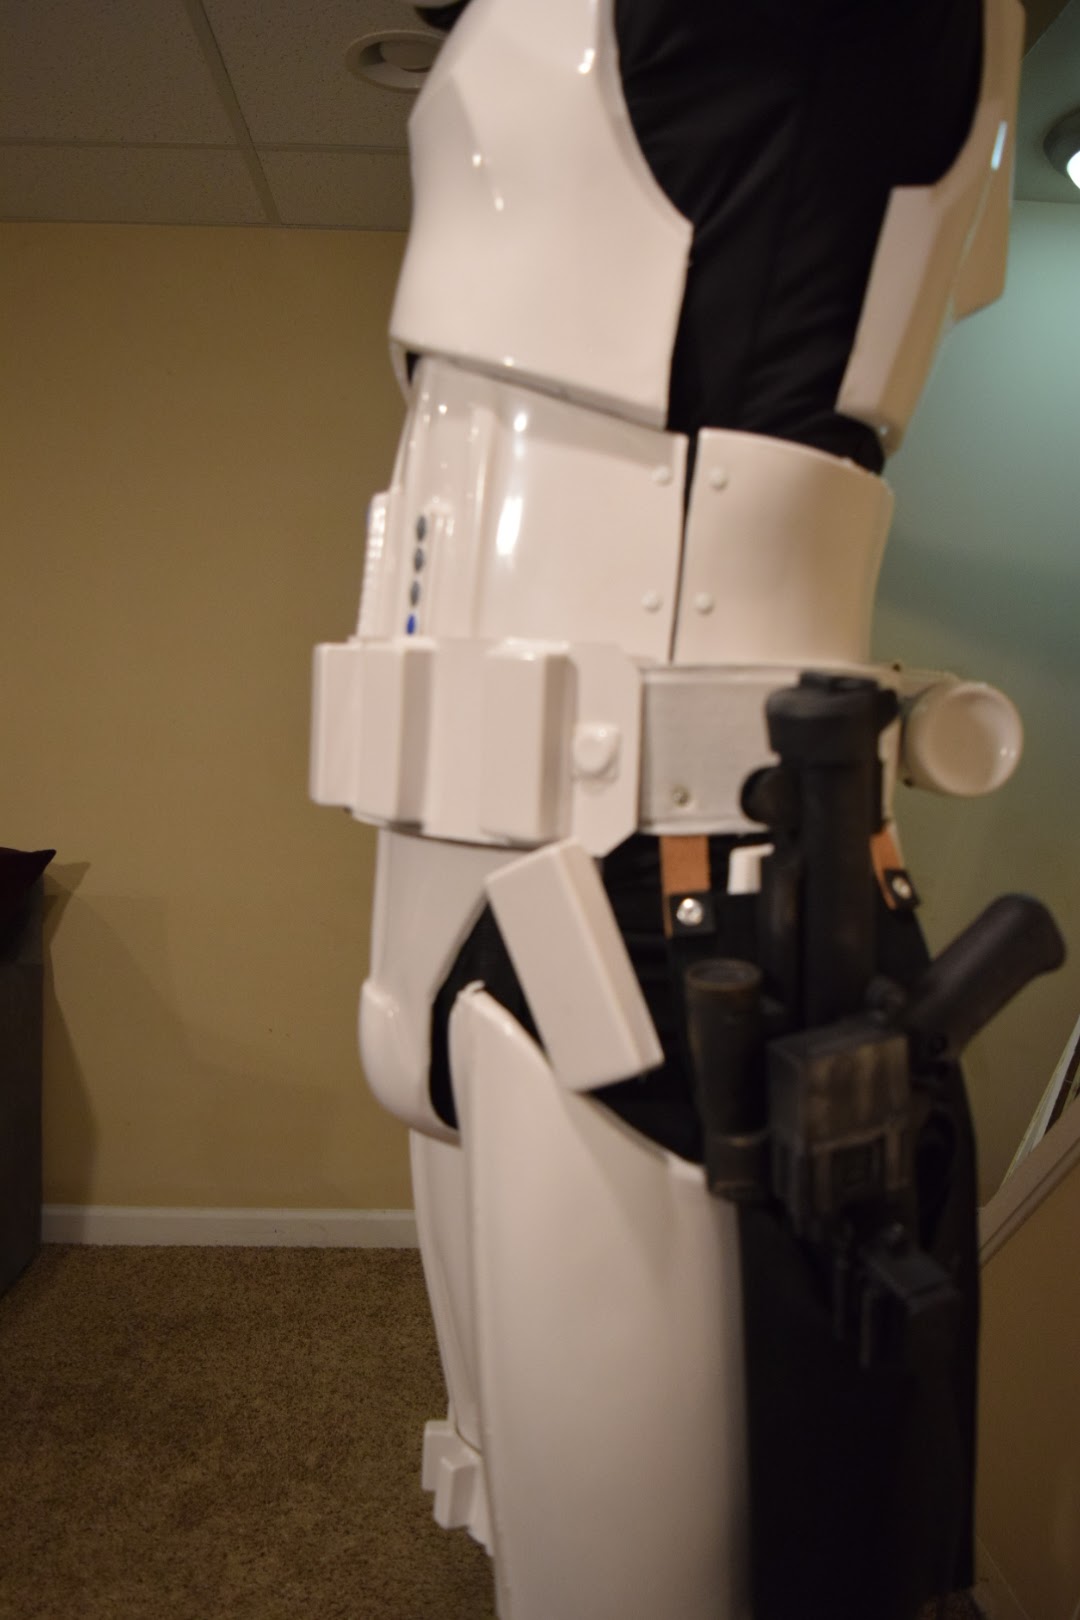
Dropboxes:
2 hours ago, justjoseph63 said:Your left drop box strap is a bit too short and sits on the front of your ammo belt.
2 hours ago, justjoseph63 said:I had the same exact issue and I ended up just eliminating the loop and gluing the strap directly behind it.
Yea i'll probably just end up cutting and glueing in place. KIST "Keep It Simple Trooper"
Bells:
2 hours ago, justjoseph63 said:There is a "swoop" at the bottom of the outer ridge of each which should face forward.
I knew there was a left right, but forgot the clue as to what it was. Bells are swapped and labeled now for piece of mind.
2 hours ago, justjoseph63 said:I see that there is a larger than normal gap between your shoulder bells and chest/back, that they should sit closer to the shoulder bridge, and that you may have trimmed too much off of the sides, but you have attempted to correct this by reshaping them and eliminating all the return edges. It will not affect you at level 3, but I suggest looking into replacing them at some point. (Don't forget the direction of the swoops)!

I know Walt ended up making bigger bells. I think I probably trimmed a bit much....I might look into seeing if anyone that ordered the replacement bells wants to get rid of there untrimmed originals.
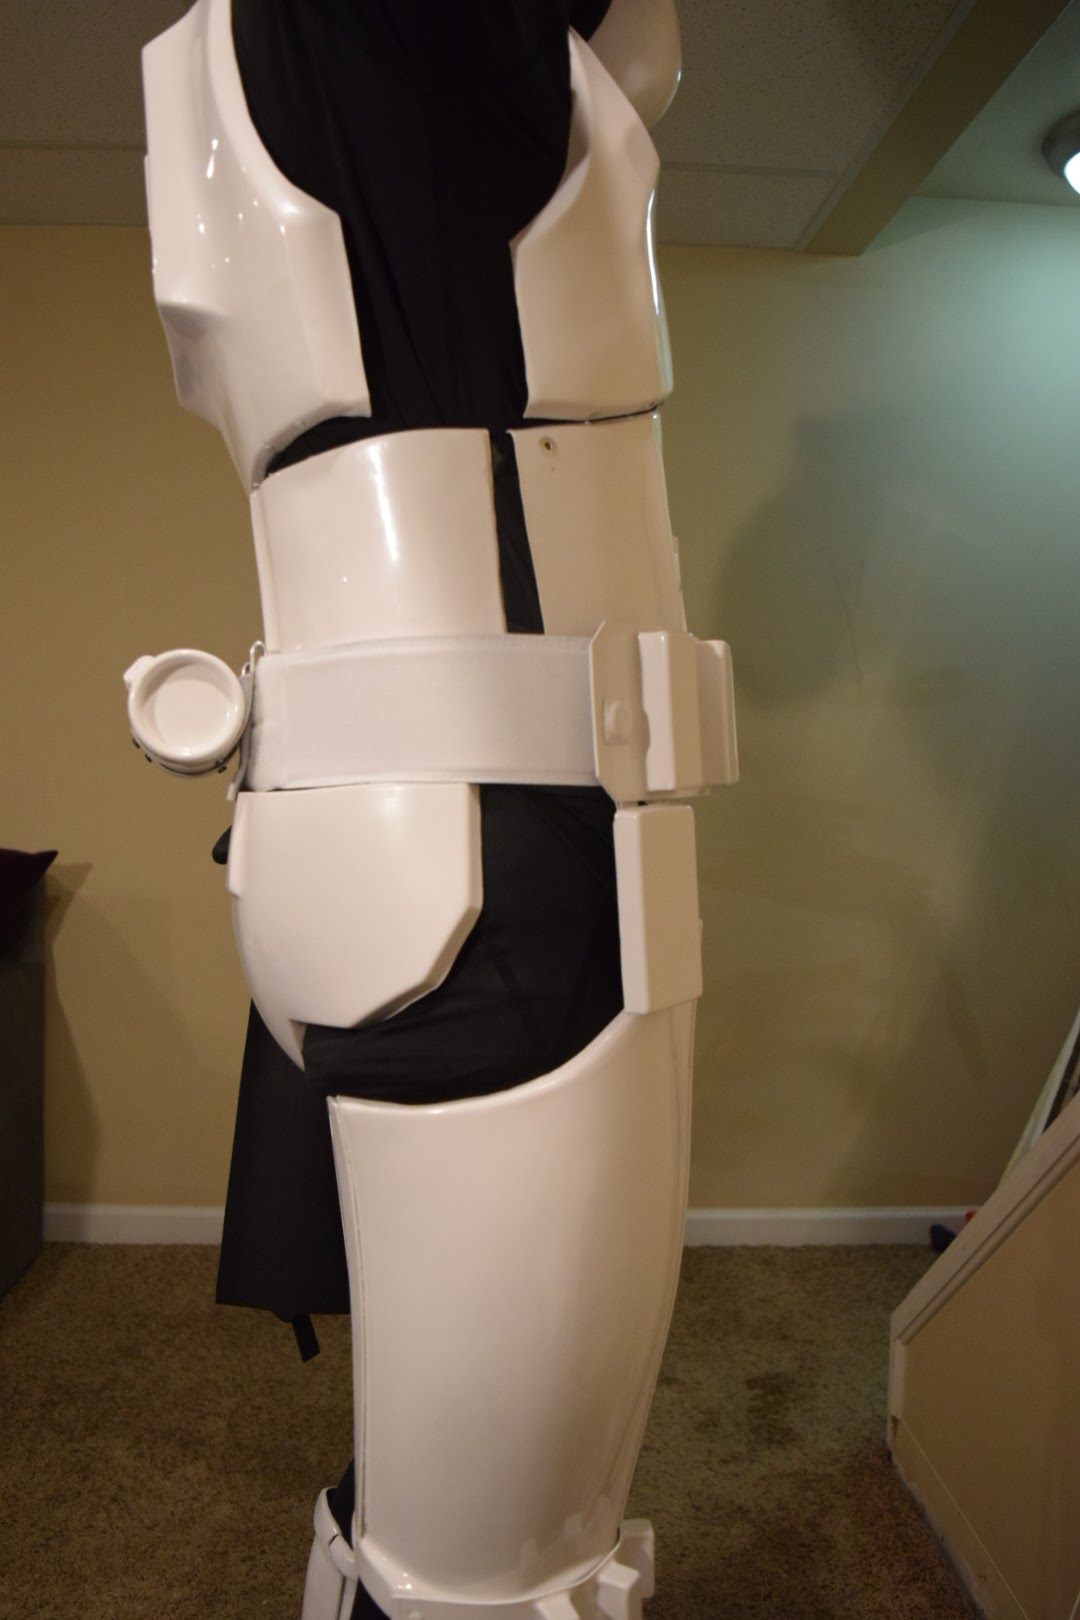
Right Side Ab Gap:
2 hours ago, justjoseph63 said:The gap on the right side is back in your last set of updated photos. This will need to be eliminated for level 3, and could just be a matter of attaching some strapping on that side to hold it together.
I'm working on making that strapping tighter, currently the snap pops out sometimes so looking at fixing that, might switch from elastic to nylon and change the snap. Or I'll sign up for a marathon
Teeth:
2 hours ago, justjoseph63 said:The paint on the teeth needs to be cleaned up on the edges. A cotton swab and some NON ACETONE paint remover should take care of this easily.
I got just the stuff.
Backplate:
2 hours ago, justjoseph63 said:Not a deal breaker by any means, but if you want to you can remove more of the return edge from your back plate
Wow I can remove that much?!? Probably the same on the other side to? Very interesting....
Thank you again to everyone! This has been such a great experience and I am honored to be # 845 EIB! Keep on Trooping!
-
 1
1
-
-
Welcome fellow WTF TK!
-
1
-
-
41 minutes ago, Commander Gree said:
also your drop boxes need to be fixed and photos retaken
I'm gonna wait for one of the DOs to decide before I go do any more
-
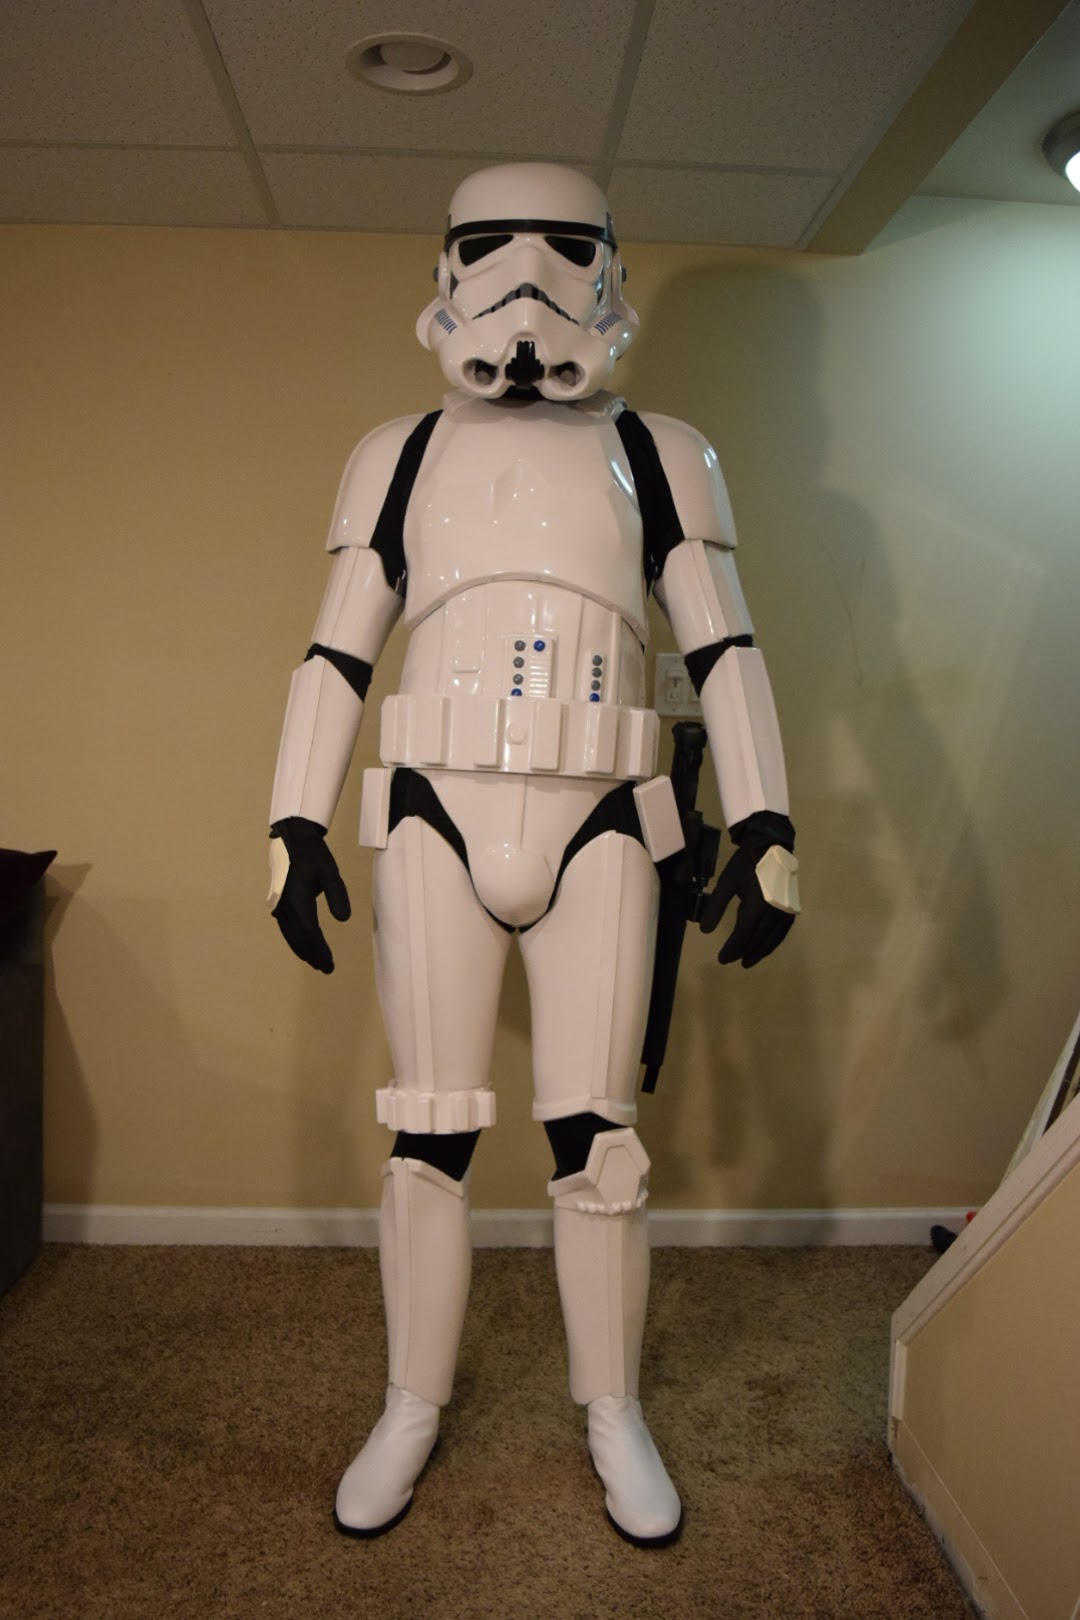
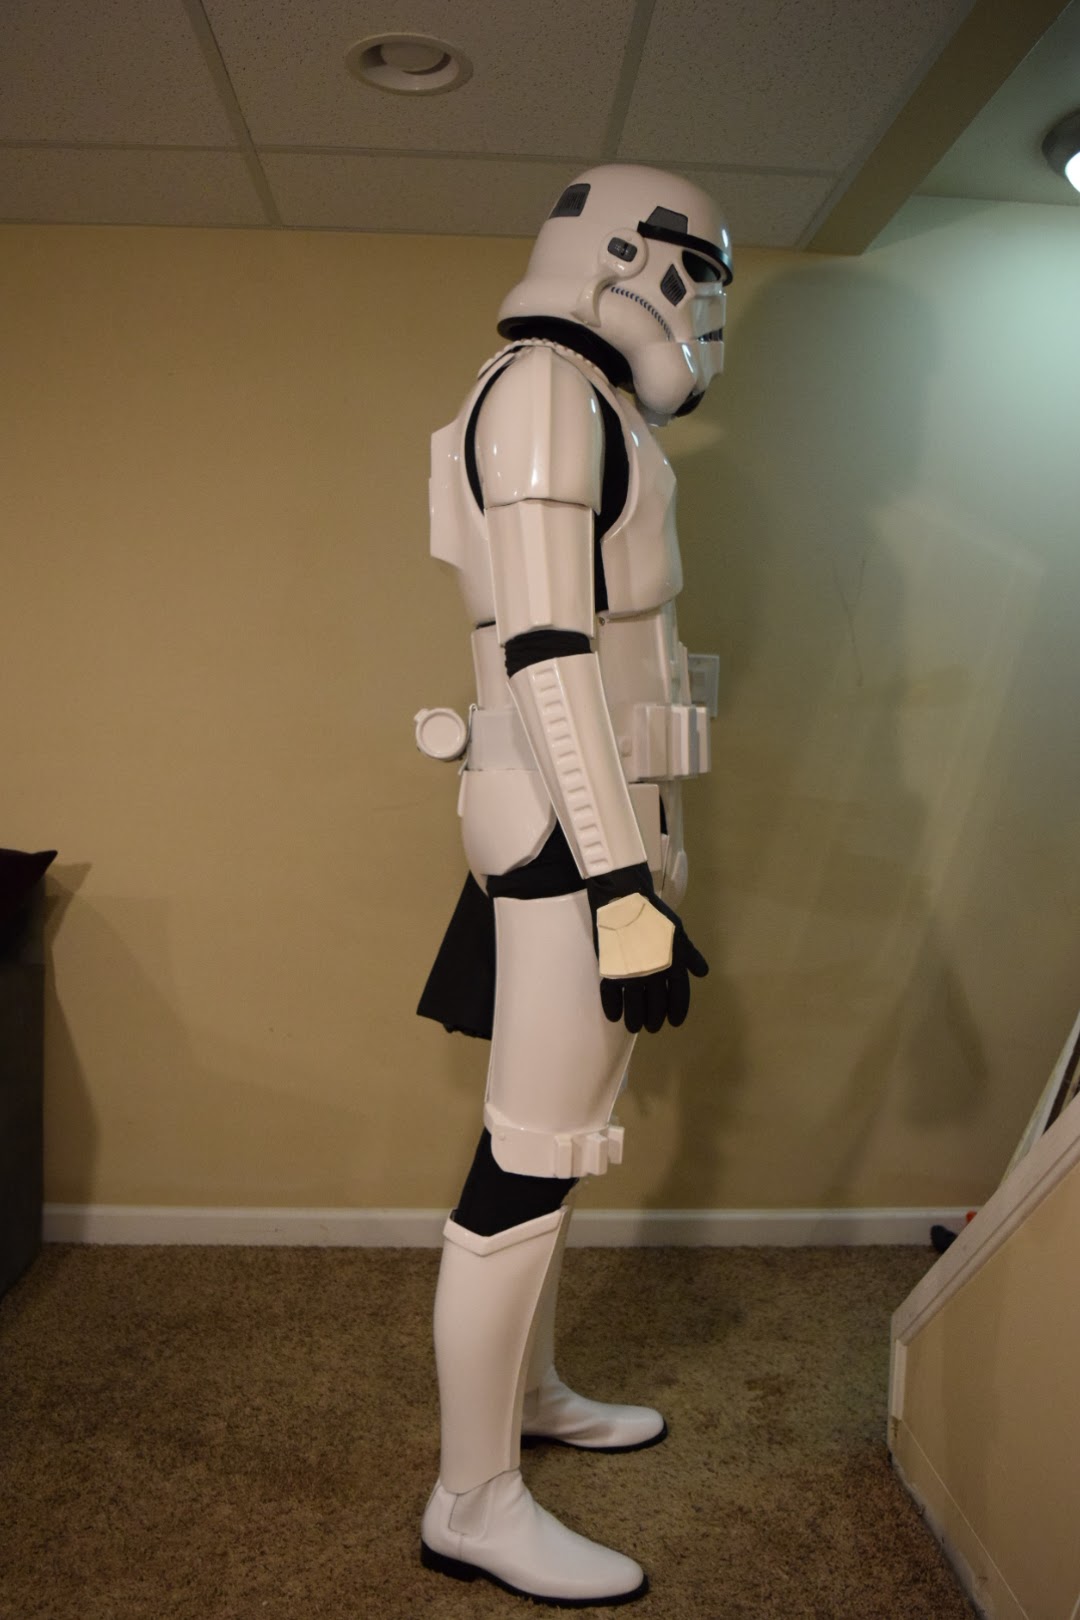
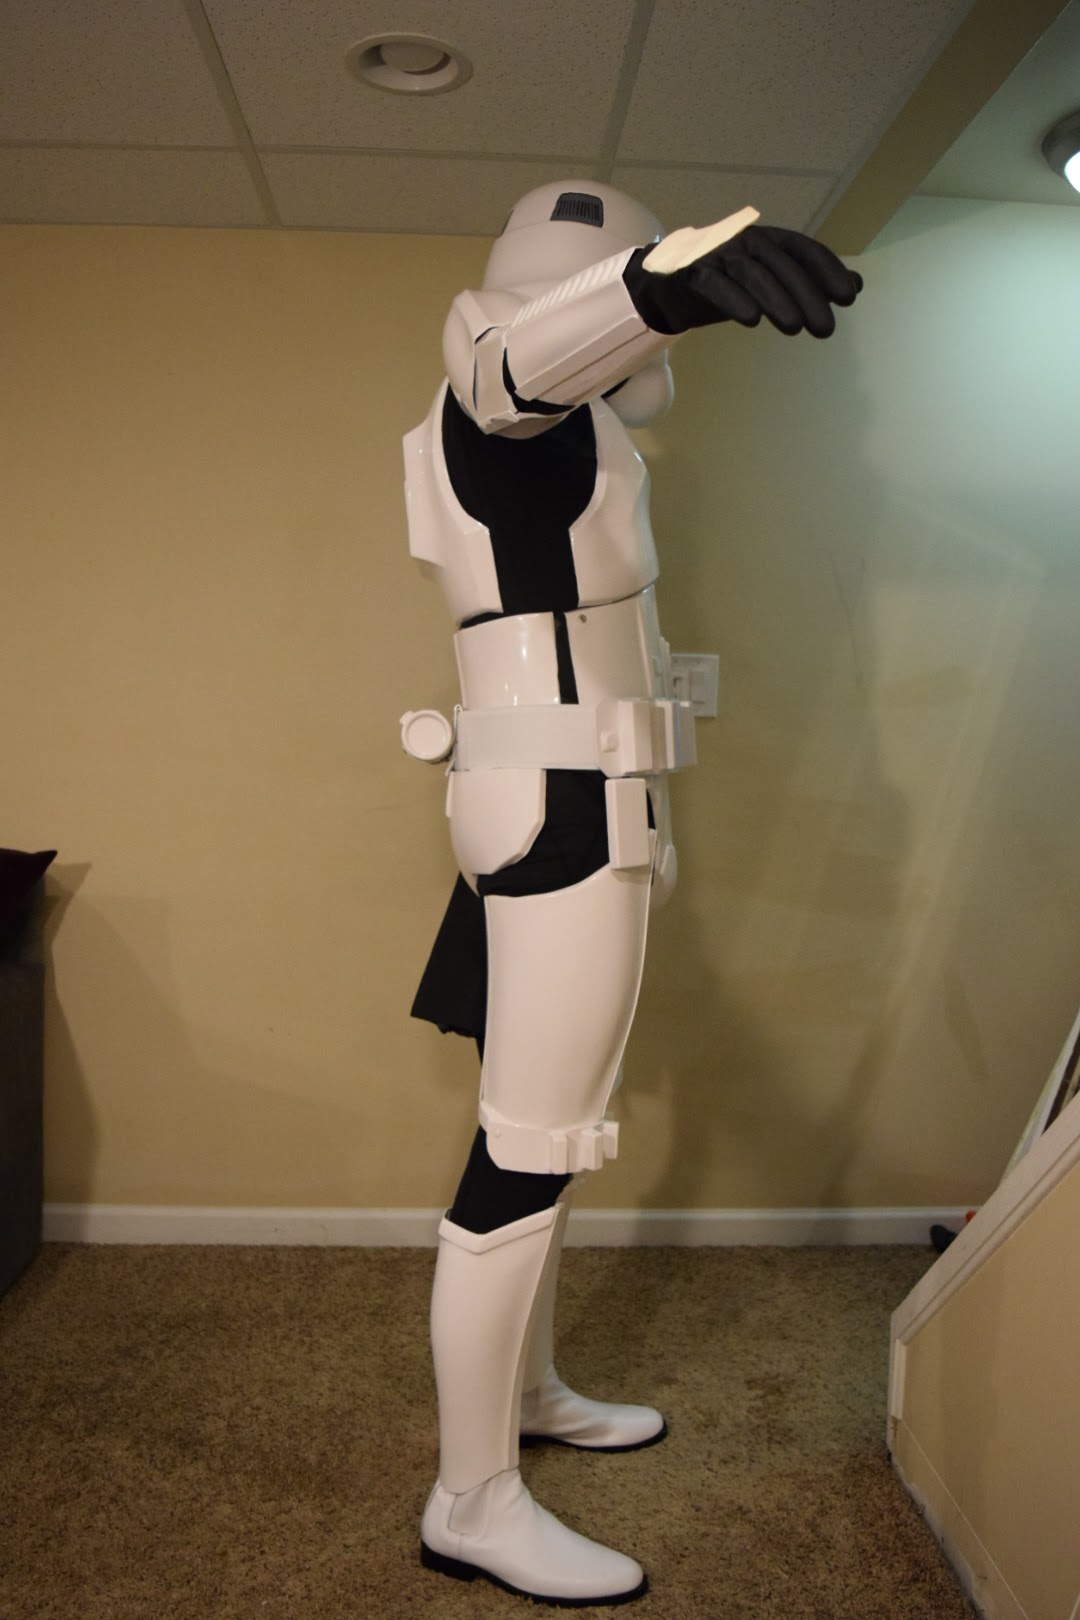
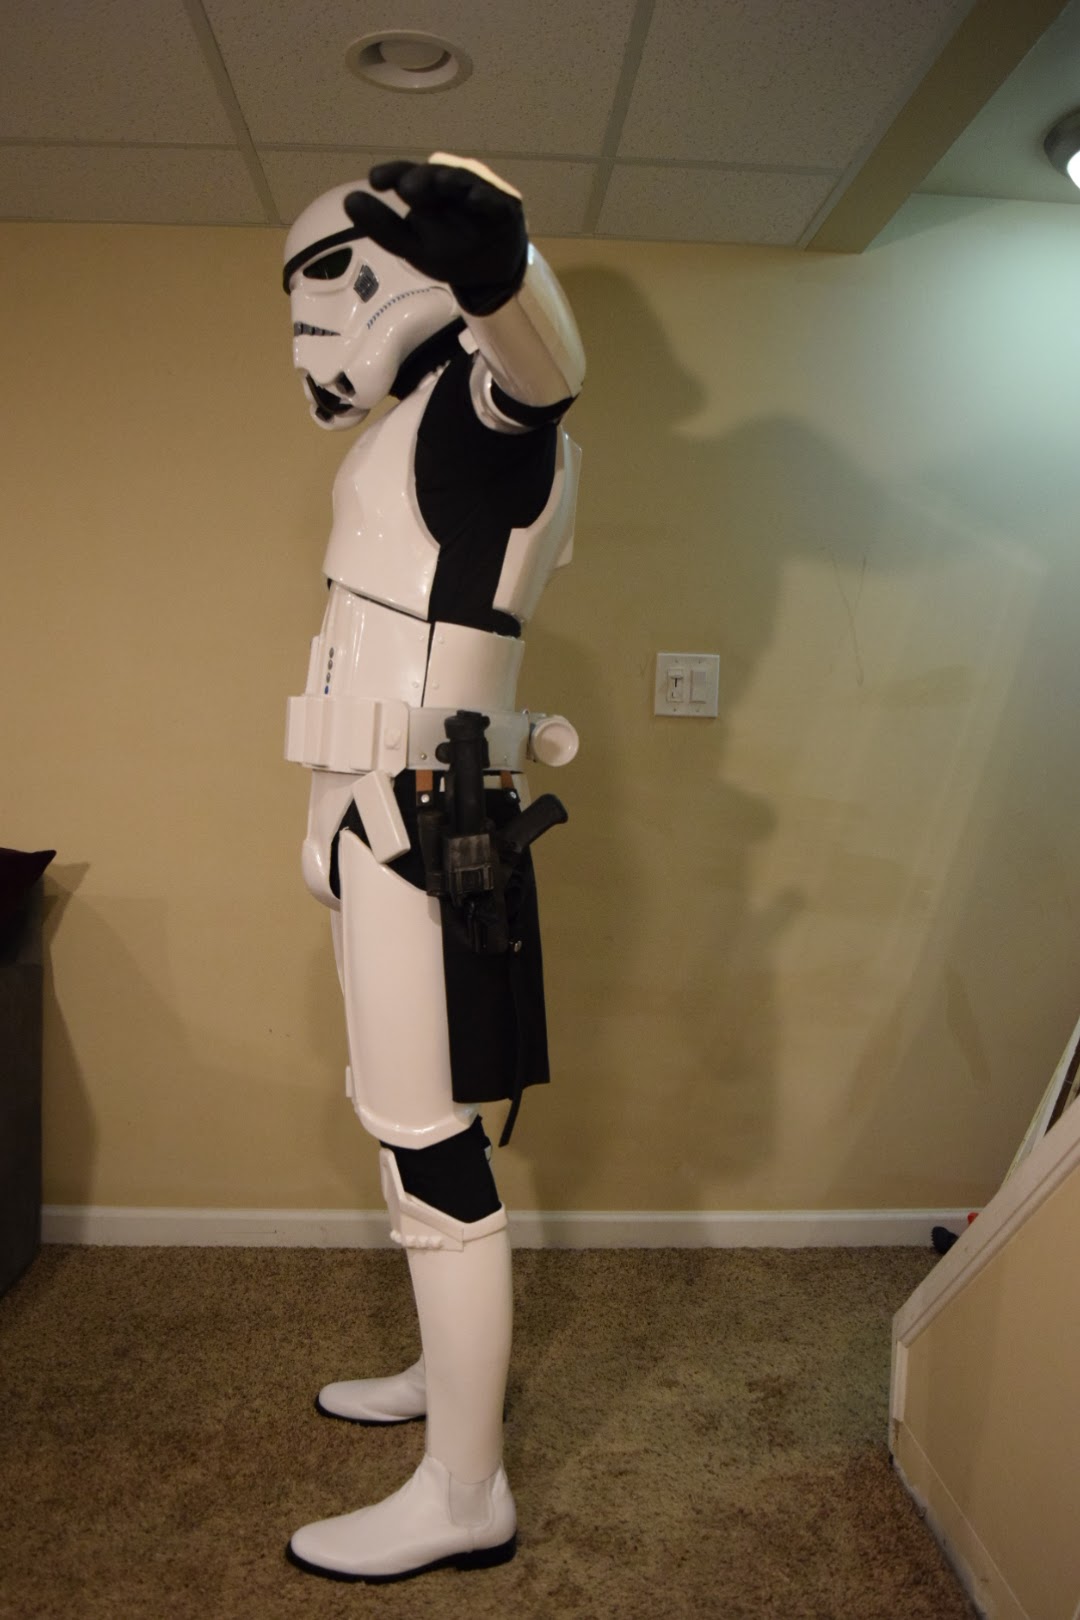
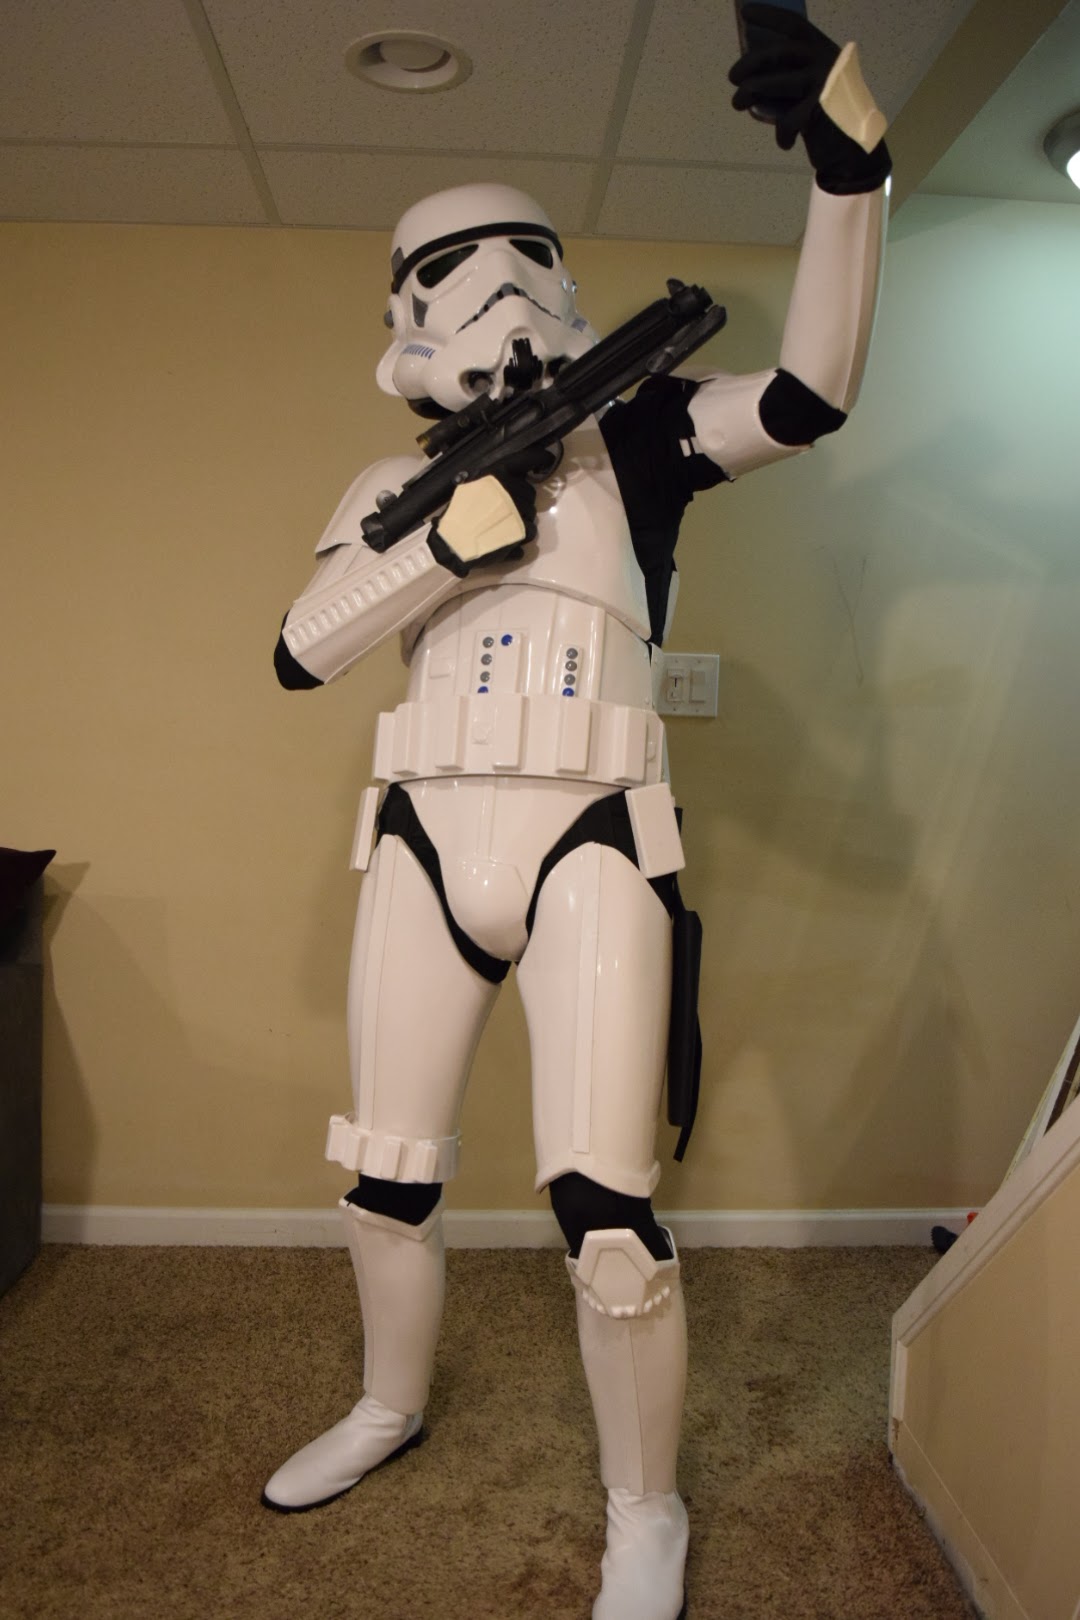
I was actually able to suit up all on my own this time. Also I took all the pictures myself.
and Stormtrooper selfie
-
I'm liking the work you did!
-
2
-
-
1 hour ago, ukswrath said:
So far looking good
. Get suited up so we can get the full view.
I'll get those posted up Friday night!
-
1
-
-
The silence makes me anxious

-
second the E6000
-
1
-
-
2 minutes ago, LTM said:
Guys, for the connection between biceps and forearms do you glue directly to the armor or will this stretch over time and need to be replaced? Thinking ahead if I should make this a snap connection in case it needs to be replaced. Also, is elastic better in this joint over webbing? I know its opinions, let me know what has worked for you.
I glued my elastic there. Some Troopers use snaps to make storage easier but I do not have that issue.
For elastic vs webbing think of it this way.
Webbing for when you want to control movement elastic if you want it to have some give.
For me I feel elastic is better as it makes it a tad easier to slide the bicep and arm like a sleeve and the forearm will stretch a bit rather than being rugged.
-
1
-
-
I think your brow trim is fine. I've seen straight and angled.
Good work!
-
1
-
-
1 minute ago, Commander Gree said:
corners, I cant remember if they are to be cut rounded or at an angle like you have yours
They do not have to be angled or rounded. Just depends on the look you are going for. The film they are all 45 degree cuts
-
2
-
-
Just wanted to follow up and see if the DOs have to say need adjustment/fixing
-
4 minutes ago, REAPERofDAISYS said:
Easy fix. Just undid the sewing and shortened about 5mm.
So my next plan with the shins (always problems with these) I want to cut the top out.
Also for the bottom edge. Should I cut it straight across or a small curve?
Sent from my iPhone using TapatalkDo you need to cut the top out?
Bottom I'd go green line
-
As the Emperor states "do it"
-
48 minutes ago, DBGrip said:
doubled it over as well.
You double over the end to make a loop too make it easier to grab and clasp. Even with velcro it could still push on it and provide a gap.
I know in shasha's build she did velcro and still ended up heating them to close the gap.
-
3 hours ago, Ensi said:
So the e6000 got done curing and I tried on my shins. I'm not entirely sure if this is good enough or if I should try to adjust or just rip it off and do velcro. Middle hook of my right shin slid during curing so it's not connected in these pics.
What do you think?


Looks good! Just like mine before I put them in a hot water bath to close them more in the back. Elastics you can always pull off, reposition and glue again to make them tighter.
Also can bend the hooks more so they hold better
-
1 hour ago, fishgoh0nk said:
Well, that was brutal. Removing and dethreading, then re-sewing 4 dritz snaps on is tedious!! Ughhhhh
I did the same thing, glad I did it though
-
1
-
-
I think your best bet is to get more tandys and double it up. You can even put some type of spacer between (washer, scrap thin ABS, etc) to prevent it from ripping through.
-
length will depend on your arm length. I did mine at about 15 mm.
-
1
-
-
Correct screws! and shins are coming along nicely! Keep up the work trooper!
-
58 minutes ago, Ensi said:
Does how I do my interior strapping matter at all as long as it looks good from the outside? I want to make most of the pieces separable for easier transport.
For example, put snaps on the other side of the left ab/cod rivets, velcro fastening on biceps to forearms elastic, etc.
As long as you look good on the outside what is not seen will not impact approval. I know some individuals have done an ABS like "hook" on the right side to prevent things from popping out, and keeping the ab armor close together.
-
1
-
WTF ANH STUNT TK Build Thread
in ANH Build Threads
Posted · Edited by StrmTRPR85
Woohoo made it to EIB!
Below is what was specifically called out to correct before I submit for Centurion.
All in all not a whole lot or work needed. I did post on WTFs Facebook page looking to see if anyone had some untrimmed shoulder bells they were looking to part with as I wanted to see if I can get the back gap closed up more. Worse case I'll reach out and get some deeper bells from Walt but no rush at the moment for those.
I have started to fix the teeth and also extend the paint in the left tear. Shoulder bells have been flipped and already planning on fixing the right ab gap. Belt is an easy cut the straps and glue them in place to get the alignment correct. Couple weeks and centurion submission incoming!