
.jpeg.ff3078cf696d324fa576c149490ede78.jpeg)

themaninthesuitcase
-
Posts
4,137 -
Joined
-
Last visited
-
Days Won
31
Content Type
Profiles
Forums
Gallery
Articles
Media Demo
Posts posted by themaninthesuitcase
-
-
Brave man to tackle that much repainting!
TrooperBay's rank strip stencil seems pretty good. I got one on a whim, in case I want to repaint at some point, but I'm going to leave the decals for now, unless someone tells me they need to be moved to approval.
One of the UKG has hooked me up with some templates which is awesome.
But yes, turns out I did bite off a lot more than I expected. Humbrol isn't nice to paint with. Shame there's not a #5 in their acrylic or I'd try that on some scrap.
-
I'll start this post by remembering those ml lost in the great thinners spillage of 2016. Many were lost but will long be remembered by the strange smell in the lounge.
The last 2 evenings have been spend re-painting the bucket. I've had mixed success on this but we'll cover that as we go. tl;dr Unless you really want to don't repaint the traps and tears.
With the paint all removed I stared by working on the frown.
After the 1st coat I had a pretty decent layout. Again basing my work on the reference from before.
I really struggled with the traps and the tears. I taped off the bottom of the rear traps to get a straight line.
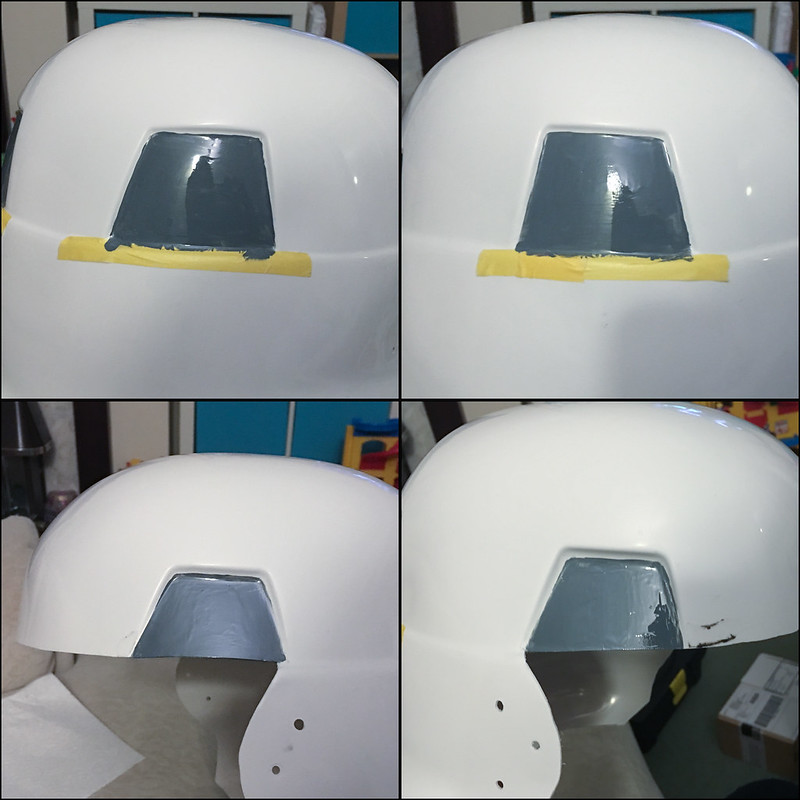
If you look closely the finish isn't as smooth as I'd like. I probably should have thinned out the paint a bit and done several coats. On my 2nd coat (not pictured) I was 'liberal' with the paint to give it a chance to self level bit more. The lines follow the shape on the bucket, again captain shakey hands make this non-ideal.
I also did the tears, but found these far easier to get a decent finish. Probably due to them being a lot smaller area to cover.
Again 1st coat pictured, not 2nd which has a nicer finish.
I'm not 100% happy with these, and probably should have left the factory decals in place. Oh well too late now. Maybe next winter I'll break the bucket down again and re-do them. Preferably I'll use an airbrush for the backgrounds and then hand paint the outline. But this will have to do for this year as my compressor is still at my dads, and I've yet to buy an airbrush.
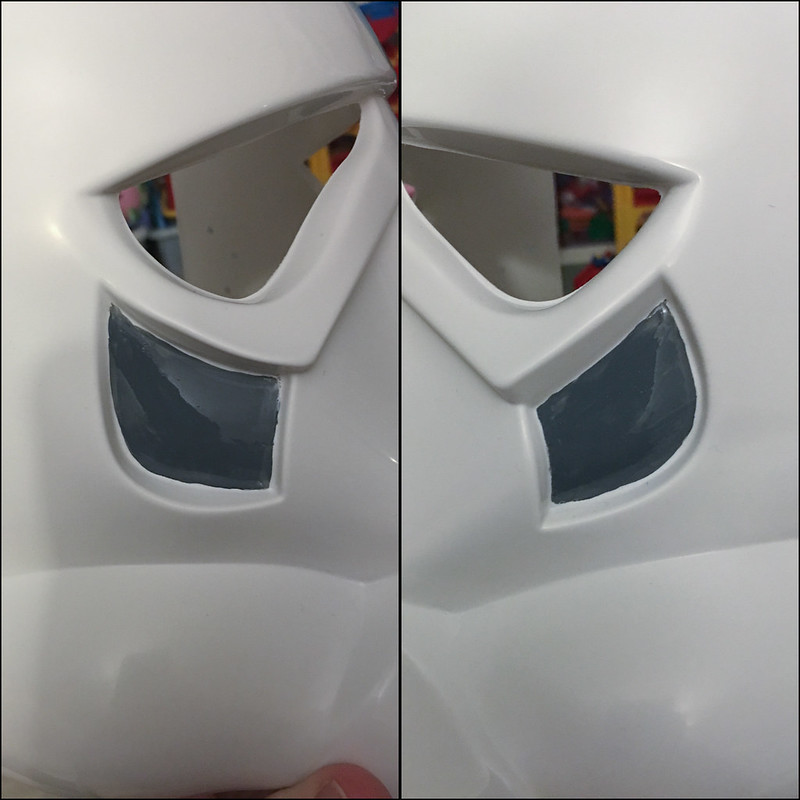
I also did the ears.
Far, far happier with the ears than the other grey areas. Again giving weight to the idea smaller areas being easier to paint.
Once the grey areas are dry I'll do the outlines, let them dry then do the internal lines. The idea here being wet paint will just wipe off the dry if I screw up.
I also have painted the vocoder.
This was trickier than I expected. The first paint was wiped off and then pencil line drawn to match the reference. This was then painted in. I had a few slips on the 2nd coat that were cleaned up with a cotton bud dipped in thinners. One was a bit wet and ran, so that was cleaned up again with a cotton bud and LESS thinners.
You can also see the 2nd coat on the frown here which gave a nice result.
I'll be leaving the tube striped until I reassemble the bucket. The reason behind this is to help me get them lined up with the ear join. Not sure if I'll hand paint these (masking off the top and bottom) hand cut a mask from masking tape or buy a pre made mask. The 1st two I can do with no further expense, the latter will be easier but mean ordering something probably from the US.
-
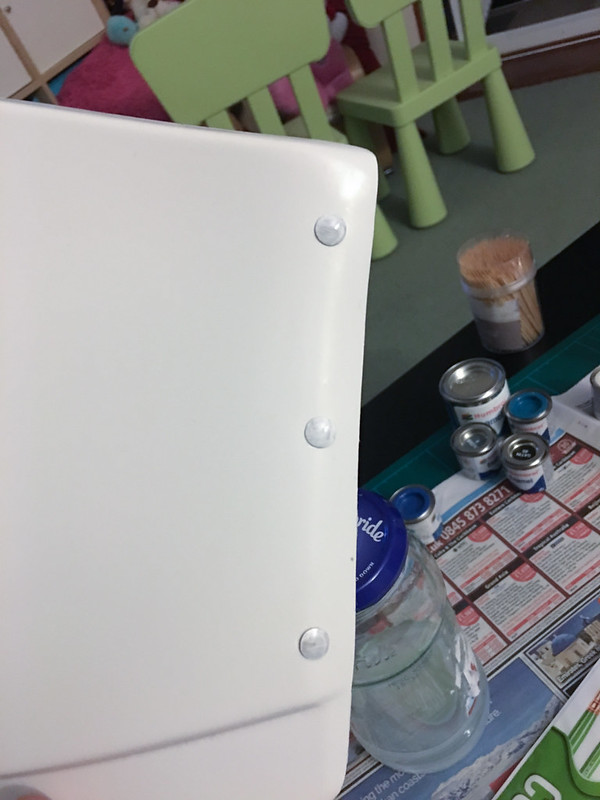
Yeah mine is superglued on as well which is why I'm afraid to take it off. The entire area around the bottom screw is all superglued. If I try prying it off I'm scared that the crack will split even further, possibly ruining the ear. I think I'm going to put in a ticket with Anovos and see if they'll replace the ear.
Maybe if you use a blunt knife under there to pry lightly at the glued section rather than pull on the ear. I did mine by lightly bending the rim until the glue cracked. Of course I can't get teh glue off now but that's a different issue.
-
What thickness would you recommend for the chicago screws for the belt plastic? I've found a seller that does them in 2mm, 3.5mm and 6mm gaps between the heads. 3.5mm seems a shade thin but 6mm might be too wide if the belt isn't thick enough. I don't know how thick a "proper" belt is, I'd guess about 4-5mm?
-
I'd be taking that ear off and adding paste from the rear. It's not too hard 3 screws. Just be careful as one of mine was held on with all of the superglue!
-
 1
1
-
-
Sorry yes, I was bending holding then with it still bent quenching in cold water.
-
Self hosting is probably the future. I've been using Flickr but I've started to hear rumours that yahoo may be not long for this world. Then I'm in the same mess you are.I just noticed last night that most of the photos posted on the first couple of pages of this thread were all broken links, because apparently ImageShack lost and corrupted a large chunk of my photos.
ImageShack is dead to me.
Technically nothing should be entirely lost, since all of those photos came from my phone or computer at some point, but their filenames are scrambled (which is fine) so I cannot always tell exactly which photo I had chosen originally. I did the best that I could to replace all of the links with links to my own server, where I'm now going to host all my photos from now on. As soon as possible, I'll be migrating everything I've ever done over to my own server, editing a couple of years of photo posts on various boards (*sigh*) to replace all of those links. This isn't going to be easy, as I can somewhat active about topics I get enthusiastic about, in case you haven't noticed.

But it's worth the effort. ImageShack keeps raising their rates (now to obscene levels, believe me!) AND they lose my photos? Done. Never again. Hosting myself from now on. It's only going to get harder moving forward, so there's no time like the present...
-
1
-
-
Bit more progress.
I have completely removed all the paint from the bucket now, repaint will start this evening. I gave the dome and face a once over with some Meguires Ultimate compound. This brought the dome to a nice shine but the face is a bit more dull. I should have some Autoglym polish in the shed which will fill the micro scratches and add a thin layer of glaze as well as cutting but I'll do this post paint job. If that doesn't make me happy then I'll be having to apply a wax layer but that sounds a bit excessive for a plastic space man suit.
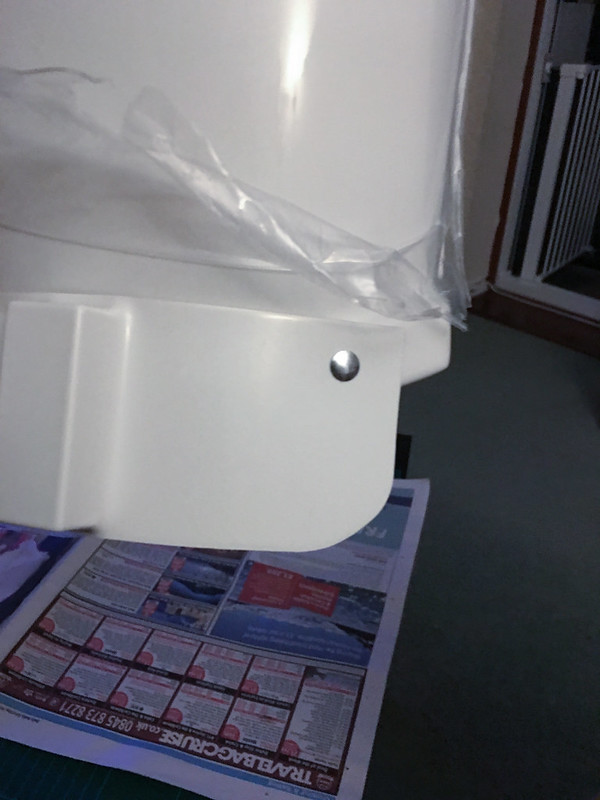
I also made an attempt to bend the left rear shoulder. The right is fine but the shape of the left means it digs in, I need maybe 1cm. After 4 attempts with boiling water with dunk times up to 90s the bend just didn't want to stay bent and was returning to the original shape.
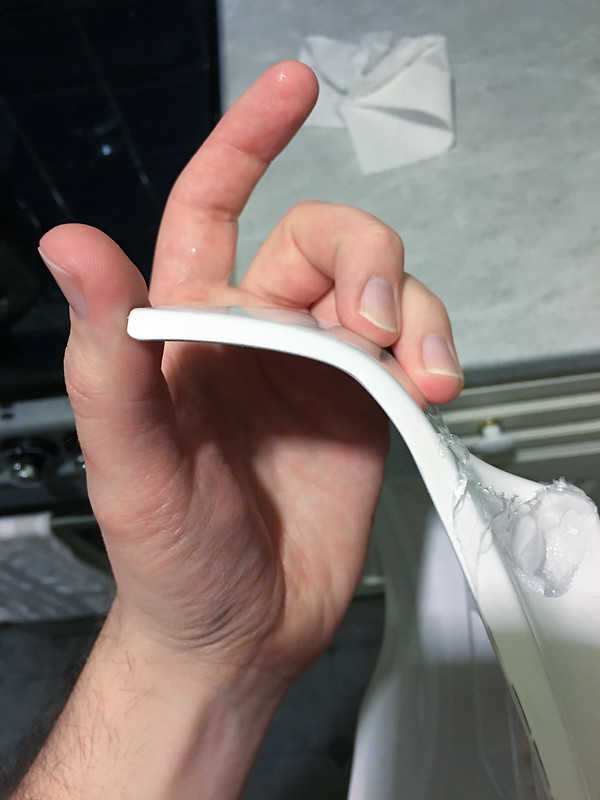
At this point I gave up rather than risking the repeated bending causing a crack, you can already see micro cracks in the surface layer. I do fit it was more a comfort thing. I reduced the return edge down to about 4-5mm which has helped so once I've worn the armour a bit in anger I can return the this area if needed.
I've now glued the snaps into the rear plate for the shoulder straps so another job for today. More sewing :x
I also added the right thigh ammo pack.
I used the supplied rivets this time as they have far thinner legs which means I can just use a screwdriver rather than mess about with a hammer in a confined space. These don't take paint as well as the brass finish ones I have but a 2nd coat will sort it.
I based my position on this reference:

I more or less got it right, slightly off but close enough I think:
I've not glued the ammo pack in place yet but I'll added a blob or 2 of E-6000 at some point.
-
Guess I'll measure up one of the Anovos ones then and order some the same size. I'll probably use the supplied ones for the belt to keep the riveted look steel wouldn't have.
-
Just checked it and it's dry after overnight.It is humbrol gloss white. That doesn't sound right. Should be try after 6 hours. The black I used on the TD screws was fine. Ill check mine in a bit, but I suspect you either had bad paint or applied it way too thick.
-
Congratulations on finishing.
What size Chicago screws did you use to hold the plastic to the belt? I need to get cracking on the belt soon.
-
It is humbrol gloss white. That doesn't sound right. Should be try after 6 hours. The black I used on the TD screws was fine. Ill check mine in a bit, but I suspect you either had bad paint or applied it way too thick.
-
I won't have enough spare for a full set but if you get stuck let me know and I'm sure we can figure something out. An envelope to the NL is about £1.50 by the looks of things.Thanks for the info Chris. I went to the site to order the screws, but only UPS shipping is offered when I check out which is going to cost £51
 . So I have to keep searching for them. Or I can try to contact them to see if they will ship them with Royal Mail.
 -
Cracked out the Humbrol a bit this evening.
Started by painting the rivets for the side straps white. I left the crotch rivet as bare brass.
I did all 6 but you don't need to see both sides. I will need to do another coat once this ones dry.
I also did the 2 button plates:
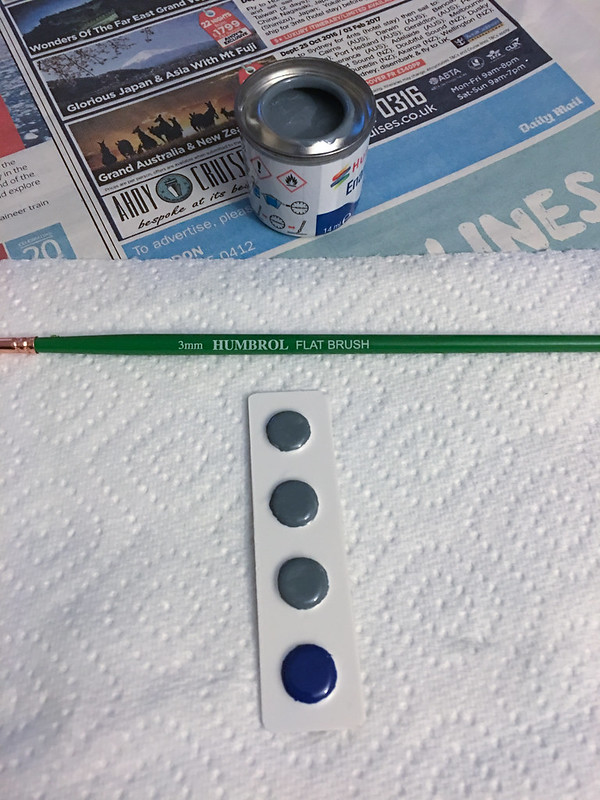

This time rather than a #4 standard brush I used a 3mm flat brush. This seemed to do a bit better of a job coverage wise and in getting a clean edge. I'll be using this brush for the edges of the gray on the bucket. Still worried about the black outlines on these but I'll cope somehow.
The fix to the shoulder bell seems to have gone well.
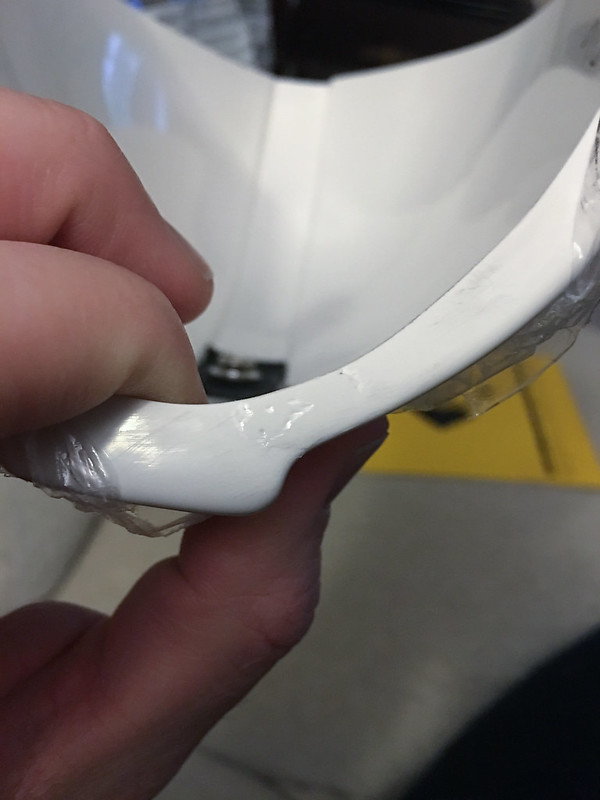
The external excess was sanded first with 180 to remove the bulk then 600 to smooth. I've not gone for a perfectly smooth result and some paste is still visible. The reason for this is I don't want to make the fix any weaker than I need to. I will polish the bell once I get some new polish and I don't think you'd see it even up close.
I think the reason for the break was this was the thinnest second of the return edge. When I flexed the bell a bit this was the weakest area so it just went.
The split thickness is about 6mm from face to edge. I propose to trim both bells to this dimension.
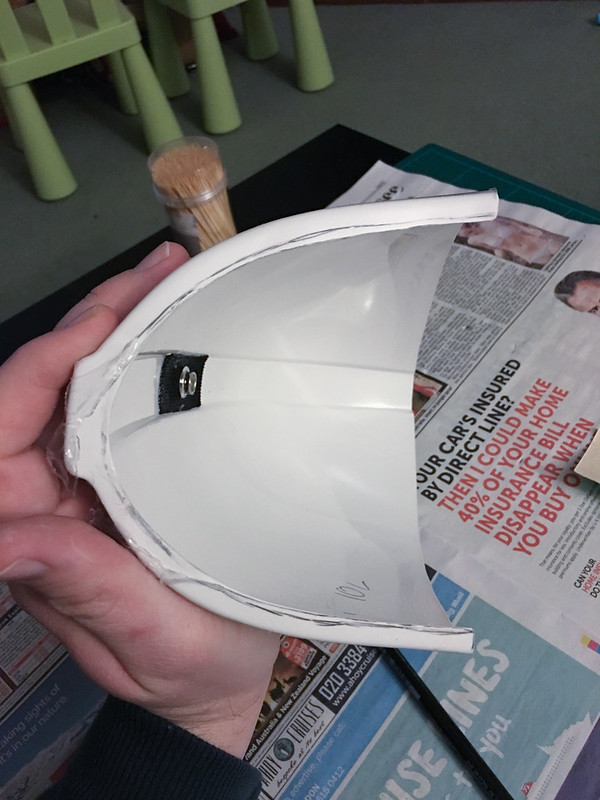
This image shows the rough line that needs trimming. I'll do a better job of marking out once I'm ready to trim.
I also glued in a snap for the thigh to belt elastics. No pictures as exciting as this sounds. One leg has slightly flattened at the rear when glued, I may need to warm and round this a bit but I'll give the armour some wear first to see if it's truly needed.
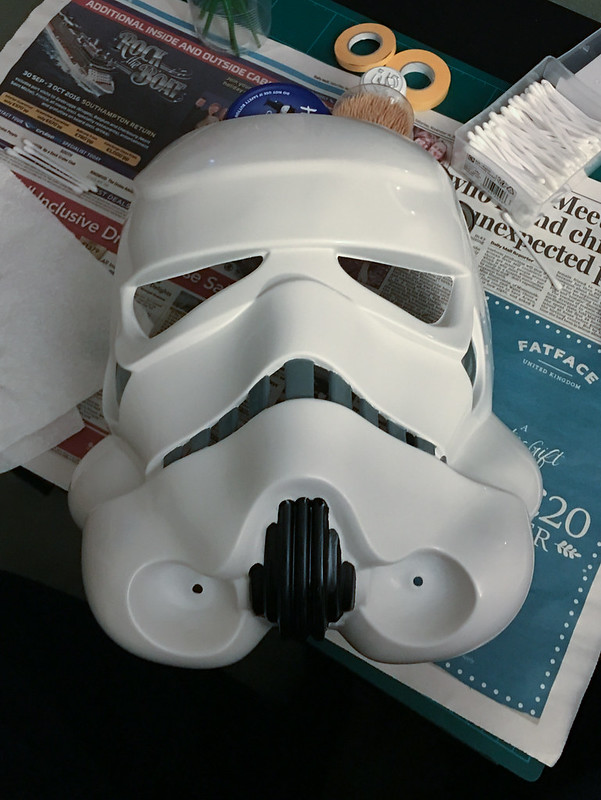
And I'll finish off with a picture of the stripped face plate. There's 4 small spots left but I'll clean those up once I get some more thinners.
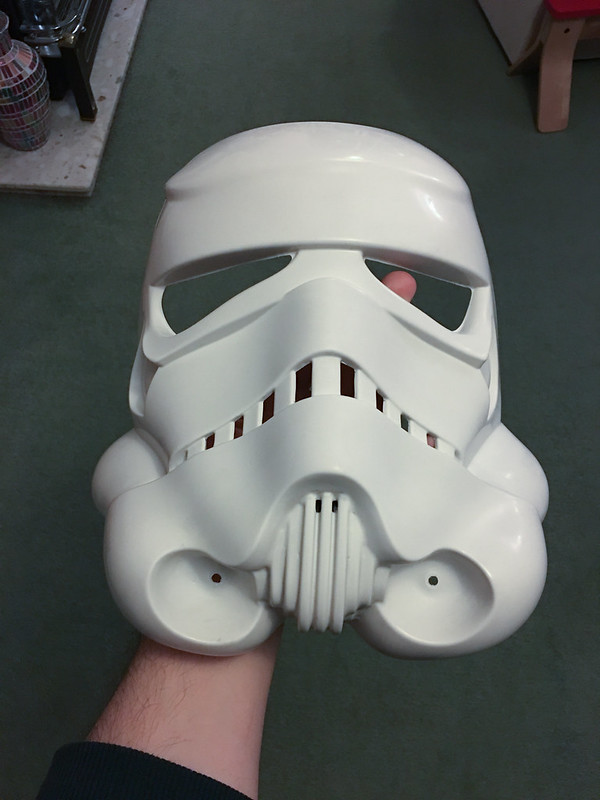
I'm going to play hunt the thinners tomorrow as it's a bit hard to find in the shops, hopefully I'll be able to get some and save an online order. I'll also pop into Halfords and get some new polishing compound to get a bit of a shine on the bucket before I start back with the Humbrol.
-
Mine came from here:
http://www.spaldingfasteners.co.uk/
I got a bag of 10 along with washers and metric (course) nuts. Wasn't very expensive, £3.06.
The humbrol enable thinners (not acrylic) made short work of the transfers. It works on the frown but was harder work and used a fair bit. The vocoder was Isopropyl Alcohol to get most of it off then the thinners to clean up.
Get the 125ml thinners as it evaporates fast and you need a fair bit. I think I've lost about 1/5 of the 28ml to evaporation but this is probably down to the small jar size.
-
Had a bit of a scare this evening. Spent more time with the IPA and cotton balls cleaning off the vocoder paint. As expected this made a bit of a mess.
However when I went back over these areas with some clean IPA it wasn't shifting, and was all over the main face, crap. I was hoping it was going to buff out but my stock of polish has obviously gone bad so was only fit for the bin.
Fortunately I had a tiny bit of thinners left (a lot seems to have gone for the angels share...) which wiped it straight off. So let this be a lesson to all of us: buy the big one. I did for the rest of the order so not sure why I didn't for the thinners. Now I have to try find more in hobbycraft at the weekend.
No pictures as its not too different than the last and I'm sure most have seen a plain face plate before.
-
I might be wrong but it looks like you've glued the cover strips on the inside of the shins. These should be on the outside only as you open them to get in them.
-
Wish I'd done the hot water on the sniper. Might have ended up a bit straighter!
-
I did a test fit of the M3.5 screws I purchased last night and have now got the image.
Testing the fit of the M3.5 screws by Christopher Pearson, on Flickr
They look right to me and fit the pre-drilled holes nicely. The shafts are bigger than the supplied screws.
I got mine here, they also do the matching brass nuts and washers, you want the metric course nuts (that confused me a bit and I had to google about a bit to work out if I wanted course or fine). Delivery was pretty fast but no idea if that's helpful to anyone out side the UK.
http://www.spaldingfasteners.co.uk/metric-brass-countersunk-slotted-head-machine-screws-m3-m4-m6/
-
1
-
-
Delivery from Hornby!

For reference Hornby will charge you £5 for delivery then not actually bother to dispatch for a week...
After fixing the shoulder bell I promptly broke it again the following morning testing the fix.
So I did it again.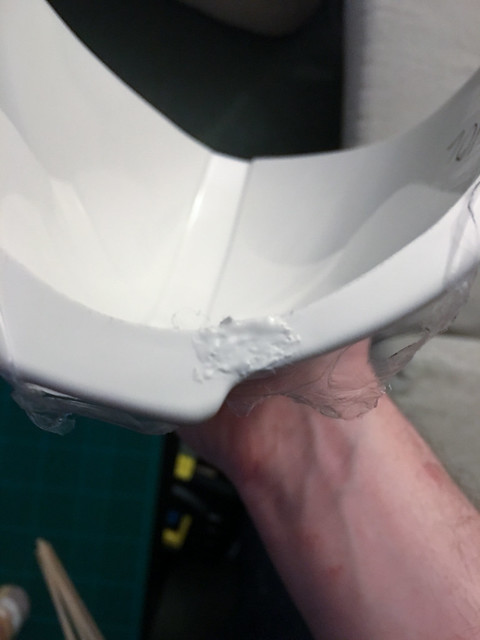
Bit heavier on the outside this time. This will need to be sanded but as it's the under side I'm hoping it won't be too visible.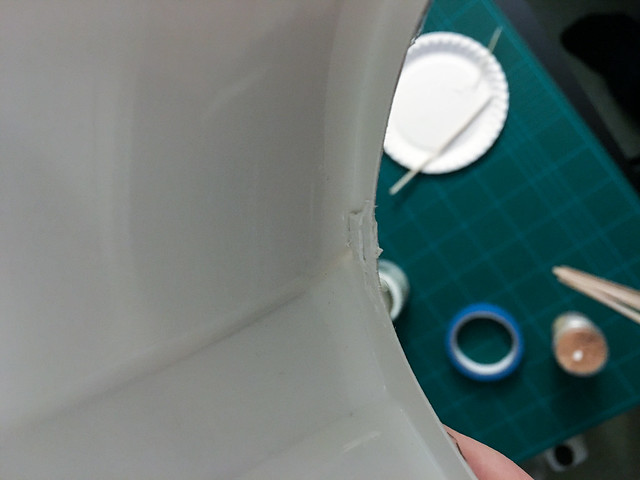
I also embedded a small strip of offcuts scrap into some paste on the back to help reinforce the break as I will possibly need to heat bend the bell out a bit.
The other night I glued the plate onto the TD thus completing the first whole part on this build. Huzzah. It still needs the white plastics polishing though.
The evening I glued up the TD I started dissasembling the bucket to clean up the paint.
I spent some time filing out some of the eyes to get them closer to a reference image: http://img.photobucket.com/albums/v336/themaninthesuitcase/TK%20Reference/DaveM3_zpsww1ihblr.jpg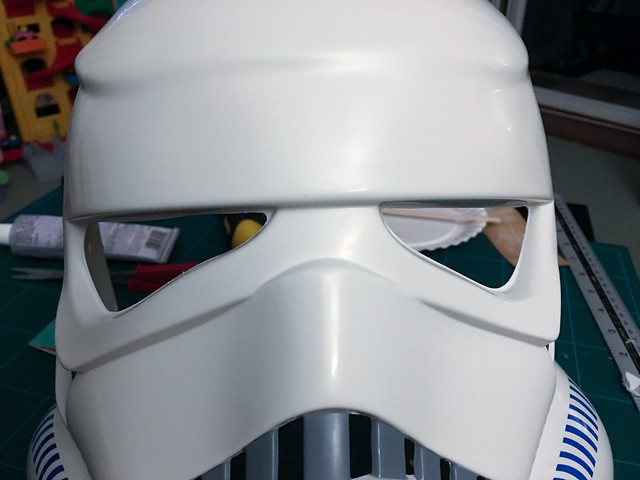
I probably could go farther but the reference image has a small return edge there and I was worried about messing up.
I also tested the M3.5 screws for size and they look pretty close to the same bucket I referenced before but from the side.
If you look you also get to see the ear gaps on the Anovos buckets is nice and accurate as is the brow trim not running all the way to the corner. Also of note is where the bottom ear screw is. Far higher than any builds I've seen which have it as on the Anovos kit, hidden under the S trim.
Most of this evening was spent stripping the sloppy Anovos paint job from the bucket.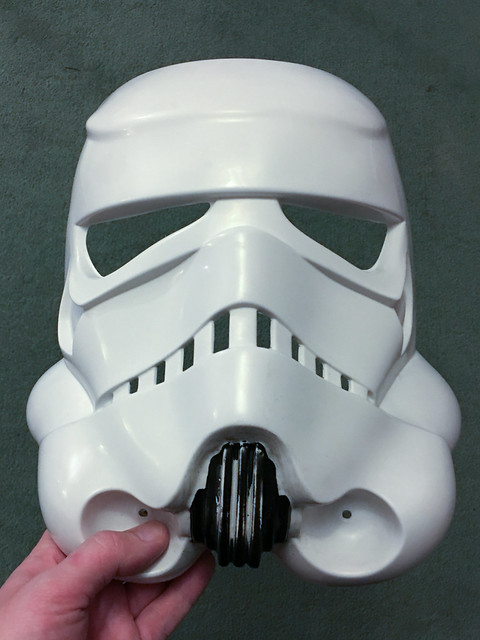
The frown was removed using the Humbrol enamel thinners. Required some elbow grease but worked nicely. Bit tricky to get into the corners but some cotton wool on a tooth pick did the job.
The thinners also made short work of the transfers used for the tear and tube striped. These rubbed of pretty fast so I'll used the same stuff for the traps once I but some more. Top tip: the 28ml bottle is not going to be enough!
For the vocoder I had a harder time. The thinners was barely touching it, small dark marks on the cotton wool but I'd need a bucket full to get far. The white spirit I used to clean some glue from the inside padding just made it shiny. Only when I used some IPA (Isopropyl alcohol, not the ale...) and saw it went black when I wiped over did I find a chemical that would shift it! This stuff is going to make a huge mess. You can see I've only made a start but this will need a few goings over to first remove the paint, then again to clean up the mess where the IPA has flowed whilst cleaning off the paint leaving specs of paint
I stopped for the evening as at this point the wife was high as hell as she wasn't provided with appropriate PPE. I should fire the site manager.
Once the paint is all off I'll give the bucket a polish before re-assembling with some auto polish to give it a nice shine, the paint removal has dulled it even further than it was before. After that it gets painted and put back together. With any luck I'll be able to get some more thinners a bit faster than waiting for Hornby.-
2
-
-
Yea but sounds like yours was more pronounced than mine is.
-
Probably 1cm out of line (so the ends are 1cm out of level if if that makes sense). I might just leave it and let the closures hold them in place.
-
Pro tip: leave ABS paste longer than overnight to go off. Will be having to redo the shoulder bell crack again.
-
1
-
-
One of my shins is twisted. Might try the bath to fix it. I have to do the shoulders so will have to get some boiling water going anyway.
themaninthesuitcase Anovos ANH Stunt Build
in ANH Build Threads
Posted
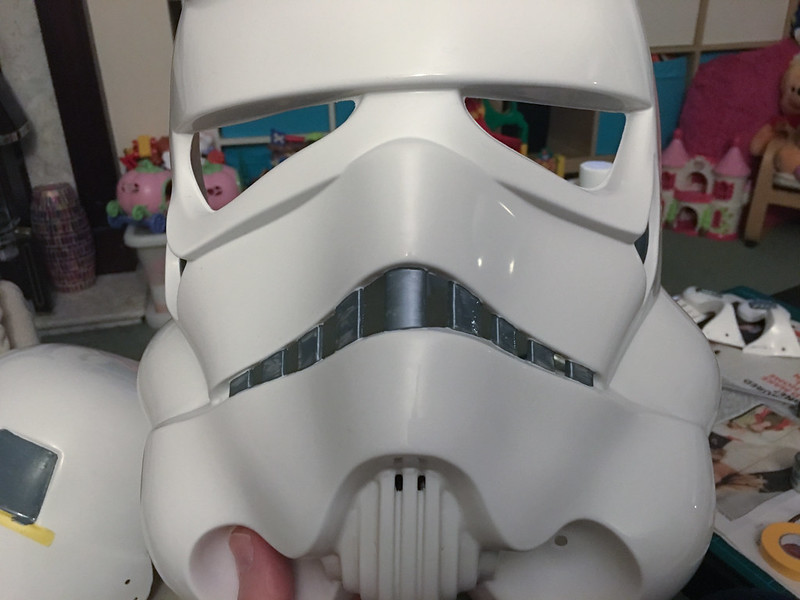
Painted the outlines. Again mixed results, but generally a bit happier overall today.
The traps where tricky mainly due to trying to find a good way to hold the dome at the right angle to paint a line. Also due to the thin line required to match the reference I used a #1 brush. This means you don't get a long run before the paint in the brush runs out which isn't great.
You can also see that being a bit heavy handed on the 2nd coat of grey seems to have reduced the amount of texture in the grey. However I still would use an airbrush if I re-do them.
The tears generally went better than the traps for some reason. On both tears and traps I did make mistakes which were cleaned up with a cotton bud dipped in thinners. Upsettingly if you look at the right tear you can see a small patch where the grey lifted. The paint wasn't very well done here so cleaning the mistake also cleaned away the grey. I'll touch this up when I do the stripes in the rear traps and in the tears.
I also painted up some M3.5 screws for the ears.
I only plan on using these on the 2 visible screws one each side, for the ones hidden under the S-trim I'll use the Anovos supplied screws. So again painting 5 gives me a spare for any slips or mistakes. The screws haven't yet been cut to length either, this will be done after fitting the ears. I'll leave the bottom screw long enough for an elastic chin strap too.