
.jpeg.ff3078cf696d324fa576c149490ede78.jpeg)

themaninthesuitcase
-
Posts
4,121 -
Joined
-
Last visited
-
Days Won
31
Content Type
Profiles
Forums
Gallery
Articles
Media Demo
Posts posted by themaninthesuitcase
-
-
Thanks guys. I'll be submitting for Centurion once I finish the adjustments and my new hand plates arrive.
-
oh don't worry they've already been paid for.Well they're in the UK and in stock do treat yourself to an upgrade lol...
the force? oh I'll use the force, bring me a hammer...
-
On 5/7/2016 at 1:52 AM, AWOL said:
I got these, Lil bit wide but work fine (well not installed in a bucket yet, till I collect it tomorrow!)
----------
the force? oh I'll use the force, bring me a hammer...
those look perfect. I tried to find those in the uk and failed miserably!
-
I've now shortened the thigh strapping which brings them up about an inch and keeps them in the correct orientation. Foam pads for the knee issue has been cut and works, just needs securing.
-
I've ordered some 5V fans to use with a USB battery so will let you know how I get on. Though that are standard PC style rather than blower as that's all I could get domestically with out a multi week wait. I need to work out how I'm goig to mount them yet though.Chris - That's what I was afraid of. Either that or battery overheating for some nonsensical reason. A speed control device is a great idea though. I've already been scouring eBay for computer fan controllers (why didn't I think of it before?).
Kev - That gizmo looks great! If the computer fan controller idea doesn't work, I could try that.
Mark - Good to know. I don't want to give up on my rechargeable battery yet, so no 9v's.
-
I adjusted my thigh straps last night by shortening them by around an inch. This seems to have done a good job getting the thighs to sit right now. I will need to trim the top of the rears slightly as they stick into my bum. I'll see if I can get an armourer to look at that at MCM before I get out the tools. Still using the webbing belt I made, this sits firmly on my hips and works well.
I also mucked about with the foam and it seems that a 2x4" piece of the 1" foam is about right for the front of shins and behind the knee to get the sniper plate right. I'm going to order some 2" velcro both glue/sew in and self adhiesve to attach these. I cut a few spare foam blocks so will chuck these and some of the self adhiseve velcro into my kit box for spares.
I will still need to trim the rear knee area to be able to walk better but I'm not sure if I should do this before or after MCM and see how I get on first.
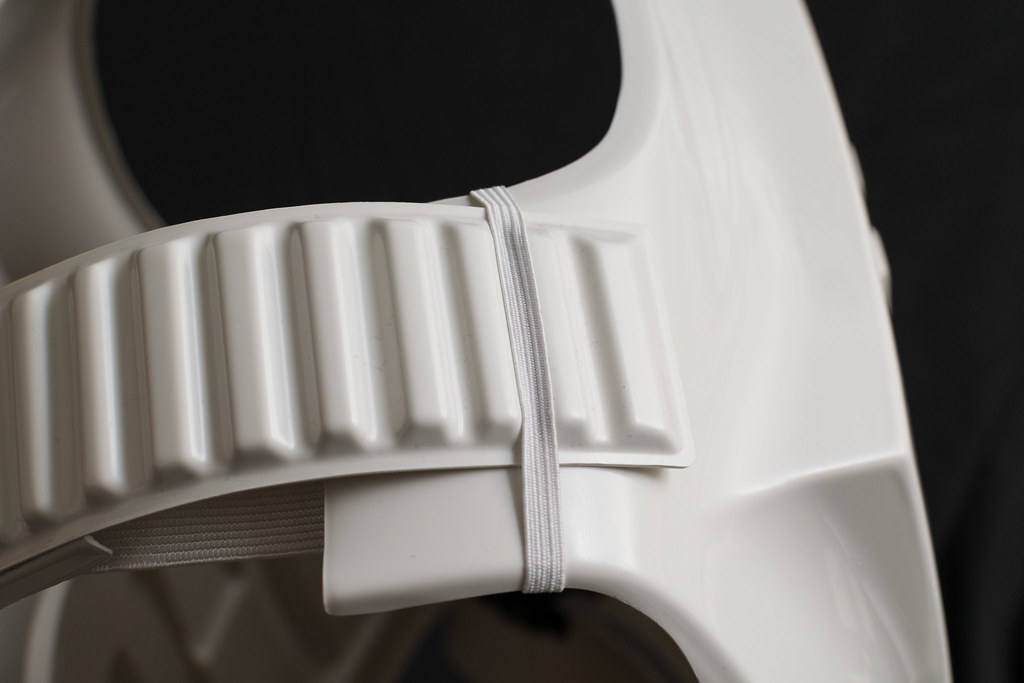
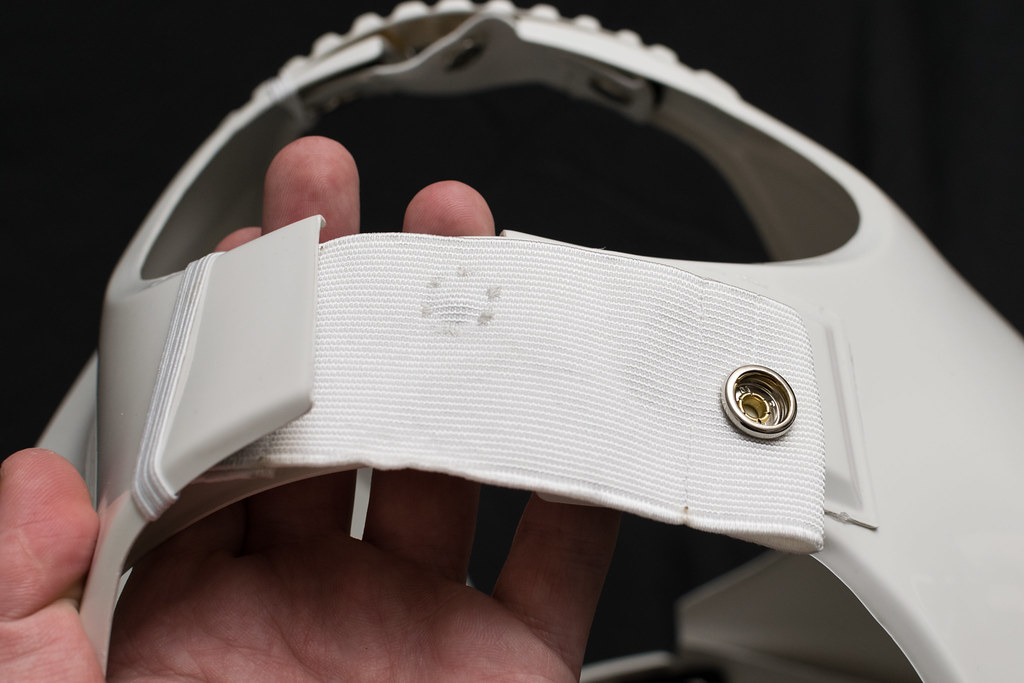
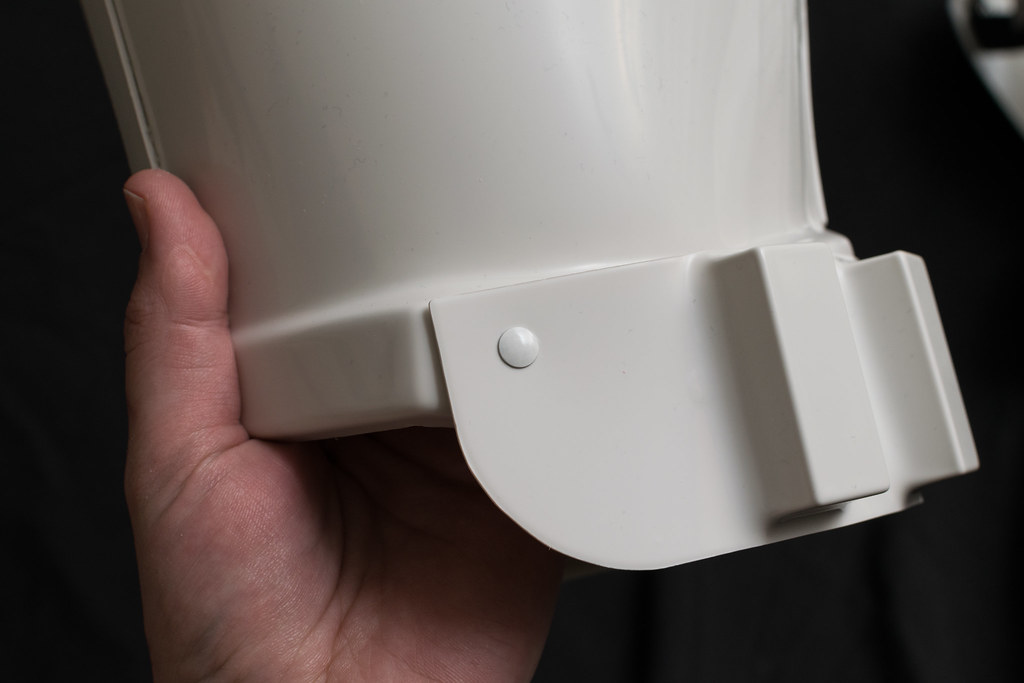
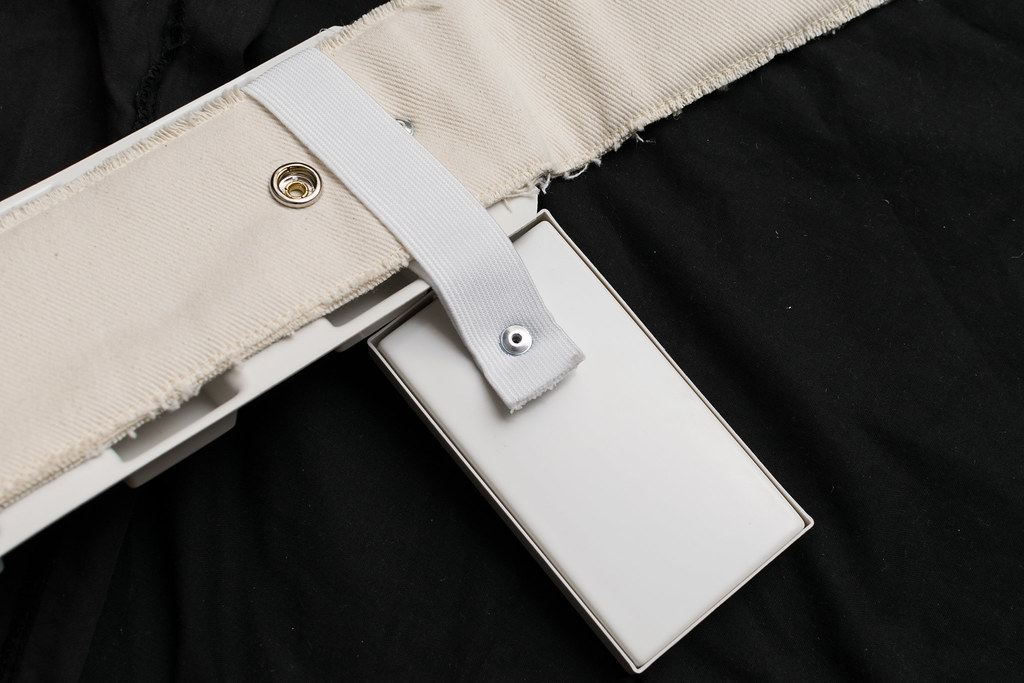
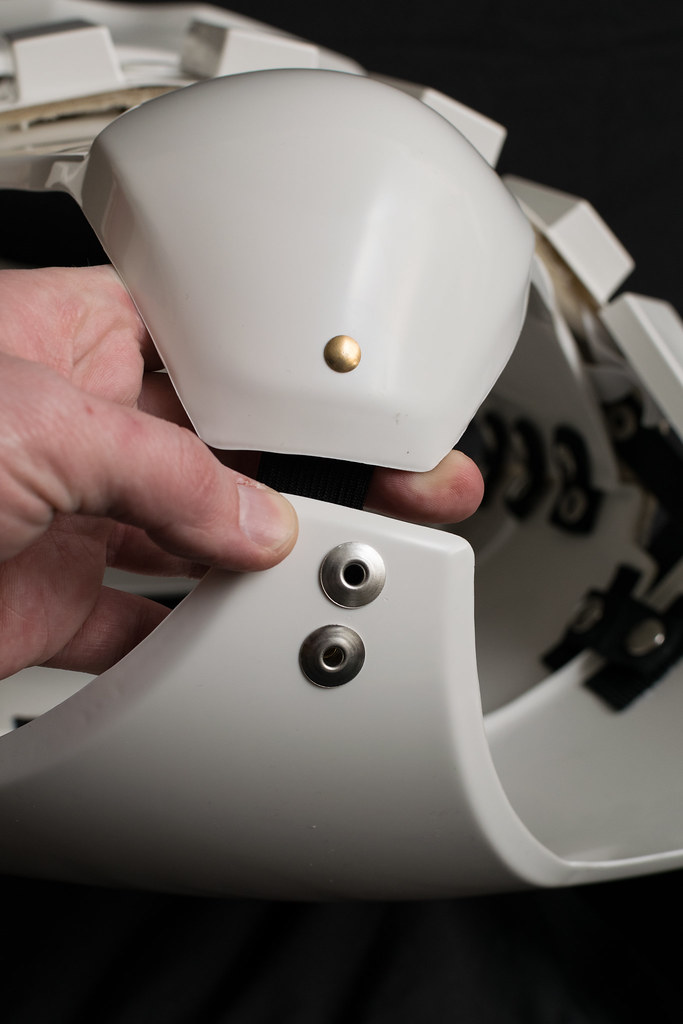
I also knocked up a webbing strap for the Aker, saved me having to muck about with bending plastic. Just attached with snaps as I have mountains of them. Once that's dry I'll work out where the rest of the chest electrics will need to go.
Images to follow once I'm done with the glue etc.
-
Those point on the back are a pain aren't they. I'll trim mine once I can get an armourer to look at them in person at the end of the month.
Also for the side straps I only have top and bottom on the opening side and they hold things just fine so no awkward centre strap.
-
 1
1
-
-
Hey Chris, Sly or myself will be with you shortly.
Regarding the thigh, I think if you just rotated them inward so that the cover strip is facing forward this would resolve some of the issue. Btw this won't hold you back from EIB.
Thats my first plan of attack. I think my straps are a shade too long so they moved during the photos. The first set I took, with the holster on the table...., they were lined up fine.
-
Thanks, I'll probably wait until after my booked troop so I don't end up with no tips just in case.Super glue or something like plastic welder. Whatever it is it's not too difficult to remove to screen.
-
Been lookign at doing this when I go for centurion. Do you know what glue was used to hold them at the factory? I'm going to guess super glue?
-
I've already removed most the return, theres just enough to give it the thick look. I picked up some foam and I do plan on troop, analyse, adjust!Removing the return edge at the top of the thighs will help them to slide up more.
Also try adding foam padding to the front of the shin and back of the thigh to force them apart.
Good Luck, Chris!
-
Looks great! Here is one thing I would address..
You also could raise your thighs a bit, that might solve the issue above.
Good luck!
Yeah I need to fiddle with the thigh straps and belt a bit. Worst case I need to shave a bit of the top rear of the thigh.
Thank you. I've put a lot of work into the build and the research before so good to know it's showing!Daaaaaang! That is some GOOD looking armor trooper! Bucket off to you!
-
1
-
-
12v fans run at 5v will do 1 of 2 things: run slower, not run at all. It depends if they can start at low voltage. In PCs you can get PWM controllers that just pulse the 12v on off or voltage control so it is possible.
And you could build a fairly basic potential divider circuit to add variable fan speed, either using resistors on a switch or with a pot. Just a case of working out appropriate resitor values.
-
1
-
-
Been following this on your Facebook. Can't wait to see how these come out.
-
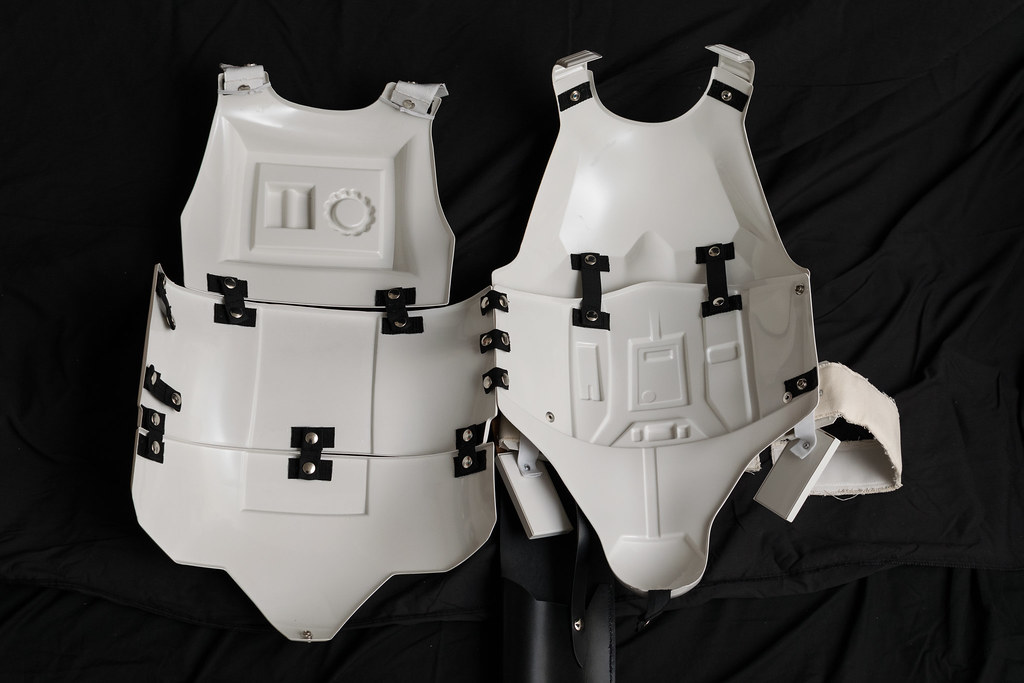
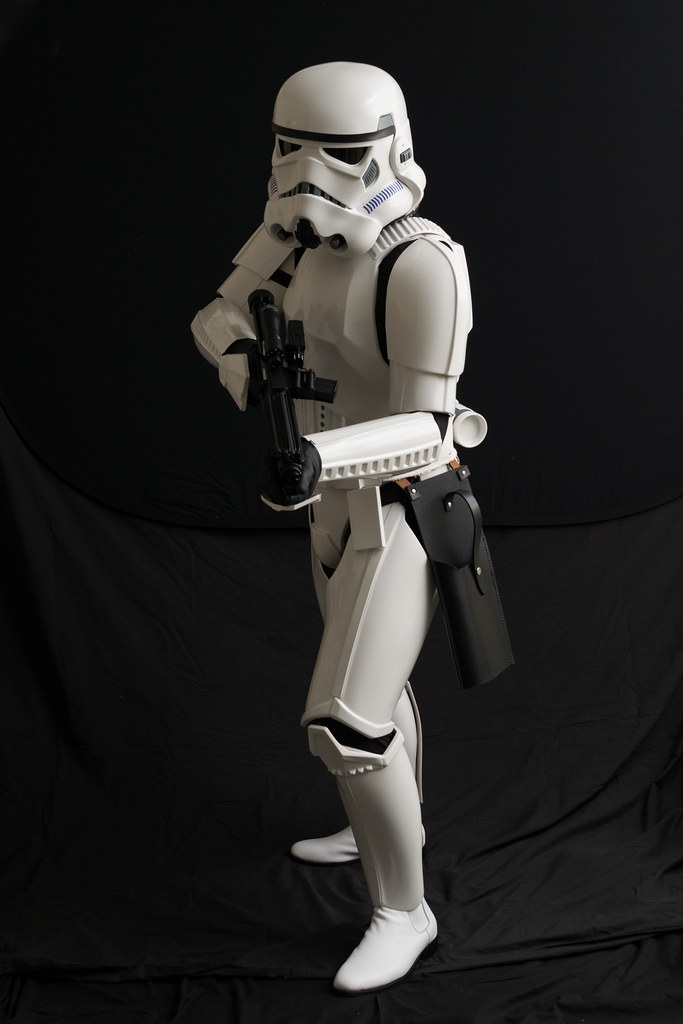
EIB submitted with my clearance images. Suspect I'll get called up on the dressing issues but I've got the foam now to pad out the parts as needed.
-
Name = Chris Pearson
501st ID = 10911
FISD forum name = themaninthesuitcase
Garrison = UK Garrison
501st Profile = http://www.501st.com/members/displaymemberdetails.php?userID=21319
Armor = Anovos
Helmet = Anovos
Blaster = Doopy Doo full resin
Height = 176cm
Weight = 81kg
Boots = Imperial Boots
Canvas belt = RWA
Hand Plates = Anovos ABS
Electronics = TKVoice and Aker
Neck Seal = Anovos
Holster = Anovos
Armor Photos
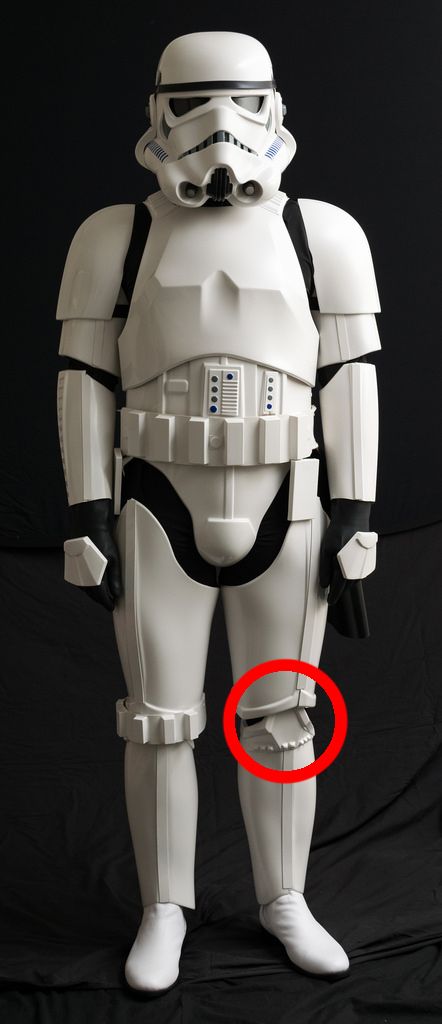
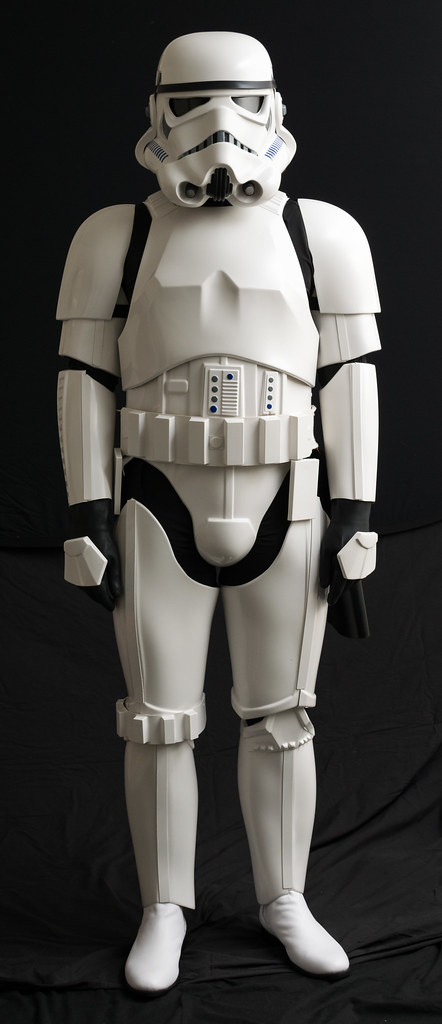
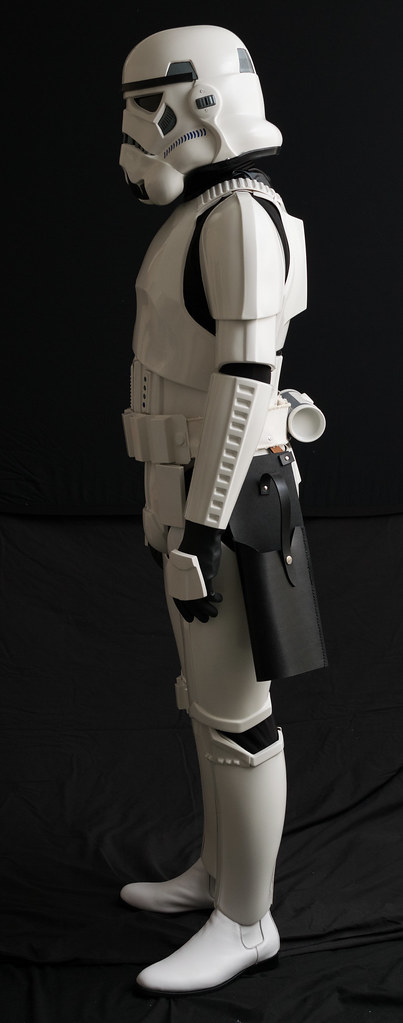
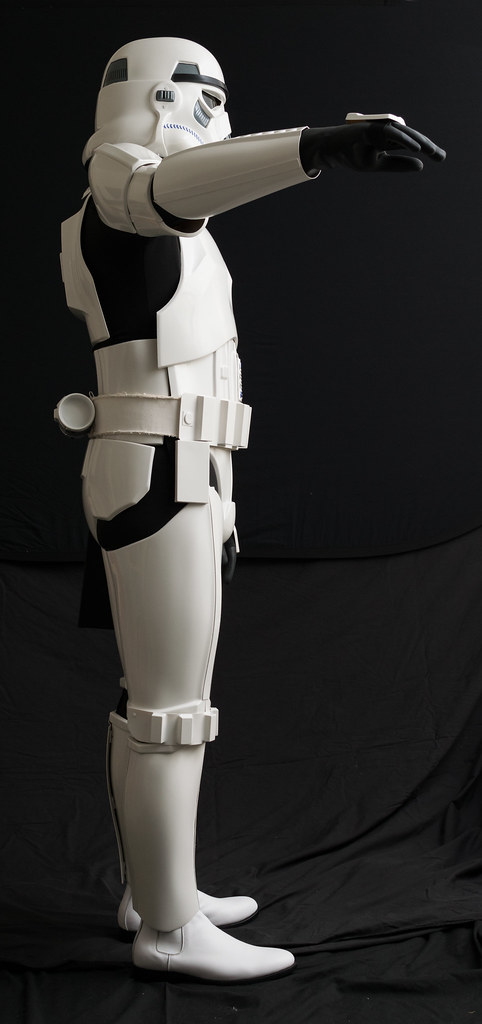
Full Body Front
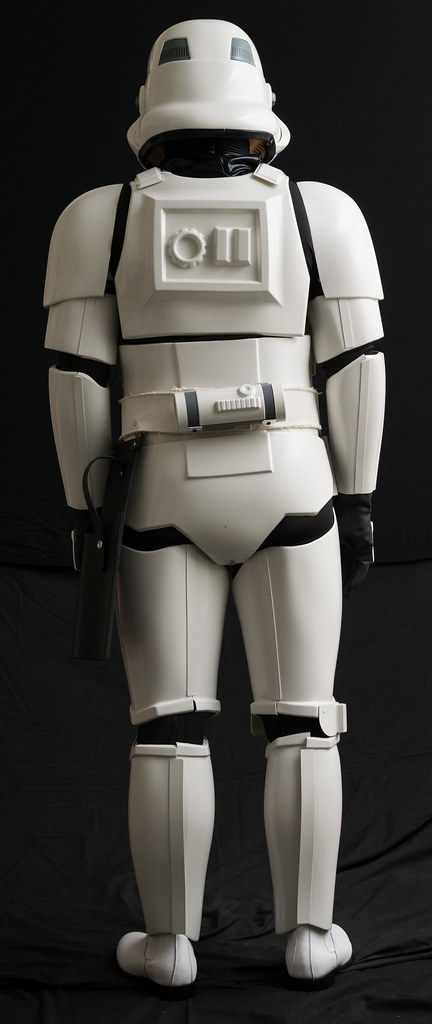
Full Body Back
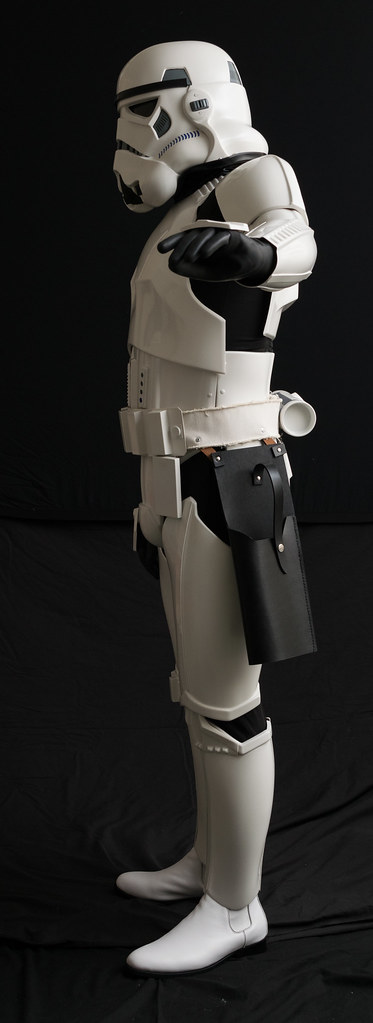
Full Right
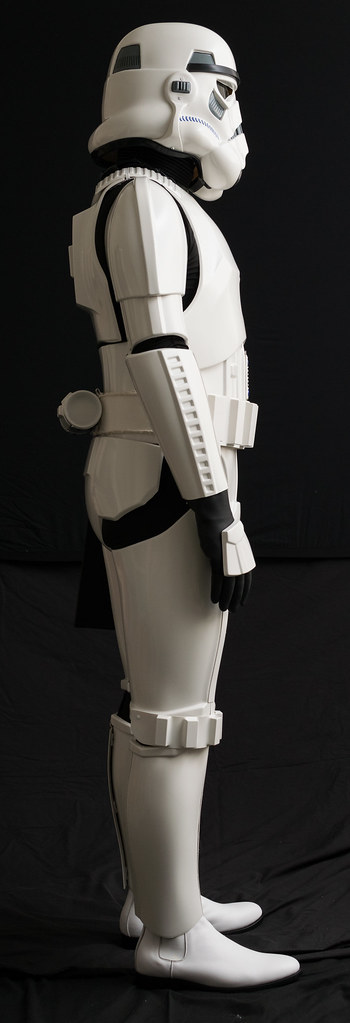
Full Left
Right Side Detail
Left Side Detail
Armor Details
Side Rivets
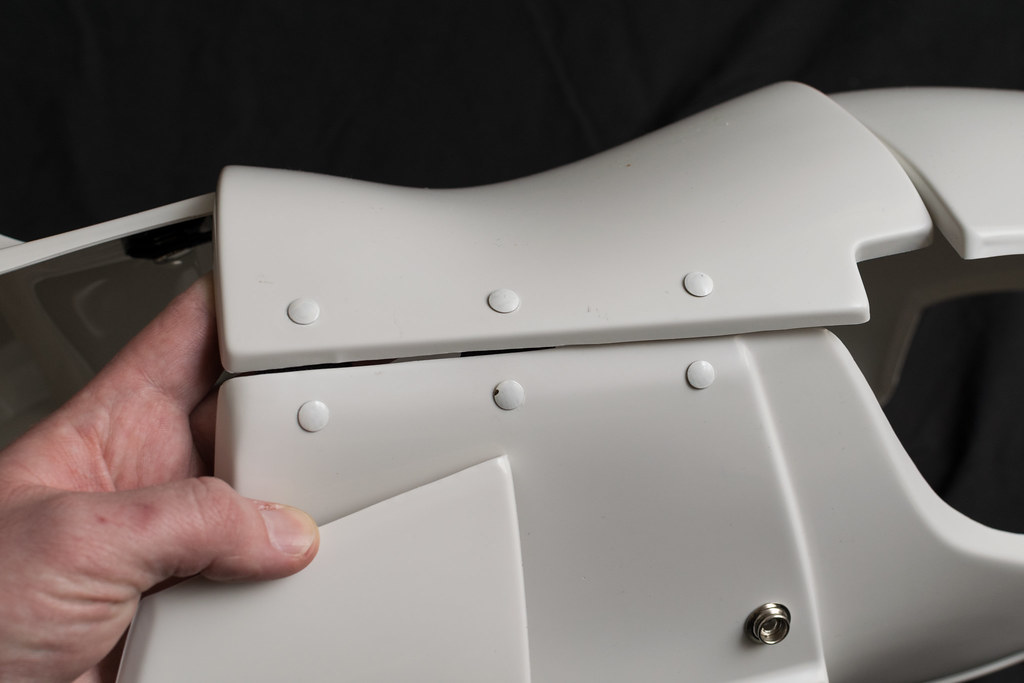
Kidney Notch
Shoulder Bridge Front
Shoulder Bridge Back
Shoulder Elastic
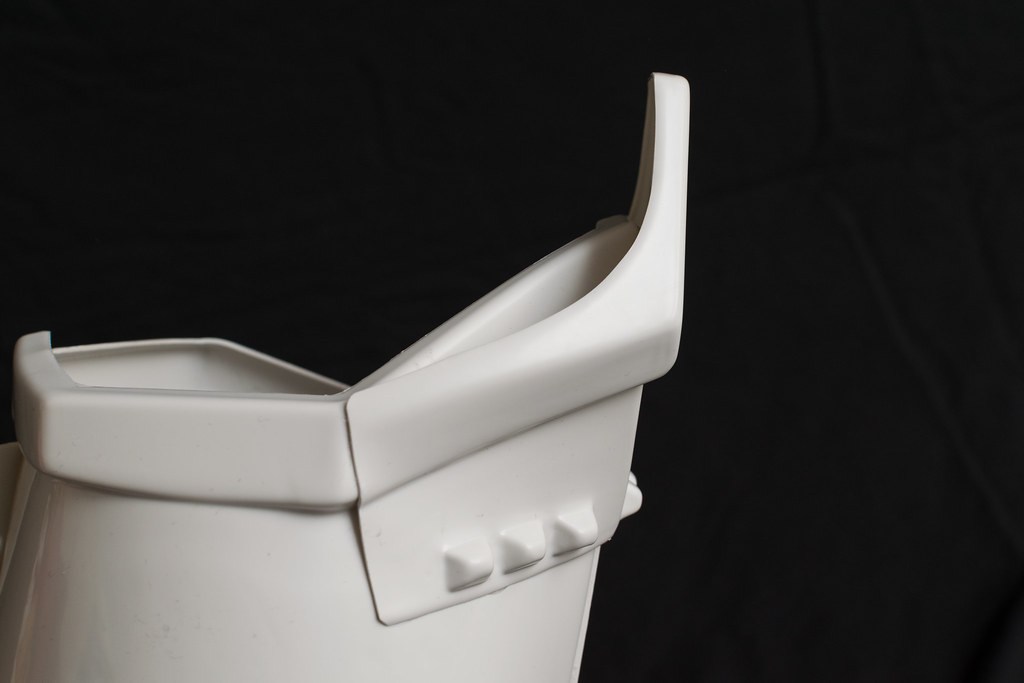
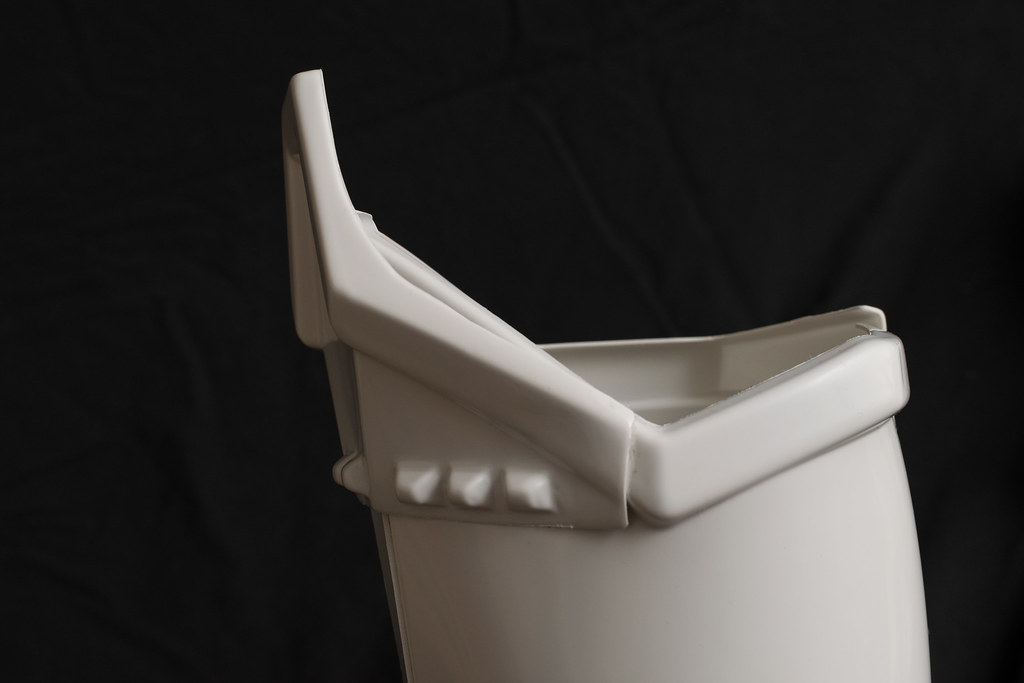
Thigh Pack Attachment
Sniper Knee Attachment
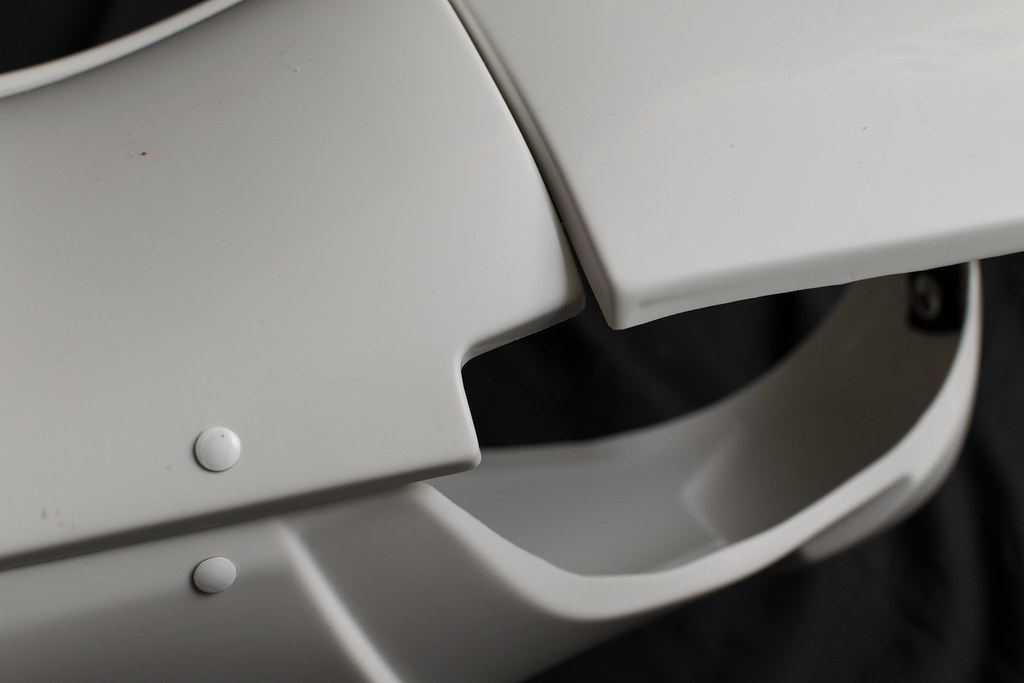
Drop Box Back
Crotch/Butt Detail
Wrist return
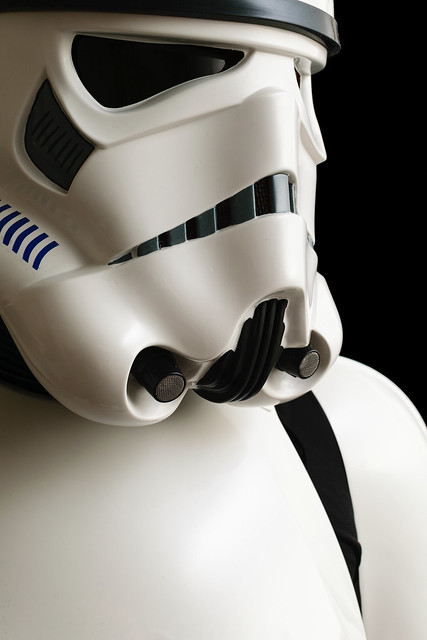
Helmet Detail Photos
Front

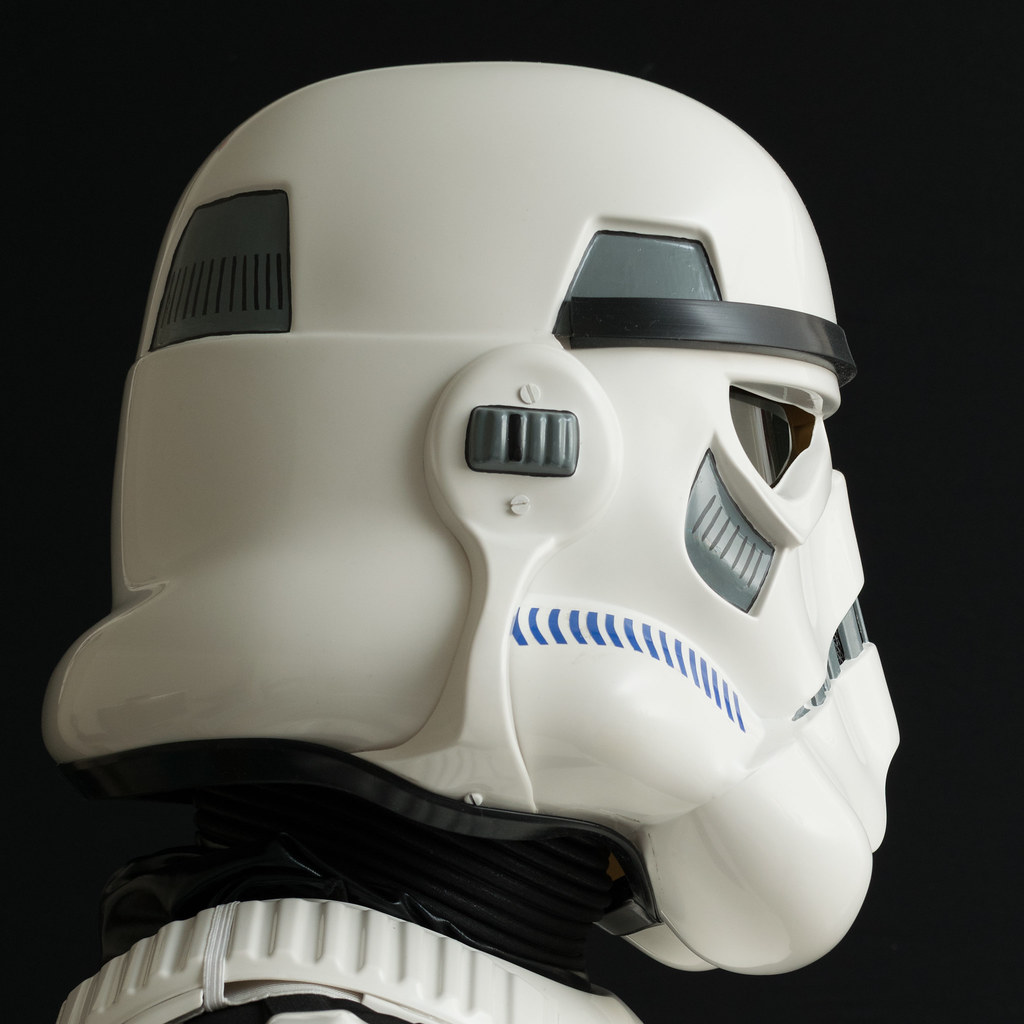
Side

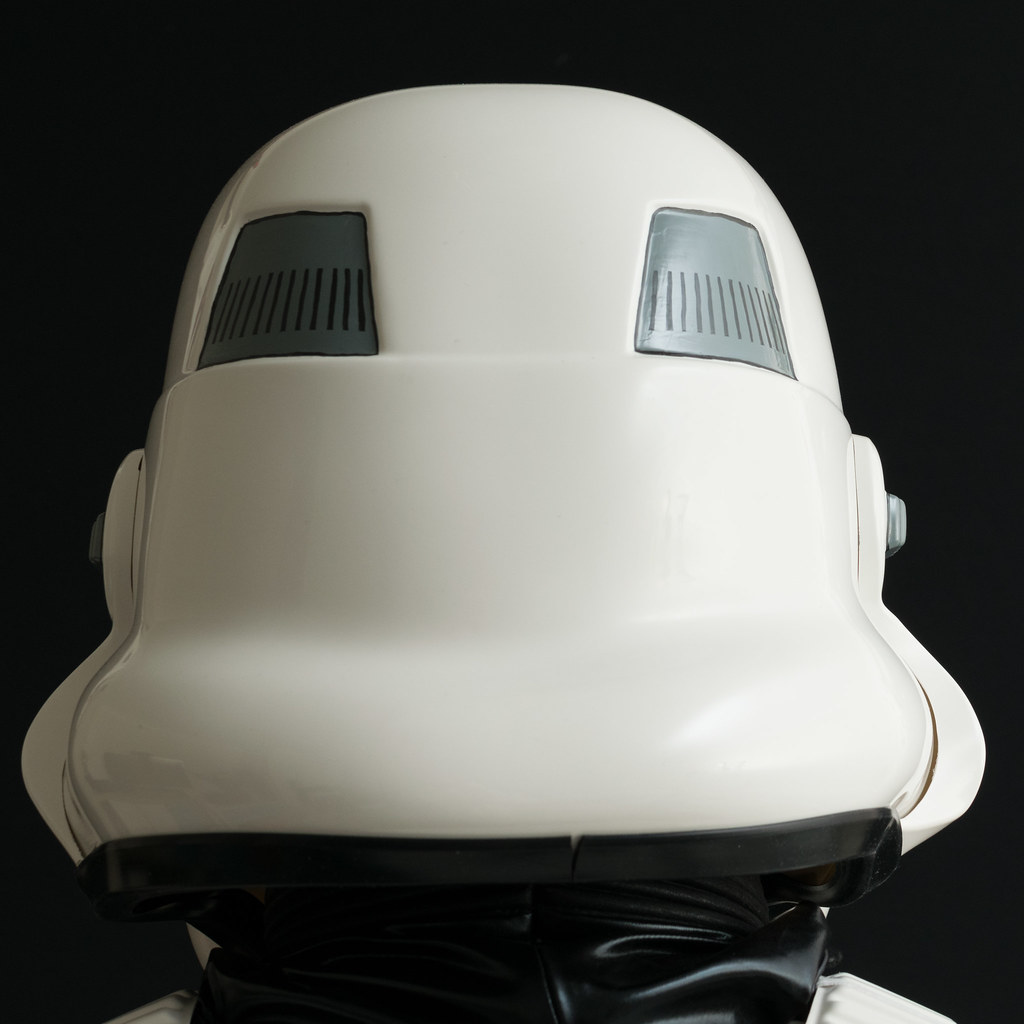
Back
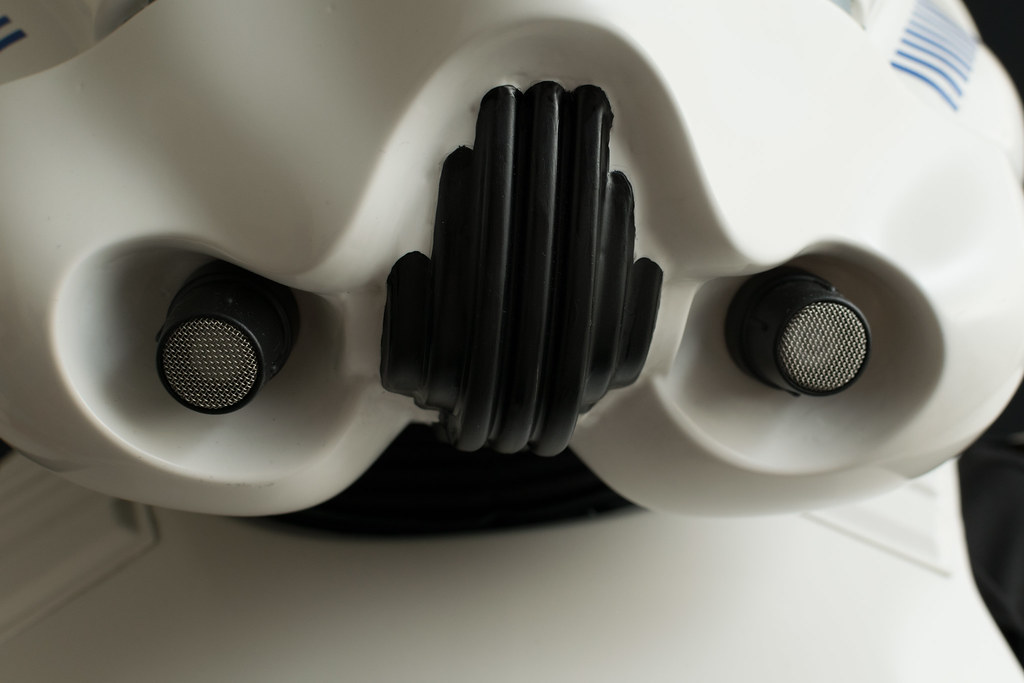
Hovi tip detail
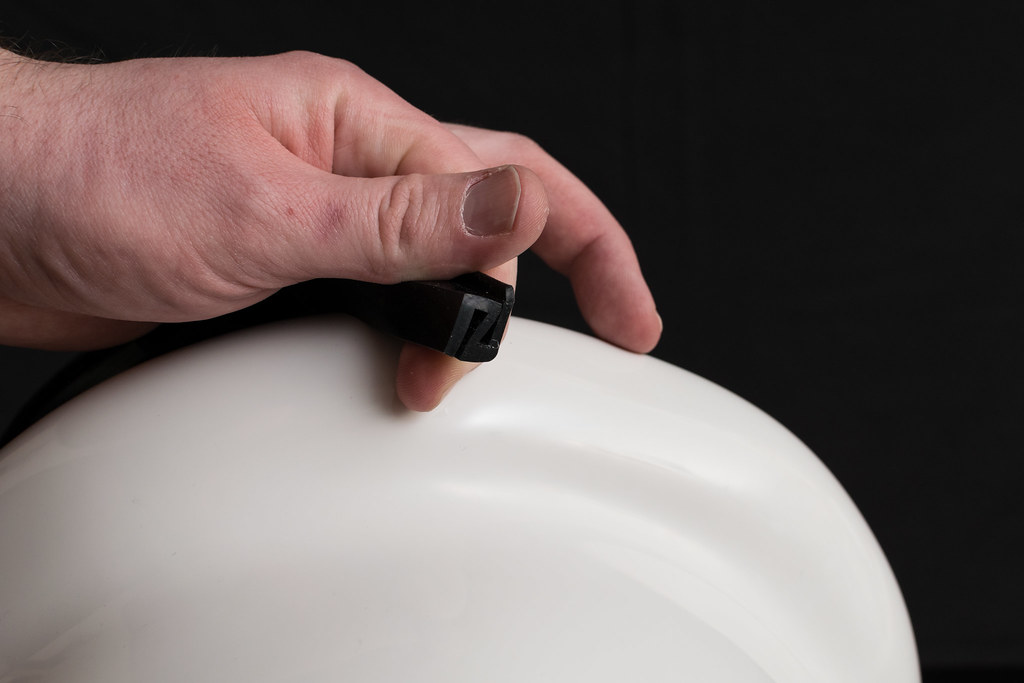
S Trim
Lens color (Backlit if necessary)

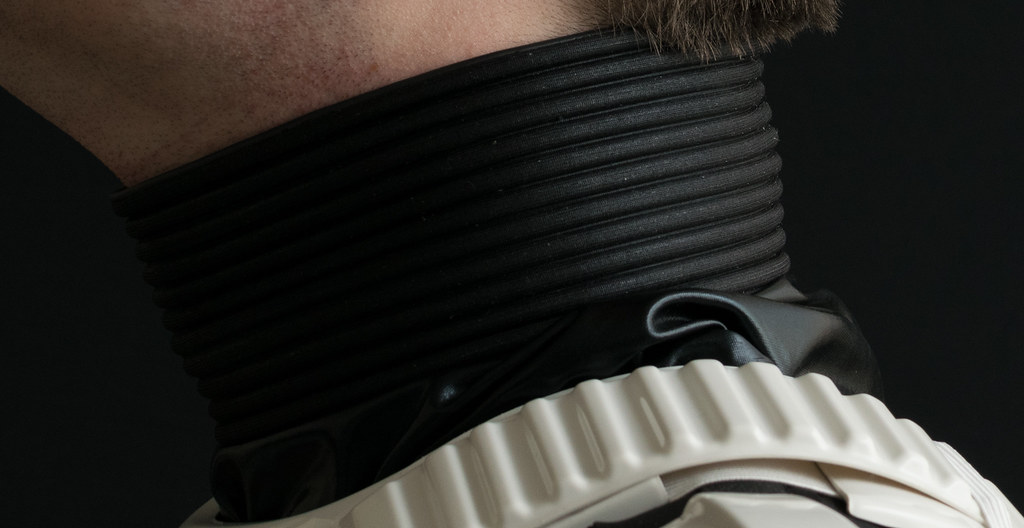
Neckseal
Blaster left side

Blaster right side

Blaster D Ring

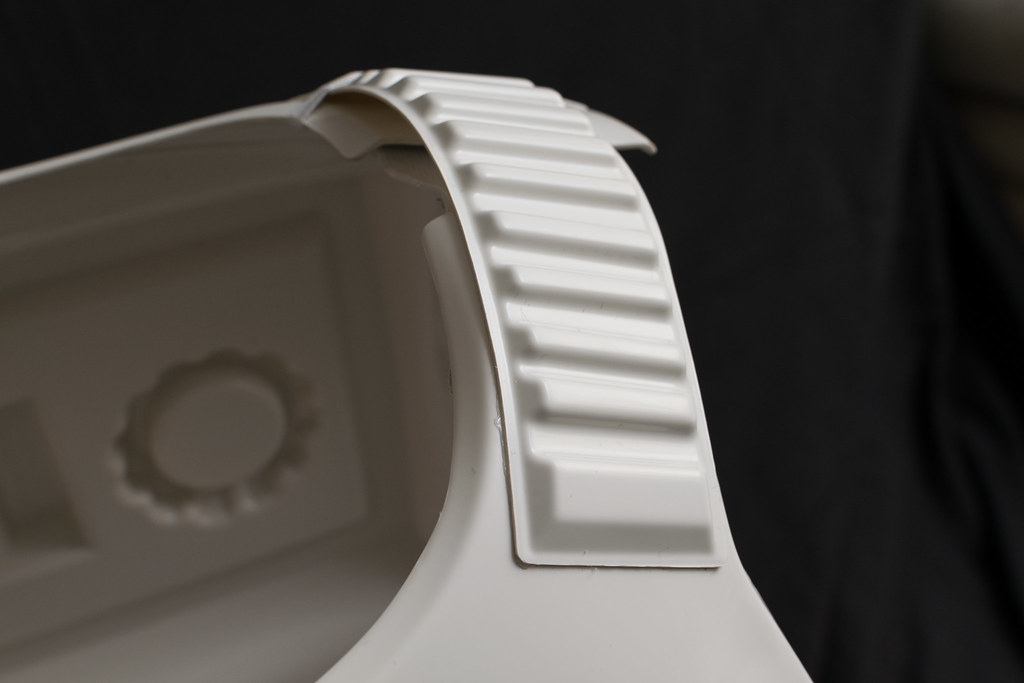
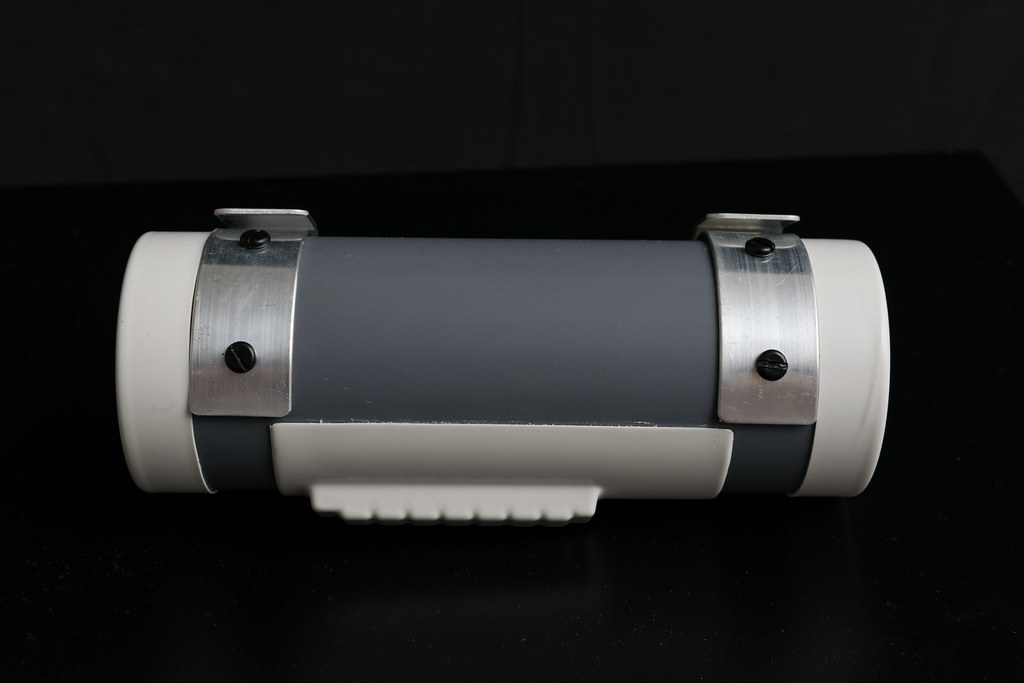
Thermal detonator back
Interior Strapping
Abdomen Detail

Action Shot
-
Off we goLatex hand guards are only a Centurion requirement.

-
1
-
-
Just been reading the EIB specs: Are the soft hand guards needed for EIB or just for centurion?
Looking at the CRL isn't not super clear but the EIB visual checklist makes no mention of them, so I guess I could probably submit EIB?
-
On my build I have some 1.5mm brass rod to pin stuff with, including the rear sight. I pinned the back of the sight and the front is held down by a screw that goes through the scope rail, through the sight and then into the barrel. The sight is also superglued and the gaps filled with magic sculp. Seems pretty strong.
I don't know how much more stress a real sight would add, so long as it can't really move to get any leverage it might be okay.
-
1
-
-
I've been cleared to troop by the UK Garrison. I've got my induction troop booked in for the MCM ComicCon in London at the end of the month.
I've wanted a TK kit ever since I first saw members of the UKG at a work party back on 14th September 2005 (yes, I did look up the troop to get the date!). I looked into joining around 4-5 years ago but the great wall of secrecy was too much at that time.
With the discovery of the Anovos kit last year I joined the UKG forums and started to gather info. Whilst I had the option of ordering from more well known manufacturers I opted for the Anovos* kit, ordered a Doopy doo and started the mountain of research.
Now 10 months after ordering a long time dream has come true, onwards to EIB and Centurion.I'd like to thank members of this board and the UKG for their help and inspiration during this build. My E-11 especially wouldn't be as good as it is with out the massive amount of prior art by other members for me to copy and build upon.
For those embarking on their quest:
- Ask questions, people won't mind helping and give you a better result.
- Join your local Garrisons forum. They all have their own unique things. For example in the UKG they require a blaster for basic, this has thrown a fair few people doing Anovos builds.
- RESEARCH! Find and download all the reference images from other build threads and reference them in your own to show your thinking.
- Have fun. I had bad days during the build. If it's not fun, stop. Come back another day with a clear head.
- Pay it forward. I was given a 10% voucher for my kit, I passed the one I got on. I've been helping other Anovos builders in the FB group where I can. I also have made available the 3D parts I did for my blaster, and released a free IOS app for voice changer effects. Toopers helping Troopers.
TK-10911
* we really need a 2-3 character shortcode of this like other armours.-
8
-
The strap looks too far down the arm to me. With out going to get an arm out of my bin I think it wants to be so that the edge of the elastic is level with the edge of the trim strip. This shortens the whole thing and stops the loop forming.
-
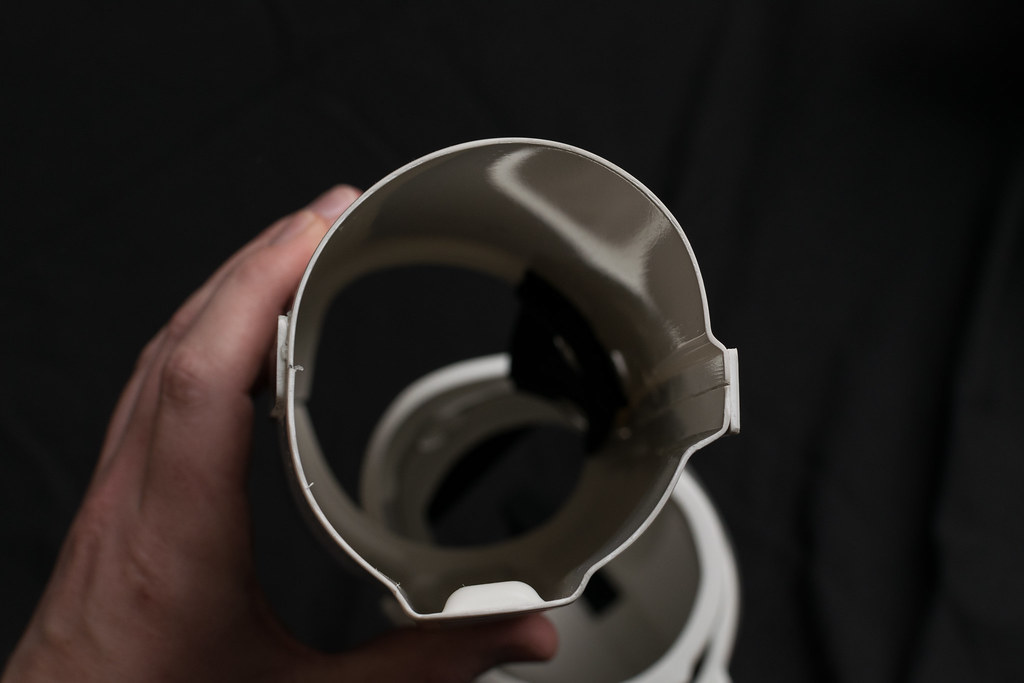
I've also just fitted a Trooper Wireless Systems mic into my bucket. Works great, not cheap but love it. It's just velcro'd in which isn't super secure but strong enough. My love hate relationship with Velcro continues.
Doesn't work with my IPhone app yet but a new adapter is on order.
Need to decide how I'll mount the aker or not yet. First troop is booked for the end of May.
-
I've ordered some 40x40x10mm 5V fans, if those aren't up to the job I'll by some better fans later. I also ordered some latching switches, they are pretty big for dexterity when in gloves/if someone else has to poke a hand in for me. For power I'll get a smaller USB battery pack but for building and testing I've got a few bigger ones. All thats left is to decide which USB cable to sacrifice for the glory of the empire.
-
TK-10911 Requesting ANH Stunt EIB Status (ANOVOS) [578]
in Request Expert Infantry Status
Posted
Side note: Is there a decent resolution version of EIB and centurion logos anywhere? I don't need massive for a banner or anything just better than 30 pixels!