gmrhodes13
-
Posts
31,208 -
Joined
-
Last visited
-
Days Won
1,070
Content Type
Profiles
Forums
Gallery
Articles
Everything posted by gmrhodes13
-

Commander Code Requesting Pre Approval ANH (Stunt) AP
gmrhodes13 replied to Commander Code's topic in Request TK Pre-Approval
Looking ok, a few things would help for higher levels. You could add white rim on the mic tips. Lenses seem far back from the eye rims. Shoulder bells could come in more at the top. You may want to try adding some foam in the forearms and biceps which would help keep them centered, they do look a little big but centering them may help balance the look. Usually we don't use velcro on the rear shoulder straps, just an elastic loop. Detonator is way to high on the belt. I would also trim the tops of your thighs or this will point will dig in when walking. You have one thigh with a cut out, both should match, have a look at these references. Helmet is sitting up a little high, you may be able to remove some padding. Drop boxes should align with the end of the plastic belt Adding some tabs behind the kidney will keep it held behind the ab and not overlapped. Also drop box alignment. A few tweaks and you should be good to contact your GML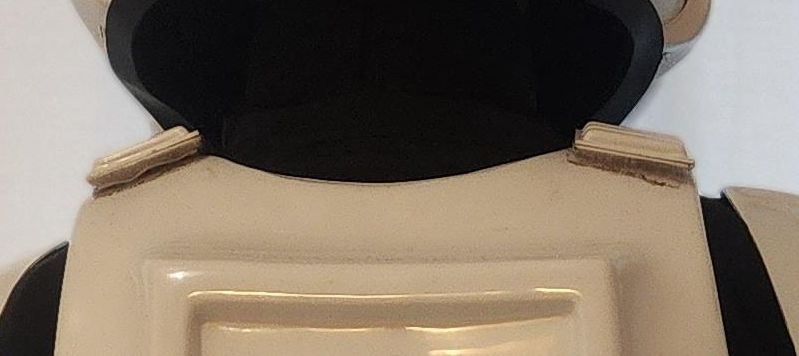
-
Commander Code Requesting Pre Approval ANH (Stunt) AP
gmrhodes13 replied to Commander Code's topic in Request TK Pre-Approval
Updated your post so the photos would show. -
Coach_MattLewis is requesting pre-approval review
gmrhodes13 replied to Coach_MattLewis's topic in Request TK Pre-Approval
Hi there, you don't need to post the CRL text with your images, just the images of the armor. For some reason all we can see is the helmet, preview shows other images though. We only need the images of the costume not the text. Have a look at other pre approval applications to see what images others have posted. Image host is certainly the way, update your images there then copy and paste into your post Images usually requested by your GML: Full length images: Front Side Back Side Action Helmet off. Detailed images are not required until you submit of L2 and L3 (you must be approved at basic to apply, then you apply for L2, once approved you can request L3) Images requested for the higher levels you can find here.
-
Definitely photos, you'd rather see an issue now before you proceed
-
-
AstrumVolucris - TK ANH Stunt Build by WTF
gmrhodes13 replied to AstrumVolucris's topic in ANH Build Threads
Hello and welcome, these may help, it's not too much of a gap and some GML's will allow a larger gap than others for basic approval you could reach out to them as they will be the ones looking after your approval Here are a few threads on filling that gap L2 and above OPTIONAL Level two certification (if applicable): Any gap between the abdomen and kidney armor is no more than 1/2" (12.5mm) wid You would need to adjust the clips as they are hitting the control panel so you won't be able to trim that. Note the angle of the plate/detonator to belt Notes: The top of the TD should should sit level (or slightly) higher than the top of the canvas belt. I use a belt around me which also has shoulder straps, there is no real correct way, just a belt is fine if you feel the shoulder straps aren't working I have back issues so I use a compression belt for my harness Originals use a belt and thick straps -
Bob's ROTK 850 Armor Works Build Thread
gmrhodes13 replied to Teach-'s topic in Rogue One Build Threads
Looking forward to seeing the progress. I'm no Rogue One guru but here are a few answers for you 1. The CRL says it mounts to the belt with no visible screws or clips. I'm assuming some of you rivet or screw it to the belt and do not use snaps. I've been reading a lot of build threads but have not come across that yet. Any help on good ways to attach the thermal detonator to the belt would be appreciated. Some mount with screws/bolts, some use magnets and some use velcro, so it can be removed and some even glue it on. Which ever way you mount the detonator they can come off at times 2. I've come across several ways to fill seamss (e.g. bondo). I'll have to do that after I connect the two halves. I'm new to any kind of model work so I'll take whatever advice you have for a newbie's first attempt. Some use ABS paste, it just helps on places that may flex, it's a little more work though, JB weld is sandable and is also good for flexing pieces, bondo can crack under stress/bending. 3. The total length will be 8 1/4 inches. The CRL says approximately 8". I'm assuming my 1/4" extra is okay. I doubt your GML will want you to get a ruler out, should be fine


.jpg.aedf65a49a72eaf9526c517ffbcdcc24.jpg)


.jpg.8132c7f9ecbd28f1cdc7e0cc1c5a8760.jpg)