
Leaderboard


Popular Content
Showing content with the highest reputation on 08/06/2025 in all areas
-
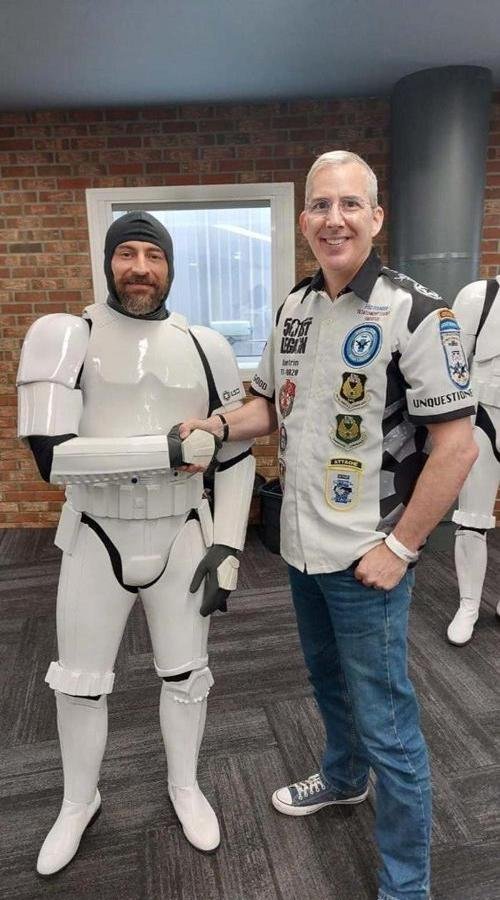
Hey everyone, Just a quick message to introduce myself—I’m Ben Weiss from the UK. After what may be the longest build in UKG history (a solid 10-year WIP… yes, really!), I finally suited up for my first troop in Manchester this past weekend—and absolutely loved every second of it. A highlight of the day was meeting Paul Hoeffer, and I had the honour of him placing my UKG insignia on my armour—definitely a moment I won’t forget. I’m really looking forward to meeting more of you in the future. All the best until then! Ben
 1 point
 -
Hi @Spadille! I'll start with your banner asap (been on vacation), and shoot you a PM when I've got something to get your feedback on! Thank you for being so patient!1 point
-
Hi, I've been on vacation, so I'm sorry for taking so long! Shoot me a PM with what background you want, the images you want to use for the banner and what logos you want to use!1 point
-
Congratulations Ben!!1 point
-
Thanks for giving me the correct link. I fixed it in my original post. Please approve access1 point
-
Using a PC did the trick apparently, can´t see why it´s not working on my phone all of a sudden but oh well, atleast this works. So, this pic have been seen plenty enough by now and nothing more exciting to say about it other than the coverstrips are now glued and will be trimmed down later. Also painted the shoulder bridges to better match the armor, not perfect but good enough, the + side of doing a Night Trooper is all the weathering and bandages that help hide imperfection Painted the "buttons" and glued on the ab details. In order for the centerpiece to fit I cut out a square in the ab, one can see the outline but it works as the screen used suits sort of have that detail. Next I decided to work on the front half of the belt, making the little "teeth", adding the ammoboxes and dropboxes. For the teeth I put the belt on the ab and drew some lines and used the old score and snap to bring them out. I opted to use chicago screws to install the belt, posts are hidden under the ammoboxes which were dremmeld out were the posts are, I used 4 points of attachement. The sides are loose and will close over the back portion af the belt with velcro. I also gave the teeth a little chamfer as that´s how I think they are, was originally planning on using 2 layers on the belt for that reason so I could make the belt thicker and easier to make said chamfer but naaa to much work and it works fine as is Next I eyeballed the position af the boxes and started by gluing the boxes that had the "slope" on top as they were somewhat easy to get the right spot for, then added the rest. They are glued but I will put in a few screws just to be safe. Put the ammo and dropboxes together. Dropboxes hade a nice space to glue but the ammoboxes sadly didn´t so it took some time to dremmel out (super hard printmaterial) All done `n dusted! Looks lite it´s ready to crawl away somewere... Locked it in the cuboard just to be safe1 point
-
File Name: Tissue Box | That's no moon Designer: MonsieurCaron Last Update: 27/07/2025 File-URL: https://makerworld.com/en/models/1644939-tissue-box-that-s-no-moon?from=search#profileId-1738501 Description: This tissue box is so powerful, it could mak your nose blow up like Alderaan. - Snot Tarkin My desk is a geek haven, and my tissue box needed to fit in. So, I designed a Death Star-inspired tissue box cover that looks like it came straight from the Galactic Empire! It's held together with trusty Gorilla Glue and designed for a snug fit on most North American 🇨🇦 tissue boxes, so it won't slip off. Feel free to get creative with your colors, but dark gray is more movie-accurate. May the Print be with you! Images:1 point
-
Thanks for the feedback I’m already keeping it in the shade. Lucky I did the painting in the morning while still cool out. I’ll make sure I do it when it’s cool and dryish going forward. This seemed to go on fine, unfortunately I missed some spots and only bought one bottle to test. I’ll have to sand it a bit and apply more when my resupply comes.1 point
-
So far so good. Color seems fine. This is on top of grey primer. I forgot to take photos of these parts with just the primer. So here’s the next set. Once I sand and clear coat and sand that I’ll post again.1 point
-
Hey thanks for the heads up I’ll get a trooping log set up1 point
-
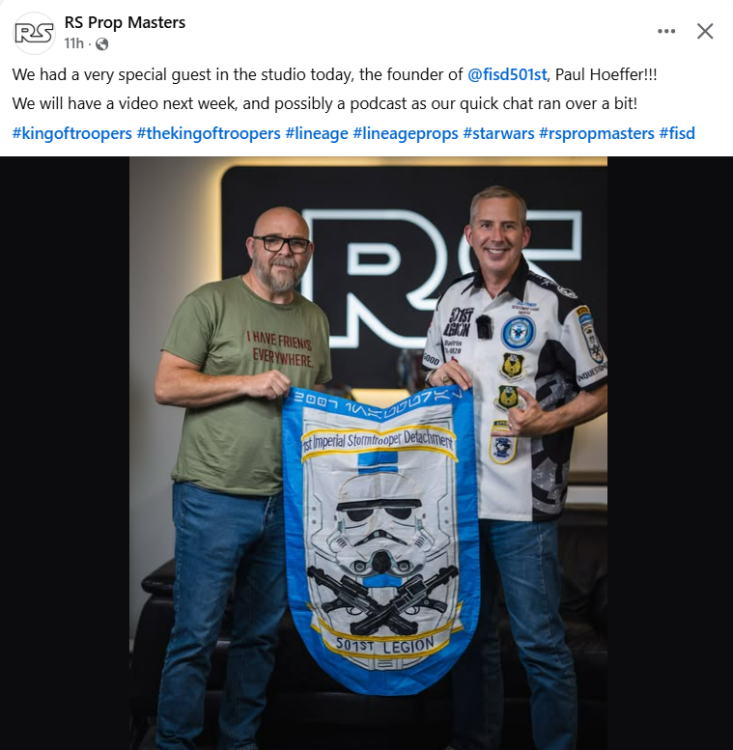
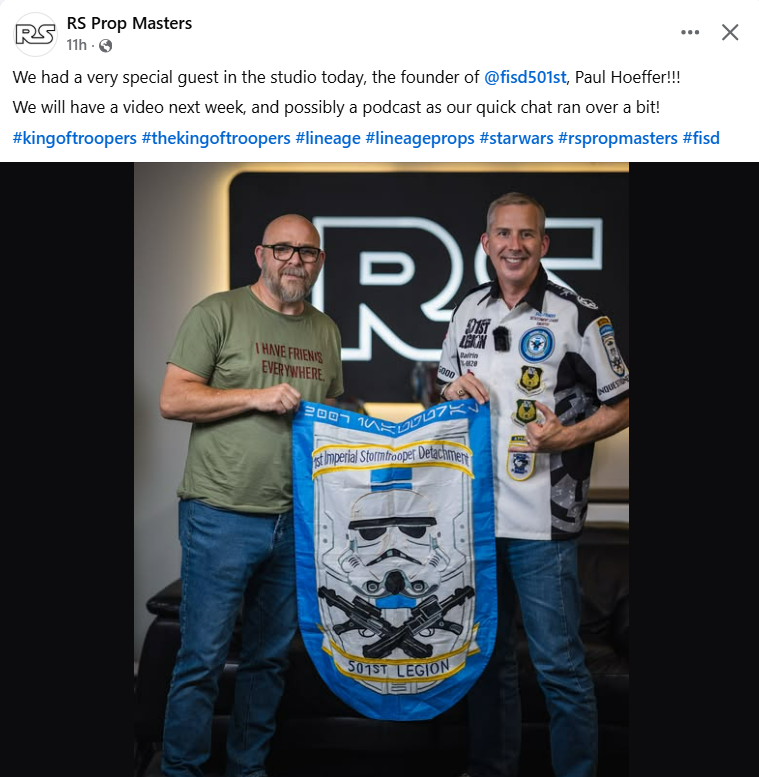
RS Props Gets a Special Visitor Keep your eyes open, there will be a video incoming soon
 1 point
 -
I am interested to have an updated Banner. I would like to add my Deathtrooper alongside of it. What do you need from me?1 point
-
Trying to colormatch the printed parts and I think I have reached a close enough stage. Shins are read to be mapped for the gold and put the helmet together, no details are glued yet.1 point
-
Hello again, @Nairy! I don't have a whole lot in the way of accolades just yet, but I would love a fancy banner if you're willing! If possible, I'd like it to include that I'm a Valkyrie. https://i.postimg.cc/vB3CgR2s/Centurion-Pose.png1 point


.thumb.jpeg.40a403e8b8de1ab9a8d933dd957a23b0.jpeg)