Leaderboard


Popular Content
Showing content with the highest reputation on 08/02/2025 in all areas
-
Hey everyone, Just a quick message to introduce myself—I’m Ben Weiss from the UK. After what may be the longest build in UKG history (a solid 10-year WIP… yes, really!), I finally suited up for my first troop in Manchester this past weekend—and absolutely loved every second of it. A highlight of the day was meeting Paul Hoeffer, and I had the honour of him placing my UKG insignia on my armour—definitely a moment I won’t forget. I’m really looking forward to meeting more of you in the future. All the best until then! Ben
 3 points
 -
Many of us use a free online image host Imgur, here is a great how to guide. Make an account, upload your photos then copy the links to each of the photos and paste them into your application. You can find the photo checklist here2 points
-
I went the sewn together way, so much easier for dressing, I also added a loop of elastic around the fronts so I can hold them when slipping the armor pieces over, then I tuck it into the forearm when everything is on.1 point
-
its getting there , few reprints needed, last bits being printed for the helmet and clear red insets for the lit gauntlet elements1 point
-
I really like your mini spray booth set up! One thing to think about when using spray paint is the temperature. I know it can get well above 90 degrees at this time of year in Japan, but the paint ideally is applied below 90 with a low to medium humidity level. Otherwise it can actually start to atomize before it hits your armor and cause a grainy texture. Also, avoid letting it dry (cure) in direct sunlight when the temps are high. Looking forward to seeing your results!1 point
-
Slow but sure wins the race! If I could make a small suggestion it would be to round off the edges of the cod tab as seen below. In some cases those squared off ends may cause a little discomfort (chafing) in the groin area after being in your armor for a bit.1 point
-
So far so good. Color seems fine. This is on top of grey primer. I forgot to take photos of these parts with just the primer. So here’s the next set. Once I sand and clear coat and sand that I’ll post again.1 point
-
I wasn’t able to find a mixer here. But I did find PROST's EWP BLANC BANQUISE 300ml online. https://www.prost-shop.jp/view/item/000000238565 I’ll post again once I have some results to show.1 point
-
File Name: Battle Droid Duck Designer: The Duck Vault Last Update: 02/08/2025 File-URL: https://makerworld.com/en/models/1661499-b1-battle-droid-duck?from=search#profileId-1757626 Description: For Exclusive Ducks, Commercial License, & Early Access → Patreon https://www.patreon.com/TheDuckVault/membership 3 Color AMS, MMU or, ACE Pro PLA Basic Black PLA Basic Pumpkin Orange PLA Matte Desert Tan Images:1 point
-
Well it's been a busy week, had a camping trip, but thankfully I'm back to work on this. Drilled out the rivet holes on the left side of the abdomen and kidney, and then glued on some reinforcement to both areas, and the shoulder straps. Would have worked on more straps, but I've run out of time for the day. (and clamps lol)1 point
-
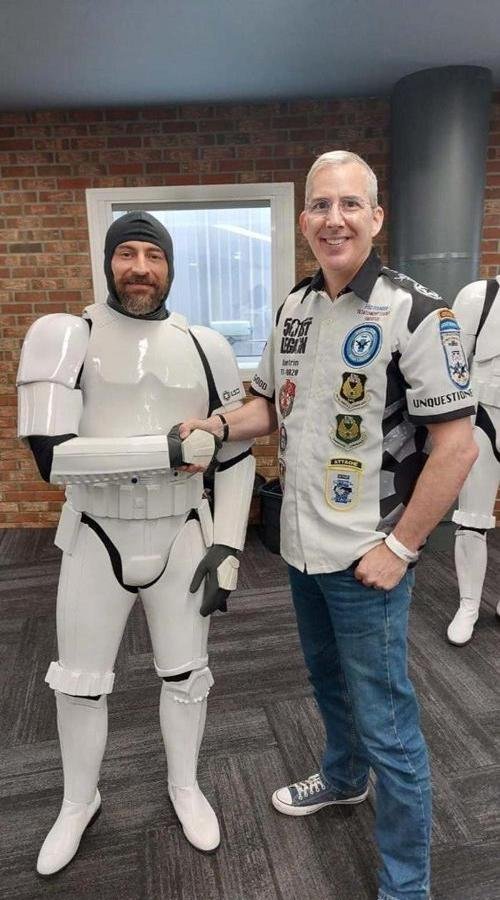
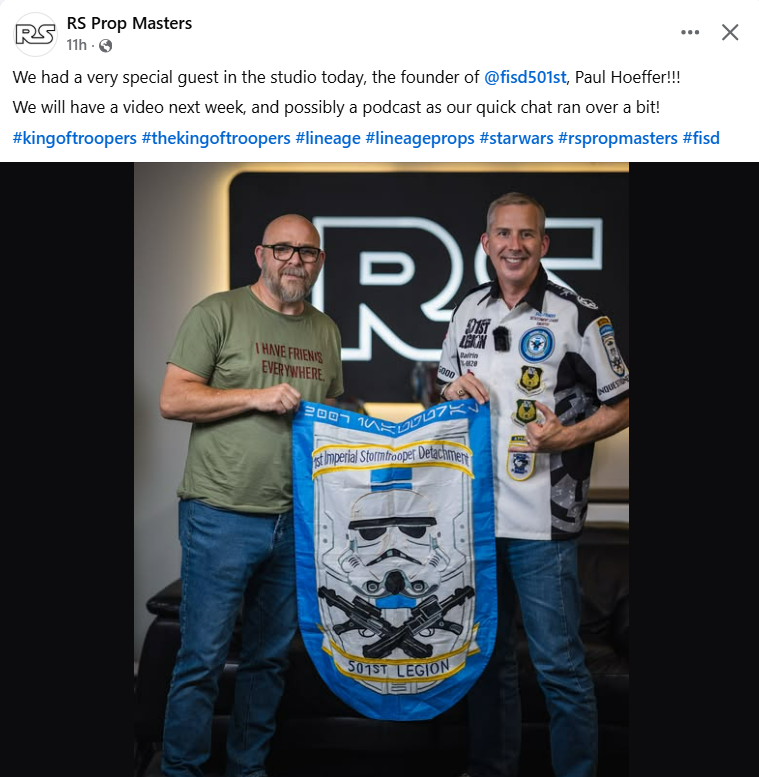
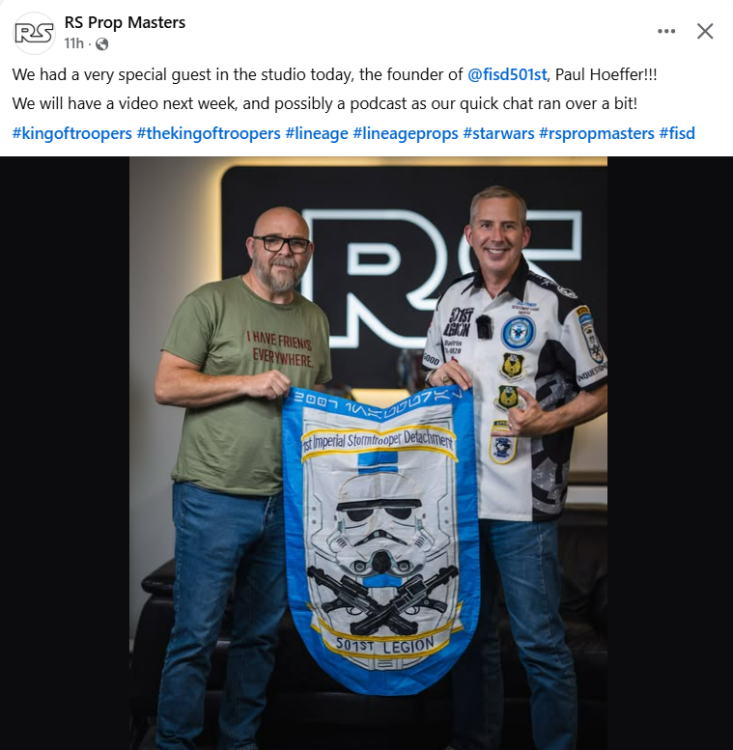
RS Props Gets a Special Visitor Keep your eyes open, there will be a video incoming soon
 1 point
 -
Hi Andrew! The person I would suggest getting in touch with is Brian (Bulldog44), the FISD Imperial Attaché for Japan. A link to contact him via PM can be found here. If you haven't heard back in a few days, contact me via PM and I can email him for you.1 point