Leaderboard


Popular Content
Showing content with the highest reputation on 01/02/2025 in Posts
-
Update #09 - Cabinet background Never felt happy with all that free space inside the cabinet. And the boring rear door was still clearly visible. So I had to focus on the background instead of the display pieces. Was happy with the result and for me both panels brought some Star Wars vibe into that cabinet. Yes, blinking lights would have been very cool but I lack the skills to build something. We‘ll get back to that later. Next I had to reorganize a few items inside the cabinet. About six years ago, two drawers had been added, just laying on a painted wooden shelf. Their flat metal surface made them slip around, each time I touched them. Pretty useless when not being mounted. So I tackled this next… Moving the drawers to the middle, caused a large area to fill right below them. This (plus other things) will be covered in the next update...4 points
-
Update #10 - ‘with some modifications’ Thought about placing some kind of control panel below the drawers. Should be easy to make from wood with some knobs and greeblies. Then I got an old tablet in hands and things went a bit crazy. Sorry, had missed to take photos of some steps. Now what to do with that thing? Would be cool to have some Star Wars footage, looking like coming from Death Star security cameras or so. Hm, maybe that already exists?! On Youtube I indeed found a suitable clip. So I contacted the owner and asked for permission to use it. As chance had it, this was made by FISD member Daniel @SKUTCH and he agreed. Thanks again, Daniel. He looped a 3.5 mins sequence to a 25 mins clip. I chopped it down to 2.5 mins with no audio and transferred it to the tablet, where it can run in an endless loop. Wondering how it looks like? You got to wait a moment. Then it was time to fill that cabinet with everything I had gathered over the years plus the blasters, all decoration and stuff. I started at the bottom because some things are just stacked on top of each other. Ever since finding those device covers, I dreamed of how cool it would be to have the red and white lights blinking, like seen on many background props in the movies. Unfortunately I wasn‘t able to do that but luckily there is Dave @Cody42 in my Squad. He had offered to build custom-made circuit boards to fit behind the covers. It took some time, phone calls, measurements and bucks but he went all out and designed the following: Having no AC power outlet nearby the cabinet, he ingeniously made the circuit boards to work at 5V DC via Mini-USB port. That means they can be operated with a standard power bank. It is also possible to switch through various light modes, adjust the brightness and the interval time. And whatever you select remains stored in the memory, even when the power source gets disconnected. https://youtu.be/x7fIisnKrJM In the video you can see two temporary push buttons. These are required for configuration. For the final setup Dave had simply planned with my black switches, which were already present in both panels. Dave, I cannot thank you enough for this awesome work. Even after a few years now, everything is still working fine. And that‘s it. Project finally completed. The cabinet is completely filled with goodies and electronics. The 'surveillance' video looks very cool and the lamps change every 10 secs. As photos don‘t work well to show the final result, I simply filmed the cabinet from top to bottom. Enjoy.3 points
-
Hi everyone, I’m back like the T800 ? So what’s the only thing TKs are missing that’s super cool in Star Wars? Well my thought is the lightsaber ? and as the Hero version is allowed to have one… I need a Hero! As the base I will be using my RWA Stunt suit with a new helmet and belt. Troopermaster TM was kind enough to help me out and not only provide a kit but also match the ABS color as my RWA suit is a bit whiter than most. He did a great job! ? Of course we need a lightsaber too ? so question to whoever will follow my journey. Same build thread or a separate one for the lightsaber? ** pictures on the way2 points
-
This is wicked cool. I mean, talk about going all out on a project. Amazing work and thanks so much for sharing!1 point
-
Hey everyone. I figured I would post this as it has recently come up on the Deployment Officer discussions. With respect to the Hovi tips that are supplied with the AP props kit, the front ring is a little bit thicker than optimum. Having an AP kit myself which I absolutely love, I figured I would look into a method to make them a bit more screen accurate. Please not that we have decided that at this time, this modification will be requested for level 3 approval. Here is the original AP Hovi tip- Note the wide front portion as compared to screen references. References To correct this, I used my Dremel tool with the grinding tip pictured below. Using the mesh as a floor to keep the grinding attachment steady and at a right angle to the wall, it was just a matter of carefully running the edge of the grinder around the inner ring of the Hovi Tip front ridge. Completed result with less than 10 minutes of work1 point
-
Great advice! Definitely looks much more accurate!1 point
-
Excellent Paul! I had not heard of that video. I'm going ot have to check it out. Welcome aboard, I can't wait to see your kit come together.1 point
-
Very nice, added to the Captain variant research thread1 point
-
been rather slow going since most of this is losing weight and i need to wait a while til thats been a success, but ive found the holy grail of images thatll be insanely helpful for actually getting this approved. up to now ive been held back by the lack of clear images showing the holster. weve got a rough shape for it but it was never clear exactly what the details were. but this shows pretty concisely what the holster has to look like. this does come from wookiepedia so im not sure if it can be used as reference but if we can confirm thats the shape i can go ahead with , this will pretty helpful going forward1 point
-
Good luck! Let us know when you get approved and looking foward to a troop log: https://www.whitearmor.net/forum/forum/13-field-training-exercises/1 point
-
May 4th was my goal as well. I got approved on the 3rd! Hopefully you don't have to cut it as close1 point
-
Hello all! Just wanted to drop in and wish all a Merry Christmas and Happy New Year. I am still working on my kit and have made a lot of progress, but have not had the time to take photos and upload images. Right now I am working on the fitting of the torso and locating the strap anchors. I am off tomorrow so I plan on making a day of working on the armor. I will try and get some photos if I can and put up a progress post here. So yeah! The holidays and work slowed me down, but progress is still being made. I am shooting to be approved before May 4th 2025 and make that my debut troop. Stay shiny!1 point
-
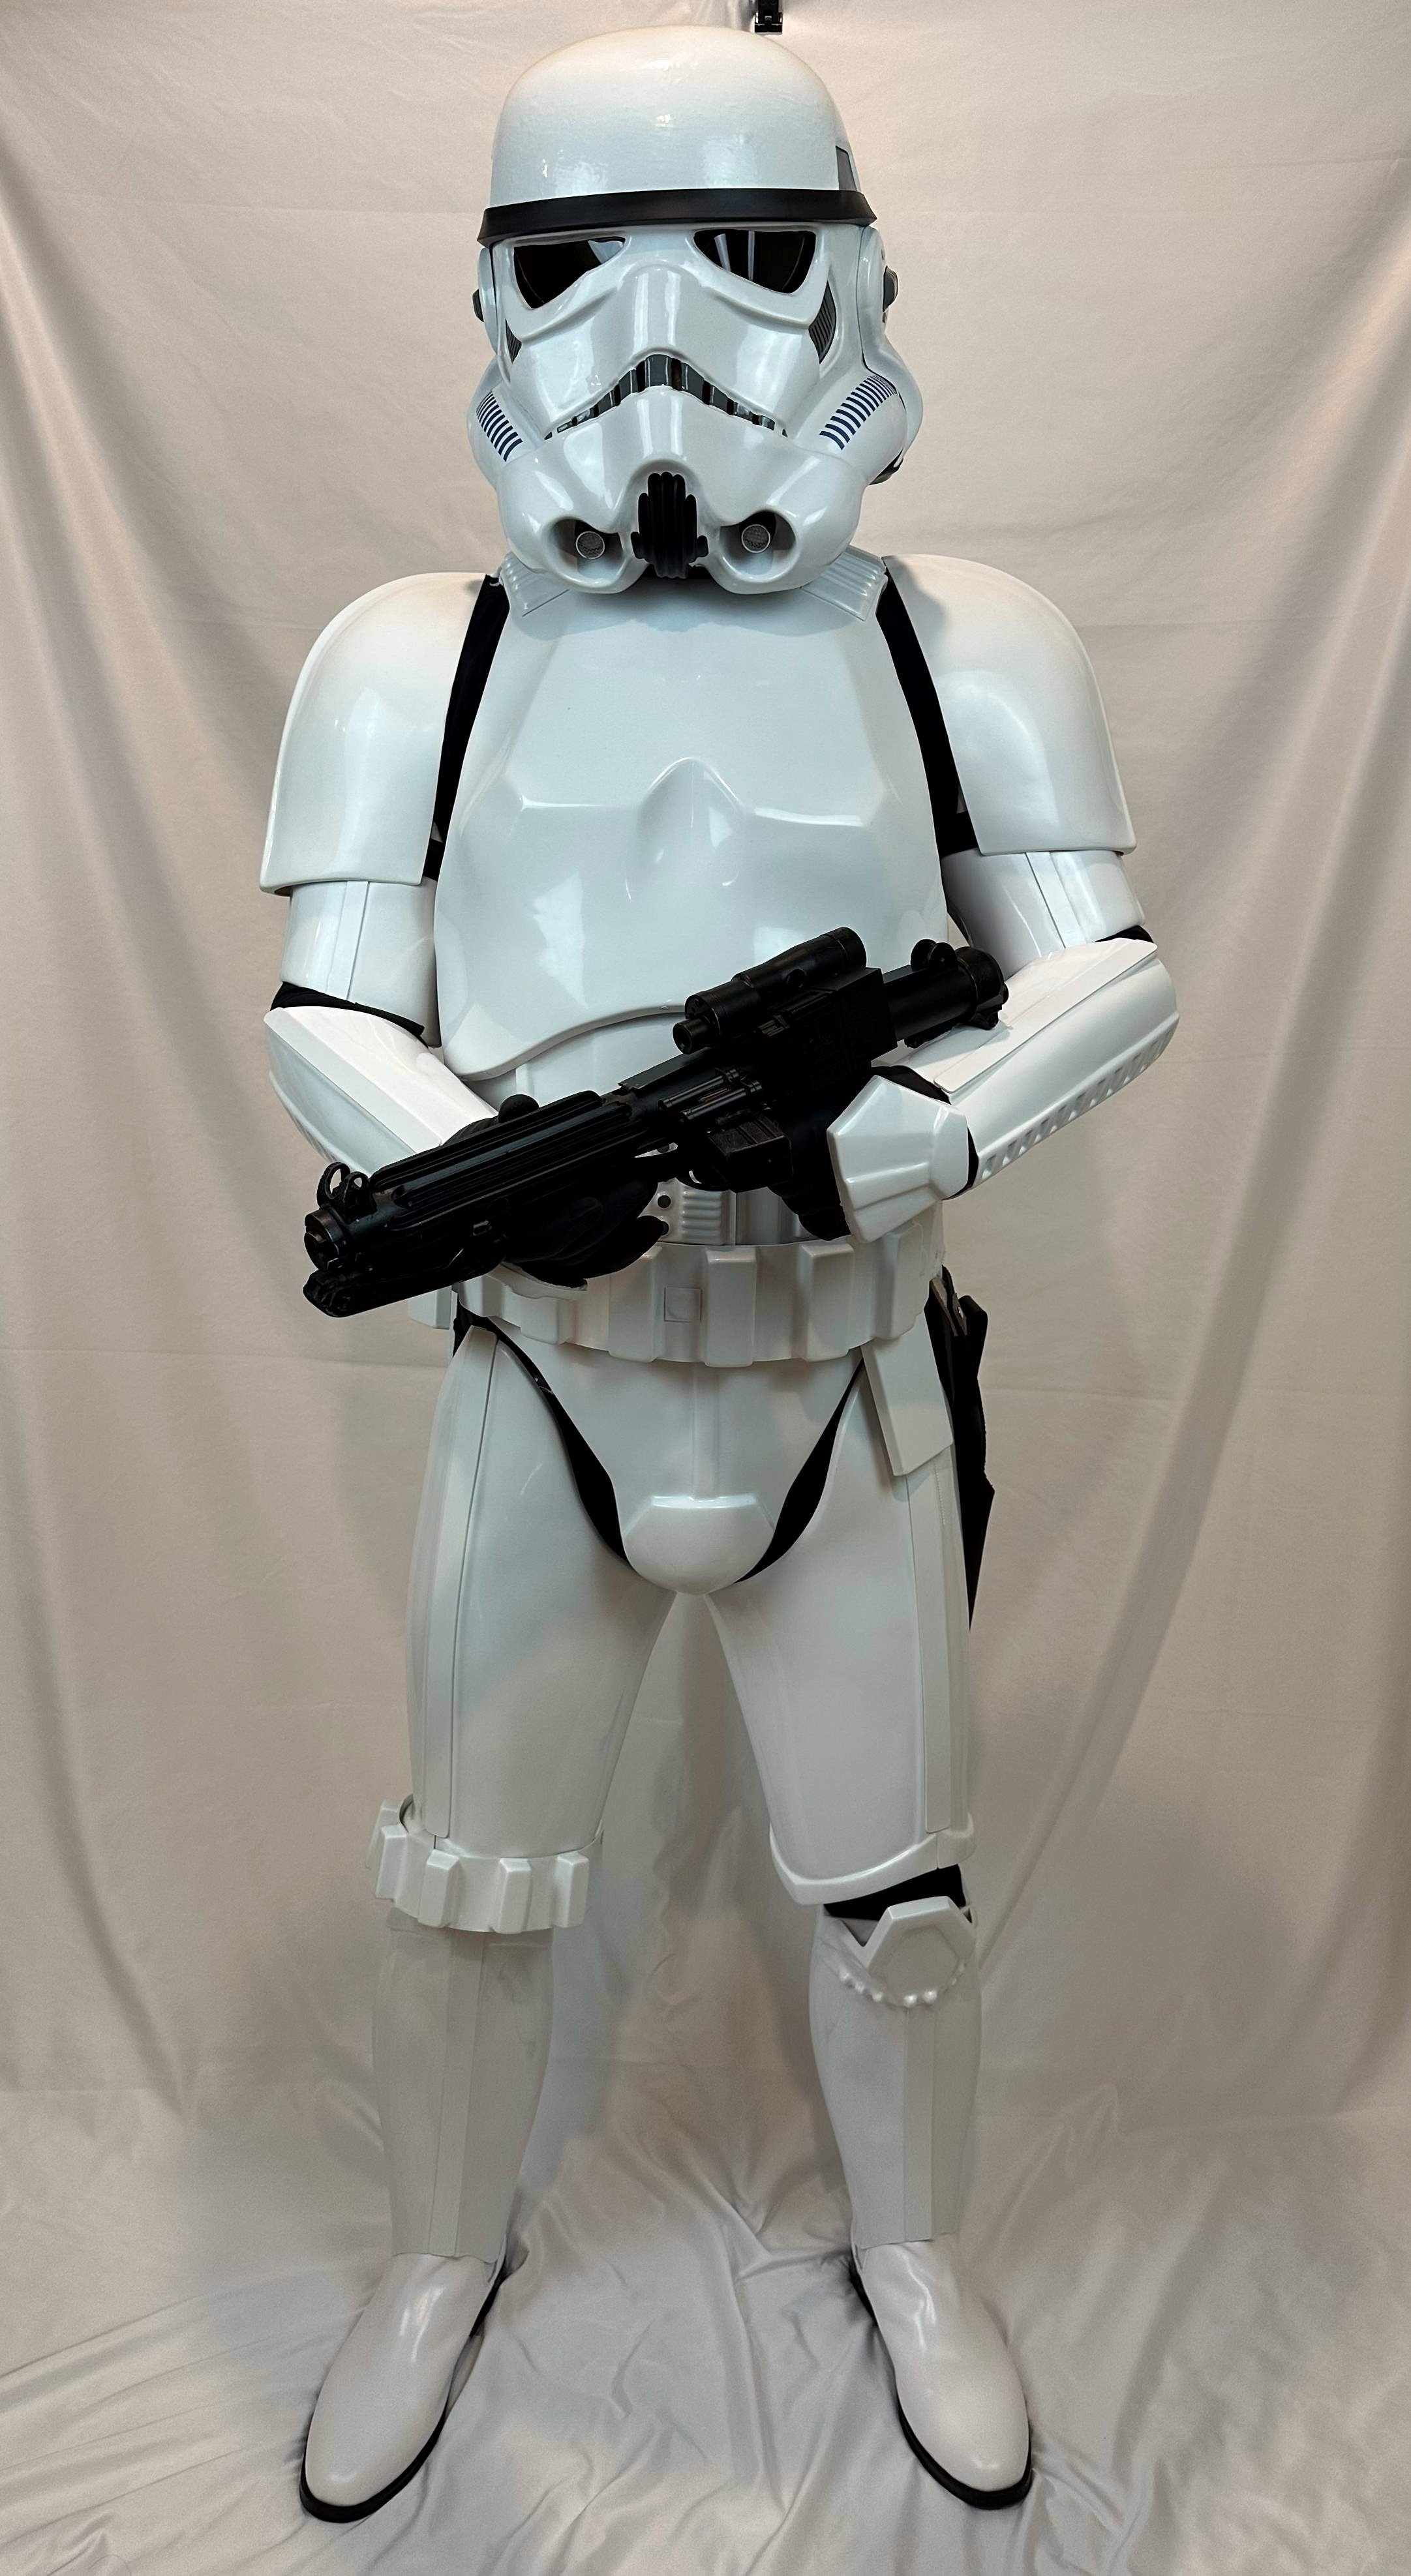
I got the fully commissioned suit from RS PropMasters so it came ready to wear. No assembly required. I have submitted my application and the required photos and am now awaiting approval. Thanks everyone for the encouragement and advice.
 1 point
 -
And for anyone following this is one reason we use E6000, mistakes can happen but at least with this glue you have the chance to separate pieces without a great deal of work or cleanup, with a permanent glue there would be no chance. Looking forward to seeing round 21 point