Leaderboard


Popular Content
Showing content with the highest reputation on 09/06/2024 in all areas
-
I've seen some snap tutorials out there but they were either incomplete or the snaps were made incorrectly. As someone who couldn't wrap my head around snaps I wanted to make full tutorial in case you don't know how to make them like I did. They were incredibly confusing at first but I've got it down now. A snap tool is essential as you'll be making dozens if not hundreds of these. I used this snap tool and these snaps. You'll also want a soldering iron like this for punching holes. Alternatively you can buy a leather hole punch. I like the soldering iron because I could melt the nylon around the cut edges so that it doesn't fray. It also smells so wear a mask in a well ventilated room. 1. Pair off your snaps The two "rounded" female pieces will pair together (left) alongside the actual strap. The more thin male ends will also go together (right) with the nylon that will be glued to the armor. 2. Punch Holes Use the soldering iron or hole punch to punch holes in the fabric. Just center a hole in the nylon. For the webbing it will depend on the length needed for each part of the strapping. 3. Nylon Webbing For this part insert this punch die into the tool Tighten the tool so that when it clamps the ends just barely touch Next take the back of the male snap and poke it through the nylon hole you made (this is the back side that will be glued) Place the front male side on top like this Center the tool and clamp them shut It should now look like this. If the two pieces feel loose then tighten the tool farther and try again 4. Strapping This time use the bowl shaped snap die Same process as before but with the female ends. Push the flat head female end into the hole you made. Place the other female half on top Again crunch down with the tool like before It should now look like this 5. Fitting Together You should be done! Both halves should be able to snap together. Now you have the tools you mass produce these for your armor2 points
-
Also: don’t buy cheap snaps! Future you will thank yourself.1 point
-
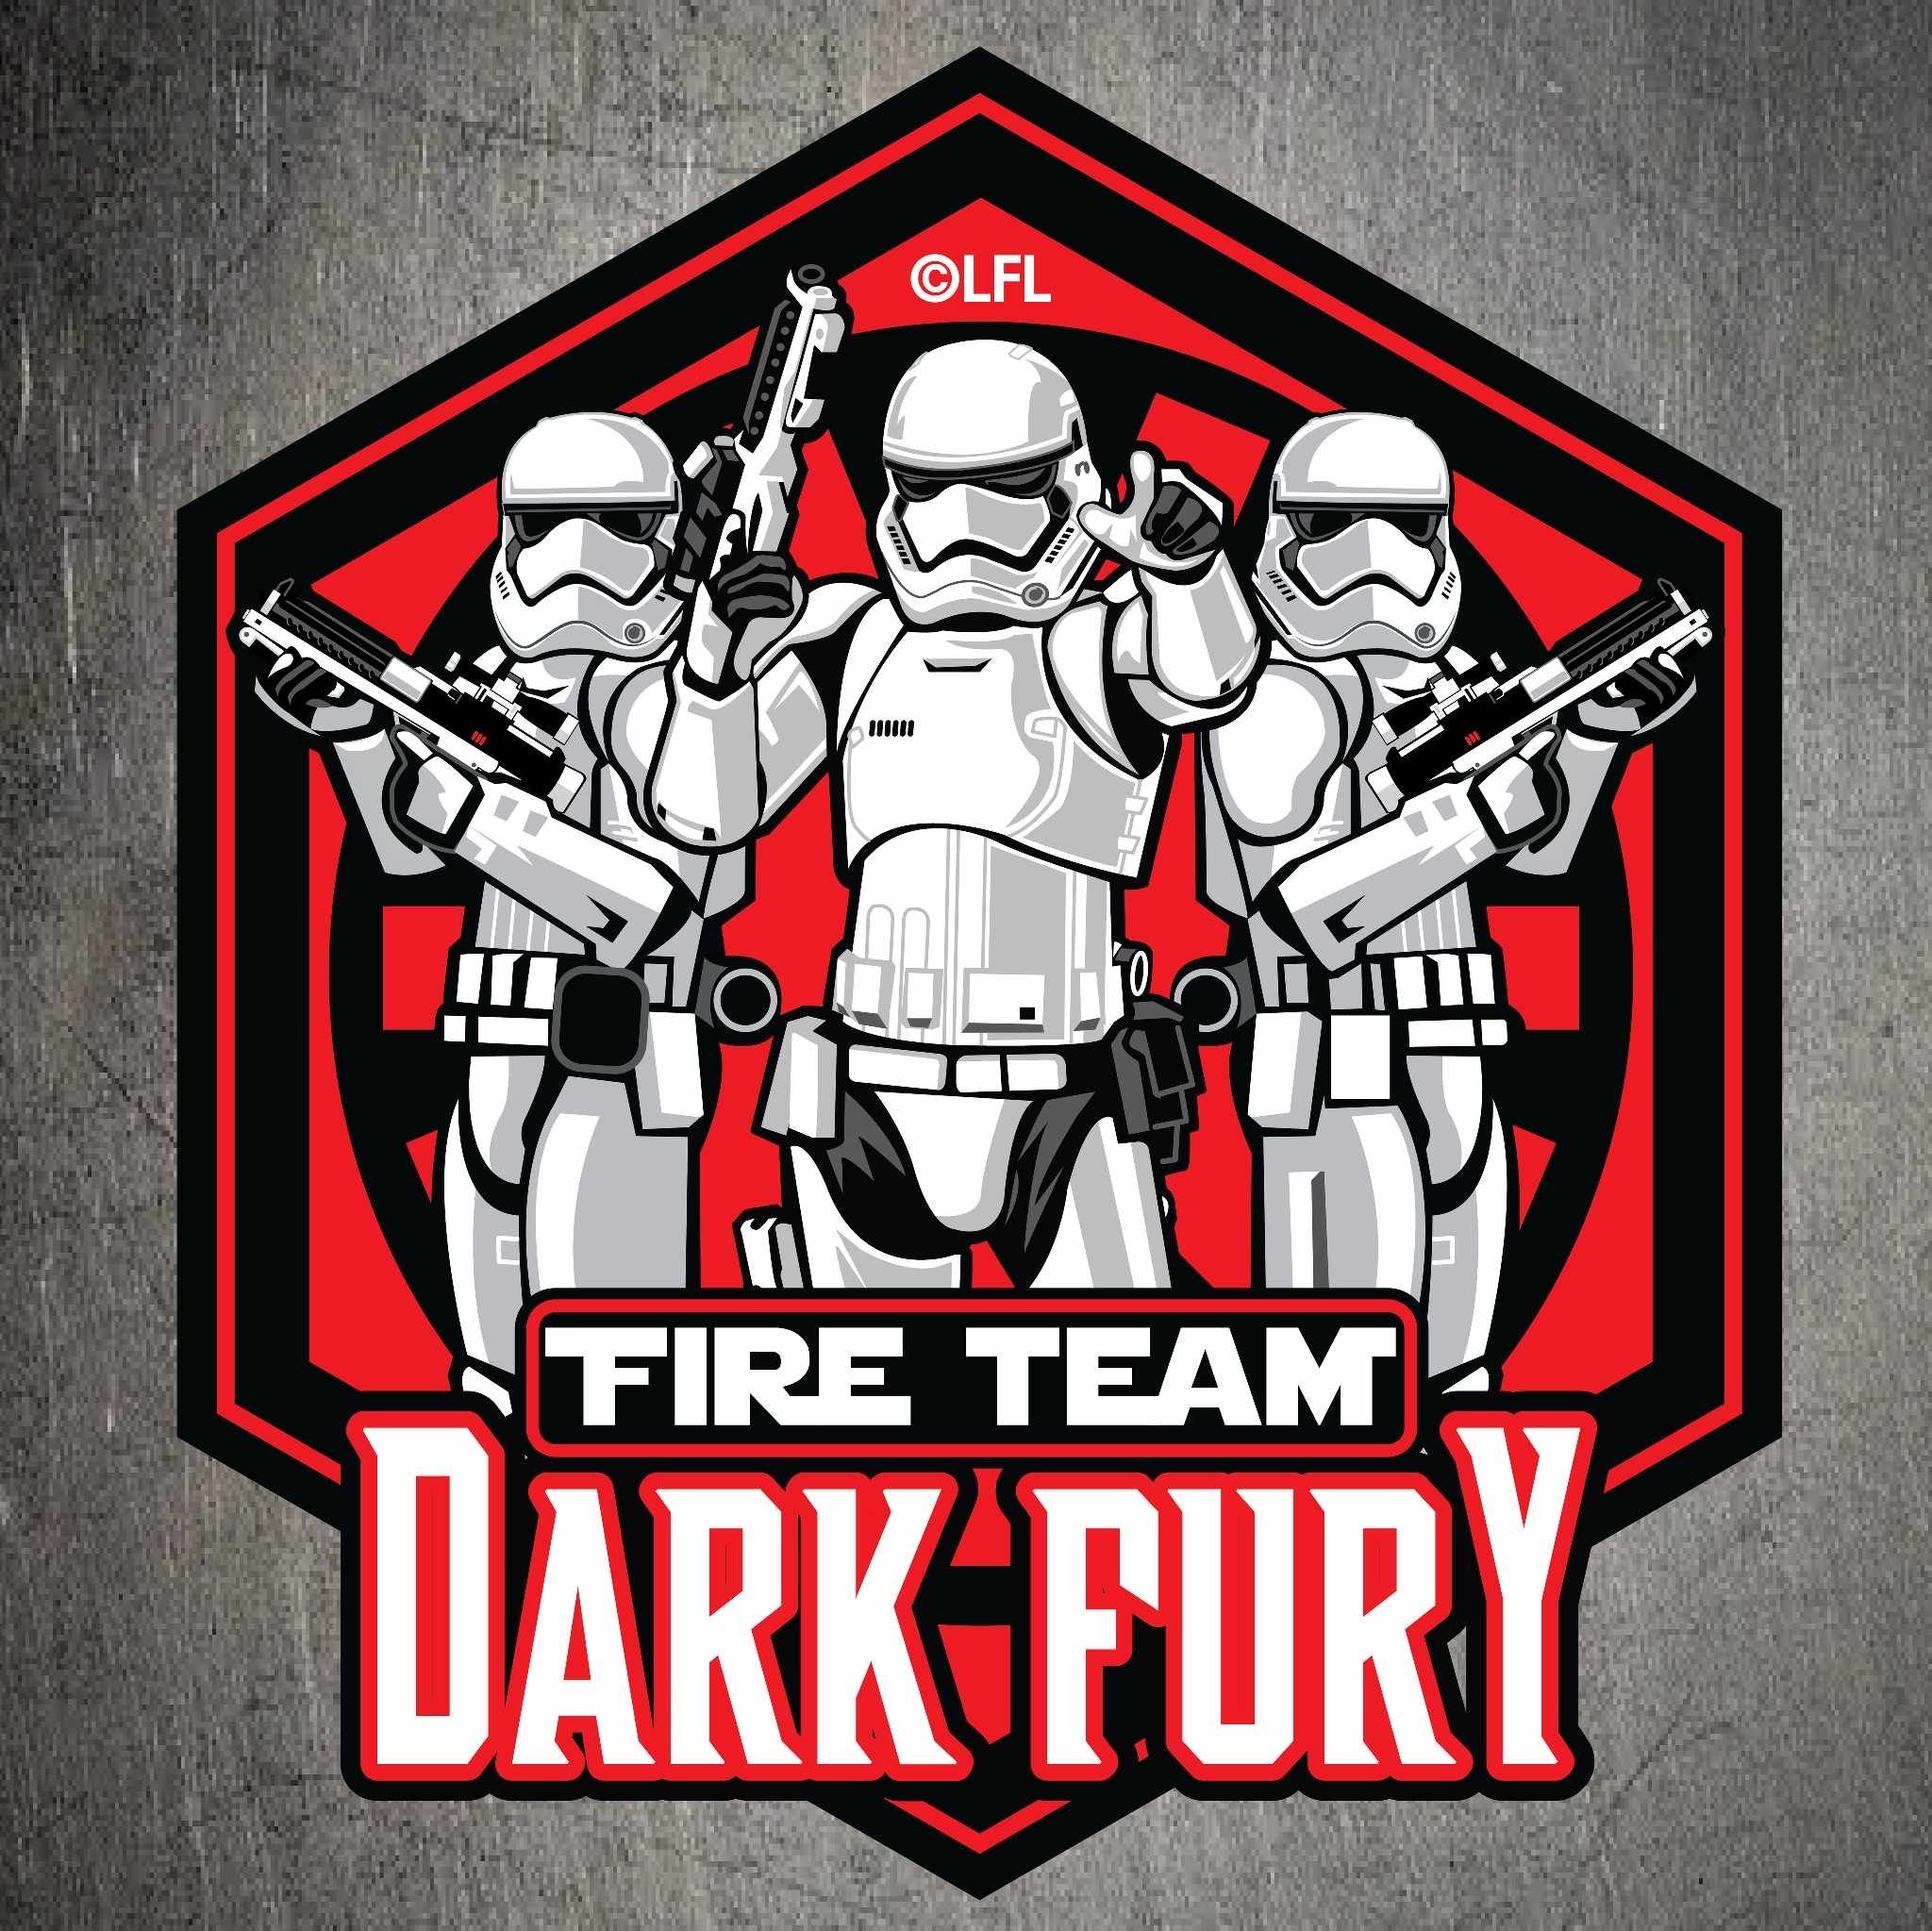
Hey guys. As you might know by now my partner in creating the Dark Fury fire team has passed away. Vince Vigil Jr TK-23000. I'd like to officially submit this art as our logo.
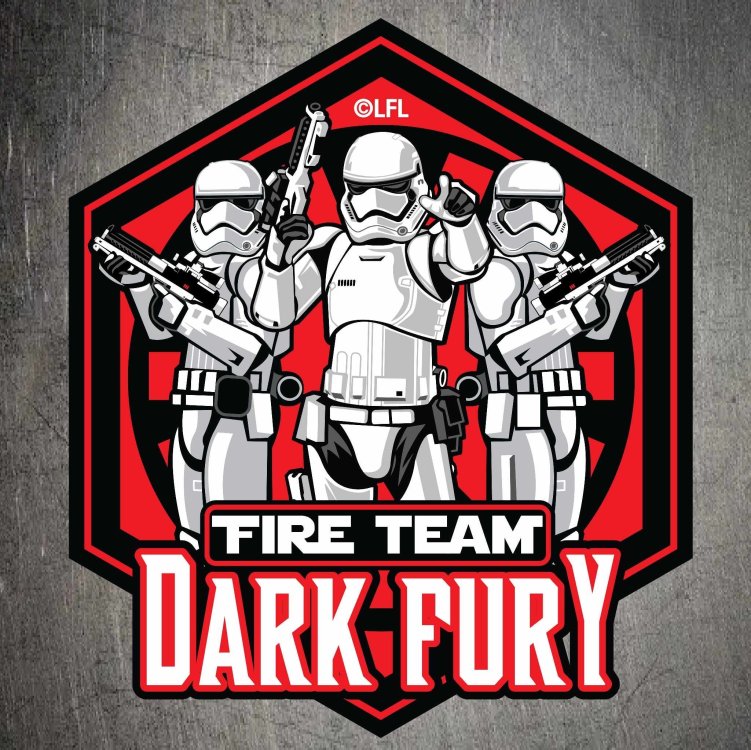 1 point
 -
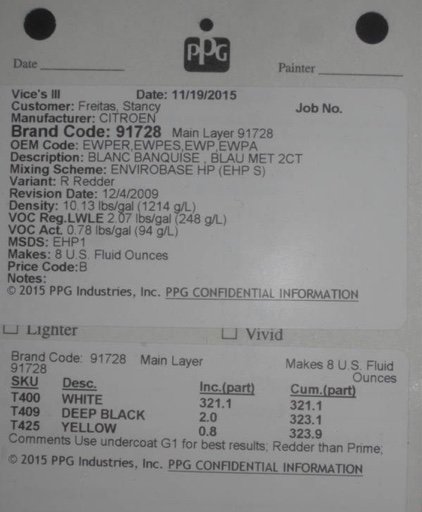
Really depends on your budget and what can be sourced in your area. Personally I use automotive acrylic paints, dries very quickly and the clear can be sanded and polished for a deep shine. Can also have automotive paint made at some auto shops, here is the color code to match the Anovos/DN helmet shade of white Another paint some used was Rust-Oleum 2X Painter's Touch Gloss White a cheaper alternative to automotive paint. Lots of threads on paint the in the FOBG area, here are just a few As for the black I have always used decals/stickers but I would recommend using a satin black
 1 point
 -
Lol, I know exactly what you mean, same happened to me1 point