Leaderboard


Popular Content
Showing content with the highest reputation on 02/24/2023 in Posts
-
Just my $0.02 as someone who is still building the new DN kit. TL;DR is: I like the accuracy and it should be recognized, but I am not going to get upset if we allow it. I'm in the middle of building the DN kit now and have yet to get to joining that seam with ABS slurry, sanding, etc. While it would appear easier to allow for a seam, I planned on joining and reinforcing the shoulder anyway to make it seamless and more accurate. As well, there would still be a bit of work to do to attach 2 pieces at the proposed shoulder seam. I have worked with fixing or modifying armor in my TIE, and with my Kylo helmet mod. Speaking of Kylo, the Galaxy's Edge Kylo Ren looks like a bobble head and the Kylo community often make fun of GE Kylo. We understand that it's most likely to accomodate electronics and other practical factors, but I (and many fellow Kylos) would rather be caught dead than look like that dude, from the neck up. The point is, not all of the Disney Parks characters are the standard to look up to and accept. I'd still support removing obstacles for new members to join the Legion. Would we advise them to join but not to do the FOTK at first without help? If FOTK is their absolute favorite perhaps it would not be too much to ask to make it accurate at the shoulder/sides? All that said, I'm not going to get upset if he allow the seam. To the public we will all look awesome, almost no one will notice the seam, and we may have a greater number FOTKs in the club. Also, if we do that we should also grandfather-in all seamless FOTKs into higher levels of certification. Thank you.5 points
-
TK-26590 Spanish Garrison Pic with commander and incinerator are all women’s so Commander is TK-14102 Incinerator is TK-15803 Mudtrooper is TX-611794 points
-
Thank you all for the great feedback and encouragement. I’ve actually just bought a better belt from Trooperbay last week. I hope this will address all the issues raised but it likely won’t arrive for another month. Not sure why the forearms are still not right as I thought I’d already addressed this. Will have another go at it. White paint on screws and rivets is Humbrol White #22. It goes on nice and white but does seem to dry a bit creamy instead. Any recommendations or tried & tested alternatives? Thermal detonator was crooked as I dressed myself without a mirror. Was trying to rely on photos to get it right. But it does sit straight when worn properly. Handguards are a bit off-white. I can paint them with white acrylic. That will probably look more screen-accurate anyway. Thanks again for all your input. I definitely want to get this as close to perfect as I can.3 points
-
TK87227. Star Garrison/Imperial Rough Rider Squad.
 3 points
 -
I could. Or agree more that for basic approval the seams should not matter. There are plenty of instances of variations of armor both in the sequel trilogy and the OT. the idea behind our costumes is to look like we came off the set. Well, that is what these kits look like with or without the seams. additionally, the seams require a level of care in making sure they don’t crack that make owning this particular set of armor a real nightmare. finally, building this kit with the seams and the clean look is very difficult, I would argue overly difficult for many builders. The seams can be hidden in such a way that they do not affect overall appearance. So why make builders paint an entire kit when all of our goals of looking like were from the galaxy and stepping off the set can be reached without filling the seams. I would suggest that as long as the seam is hidden (such as the new Anovos kits), that we accept for basic approval those kits that are not filled.3 points
-
Great attention to details, I see Centurion in your future!2 points
-
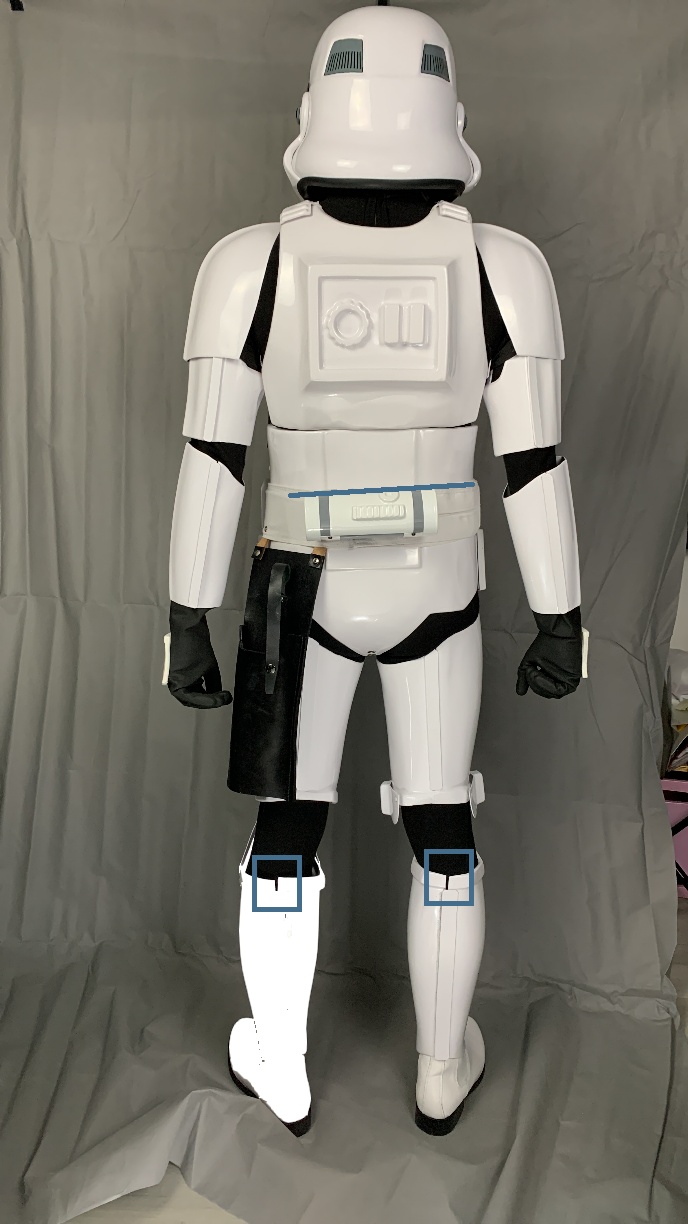
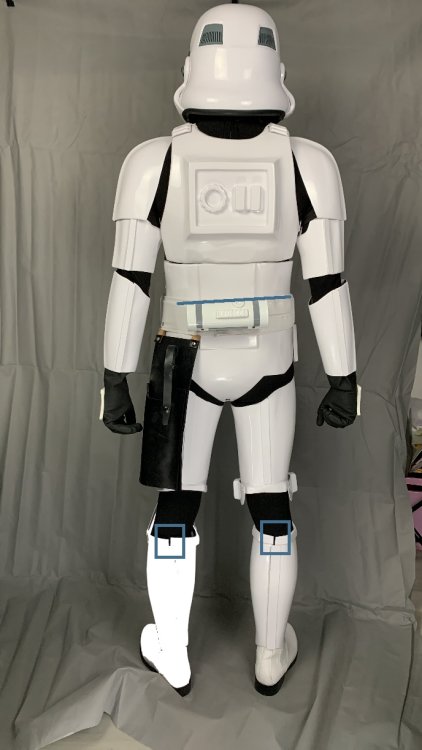
Additional shots: Left bicep & inside of shoulder bell Right bicep & inside of shoulder bell Outside of left shoulder bell showing swoop + bicep (sorry, didnt take right side for some reason) Front of left bicep (cover strip may need trimming) Front of right shoulder bell & bicep (now I look at it, the bell bottom edge needs some clean-up) Back of right shoulder bell & bicep Forearms (Some E6000 spills to clean up. Sorry.) Left thigh front top (top of cover strip may need to be trimmed) Bottom of left thigh front Left thigh back Right thigh front Right thigh back Inside right thigh showing spilt rivets equally spaced to rear corners Left side of right thigh showing ammo pack & painted rivet Right side of right thigh showing ammo pack & painted rivet Left shin front Left shin back Left side of left shin Right side of left shin Front of right shin Right shin back (Velcro has left some messy tack on the surface. Sorry. Will clean asap.) Electronics: Helmet fans Hearing assist (mics mounted far away from helmet fans) And me:2 points
-
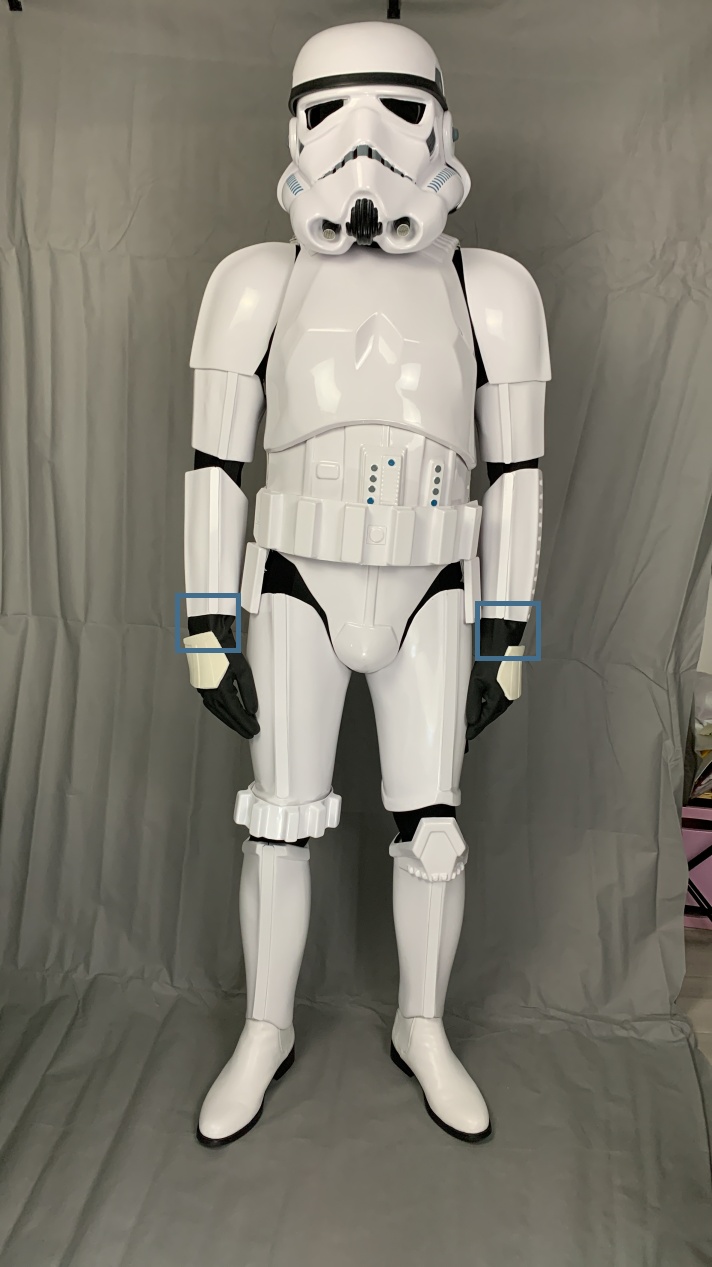
INFORMATION: 1. First/last name James Reeves 2. Future Garrison/Squad/Outpost or local area Hong Kong Garrison 3. Armor maker Walt’s Trooper Factory (with thermal detonator from Troopermaster) 4. Helmet maker Walt’s Trooper Factory (with white HOVI Mix Pa2 + white comlink mic tip aerator inserts from StarWarsCostume Props & screen-accurate wide mesh from Ukswrath, hand painted stencils for tube stripes, tears and traps from Trooperbay painted in Humbrol Admiral Grey Gloss #5 and French Blue #14, Black #21 and White #22, larger S-trim from BaileyBuildsDesigns) 5. Cloth belt maker StormtrooperShopUK 6. Neck seal maker DarmansProps (with zip fastening) 7. Boot maker Imperial Boots 8. Electronics Helmet fans & SHA hearing assist from Ukswrath 9. Blaster maker (if applicable Doopydoo’s with Kassaraptor scope 10. Gasket maker (if applicable) n/a 11. Height (optional) 5ft 8in 12. weight (optional) 145lbs 13. TK type (ANH Stunt/Hero. ESB, ROTJ. TFA etc.) ANH Stunt 14. Name(s) of any Trooper(s) who significantly helped with your build. gmrhodes13, TKSpartan, justjoseph63, TheSwede, Lord_Potato ESSENTIAL PHOTOS: 1. Front view (arms down) 2. Back view (arms down) 3. Left side (arms raised) 4. Right side (arms raised) 5. Ab plate close-up 6. Helmet close-up (front, left and right sides) 7. Detail photos of any parts you have questions on n/a 8. Interior strapping (optional) ADDITIONAL PHOTOS: Helmet Back Green lenses Frown Hovi Mix aerators & vocoder Left tube stripes & tear Right tube stripes & tear Left ear alignment Right ear alignment Brow trim S-trim Hard hat liner Left shoulder bridge & elastic Right shoulder bridge & elastic Ab & kidney 3 rivets painted white “Han” snap Left drop box alignment Right drop box alignment Drop boxes closed at back E-11 holster attached with 2 rivet-style chicago screws and tan leather straps Soft belt magnet to attach to ab plate Thigh garter & neck seal Velcro attachment Forearm return edge removed Latex hand guards Black rubber chemical gloves1 point
-
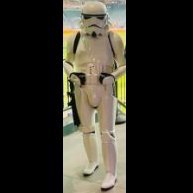
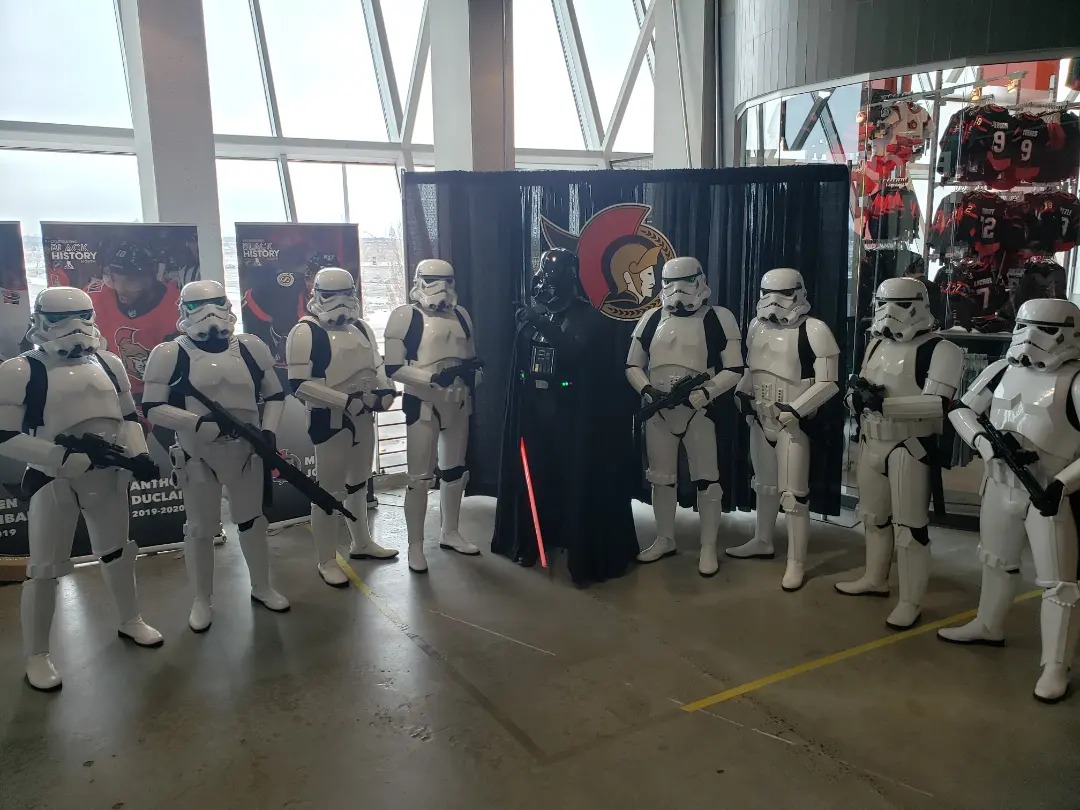
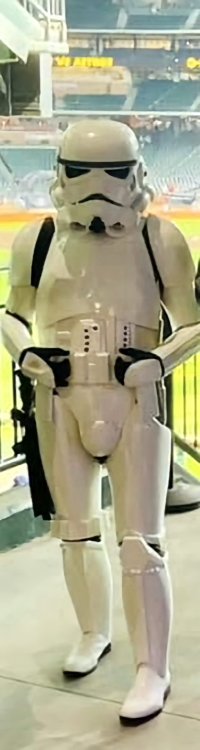
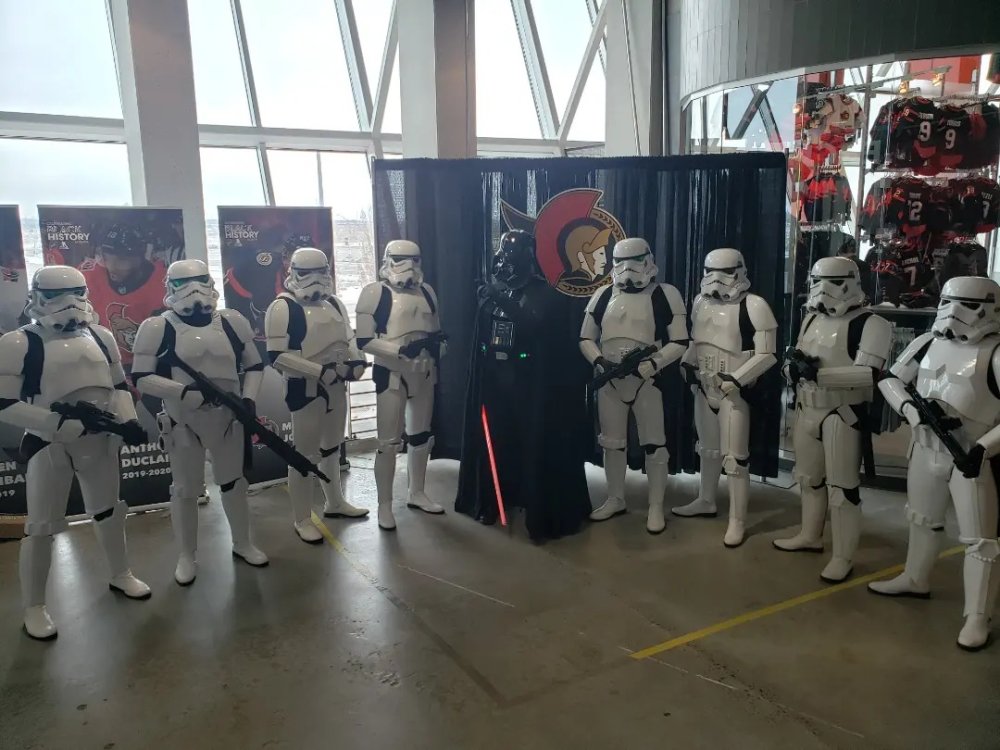
TK-11226 reporting for duty. Had my first trooping experience at an Ottawa Senator's game last Sunday and what an experience. Loved interacting with the fans and it was especially sweet after a 7-2 hammering of the Blues. Can't wait to don my armor again soon.
 1 point
 -
I do not think we should change the CRL. However I am less against it than I was. As mentioned, a CRL has never been changed because of one maker making something a certain way, buyers have had to adjust to the standards at that time. They have been changed because general standards improved and old less accurate kits have been disallowed, this is not that. All cleared FO Stormtroopers to date have had to fill a lot more, and do a lot more work to clear than the DN kit. Yes the placement of some of these seams on this kit is unfortunate but that's what DN have given people to work with. If this was the equivalent of side shims and wide cover strips I'd be far more open to it, but it's not. This is something else. I don't like "dumbing down" as it's not, but it is a reduction of standards which is not really what we're here for. FWIW I don't own a FO kit, but I am hoping to in the next year or so and it will probably be a DN one so I it almost affects me.1 point
-
Thank you, Mike. That’s my aim. (We’re good at aiming and we?)1 point
-
I’m not just a trooper, I have two pauldrons, I’m a super trooper! Sent from my iPhone using Tapatalk1 point
-
Good luck with your approval1 point
-
I do not think it should be changed for either parts of the crl. The back / yoke seam is completely different than the shoulder seam that you see in the Disney suits and in the cartoon. In fact the back/ yoke seam on the Disney suits is closed. Also the back / yoke seam is not a place of stress. In the 5 years I have owned and trooped in a beta anovos kit and a kb that part of the armor has not been a stress point as you say. The shoulder area where the Disney parks kit has a seam is a place of stress while getting in and out of the armor. But it is easily reinforced with resin or epoxy, and if done at first build there is never been a problem on the several other kits I’ve built. Also the Disney park kits are of a completely different construct materials, and under that shoulder seam especially as it can be completely flexed backwards for them to gain entry by different people sometimes multiple times daily. But I will restate the back / yolk seam is not a stress point. As for the side abdomen having a seam. I think it would be the same as letting there be a visible seam when people add shims to an original trilogy anh etc armor. It visually is different than screen armor. And also this isn’t a place of stress that needs a seam. When building a FO armor it can be easily sealed with abs paste or a bondo. And the construction of a FO armor allows for the back to be opened with either velcro w elastic or a zippered piece for those that need this to get into it. First order kits to begin with, especially the first anovos and now the new denovo kits, don’t allow for a lot of deviance to the deigns. The way the pieces join have tapered grooved seams, so much of it is a one size fits unless you want to do a lot of mods which will require more abs paste or bondo anyway. I say leave the crl as is.1 point
-
Nice work, just a couple more items you could adjust: Detonator should be level, on an angle. Gaps between the top ridges of calves, I added a couple of pieces of scrap abs behind to it appears fully closed Try to match the spacing near wrists Good luck with approval, hope we see you with a TKID soon
 1 point
 -
Hello James. Congratulations...Very nice work on this armor. I don't think you will have any problem reaching level 1. I especially like the angle of the helmet's ears.... However, seeing as you are picky about details, there are a couple of things that caught my eye(please keep in mind that these may be things that are only required at higher levels).. -I would lower the forearms a little, so that they are closer to the wrist. -The color of the handguards (and of the paint of the ear screws) seems too yellowish (it may be an effect of the photo). -The belt: It will be up to your GML to decide if this is OK. - L3-The corners of the plastic ammo belt shall be trimmed at a 45 degree angle that that meets the outer edge of the cloth belt. - L3-Canvas belt must be firm / sturdy in appearance. No creasing or sagging . Let's wait for the rest of the photos. But very nice work in general. Congratulations again.1 point
-
Found this video, take a look1 point
-
Thanks, as always, Glen. Love that zombie TK! With the elastic I already have in place, the butt locks seem to be holding up quite well. I’m going to put in for basic pre-approval first as it’s been 2 years and I really won’t to join the 501st. If it’s all good for basic then I’ll make other necessary changes asap afterwards for the higher levels.1 point
-
Unfortunately real life issues, material supply and work loads can come in to play and supply time from makers can be longer than first thought, it happens, but you have purchased from a reputable maker so I think you are pretty safe, it's just the waiting game.1 point
-
That is the issue with the tabs and no return edge, they can move up and down, personally I would think you could do with adding tight elastic on the ends of the kidney/posterior and that should help, that's what I have used on multiple sets of armor1 point
-
I agree with this proposal (for basic only). Whilst one of the things I really like about the 501st and FISD is the uniformity of appearance that the CRLs create (I love it when I find it hard to indentify myself in a group photo!), I think this small change makes a lot of sense. Allowances are already made in our CRLs for other costumes to support and promote inclusivity and accessibility. For example - I dont recall seeing torso shims on OT TKs on the movie screen?? This is a perfectly logical and great way to support and accomodate all our members of different sizes. There are many members who never would have been able to build an approved costume without such considerations. Small allowances for things like that have and should be important considerations for the basic levles of approval. In this instance it's not about body size or shape, but the practicalities of our materials. I understand others have different views, and I wanted to share my support for the proposed changes (and again, only for the basic level of approval) MTFBWYA1 point
-
1 point
-
Awesome Kyle. Looking forward to your build.1 point
-
Looking forward to seeing the build progress, good luck trooper. Some great links to tutorials and other tips (if needed )1 point