Leaderboard


Popular Content
Showing content with the highest reputation on 07/30/2017 in Posts
-
Hi Tom. It will be tough to get everything needed for a good accurate stormtrooper for that price. After getting the armor there are things like boots, holster, blaster, etc. Like Randy said the getting started section is a great place to start with approved vendors. Good luck!2 points
-
Typically you'll see the CRL being published once there is a tentative approval from the LMO and DL. It will require a full costume that is up to spec for front and back, and all individual parts.2 points
-
here as we go and feel free to chime in and let's get this fixed I figured it was time to start my own thread so here you go I got Jim's molds they weren't in the best of shape so I started to fix them up in this thread will be basically just that remaking the wood molds into my style molds and I will keep photos here as we go and feel free to chime in and let's get this fixed1 point
-
1: David Sihombing 2: TK-99924 3: CommanderRaider (goes by Raider) 4: Florida Garrison/Tampa Bay Squad Procrastinated taking pics, but here they are finally. Thanks for taking the time to look at them! Kit is Anovos w/ an improved belt by Rob Kittell. Boots are Imperial Boots. Hope I remembered every pic lol.1 point
-
OK, update time! So as we had shown, this past week was all about finishing our shins. Once our front inner and outer strips were on, it was time to tackle the back strip, the velcro and the oh so hated sniper plate. Have to admit, it went a lot smoother than expected and we're happy with the results. Here are a few shots of the work and another great tip received here on the forums, this time to handle the common problem of the slowly shifting shin. After cutting the rear outer strip (went with just under 25mm instead of 20mm in order to give a little bit more surface area for the velcro and a stronger grip), it was time to glue them on. Once that dried, then it was time to cut the velcro and attach it to the rear strip and the opposite side of the shin. We made sure that the closure was always to the inside. After that was done, we moved on to the dreaded sniper plate. After doing a preliminary fit, we realized we really didn't need that much massaging of the piece, but went ahead and did a quick hot water bath and started to bend the right side in and up a little bit. That helped us get a better fit along the lines on the top of the shin piece. We decided to not obsess over getting it perfectly straight in the spirit of being a little more accurate, but rather just ensure the sides lined up properly with the shin's top molding. First we fit and glued down the middle We made sure that the sides lined up as closely as possible. Once the middle was done, the glue and clamping we placed on the sides helped bring those edges in closer (I also did a little trimming on the sniper plate sides so things like that sharp edge were eliminated). I think at the end of the day, they came out pretty nice.1 point
-
Looking great. I have to admit the thing that intimidates me the most about working on fiberglass is cutting out holes. I don't think the files I used on my ABS bucket are going to do the job so I have to make up an excuse to hit the hardware store. Good luck.1 point
-
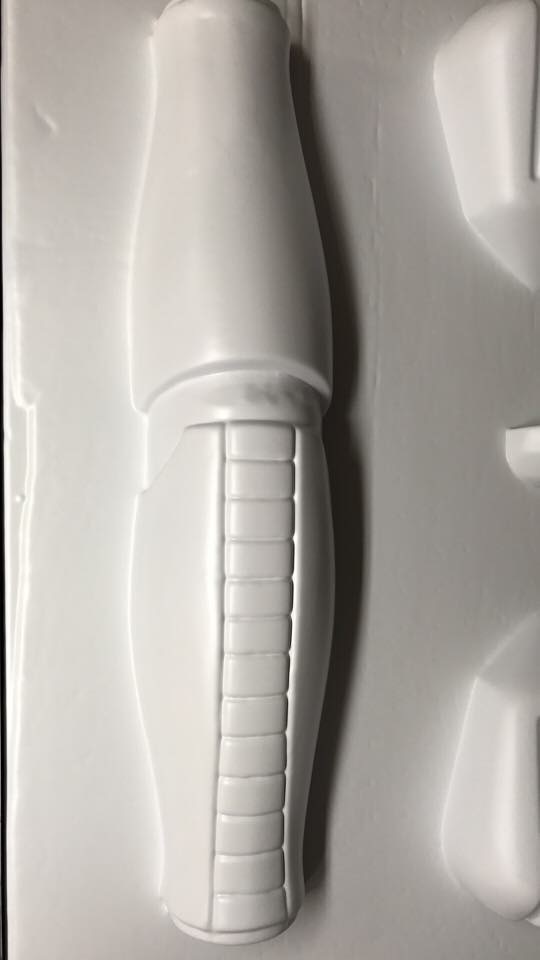
Pics so far i added 1 1/2 inch to the bisect because it would not fit my arm as it was the forearm I kept the same overall diameter but made the return edge line up and cleaned all the buggers out
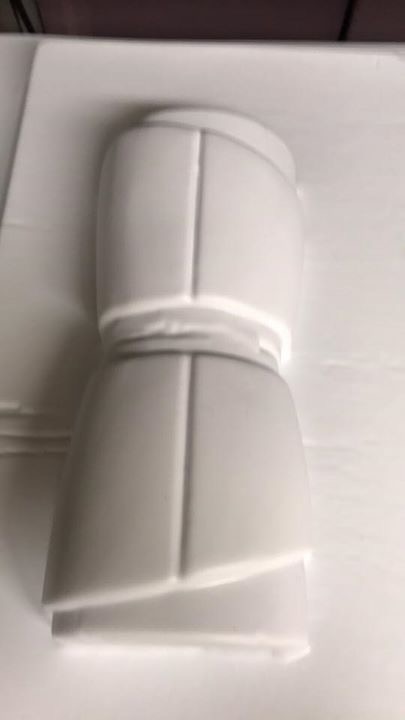
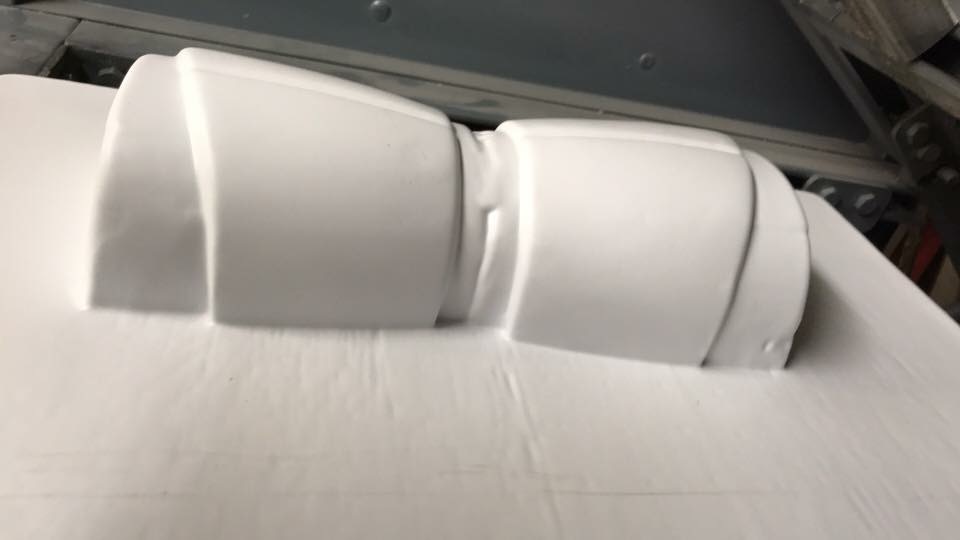
 1 point
 -
My pleasure, THT. Pay it forward1 point
-
Wait, what do you mean? I thought being in South Florida, we got a more relaxed dress code to deal with the humidity Just got the chair foam today so will give that a whirl and then it's on to the thighs!1 point
-
Great job on your build, Michael! Charging handles can be a bit difficult to find, but I can send you a free one made from black resin that you can attach to your E-11 if you will pick up the postage. Also, (it may be the camera angle), but the connectors you are using to attach your thigh ammo pack look a bit large. Are they 5/16ths head type? If not, I can also throw in 2 bifurcated (split) or single cap (screen accurate) rivets to replace those with. Both are 100% acceptable at EIB and Centurion. PM me if interested.1 point
-
Michael (Highway) Culp helped me with not just one, but 2 kits, because of his skills at putting together armor i am not only an MEPD Deployed sandtrooper, but also a Stormtrooper Centurion class. in my opinion he is the best armor maker in Arizona, becouse of his skills my dream of being in the 501st are a reality.1 point
-
Mike (Highway) Culp is the fastest at assembling armor. You give him a day with your kit, he'll have it done or close to it. He has helped myself and countless others get into armor. He's the reason our garrison has so much white armor.1 point
-
Mike spent more time on my armor than I think I did. I'm a bigger trooper so that presented many challenges for Mike. We got to EIB and that was mainly because of Mikes patience with me. He's not only good with the specs of the suits. He's a great motivator as well.1 point
-
TK-1636 "Highway" assisted me with my TK build (ATAWorks ANH Stunt), helped me qualifiy for EIB and Centurion. Also helped my wife complete her Scout build (Studio creations).1 point
-
Started to cut out the holes in the helmet today. My fingers need a break from all that filing! I used a dremel to rough out the openings and then did the rest with an assortment of small files I then went on to start the "bump" which has been mentioned in the CRL page. Not sure if I want to add any more to it. I am kinda happy with the rough shape of it for the time being, although I am open to opinions. I also started to wet sand the armor pieces to get them ready for paint. Also I forgot to post pictures of the undersuit the other day so here they are. If anyone wants better pictures of the undersuit I would be happy to take them for you.1 point
-
Welcome to the FISD Tom. Check out the Getting Started section. It has a thread of all the vetted armor makers. You're pretty close with your budget. Maybe on the low side, but close. Don't buy off of E-Bay. 99% of it is garbage. Good Luck Future Trooper1 point
-
All normal1 point
-
Glad to see it worked out! (Not too sure about that undersuit, though... )1 point
-
Thanks for advice darthcue. I'll look at the FOTK threads and look forward to your pics.1 point
-
In my excitement I duplicated the title from: Apologies to cjkirk11. I've changed title to minimize confusion.1 point
-
The helmet, handplates, belt boxes, and thermal detonator are all rigid fiberglass.1 point
-
Looking good. Can't wait to see it in person tomorrow. Or at least parts of it lol. One comment though, the rank stripe on the ears are too thick. It needs to be a thin black stripe. I'll have to get you some references.1 point
-
Well, unfortunately that good head of steam we had going for those first two weeks took a little bit of a break as work and a busy birthday weekend for me put the build on a minor hold. But we got back into it this week and so far, so good. We decided to tackle the shins, after which we'll move onto the thighs. Looks like we'll be leaving the torso pieces for last, which is a good thing as I am getting way more comfortable with hacking into the armor for minor sizing adjustments, and by the time I finish with the legs, the torso adjustments shouldn't be as intimidating. Here's a few shots of the work on the shins. First we strapped them on with the boots to get an idea for where we might need to tweak the pieces (here's my son modeling his) After we each tried the shins on and walked around a bit, we realized we'd need to take a little off the bottoms so that they sit nicely on the boot and in the right spot around the knee, giving us a good range of movement. We might need to take a small piece off of the top back part, but we'll leave that determination for later once we've actually got the thighs done and we go into final fittings with the entire suit. Here's a shot of the amount we took off the bottom. Like I said, the first cut was nerve wracking, but once that was done, the fear was gone and onward we went. My brother's will likely need about twice as much, but after the experience with these four shins, I'm not worried about it. Seems I've become the designated ABS cutter... From there, it was time to cut some inner and outer cover strips and start assembly! One little thing I discovered as part of my research into assembling the AP shins - for the left side, it was best to leave a minor offset between the two halves at the top (see below). This helps a lot with the sniper knee plate placement as it eliminates some of the "tilting" when trying to line it all up. Will definitely need to also do some massaging via a hot water bath to that piece, but it should be much easier with the offset. I'll also likely place a shim at the top to help with placing the center part of the sniper plate. Kudos to supernaut11 for noting this helpful tip in his build thread (supernaut11's ANH stunt build thread [AP]) and my fellow Everglades squad member David (illusionz_09) for his post in the same build thread that pointed to a great shin build video! Gotta love the wealth of information out here!! So while those are curing, I'm off to work on the rear shin cover strips. Hopefully some more progress later in the week, but we'll be attending the Florida Supercon this weekend. While obviously not able to go in full TK armor just yet, we'll definitely be doing a little cosplay with a TK theme (pics to follow next week).1 point
-
OK, time for another update! Well, I have to admit, considering we're building 3 TK's at once, we have actually accomplished a great deal in just two weeks! Helmets - Done Thermal Detonators - Done Biceps & Forearms - Done Gloves - Done At this point, from a high level, we just have to complete the overall body armor, legs and belt. Granted, that includes some serious size trimming we're going to need to do for my brother's armor, and likely some minor adjustments for my son and I, but I'm really thinking we can get this done before the end of September so we can get our TK numbers, and then officially troop with our Everglades Squad brethren at a big event at the Florida Marlins game. If we wind up and missing it, it's OK as we'd rather not sacrifice quality for time (can you tell I'm a Project Manager?), but at least that's our target goal. So now for a few pictures.... Getting our biceps finished... We also added the bicep hooks afterwards (not pictured). My son and I had to go with some inner cover strips so we could extend the width of the biceps - For me because I work out, and for him because he will likely continue to grow! After a little more fit testing, then it's on to the forearms... The finished product... My son modeling his new arms... And today, we set up a trooper glove assembly line... Aiming for Centurion from the get go... Now to see what the next week brings!!1 point