

firebladejedi
-
Posts
3,299 -
Joined
-
Last visited
-
Days Won
5
Content Type
Profiles
Forums
Gallery
Articles
Everything posted by firebladejedi
-

FBJ's ANH Hero Build [TM]
firebladejedi replied to firebladejedi's topic in Build Threads Requireing Maintenance
Ok so it took me around 30 minutes to separate the left arm and cut off the excess flash. I will neaten things up when I start to trim to size later. I like to trim all the armour first and then get stuck into the build. -
FBJ's ANH Hero Build [TM]
firebladejedi replied to firebladejedi's topic in Build Threads Requireing Maintenance
I will start by rough trimming and then I will move onto tidying it up as I get ready to fit to size glue the various parts. Some armour will come straight from the armour maker joined such as these arm pieces. You need to be careful when separating the pieces as they are quite tightly placed together. I will just separate and rough trim these for now. -
FBJ's ANH Hero Build [TM]
firebladejedi replied to firebladejedi's topic in Build Threads Requireing Maintenance
Ok so I am going to start trimming today. There are many ways to trim armour, and you can use many tools to do it. I only use a few basic tools readily available at your local model store. I mainly use curved trimming scissors, a sharp knife, maybe a little sandpaper, a metal rule for a straight edge and a saw. And most important of all a pencil ( not illustrated ). I will show most if not all the tools I use as and when I use them, but here are the basics I need to get me started. -
FBJ's ANH Hero Build [TM]
firebladejedi replied to firebladejedi's topic in Build Threads Requireing Maintenance
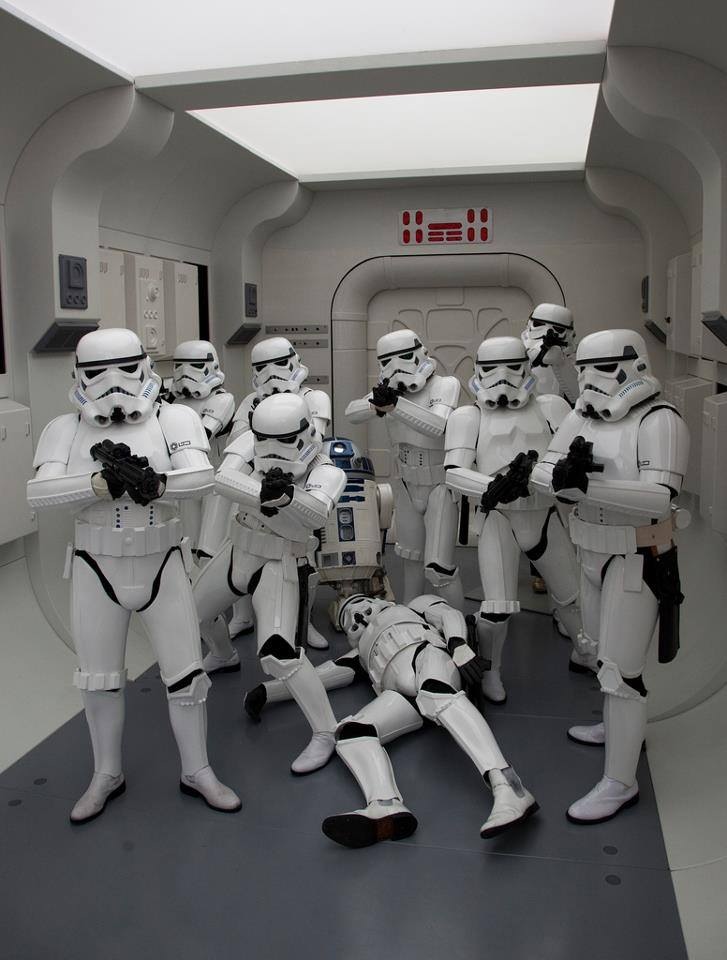
During any build, reference material is very important. I don't follow the CRL, the CRL follows me. Instead of copying other builders, and web sites that have for years been out of date, I copy the real costumes that were in Star Wars. That way there is no room for error and you end up with a great looking costume first time. Well ok, maybe we sometimes need a bit more practise and it takes us more than one attempt to get it right. I will be cross referencing pictures of the real items next to my build to show why I am doing things the way I am. High definition detailed pictures are available on many web sites these days, so there is no excuse for not seeking them out. Choosing to follow them or not is another matter.. but everyone likes to drool over pictures from the insides of the Lucas Archives, no? This is a great picture to ponder over while I head to the man cave for my curved trimming scissors. Hands up who still has this as a standee in the corner of their room? -
FBJ's ANH Hero Build [TM]
firebladejedi replied to firebladejedi's topic in Build Threads Requireing Maintenance
I needed pretty much everything for this build so have ordered the complete armour with hero helmet, an accurate strapping kit, leather holster, canvas belt ( I could not find any other reputable sellers of the canvas belt < can you believe when I first built armour that most people thought the belts were made from leather!!> next you'll tell me ab plate buttons are not black ) and latex gloves and natural latex hand plates. -
FBJ's ANH Hero Build [TM]
firebladejedi replied to firebladejedi's topic in Build Threads Requireing Maintenance
Ok so I went for a well known maker of fine stormtrooper armour from England known only by two capitol letters, T and M. It came well packed and tidily stacked in the aforementioned big brown box, anyone would think he has had plenty of practise at this. -
There has been an awakening, have you felt it? 2015 is my tenth year as a costumer in the Star Wars TM Galaxy, and, along time ago, in a galaxy far, far away, a younger, slimmer and fitter guy named firebladejedi started on a long path looking to build an accurate as you can Stormtrooper. And here we are again, awaiting the release of Ep VII later this year in the cinema, and what better way of celebrating than starting on a seventh set of stormtrooper armour. So over the next few weeks I will be cutting, gluing and strapping my latest set of white plastic together and will stop by here a few times on the way. I will try to keep a log of my progress, but I usually start with good intentions of taking multiple pics of everything and then after a few days work, get too involved in the build to stop and take pics. So anyway im sure nobody has read this they will just skip to the pictures and don't want to read the boring part.. after a large disturbance in my wallet and a nice holiday in Cyprus, where it rained a lot I might add came the delivery of this wonderfully designed vessel often referred to as a big brown box..
-
This forum is the assembly manual....
-
My first TK helmet build
firebladejedi replied to AgeOfStrife's topic in Build Threads Requireing Maintenance
You definitely over trimmed the first ear, probably by following the mod lines as a guide? Easy mistake. Second set do look better. If you are going to paint it I would paint it while its all assembled no point to painting it in pieces to then build it up again, just build, paint, detail. -
I thought in the end all the research proved more or less that hero helmets had green bubble lens?
-
Should I paint the inside of my helmet?
firebladejedi replied to dapradiel's topic in Assembly, Mods, and Painting
I'd paint the inside green with a hint of red and white primer/top coat overspray.. not too sure about black as I've never seen any screen used lids with black inside them... -
I would go with what you like the look of. It definitely not matt black, so try satin or gloss and see what matches the screen used look best.. I have also found different results in the end look depending on wether you are painting black on to shiny abs or a painted helmet...
-
I'll look forward to seeing your pics :-)
-
Have a little look here.. http://starwarshelmets.com/imperialfanMarco.htm
-
When you think you've seen and read it all, wow...
-
Hi get on the UKG forum and make a request there John prob get a better response than in this international site. Gary the co of UKG had regular armour parties in North London...
-
Hand guard precision for Centurion
firebladejedi replied to Somatophylax's topic in Boots, Soft Parts, and other Accessories
Is this not to do with people who have an latex allergy? -
In photo 8 remove the strap from back to chest and just strap the upper back to the kidney, job done.
-
If you don't have the return edge for the original bars and bolts, just attach the upper back to the kidney plate and attach to the chest via the shoulder straps. No need for extra straps under the arms.
-
I would look at how you have it strapped, the upper back plate to chest with elastic like that is very 1990's, I think you would get a better look by going all original strapping. Nice first attempt though..
-
Where, What and Whom To Avoid When Buying
firebladejedi replied to RogueTrooper's topic in Getting Started - Read this First!
Sorry to burst your bubble but AA is a lying toe rag, you can make the kit look nice, but take what he says with a large pinch of salt. welcome to fisd by the way.. -
ATA better for stunt or hero?
firebladejedi replied to kkpham72's topic in Hard Armor (General Discussion)
No problem, set the brow line as you wish. -
ATA better for stunt or hero?
firebladejedi replied to kkpham72's topic in Hard Armor (General Discussion)
Yes not many armour makers have really gone down the hero route, back in the day you could get a TE, or a Felano hero. Or even a Gino.. Nowadays I think if you want a hero lid go TM. -
Nice work on the build and good luck - not that you'd need it :-)
-
Cover Strips/Finishing Strips
firebladejedi replied to SkyyDragon's topic in Assembly, Mods, and Painting
When cutting your cover strips; Lay your rule on the plastic and hold fairly tight with your fingers. Your knife hand is best to lightly score the plastic without pushing too hard. Scoring lightly several times is better than one heavy go. The harder you press the more likely you will slip or follow a line other than the side of the rule. Hi everybody..
