

firebladejedi
-
Posts
3,299 -
Joined
-
Last visited
-
Days Won
5
Content Type
Profiles
Forums
Gallery
Articles
Everything posted by firebladejedi
-

FBJ's ANH Hero Build [TM]
firebladejedi replied to firebladejedi's topic in Build Threads Requireing Maintenance
In the interim period before I start work on building my Hero helmet, which I have pencilled in for Wednesday this week when going through the transitional period from earlies to nights.. I thought I would post up a few pics showing my boots and gloves that I used for my stunt ANH trooper.. First up the boots. Just like any of the other various peas I went down the route of getting come fine English leather boots and painted them white. Its a good look that's been around since 1977.. ref pictures And the gloves. These are natural latex painted white and glued to rubber gloves. I think mine need to start using Head and Shoulders as they are getting a little flaky.. Promo trooper says get some latex handplates.. -
Richard's ANH Stunt 2 mm [TM]
firebladejedi replied to VulpX's topic in Build Threads Requireing Maintenance
I would trim the front down so that you can easily use a 20mm cover strip. You can then trim the rear to suit and fit your shin. Looks ok from here I would get gluing up the front there.. -
Richard's ANH Stunt 2 mm [TM]
firebladejedi replied to VulpX's topic in Build Threads Requireing Maintenance
Everyone is different and does it there way. The shins do not need to fit 100 % under the cover strip as you will not see it once they are glued on. Also they will be fine to slip on and off once glued. You can put strips on the inside if you wish to give you peace of mind. What glue are you using? -
John Danter did this back in 2007? from the UKG. In more recent years Alex Howard also UKG identified the parts required for a replica pack but has gone quiet over the last few years. I personally would love one to trooper with
-
Bicep to Forearm Elastic Size
firebladejedi replied to Koyaanisqatsi's topic in Assembly, Mods, and Painting
Forget the crl and what other people are doing. Copy the original and that means 2 inch black elastic. -
FBJ's ANH Hero Build [TM]
firebladejedi replied to firebladejedi's topic in Build Threads Requireing Maintenance
Hey I'm far from done with this build so be sure to stop by soon for more updates. <br><br> I'm glad to hear that it has enspired you to get cracking again with your build - get those pics up so we can see what your upto :-) -
FBJ's ANH Hero Build [TM]
firebladejedi replied to firebladejedi's topic in Build Threads Requireing Maintenance
Thanks Paul, it means a lot. I still have plenty to do and may need to do some tweaks now that I have finally suited up.. What's that? You don't believe its fbj inside the armour there. Ok here we are lids off pictures.. sorry about the poor quality pictures in advance -
FBJ's ANH Hero Build [TM]
firebladejedi replied to firebladejedi's topic in Build Threads Requireing Maintenance
Ok enough drivel lets see some pictures.. Hands up who wants to see a lid off shot? -
FBJ's ANH Hero Build [TM]
firebladejedi replied to firebladejedi's topic in Build Threads Requireing Maintenance
Original reference material in keeping with this thread.. -
FBJ's ANH Hero Build [TM]
firebladejedi replied to firebladejedi's topic in Build Threads Requireing Maintenance
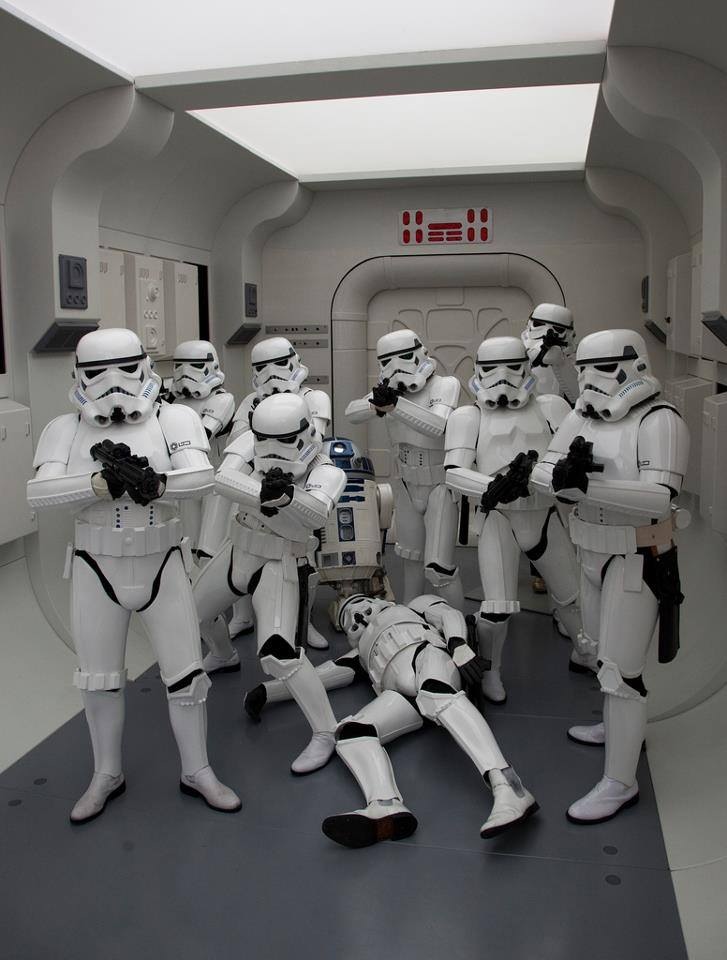
Just a few pictures of my RS Props ANH stunt helmet. Not much to say about this as I bought it as is, I guess it was built and decorated by the guys at RS. If I did one thing to this it would be repaint the vocoder as I do not like the matt black paint. As you can come to expect from any self respecting peas, the helmet is finished in keeping with the original costume pieces. All hand painted details and the interior in complemented with star shaped foam liner and elastic chin strap and flimsy green acetate lens. Until my TM hero helmet is made this will do very nicely indeed. -
FBJ's ANH Hero Build [TM]
firebladejedi replied to firebladejedi's topic in Build Threads Requireing Maintenance
And the leather holster is now permanently riveted to the belt. Hopefully get some pics uploaded later today :-) -
Richard's ANH Stunt 2 mm [TM]
firebladejedi replied to VulpX's topic in Build Threads Requireing Maintenance
You don't have to but I would take more off from the front of the wrist area. -
FBJ's ANH Hero Build [TM]
firebladejedi replied to firebladejedi's topic in Build Threads Requireing Maintenance
-
Heat Gun or Boiling Water ?
firebladejedi replied to Artshot's topic in Hard Armor (General Discussion)
And there we have it. We all now know Mathias straightens his hair?! :-) -
FBJ's ANH Hero Build [TM]
firebladejedi replied to firebladejedi's topic in Build Threads Requireing Maintenance
I am sitting here at fbj towers with a coffee and a selection of custard creams and am the master of all I survey; my recently semi finished TM armour spread all over the room. I glued the last right kidney elastic in this morning and decided my first plan of natural weathering will do the trick on this fine set of 1.5mm gloss abs plastic. So I have given it a quick clean over with some wet wipes and a little rub with a micro fibre cloth to remove any pencil marks and other general grubbiness and now I am done. I still have plenty to do, I need to build my hero helmet, I have latex hand plates to paint and glue to gloves, I have to replace the thermal detonator clips with my alu strips included in the Big Brown Box. I have an RS Props stunt lid that needs attention, I need to rivet my holster on for clearance Clarence and I need to have a shave. I also need the use of a cameraman or woman to take lots of pics so that I can show you fine people what I have built, any takers? I m free today or tomorrow? In the meantime I can confirm that the one size fits nobody accurate armour assembly fits this eager stormtrooper and I cannot wait to get some pics done.. -
I have owned 2 TM 2mm acrylic capped, very nice. And 2 1.5mm abs 1 that needed paint and 1 the new gloss. All very nice. Depends on what you want. Accurate, ultra accurate, practicle or other. They are all very well made.
-
FBJ's ANH Hero Build [TM]
firebladejedi replied to firebladejedi's topic in Build Threads Requireing Maintenance
Ok so I finished work at 22:30 last night, and after a cold beer was cracked open and just over half way through a double bill of Plebs: I thought what better way to unwind then finish screwing my torso together? So I did. I just need to glue the shoulder straps and left side kidney strap and we are done. <br><br> That leaves me to finish my beer and watch an episode of Family Guy while I kick back and relax. Be sure to stop by again soon for pictures. -
FBJ's ANH Hero Build [TM]
firebladejedi replied to firebladejedi's topic in Build Threads Requireing Maintenance
Just speak to anyone I have ever trooped with. They have seen me use my chest as a skate board on a concrete floor to get some fine weathering. 1 of the drill holes at the rear has already popped as I was not very careful doing this up last week.. -
FBJ's ANH Hero Build [TM]
firebladejedi replied to firebladejedi's topic in Build Threads Requireing Maintenance
There is time for that to happen yet, I will wait until I get the torso completed and then see how I feel :-) -
FBJ's ANH Hero Build [TM]
firebladejedi replied to firebladejedi's topic in Build Threads Requireing Maintenance
Ok all the fixings on the torso have been fitted. As you will see my armour has taken a bit of a beating, but I am not bothered about a few marks here and there it all adds to the flavour. While fitting the torso rivets I noticed that the loving paint I added soon came off, so after the first three I gave up using the painted ones and just went with the nickel ones I already had. I may or may not paint these at a later date. I suppose if I want to go centipede in the future I will have to paint them. At this moment I care not. Notice the extra flashing I have on the torso between the ab plate and kidney plate? That's because I am not going to shim my armour and I am not your regular out of work actor from the 1970's. You know I won't be no stick-figure, silicone Barbie doll, so, if that's what's you're into then go ahead and move along.. Also my diet of Chinese takeaway food and strong continental larger has not had the effect I thought it would. So there will be a little larger gap then some would like. Tough. That's all I have time for today, back to work starting at 5 pm, all I have to do now is the shoulder straps and finish screwing this bad boy together and then maybe I will suit up for some pics for you fine people. However I am a long way from finished with my build. Until next time, remember; poke, don't smoke.. -
FBJ's ANH Hero Build [TM]
firebladejedi replied to firebladejedi's topic in Build Threads Requireing Maintenance
Day Eighteen As I have not been naming the days this past week we shall now call this Day Eighteen. I am doing little bits and pieces today trying to finish a few things off. So far I have given my bifurcated rivets another coat of white paint. At the same time I sprayed little white into a plastic takeaway container and used a small brush to paint the heads of my single cap rivets in the thigh ammo strap. All free hand, no masking tape, not much thought just a quick dab to make them white. Next I am going to put in some of the split rivets with elastic into my armour. Starting with the crotch and butt strap. I practised first on a spare rivet to get a feel before I go ahead on my armour. There is a tool for fitting these but I am just going to use a pair of adjustable grips, a screw driver and regular pliers. Us stormtrooper types also fit them into our armour wrong. Anyway I need to get on if you'll excuse me.. -
You can always make up some goop and fill any extra holes using scrap abs you have from your build.
-
I would suggest keep looking at your ref pics and go with that you like the look of. Them trim more off if required for comfort or practicle reasons.
-
It should wrap the thigh all the way around apart from the rear edge like this
-
FBJ's ANH Hero Build [TM]
firebladejedi replied to firebladejedi's topic in Build Threads Requireing Maintenance
Ok so here are some pics of my armour. Completed belt sans holster, I still really want my ANH trooper to not have one. Plus mine will be riveted on just like the real thing and then storing it becomes a pain. The drop boxes should touch with underside of the plastic belt part, and your elastic may need to be trimmed to allow the snap that attaches the belt to the ab plate to connect properly. Drop boxes should be as far to the edge of your belt as possible. Upper back and shoulder bell attachment For those inquisitive types the numbers written on masking tape refer to the original strapping brackets that were fitted and then removed to pain the screws. As they are all hand built by trooper master they are all individual and so I labelled them to make sure they all go back in the right place. Arms, some armours have a left and right, some have doubled up parts and some are thrown together with mix matched parts. If you are unsure ask someone to help. Or do as I do and just hope for the best.. If you are using bicep hooks they are fitted bias towards the rear so that they don't show from the front. Thighs
