

revlimiter
-
Posts
1,491 -
Joined
-
Last visited
-
Days Won
75
Content Type
Profiles
Forums
Gallery
Articles
Media Demo
Posts posted by revlimiter
-
-
TEN TROOPS!!! Congratulations Gerald! I'm beyond shaky from trooping withdrawal and super jealous of these winter troops you've been able to do.
-
 2
2
-
-
Rustoleum 2x matte clear gives the most realistic blaster finish IMHO. It's a very mellow metallic look. Not a true matte/flat.
Semigloss for the T tracks.

-
1
-
-
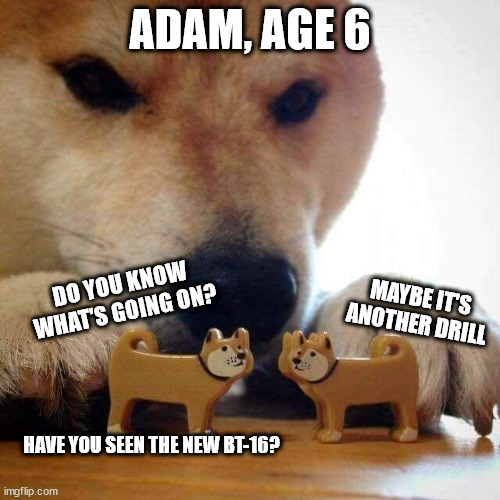
Shamelessly stole these from my garrison chat, but I added the meme text.


-
5
-
-
I haven't thought of this meme in a LONNNG time.

-
3
-
-
THAT is awesome! You guys both look great.

-
1
-
-
That is looking sweet!!!
-


-
3
-
-
Jealous of your concert troop. I still haven't done one of those and really want to.
Awesome about the little Darman's pouch!! It's not cheap but it really is well made and beautiful.
-
1
-
-
I've got this guy on my desk in front of me right now. He's a beauty.
Seems to be an ROTJ armor that's lightly weathered, ANH bucket, black pauldron, and that big fancy gun. BFG seems integral to the costume as he's never without it.
-
2
-
-
-
5
-
-
congratulations!!!

-
1
-
-

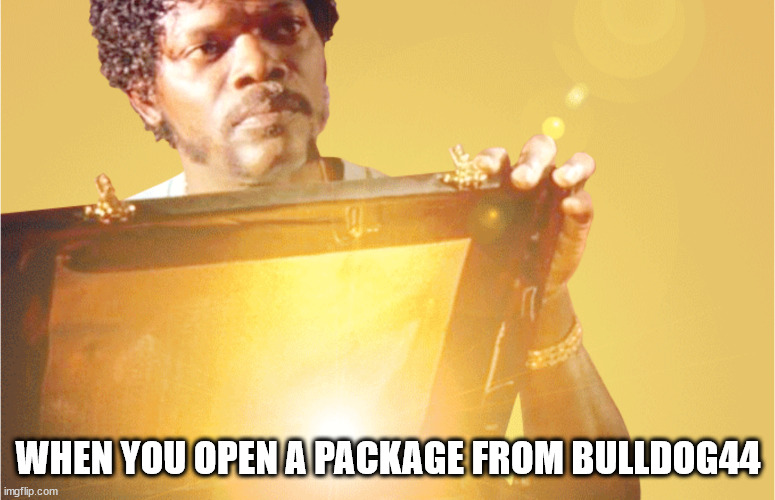
I just saw this template and thought a MadeMeSmile meme was worth doing.
stay shiny, fellow TKs.

-
5
-
-
That's a thing of beauty. I should attempt to print one...

-


In other news, I miss trooping.
-
4
-
-
Good job James!!! Momentum is the important thing. Keep it up!
I've missed one day working out since around mid December of last year. Momentum keeps me going. Morning stretches really help me in getting into the gym too. This getting old stuff is strange.
-
-
2
-
-
-
5
-
-
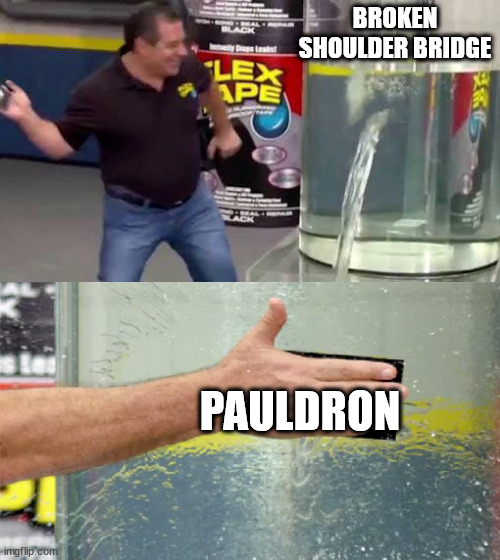
The game reference also has a LOT more space between the bumps than the regularly-used shoulder straps do. The whole white panel has a lot more presence than a re-heated shoulder strap.
5 bumps worth of shoulder strap would be pretty dinky and stubby. 7 bumps worth gets closer to the game dimensions.
And I'd be remiss if I didn't note that the 3D print files made by @Eric Ostendorf have a *killer* 5 bump strip included. Nice spacing between the bumps and everything.
-
https://www.whitearmor.net/forum/forum/113-advanced-tactics/
EIB and Centurion stuff is in here.
You obsess over the CRL and photos required, then get someone to take said photos whilst you repeatedly refer to the photo sheets and yell at them for not noticing your shoulder bells weren't quite aligned.
But seriously, to me, it's really satisfying having armor that's as accurate as it can possibly be. Not at all a requirement, just a fun thing for those of us wired that way.
-
1
-
-
Weathering is required for EIB, but not mentioned for basic approval. I would assume you can get approved with it as is.
My personal preference is to weather immediately though. The shapes are so basic... it really comes to life with weathering. Looks more like a used trooper pack than a grouping of CG shapes (not an offense intended at yours, but of all HWT packs).
Your pack is looking great!!! Got the straps done? That part took me nearly as long to get right as the rest of the pack.
-
-
3
-
-
-
4
-
-
BRILLIANT!!!
-
3
-
-
I mean, February is shorter. There's no way it can also hold 500 of the things.
We need a 500 memes pin.
-
2
-


Dialing In Resin Exposure Time
in NEW 3D Resin Printers
Posted
Coming from FDM printers since about 2016 to SLA printers this past Christmas, the thing that was most difficult for me to grasp at first was exposure time. This post will, unfortunately, not be extremely high effort on my part (I don't have photos of my own to share) but it's what helped me get going and figure out my own exposure times vs relying on lists and forum posts.
First - you need the XP2 Validation Matrix.
https://github.com/Photonsters/Resin-exposure-finder-v2/releases/download/BETA_2.1/ResinXP2-ValidationMatrix_200701.stl
This file is "beta" from 2020 and millions of people have used it. This is indeed the one.
There's a TON of different exposure tests out there, but this one prints quickly and gets you going quickly. It is also explained in depth in the video below...
Next, you need to watch this vid that explains how to understand the printed validation matrix and adjust your exposure time accordingly. It is INCREDIBLY helpful. My prints went from "eh, not bad" to "OMG lookit this detail!!!" after one viewing and a couple test prints of that matrix. I'd printed other tests but wasn't totally sure what I was looking at. The video above taught me what I needed to know.
Lastly - some resin makers publish suggested exposure settings for various printers. The best listing I've found is Siraya Tech.
https://siraya.tech/pages/support (click View Guide on the resin you own and then go to their google drive link on the following page)
Suggested exposure settings should be viewed as a good starting point for your test matrix. Your printer may need to go up or down in terms of exposure time depending on the age of the printer and age of the resin.
Hope this helps kickstart some awesome prints.